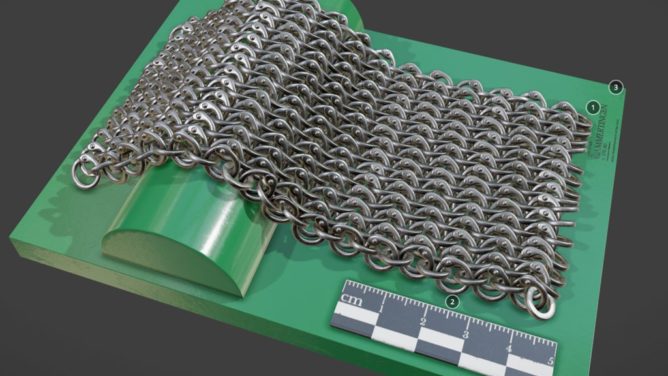
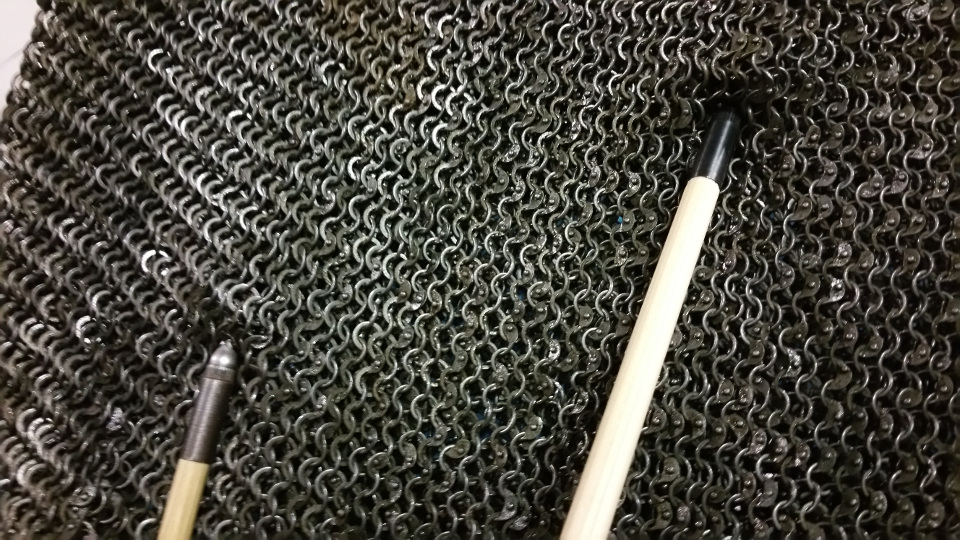
The interesting part is that it’s a mix of riveted and stamped rings, also known as “Roman Mesh”. I own a similar piece myself and I’m fascinated by this type of mail.
This pattern was digital reconstructed using Blender and it’s polygonal modelling functions and uploaded to SketchFab under CC license by it’s authors:
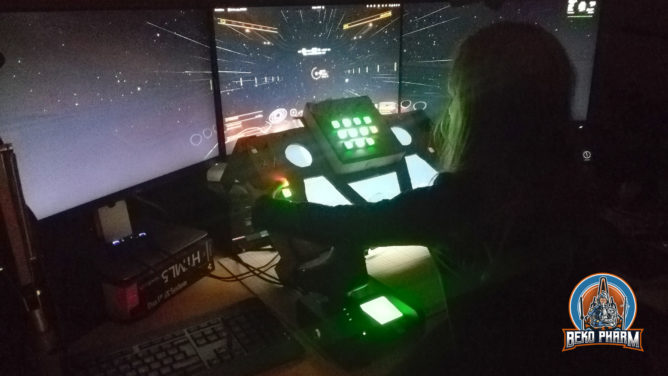
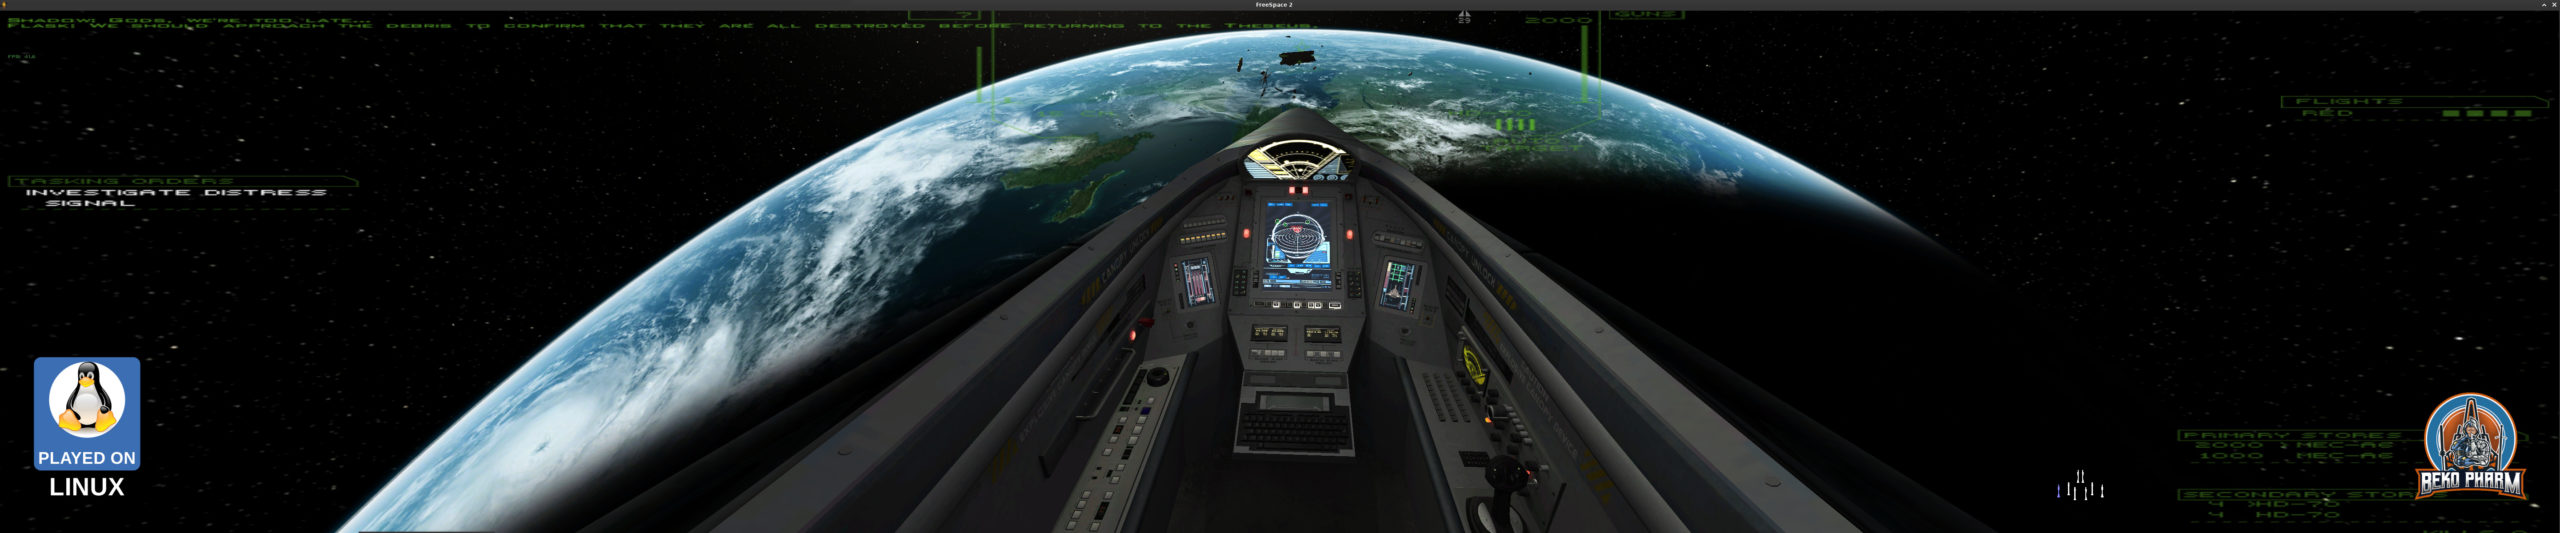
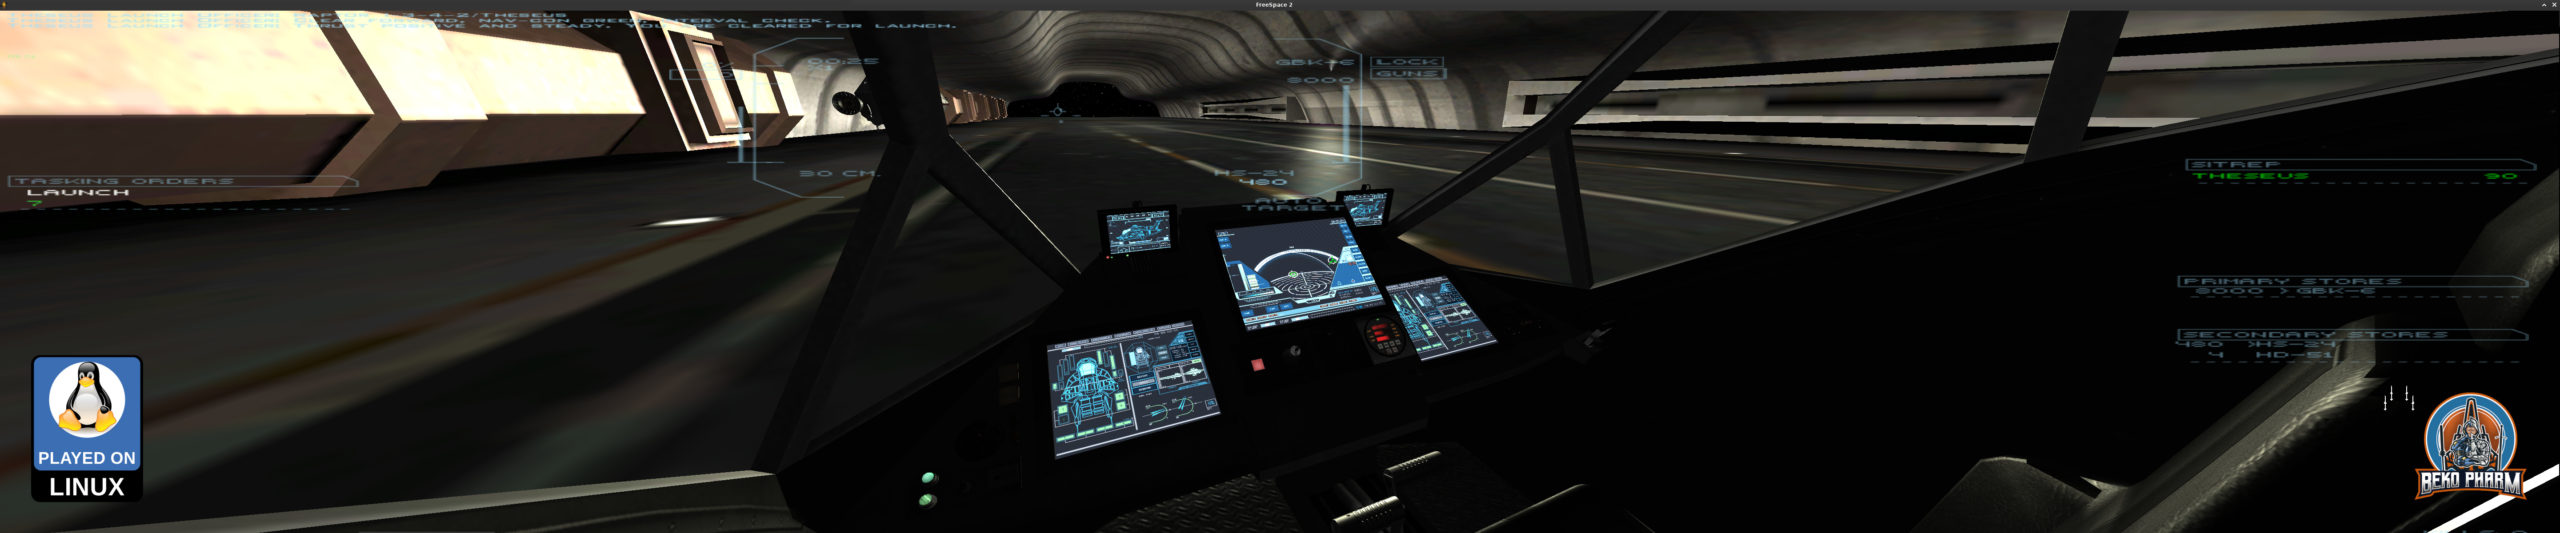
I sure am playing a lot of space pew pew over the last months. Took a lot of screenshots too and it’s kinda hard not to drown my timeline with screenshots every day. Today I sifted through the pile and found a bunch I’d like to share (some again) so here is a little gallery of (mostly) space simulation games I play on my Linux PC. And I’ll keep making that point until I can browse the web without getting daily reminders by random strangers claiming that gaming on Linux PC is not possible. Cuz it is.
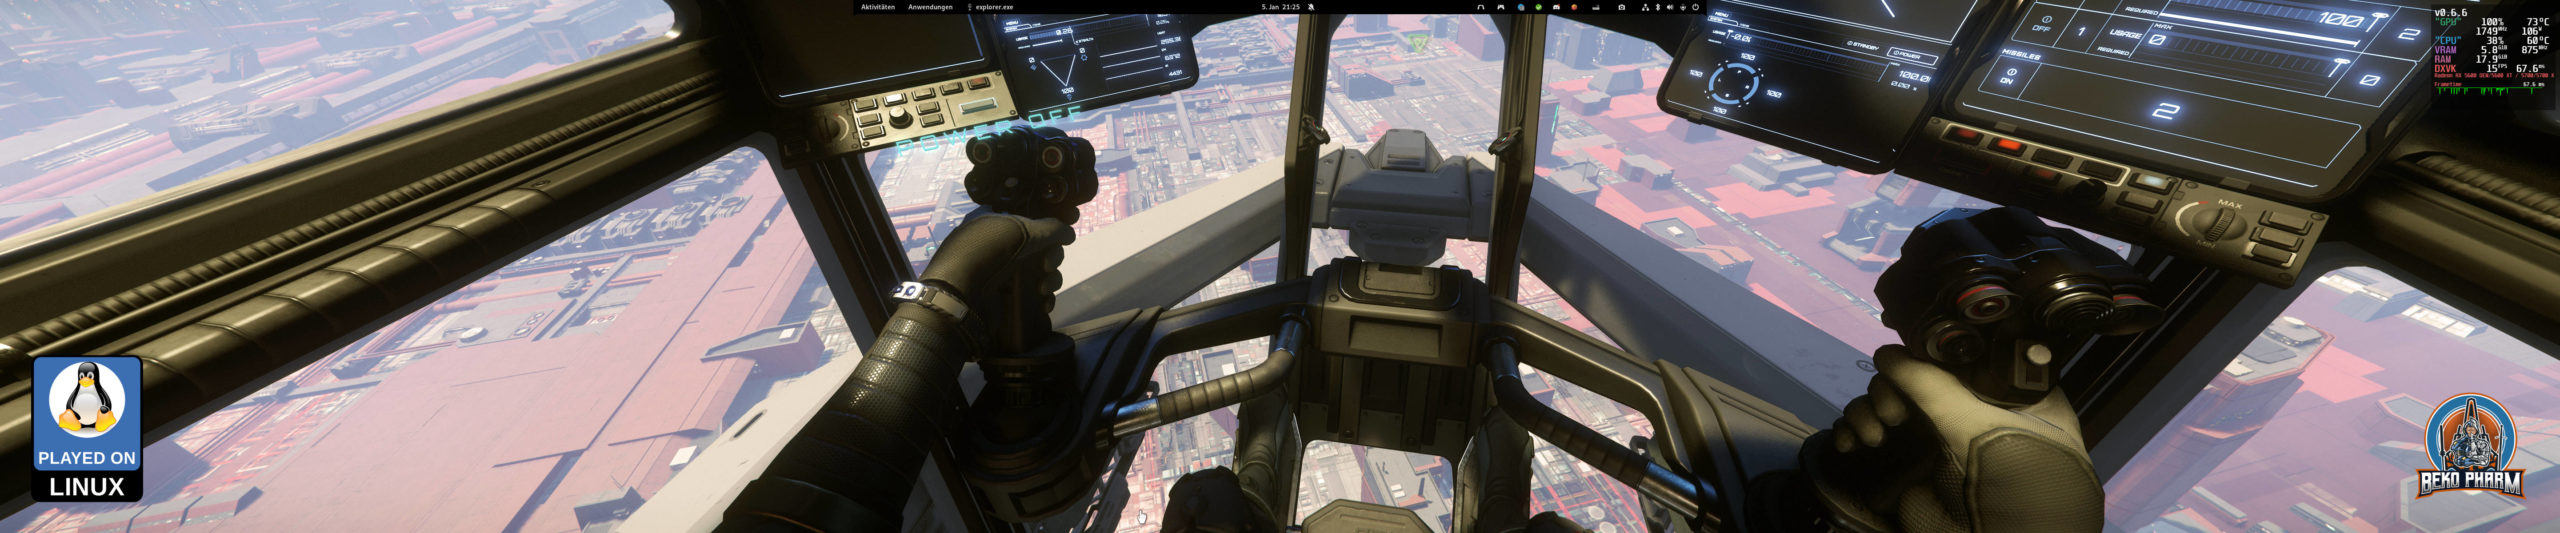
Star Citizen
Added on 5th January 2022 and played with whatever Lutris thinks best. I really was going to hold out on Star Citizen a little longer but I got it as a gift to my birthday. My GPU is definitely at it’s limit here. Will probably have to give it some more time. I mean it’s Alpha and all but hey, it _does_ work.
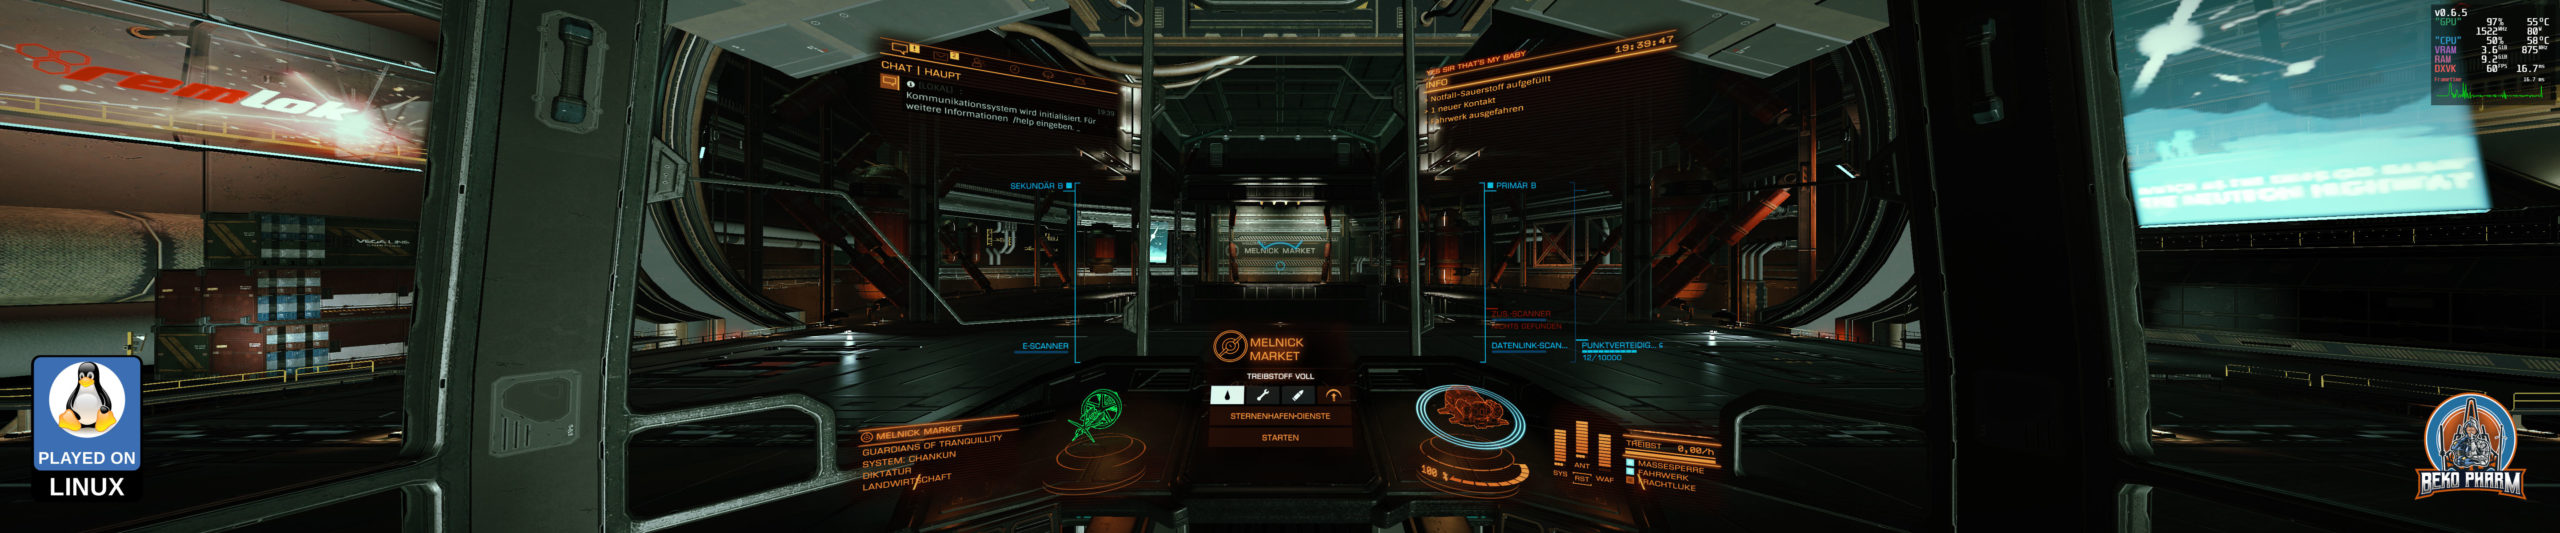
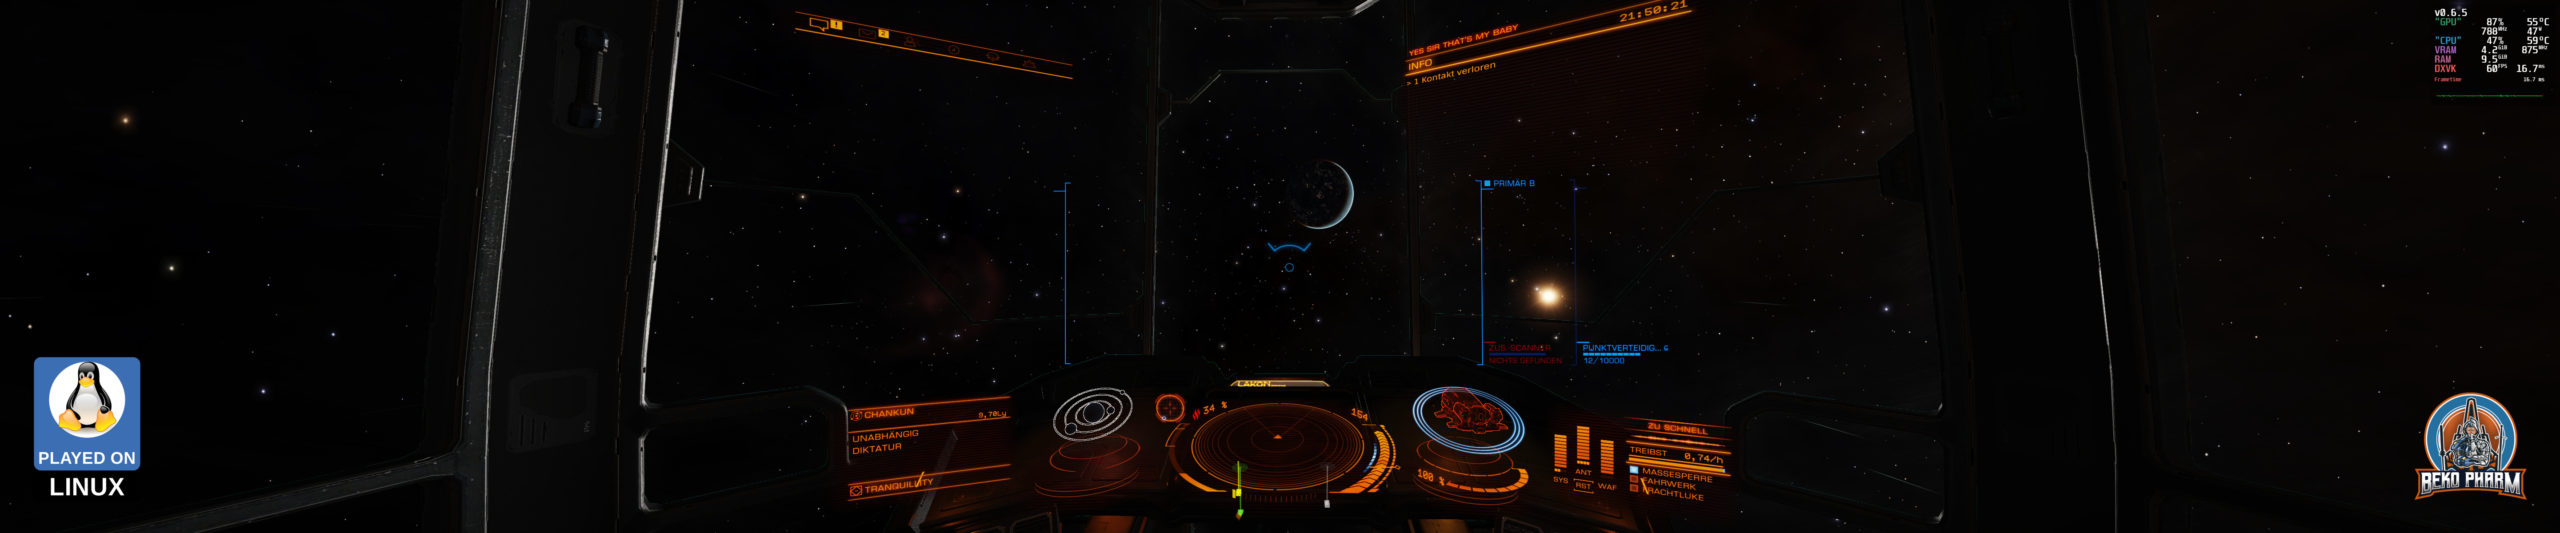
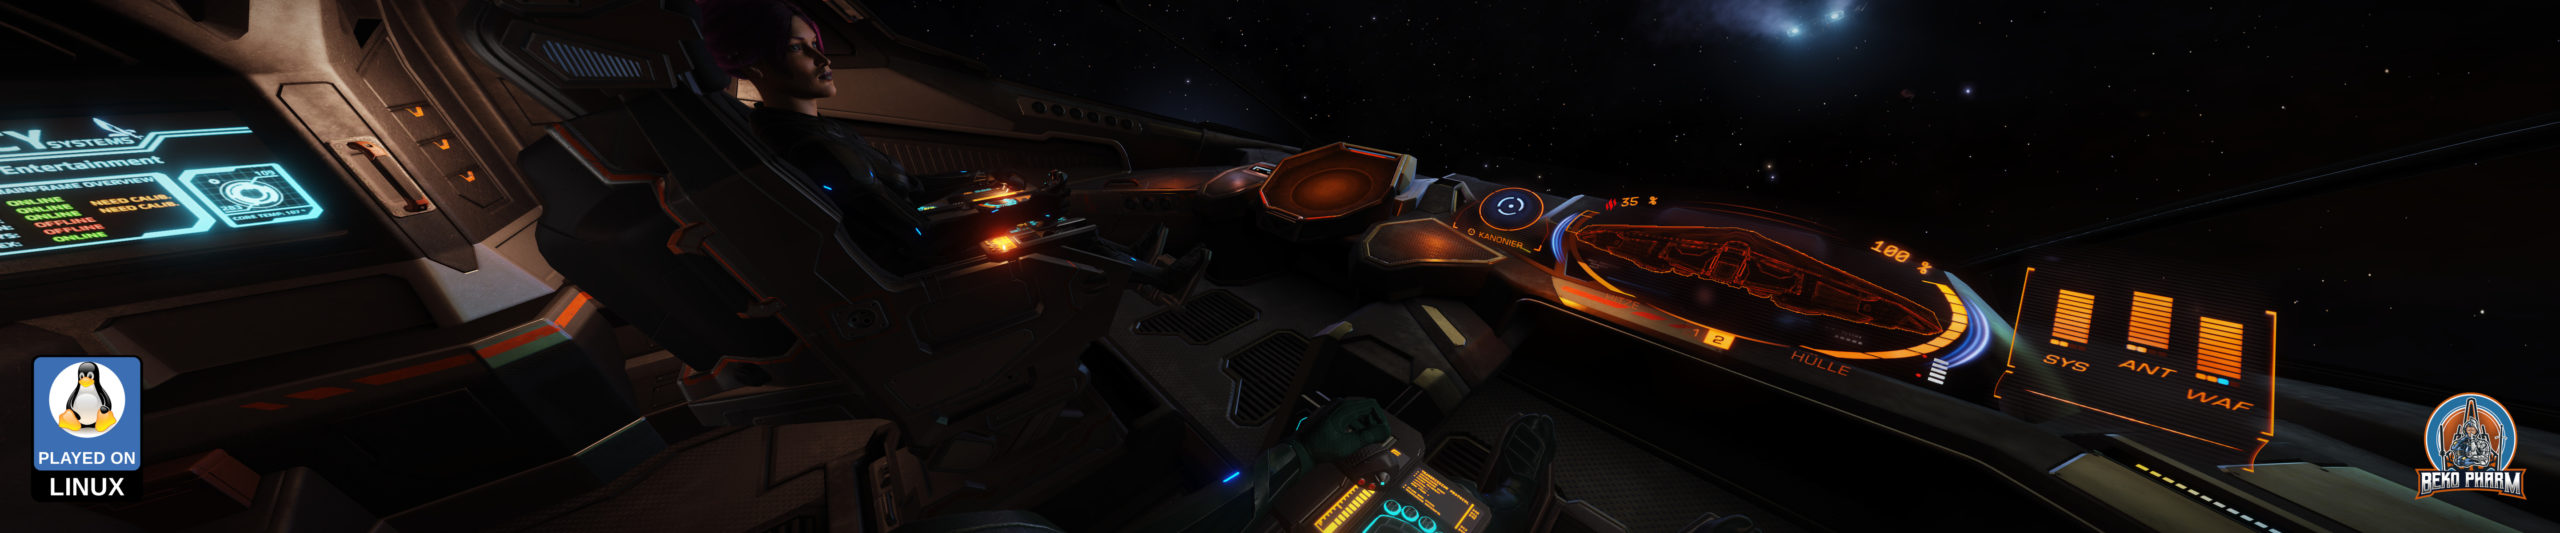
Elite Dangerous
This I play mostly under Proton with the Primary Buffer Panel whenever possible. It’s just the most fun this way (kids love it too).
X Games, mostly X4 and X3: Rebirth
The more recent X series have native Linux builds but work also perfectly fine with Wine.
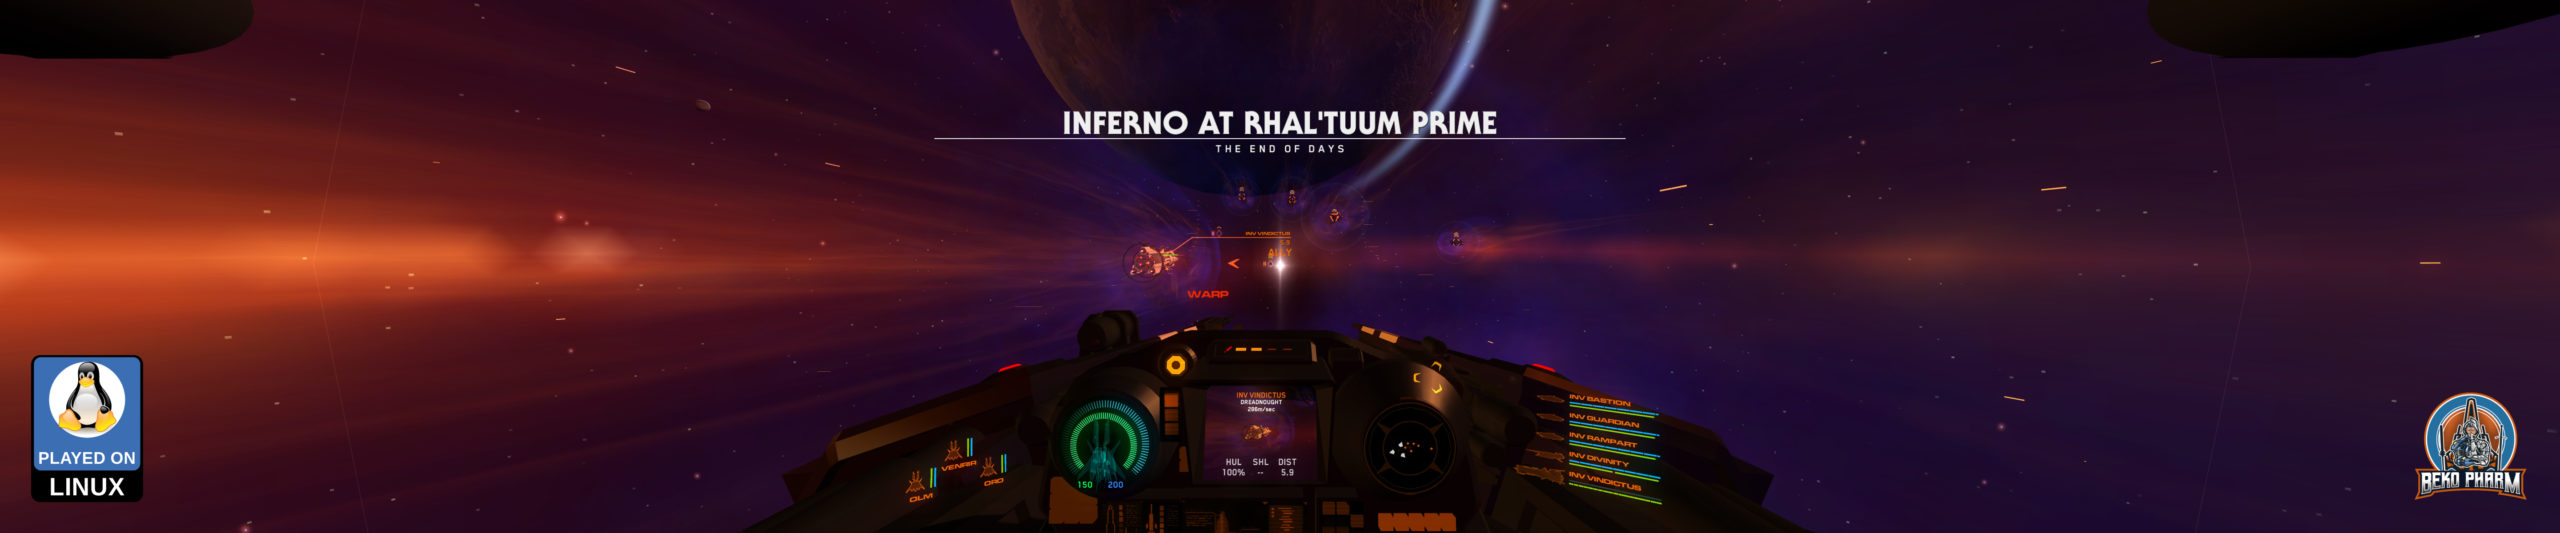
Slug Throwers: Diaspora: Shattered Armistice and House of the Dying Sun
Both run via Lutris and with Proton-GE and usually with my DIY Headtracker.
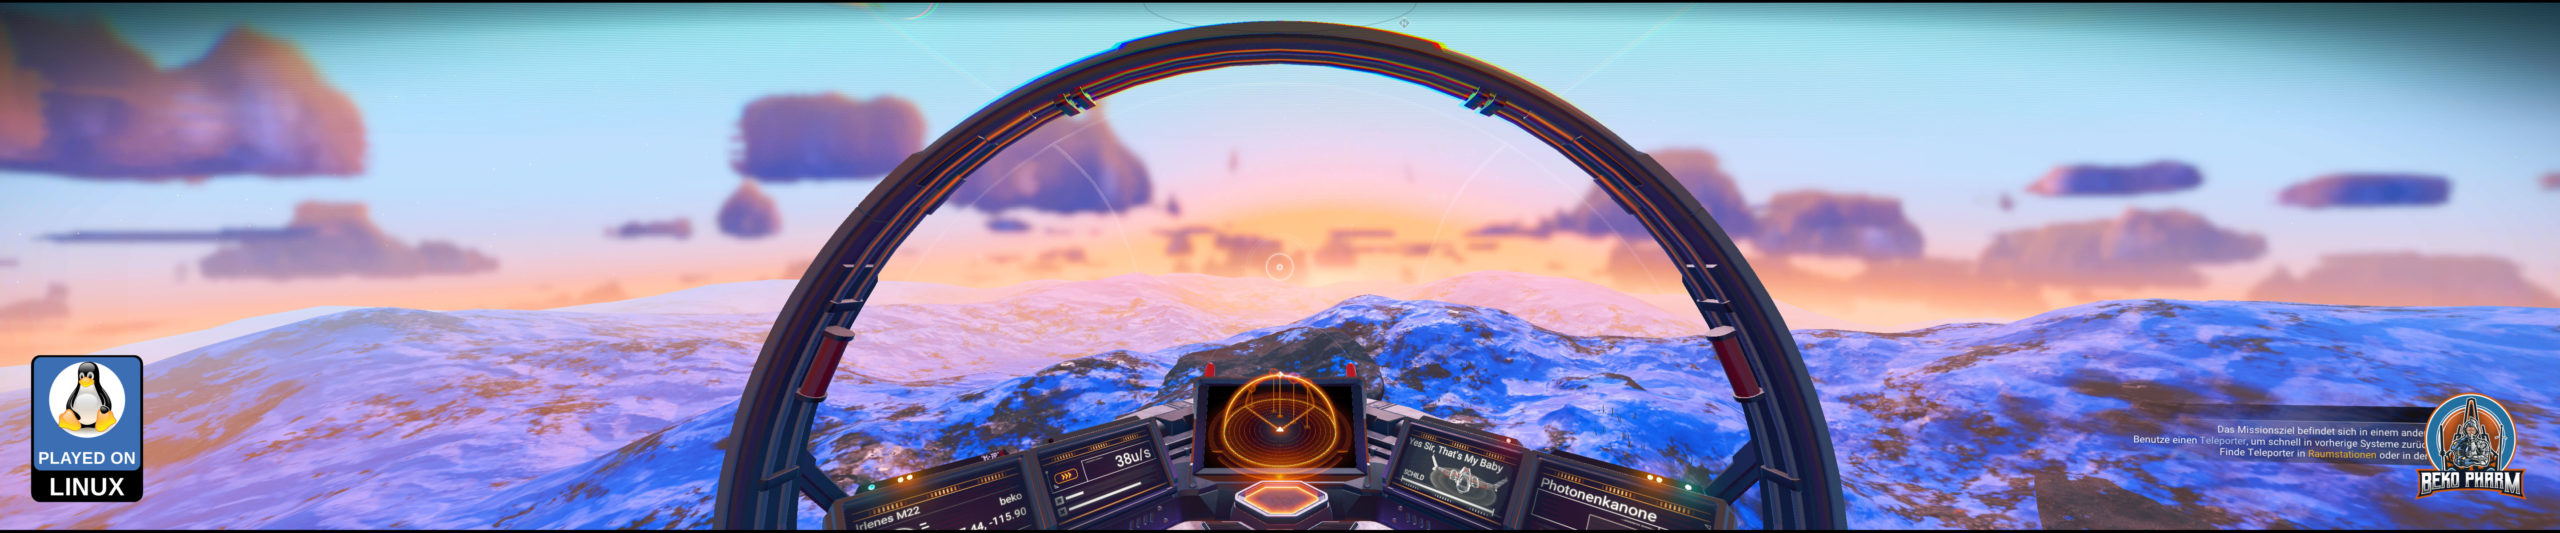
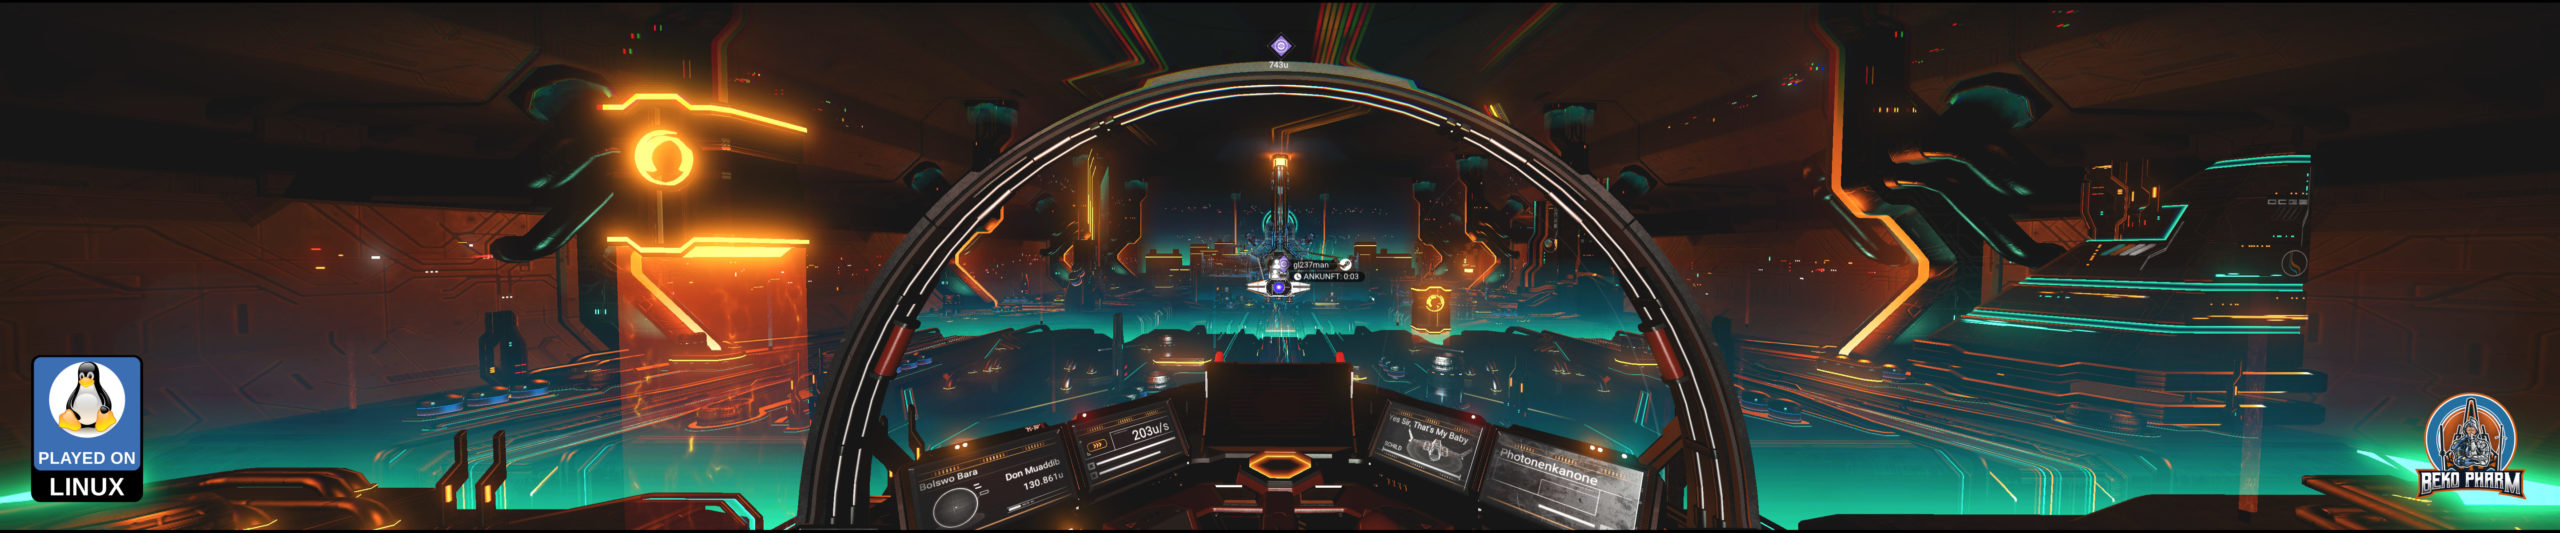
Relaxing ones: No Man’s Sky, Fly Dangerous and… FlightGear (yeah, not space, I know – there’s a spaceship MOD tho :P)
FlightGear runs native on Linux and Fly Dangerous does have a native Linux build but due to an issue with terrain generation being single threaded I use Proton for this one too until this is solved. No Man’s Sky runs perfectly with Proton.
I play all of the above with my X52 Pro H.O.T.A.S. and some with my DIY headtracker stretched over three displays in a so called multihead setup. Let me know if you’ve any questions how this can be set up.
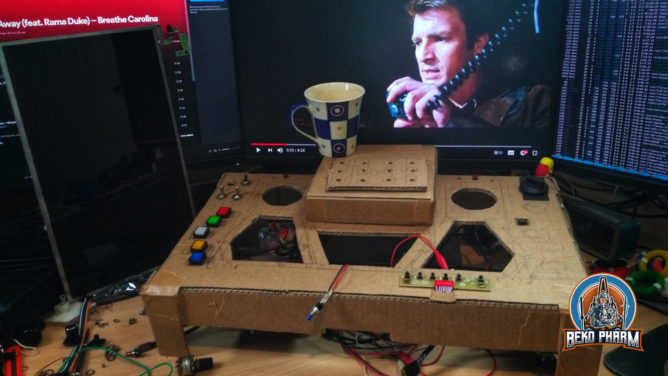
Okay, recap from the last making session of the button box for my #simPit. What I achieved this time: The LCD controller has now a place inside the contraption while the LCD controller buttons are screwed on the outside. This is mostly because I have no buttons laying around to be used instead. I did note down the pin-out of the connector though so I can change this any time. It has a funny LED though that has 3 pins, GND, Red and Green. Uncertain what to make of this.
The button box itself was put on stilts for the extra room required. The LCD itself is prepared to be added to the button box but I’ve to remove part of the former hinges because they are way too sturdy to be removed with a simple cutter knife. I’ll probably need a grinder or a saw and that’s work I will not do at my computer but in the basement.
Next was preparing the ICP in the centre. For this I created a new box of cardboard that is attached to the button box with tape that also acts as a hinge so I can “open” it to work on the switches that go there. I also noticed that my knobs for the rotary encoders or potentiometer are way too big. I could compensate this with more height but I don’t want the ICP to dwarf the button box itself 🤔 So… mebbe I’ll use smaller knobs. On the topic of knobs: Dem, the costs for decent sized knobs are insane. Like ~8 EUR for one knob! So… perhaps I’ll go for spray painted wood here. I don’t know yet 🤷
Yeah, and I got tired of calling it just “button box”. It’s not. It’s a “glorified button box mock-up with a gorram LCD made from cardboard”. So I decided that it needs a name and as a nerd I came up with… Primary Buffer Panel! Firefly fans will know. Others may educate themselves via https://www.youtube.com/watch?v=mY59BYSrxn0 and have a laugh.
It’s also a running gag in the family. My van tended to loose all kind of parts while driving and when Serenity aired my dad yelled at this very specific scene: “Hah, just like your car!” 🤣
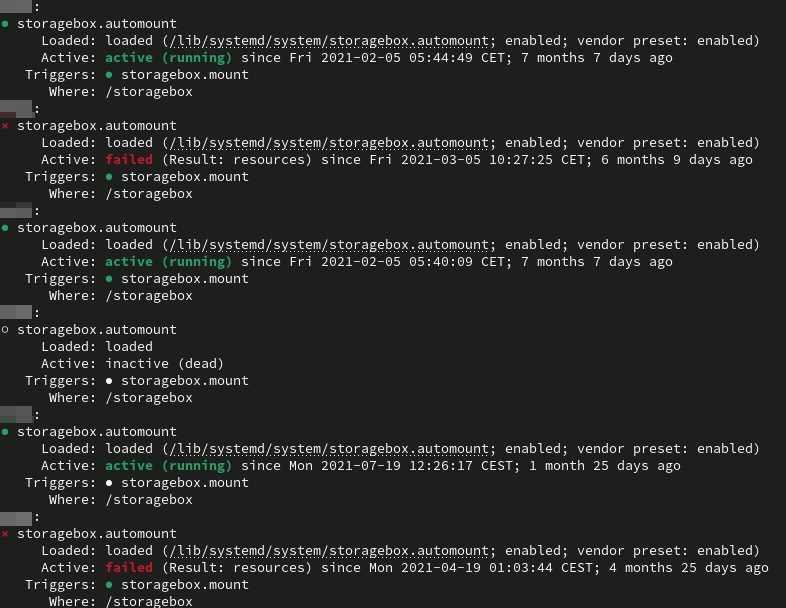
I’m making heavy use of Hetzner storageboxes, a rather slow network storage solution perfectly suited for backup tasks. Sadly they come with hickups resulting sometimes in a failed automount status where the machine may not recover from on it’s own. That’s so common that I got tired of checking monitoring or logging in to each individual machine. #Systemd and #bash to my aid!
for i in {bob,alice,steam,punk,younameit}; do echo "$i:"; systemctl --host "$i" status storagebox.automount; done
So how are my storagebox mounts today? Ah yes, yes, seems like two need a little pep talk.
I track my working hours with timewarrior. That’s a CLI program that has a lot of nifty features and can also be hobbled together with taskwarrior to automated time tracking when a task is started. The taskwarrior on the other hand gets my todo list from various bugtrackers as sources, like Redmine and Jira, using bugwarrior-pull.
With this set-up I’ve my to-dos and my tracked hours available on the terminal, where I spend most of the day anyway. This is more or less comfortable for me but there is a huge drawback.
At the end of the months I’ll need some numbers and as it goes each company or customer has it’s own time tracking system (or even wants a csv export!) so I’ve to backfill the real systems each month. That’s a very tedious work especially if time has to be logged on specific tickets or customers and booking is done with quarter hours so I’ve to do some quick math in my head all the time.
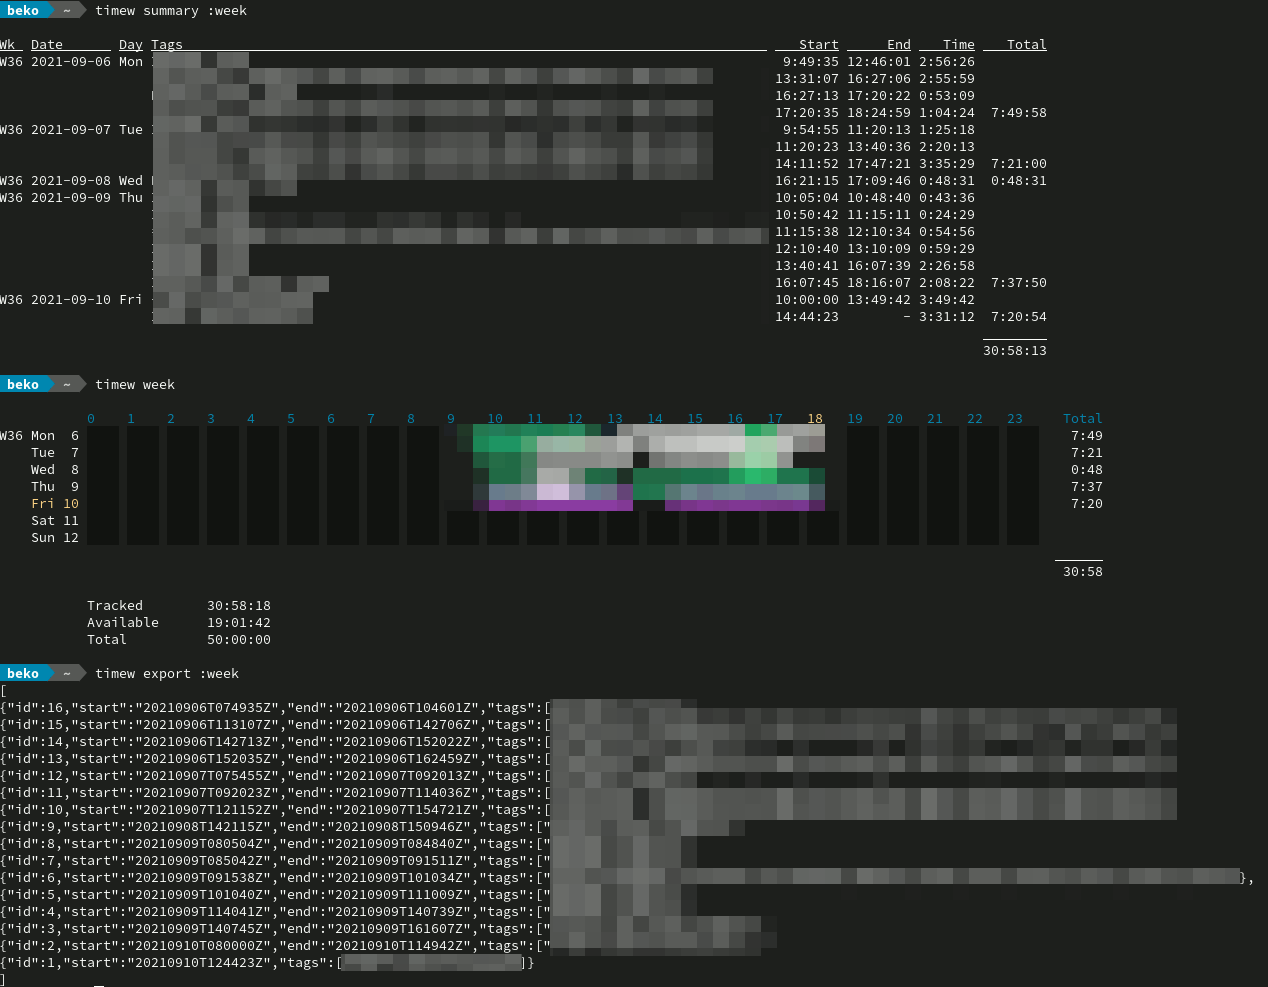
In theory timewarrior has me covered on this because it has a summary view that is basically fine but this can not be used to grepped or sorted for certain tickets because it displays the date for each day only once.
Another nifty feature is the timewarrior export function that results in a JSON. The result is somewhat limited though since it will for example not display and durations and there is as far as I know no way to change this.
Demo how the various views or exports of timewarrior look (And yes, not _everything_ I work on is tracked here :P)
This is where jq (a lightweight and flexible command-line JSON processor) comes in. This little tool is seriously underrated and it allows me to change the format and the values of the JSON export on the fly by calculating for example time durations on the fly, reformats start and end dates so import functions of table calculation programs, like LibreCalc, can read the values as date (we all know that Excel reads anything as date already) and displays me the tracked time in quarter hours for each entry so it’s for most cases a no brainer now to backfill another time tracking system with this. The result can also be easily sorted now to find for example times for a specific ticket by grepping for it’s id.
timew export :week | jq -r '["id", "start", "end", "duration", "quarter_hours", "description"],
    (.[] |
        # make sure .end is set (may be empty for currently active tracked time)
        .end = (.end // (now | strftime("%Y%m%dT%H%M%SZ"))) |
        .duration = ( (.end | strptime("%Y%m%dT%H%M%SZ") | mktime) - (.start | strptime("%Y%m%dT%H%M%SZ") | mktime) ) |
        # round duration to quarter hours
        .quarter_hours = (.duration / 3600 / 0.25 | ceil*0.25) |
        [
            .id,
            # urks, localtimes are a mess in jq, ymmv - as long as it is consistent off I do not care tho
            (.start | strptime("%Y%m%dT%H%M%SZ") | mktime | todateiso8601),
            (.end | strptime("%Y%m%dT%H%M%SZ") | mktime | todateiso8601),
            (.duration | strftime("%T")),
            .quarter_hours,
            (.tags | join(", "))
        ]
    ) |
    @csv'
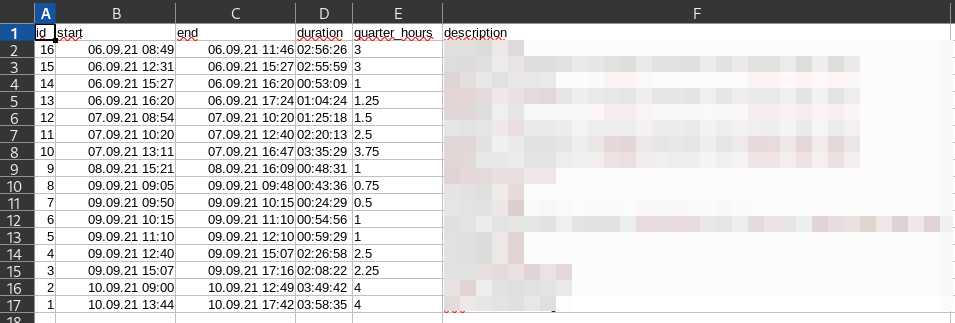
The resulting csv file can be imported into most table calculation software now or read manually in a more comfortable way.
Timezones are still an issue. There are so many open tickets on jq on this that I don’t even bother.
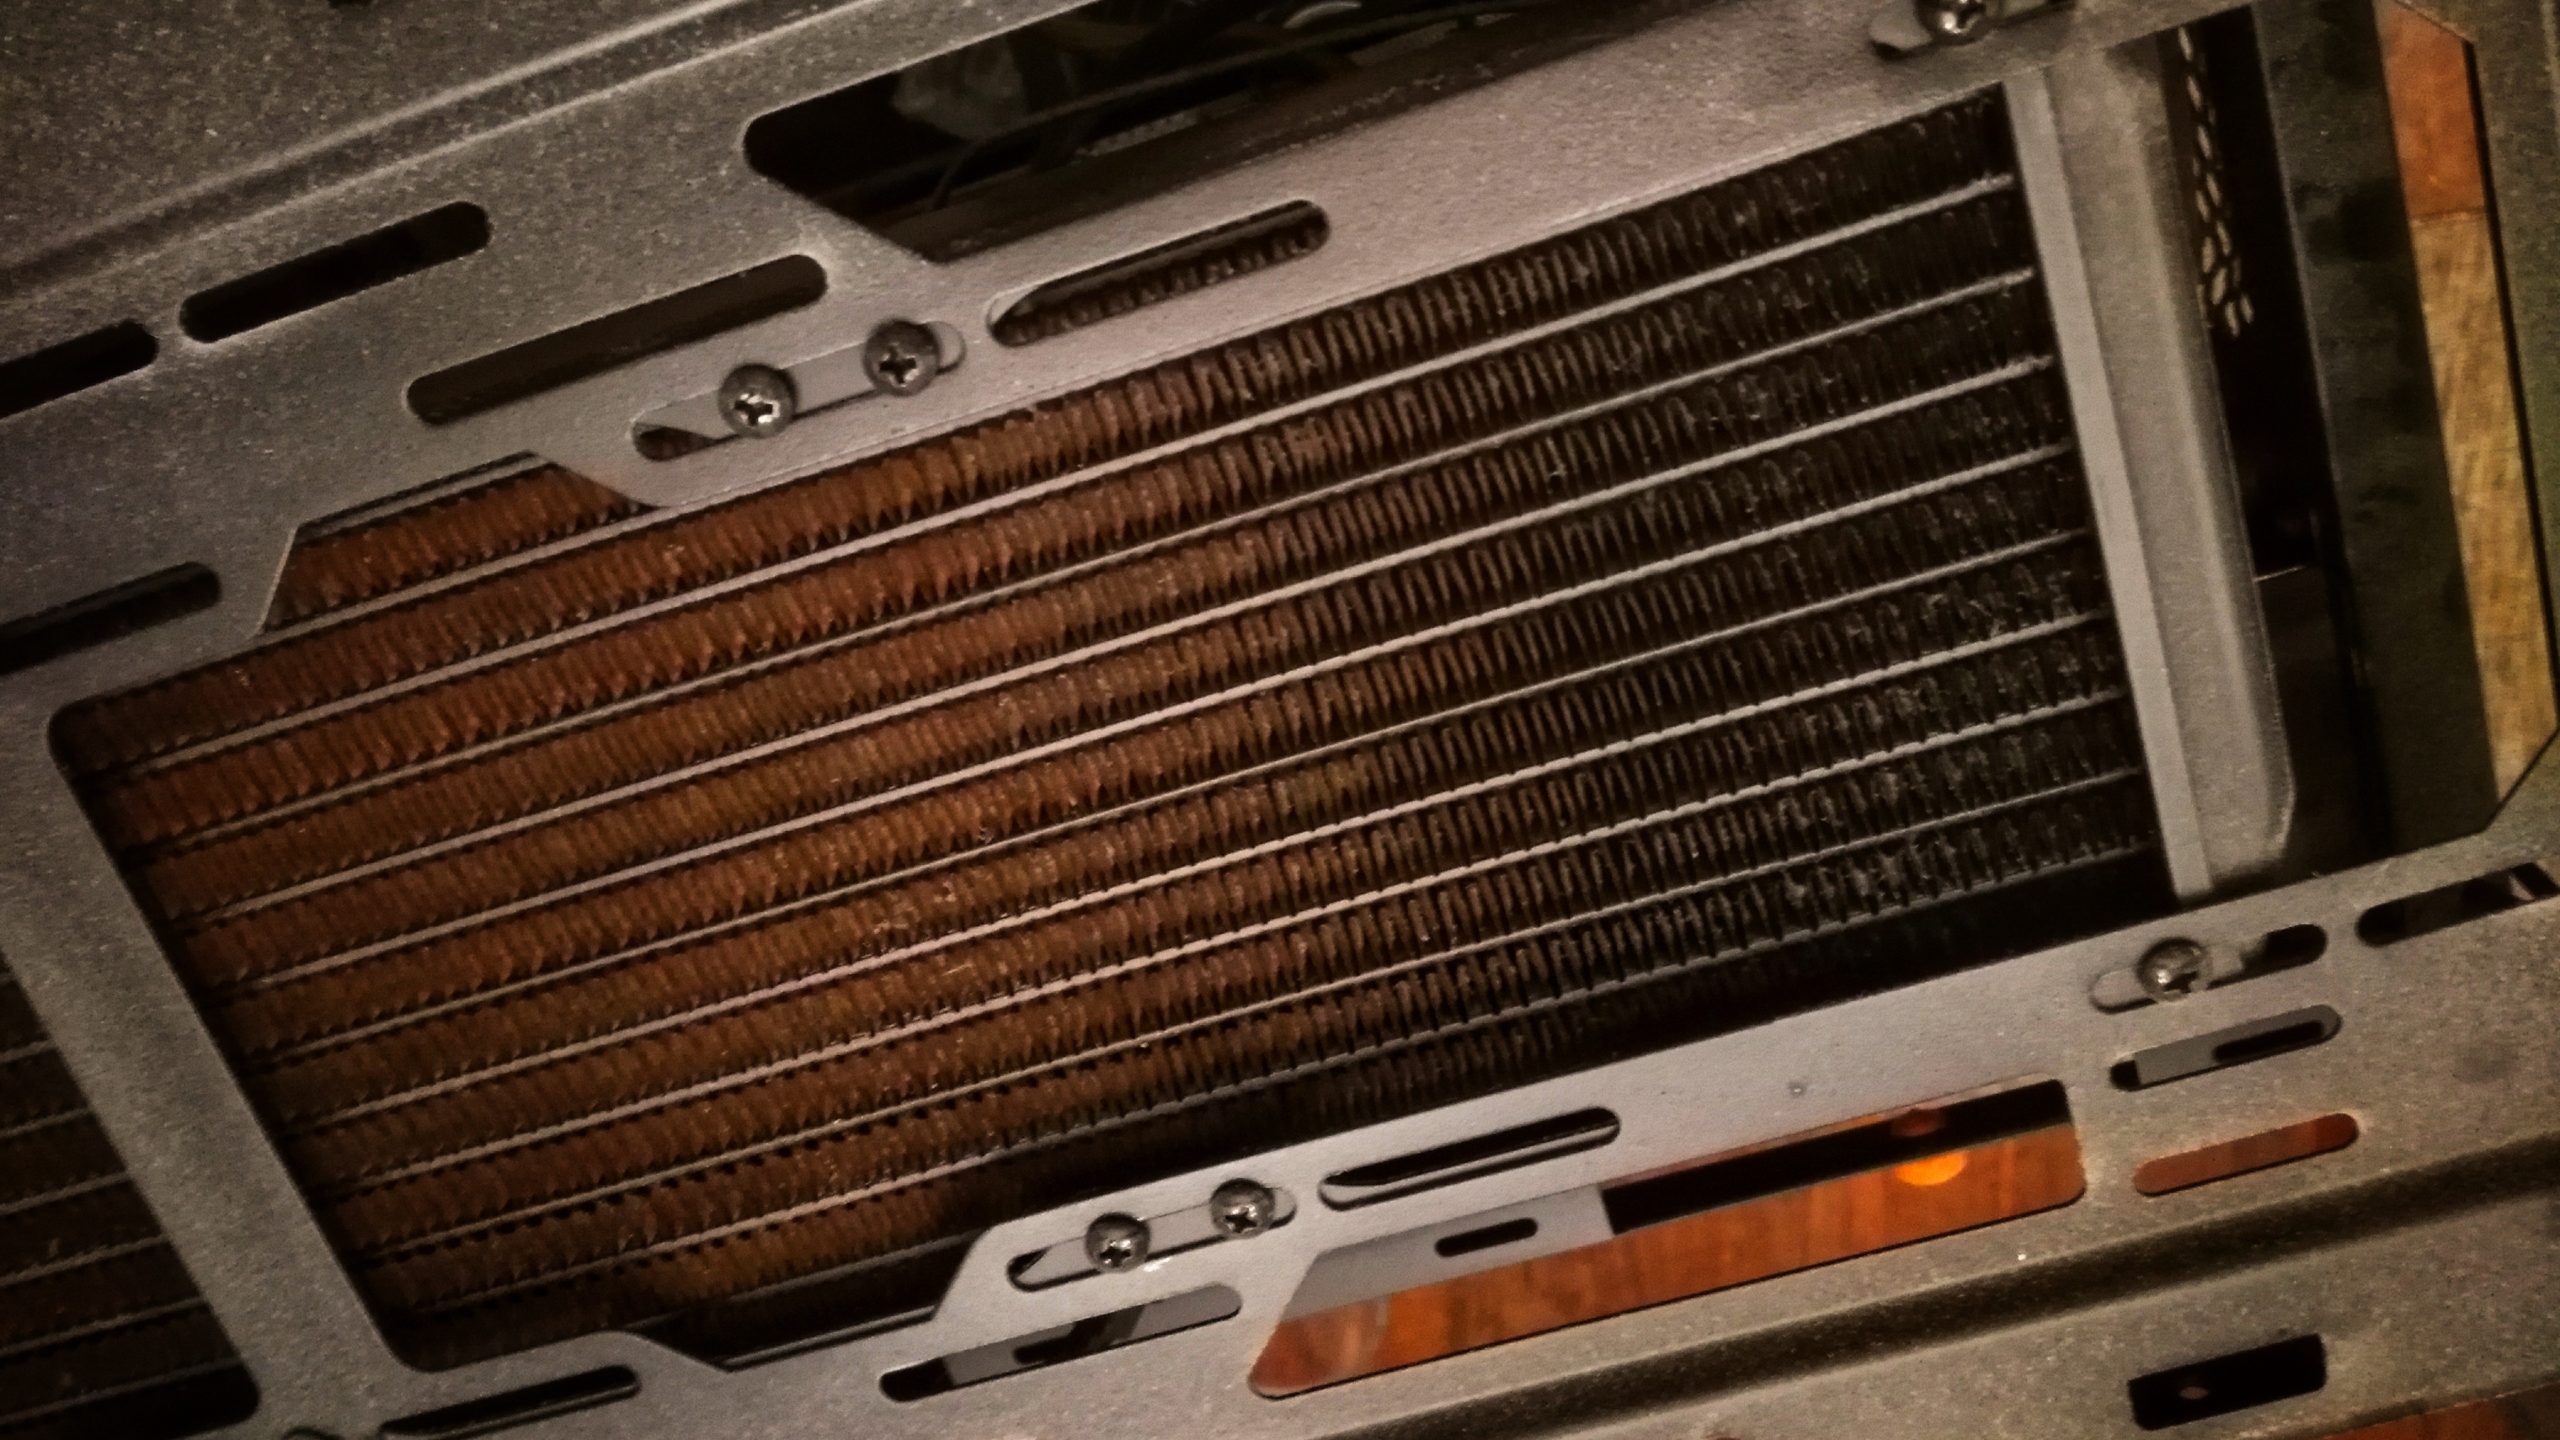
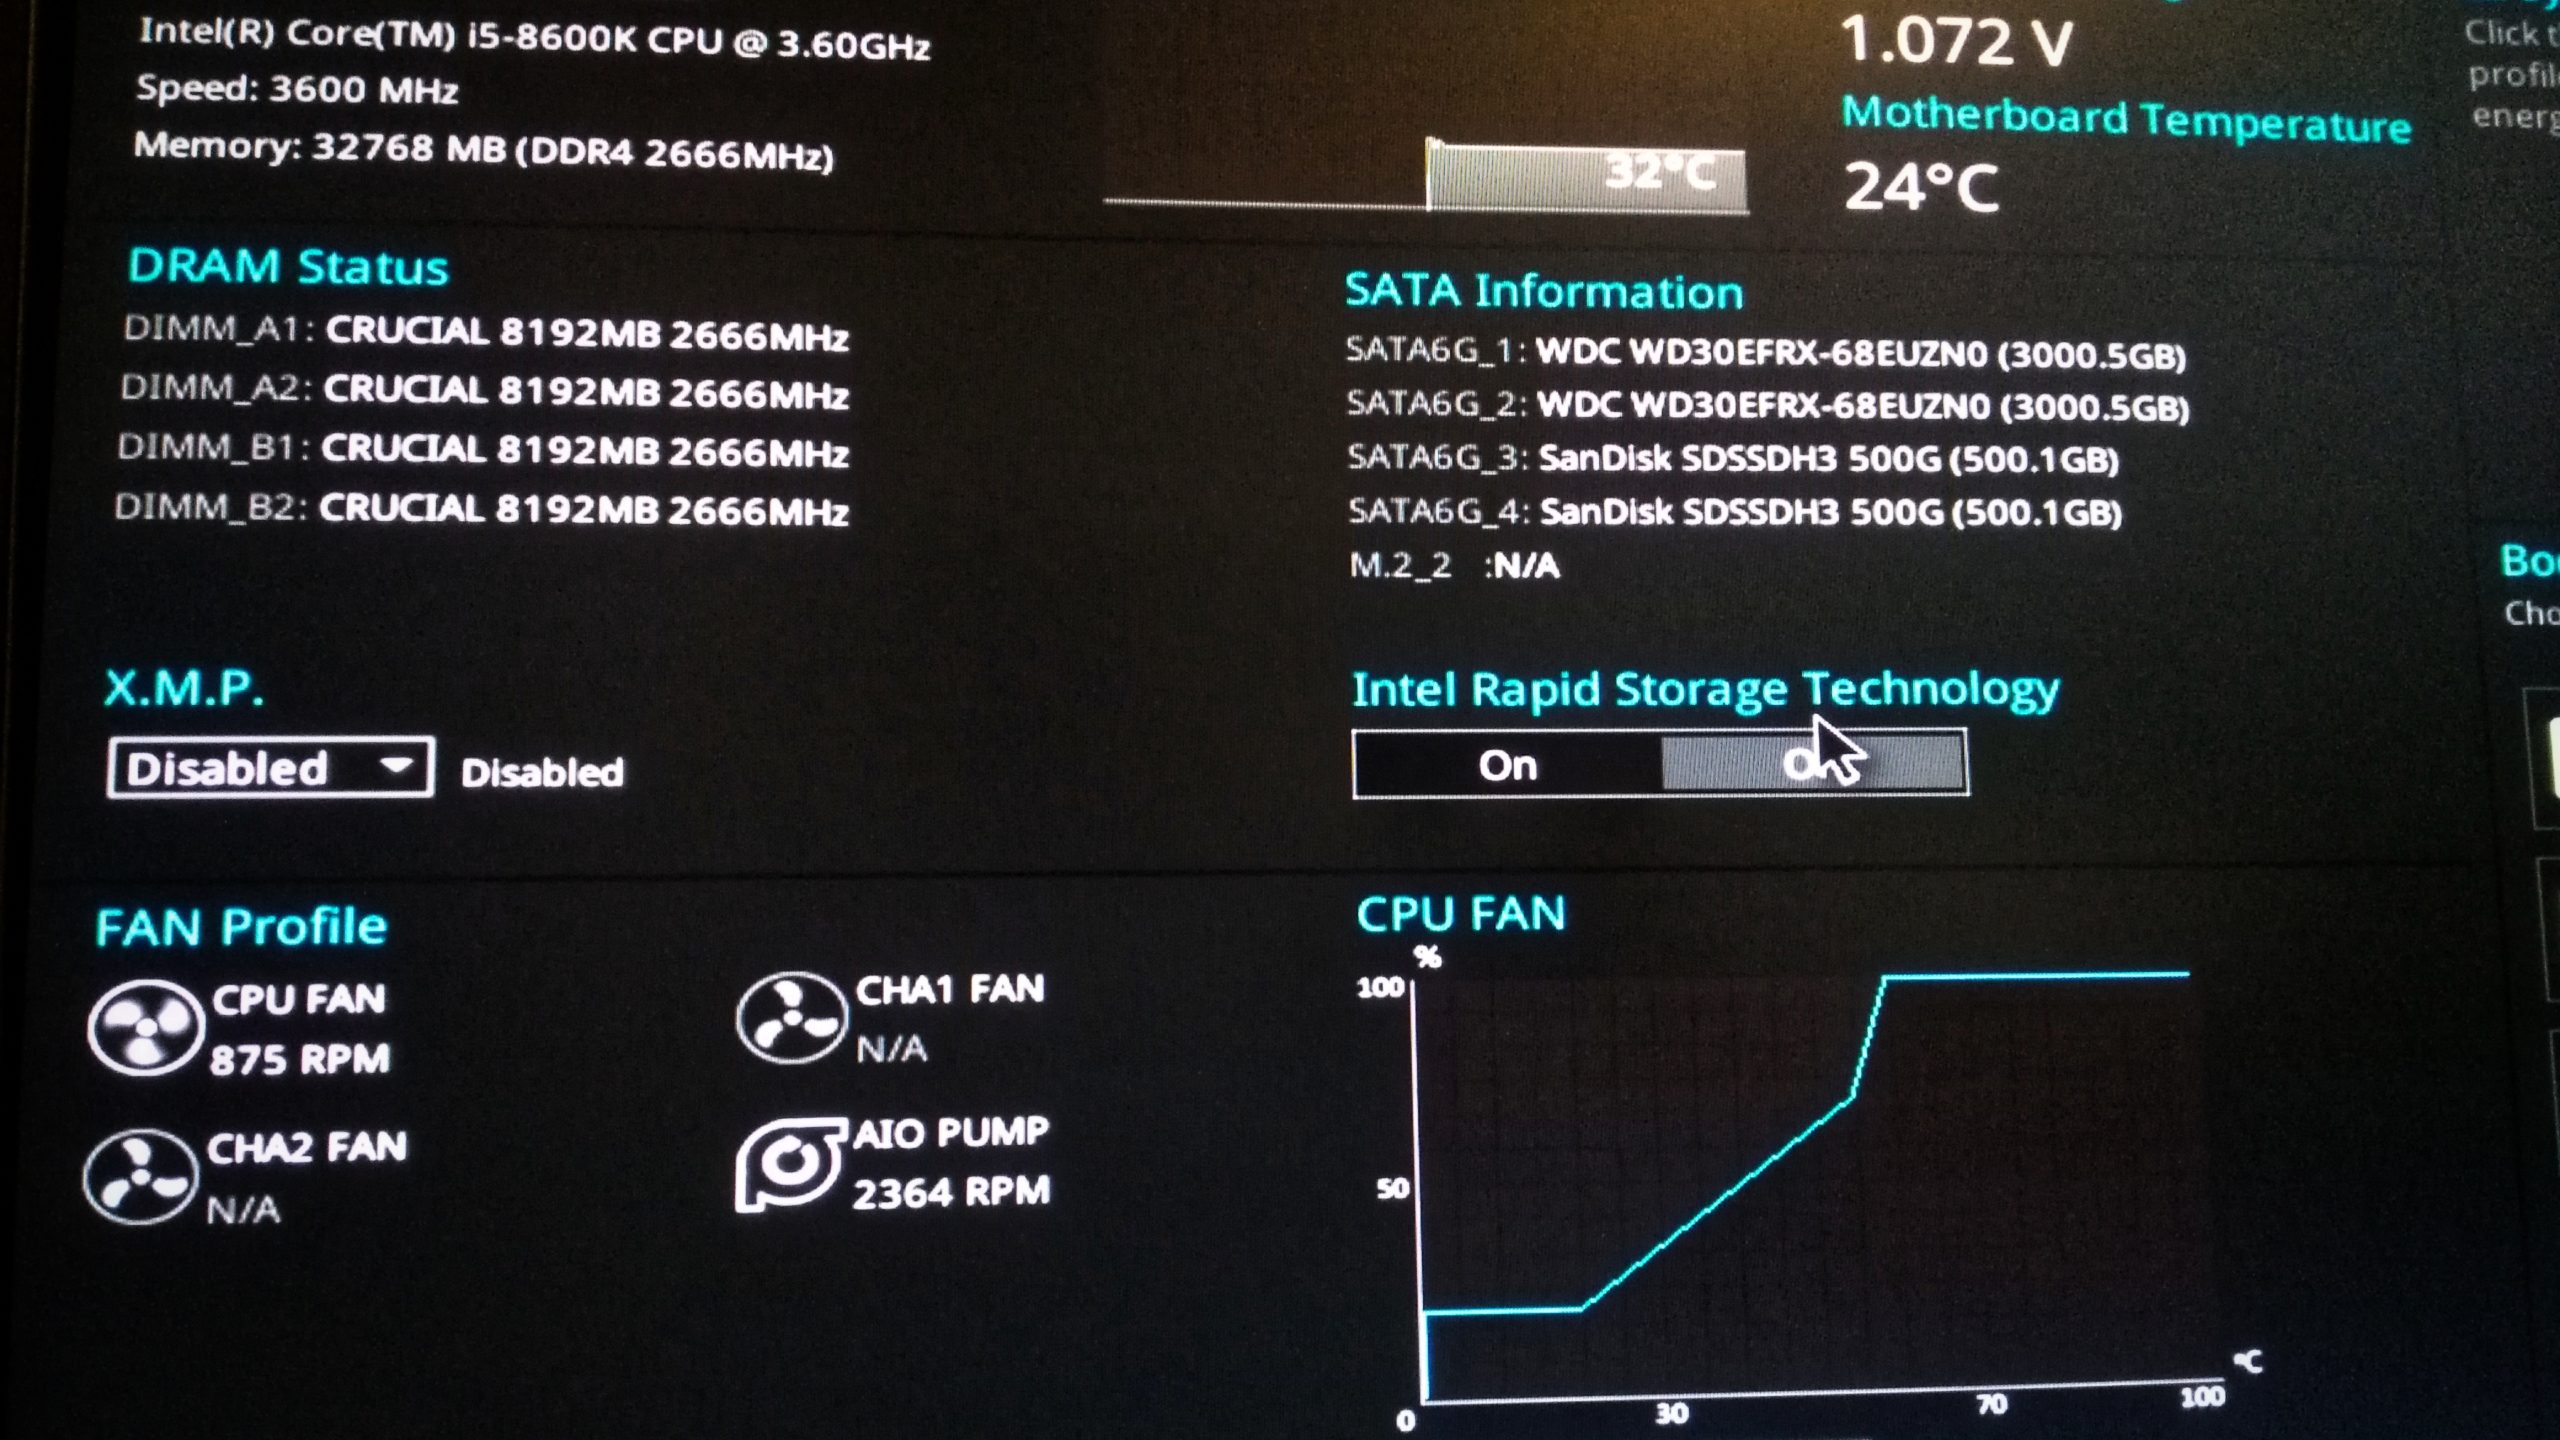
When you have a water cooled computer the last thing you want to see is a message from your CPU driver telling you that it forcefully clamps down power because this means your CPU is throttling down.
Refilling an AIO be quiet water cooling system
This may mean that there is not enough water in your cooler and the CPU starts to overheat. Time for maintenance and a refill!
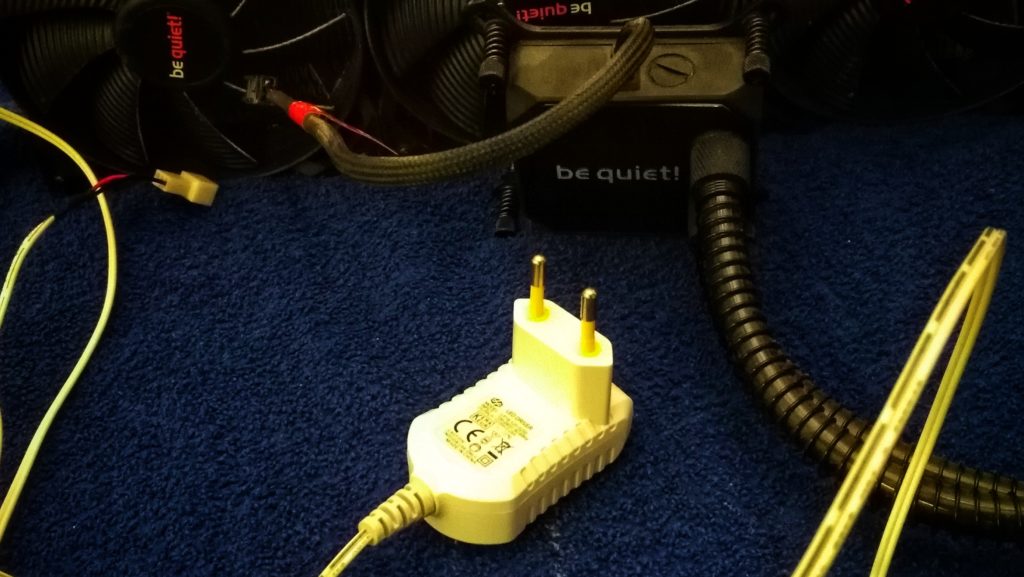
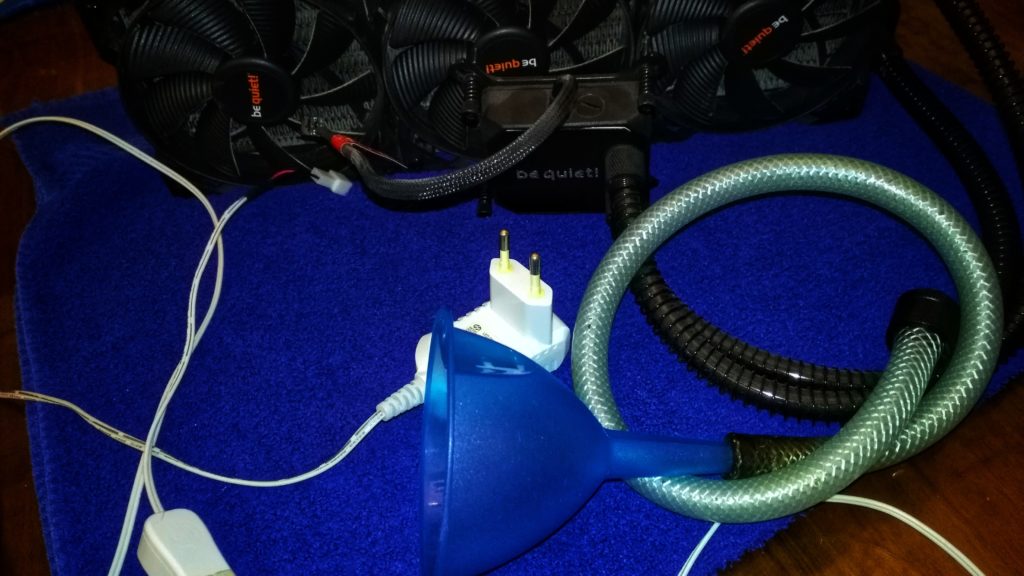
What we need for this is an external power supply or the pump, a pipe, an adapter, and some sort of filter hopper and of course water for the refill.
The pump is powered by 12V and this model should not be undervolted. Seriously, this one will break when undervolted. 12V is basically what an Ikea LED lights strip power supply will provide. You can also use another PC power supply but this is what I have anyway for a fan providing fresh air for my office.
The hose I used for the pipe is a used DN9 RAUFILAM-E from REHAU that I found in the barn. It costs about ~1 EUR per meter but you can of course buy a “special” hose from your usual PC parts mafia for 10 EUR per meter.
Distilled water should be fine. You can also purchase whatever overpriced holy water you may prefer. I won’t care.
I spare you the details how to remove the water cooler, because I assume you assembled it before and if not there are plenty of other tutorials on the net.
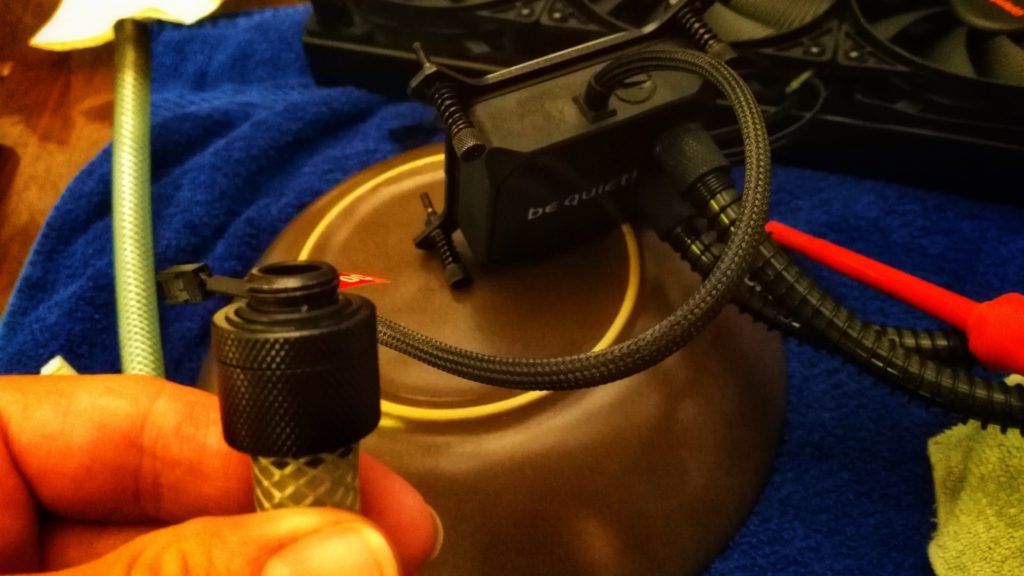
This pump was completely dry after opening the lid with a screw driver. I prepared this contraption held in place with a wire attached to the chandelier. So don’t do this at home. Now I started the pump and added water to the pipe until the pipe was filled.
Now is the time to move and shake the radiator to get all the air out. Do not shake the pump! This takes some time. You’re done when no more bubbles appear.
Don’t forget the seal and screw in the lid while there is still water standing in the hole. Do not use force on the lid, because it breaks easily.
Make sure everything is clean and tidy (and dry) in the end because you don’t want water in your PC. This also helps to see any leaks that may spring. Don’t forget the heat sink compound later or this will be a very short adventure.
When done let the pump run for a little bit to see if any water leaks out.
When everything is assembled again make sure to run a load test and see if any leak springs.
And this is it. The system is able to hold 32°C again where it was hardly able to hold 80°C before.
And as usual, if you break your system you get to keep the pieces.
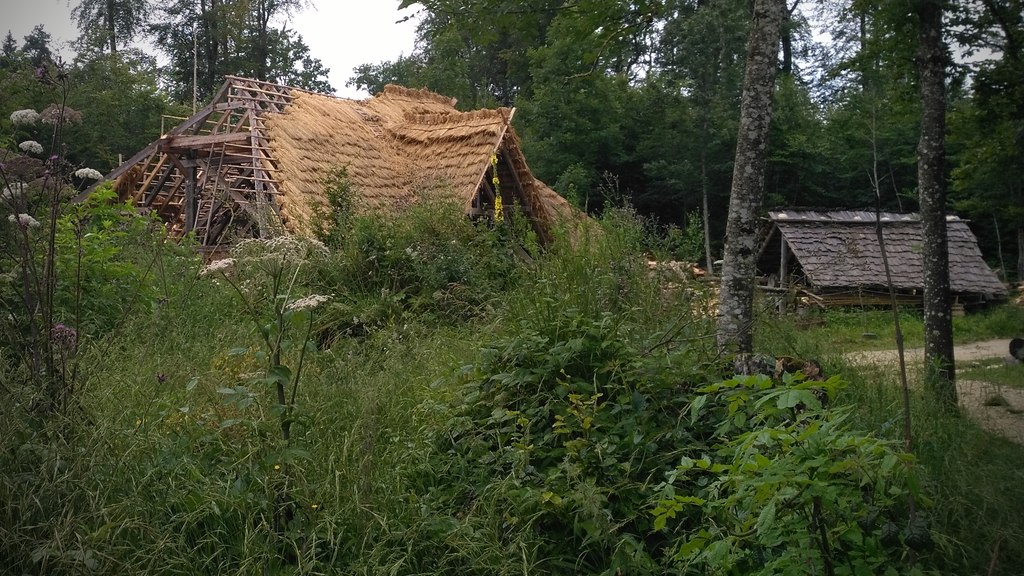
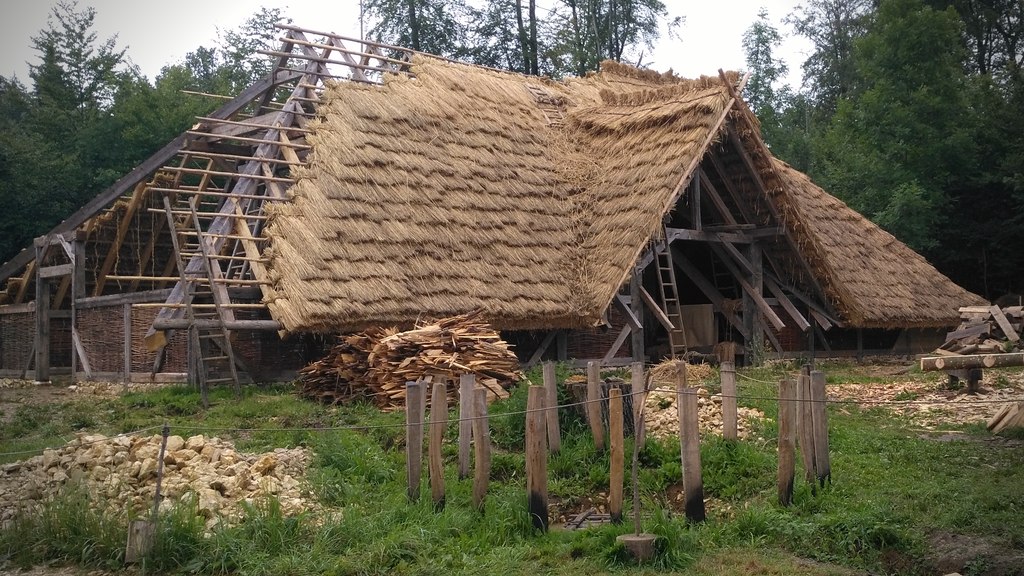
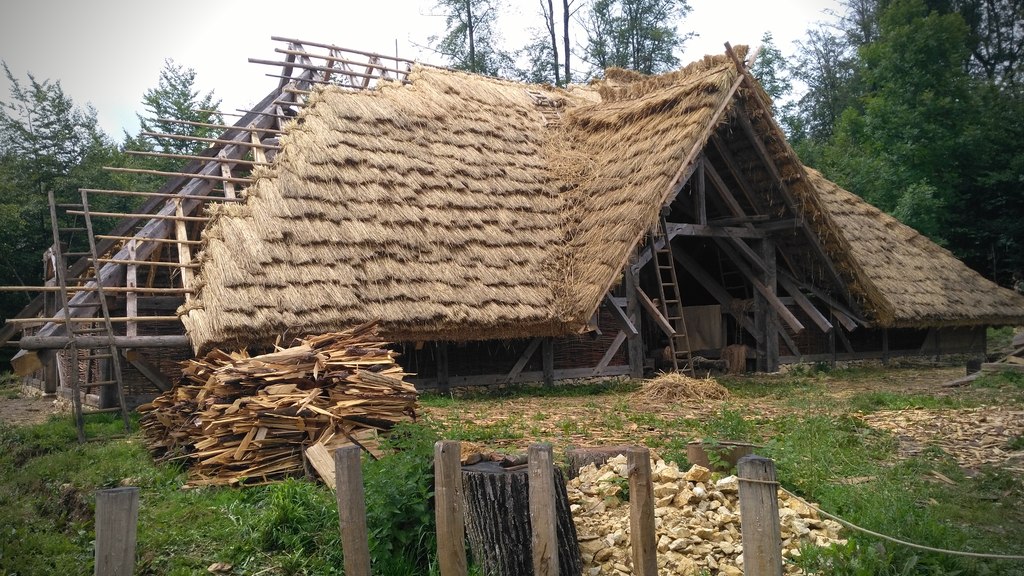
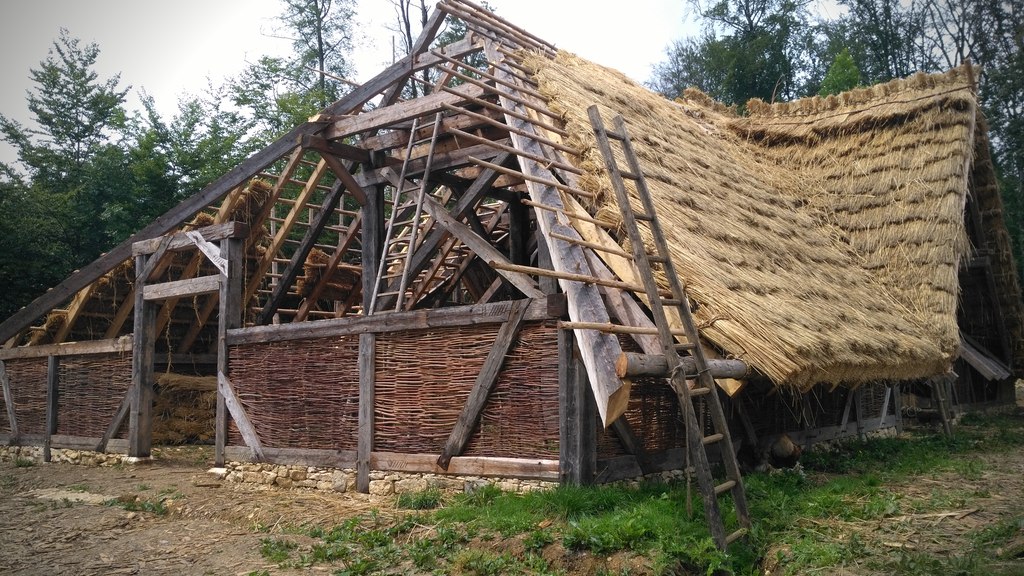
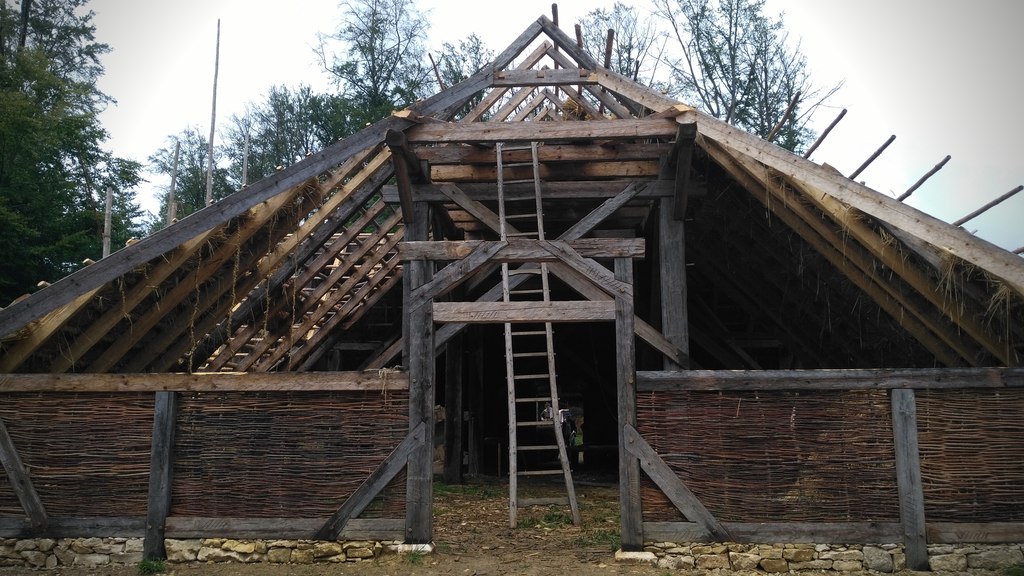
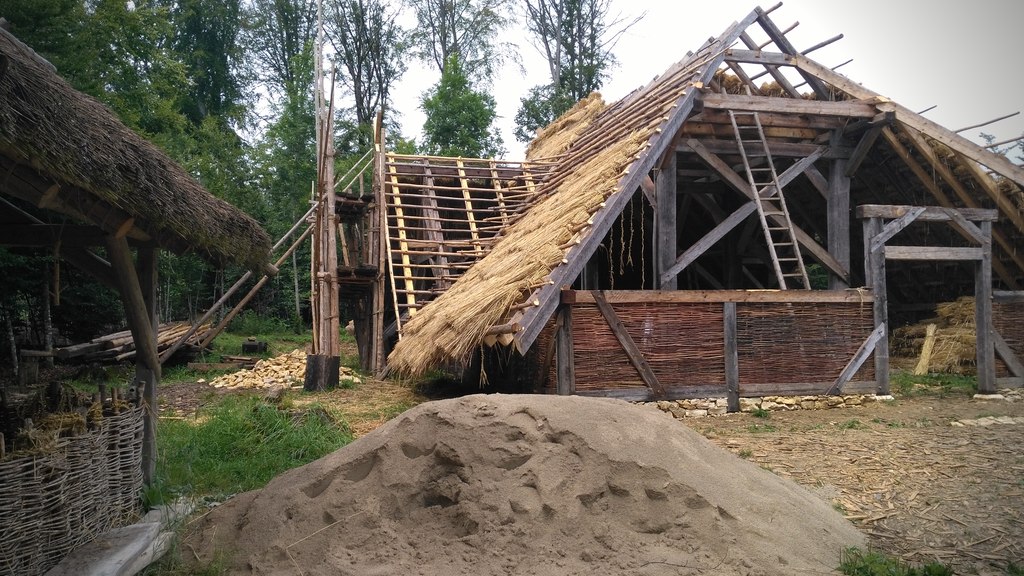
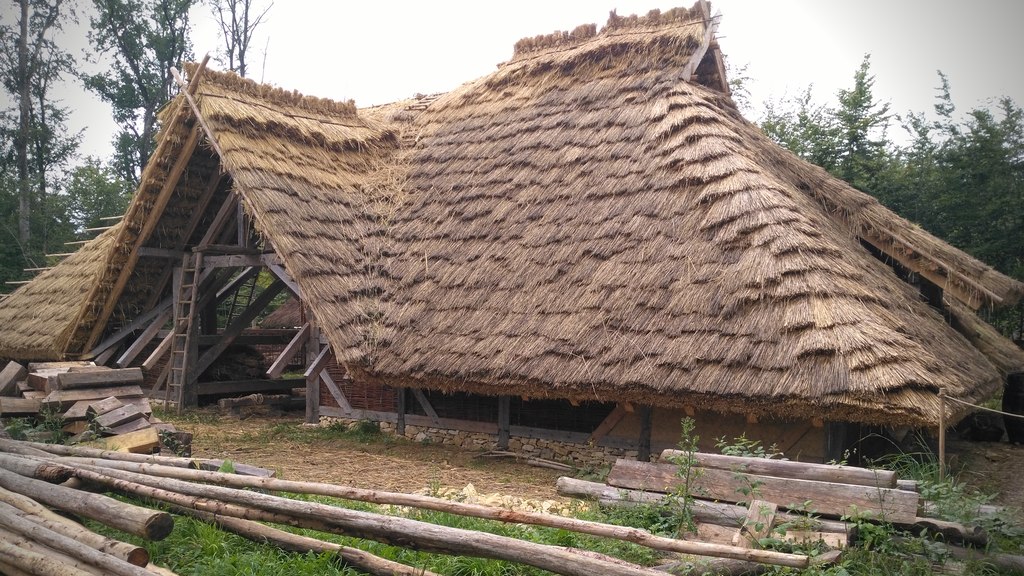
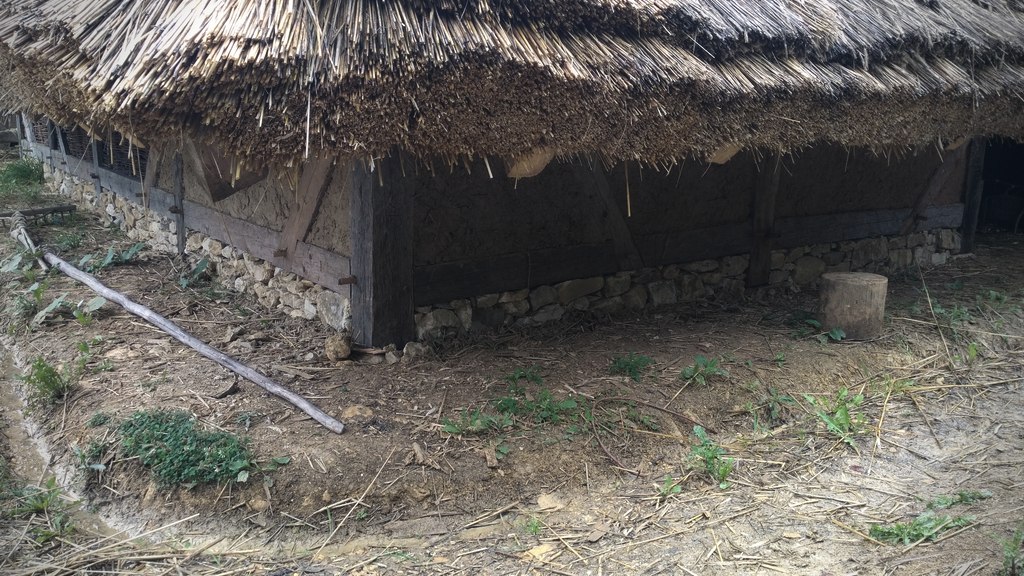
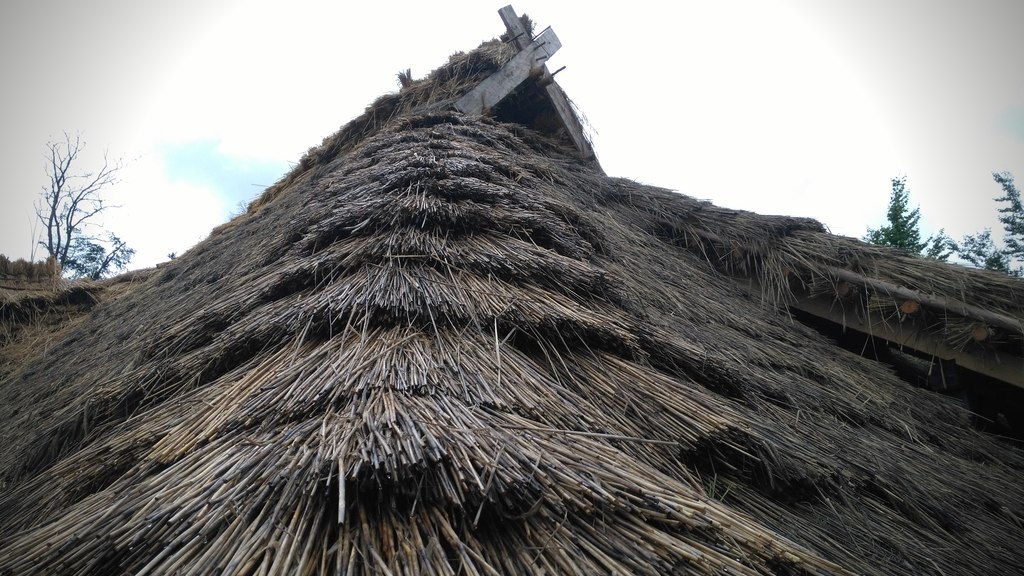
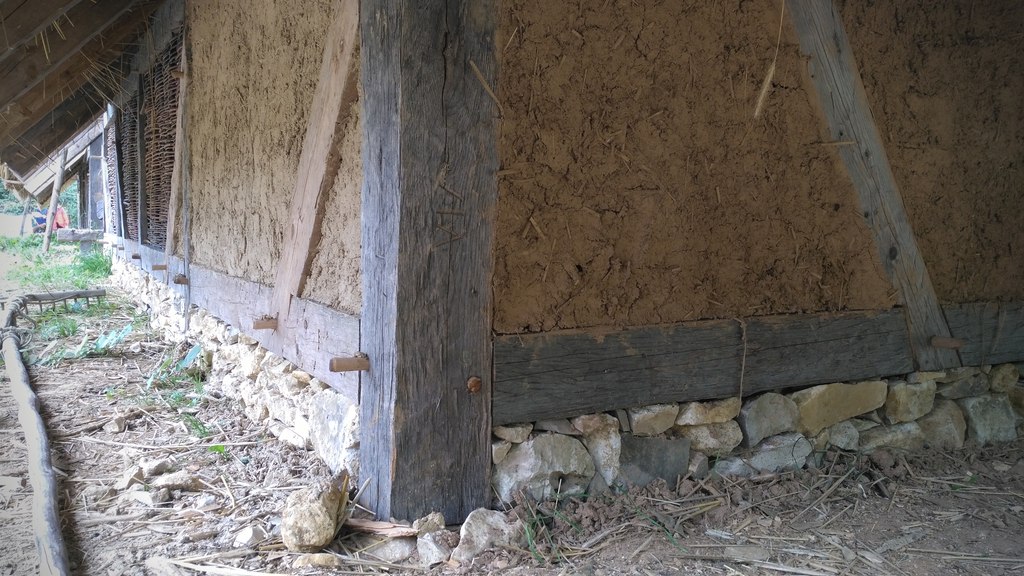
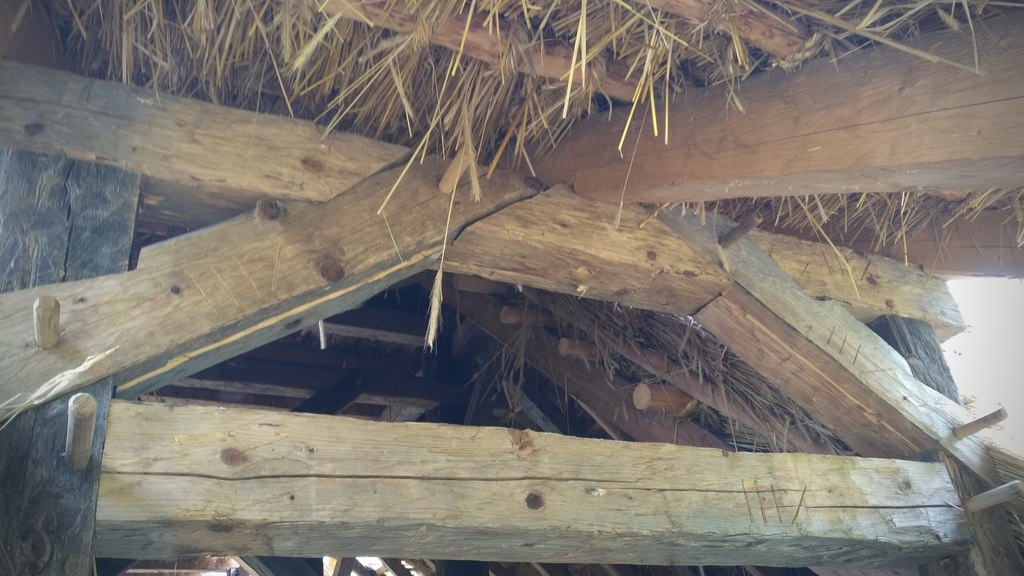
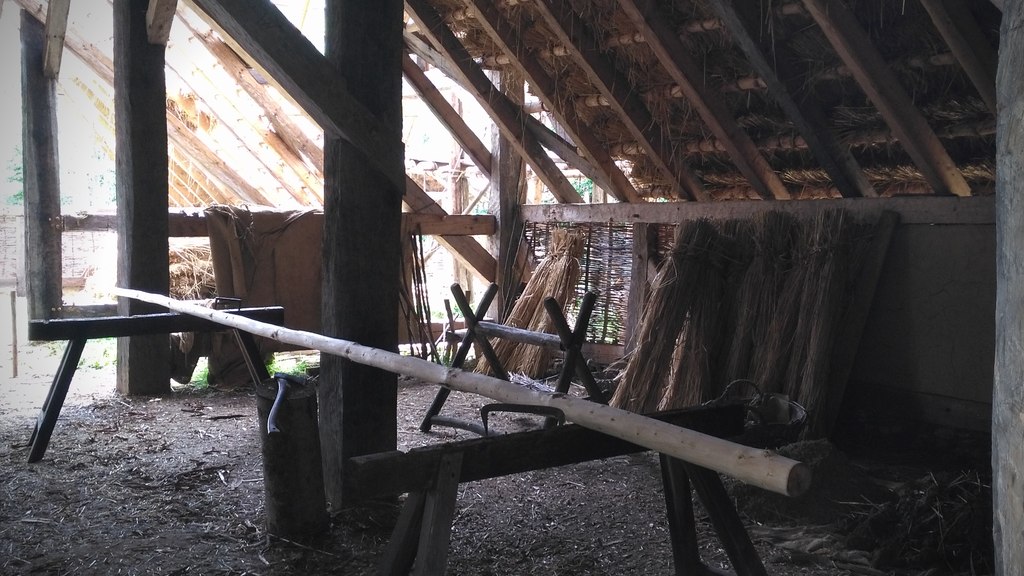
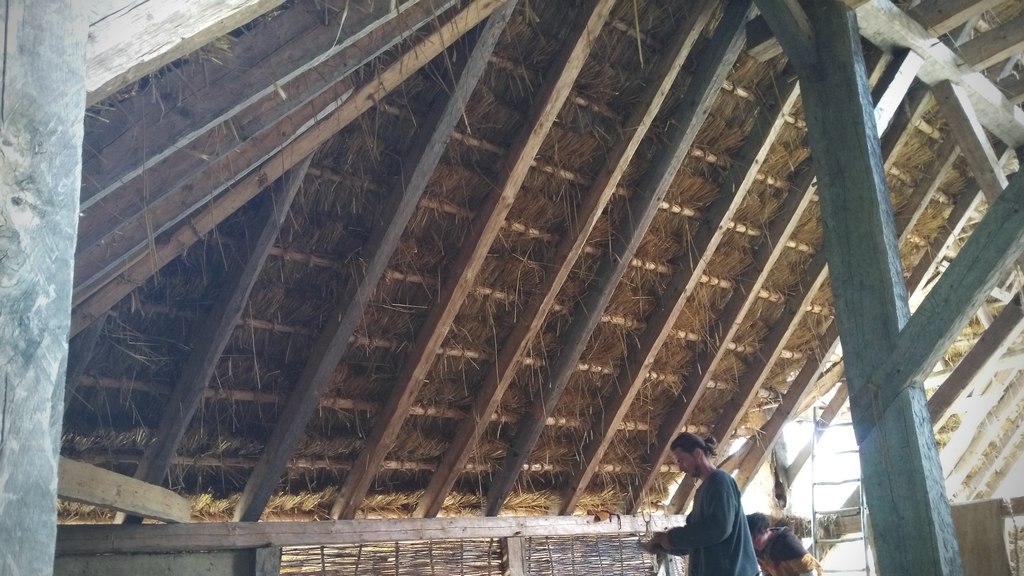
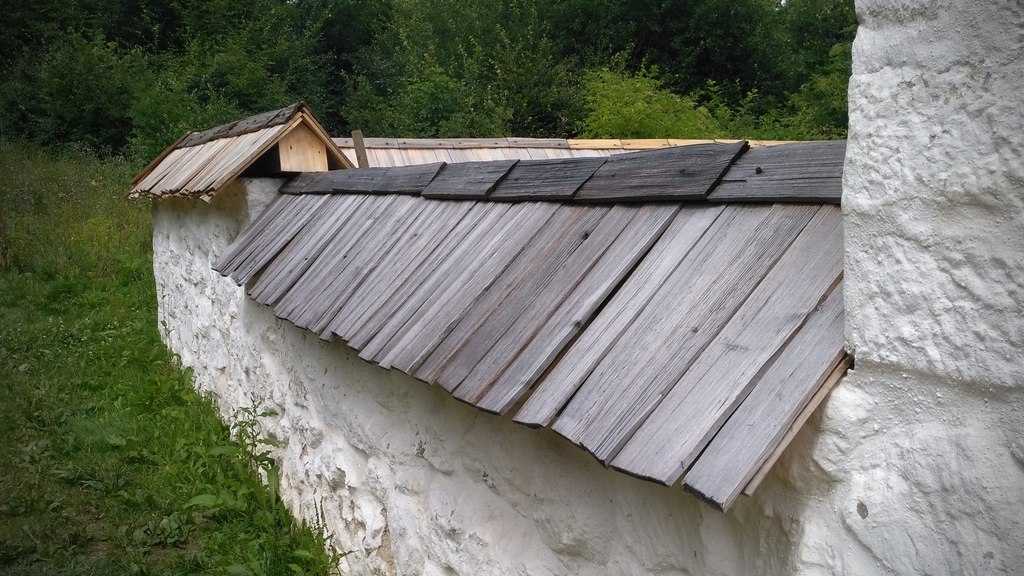
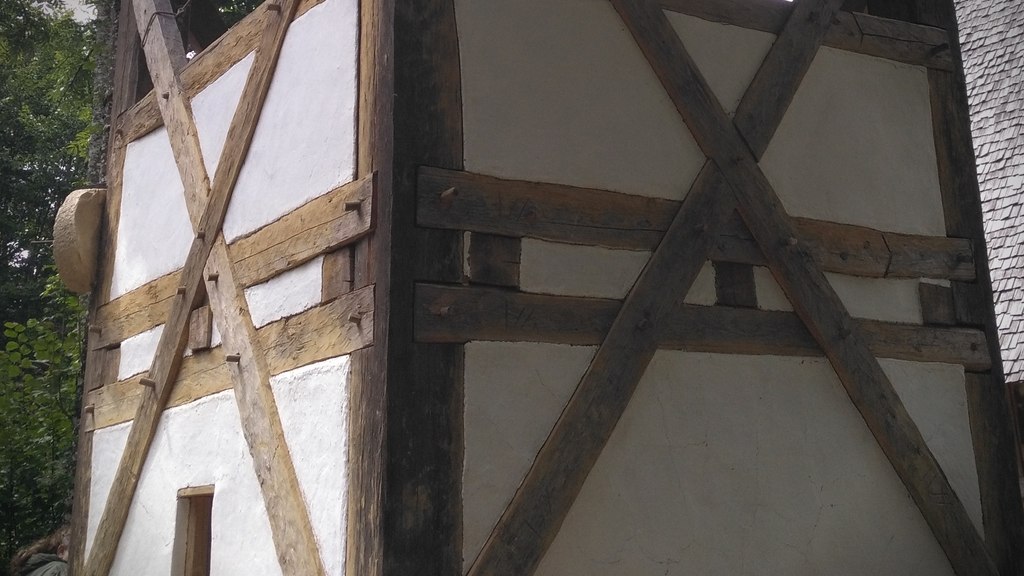
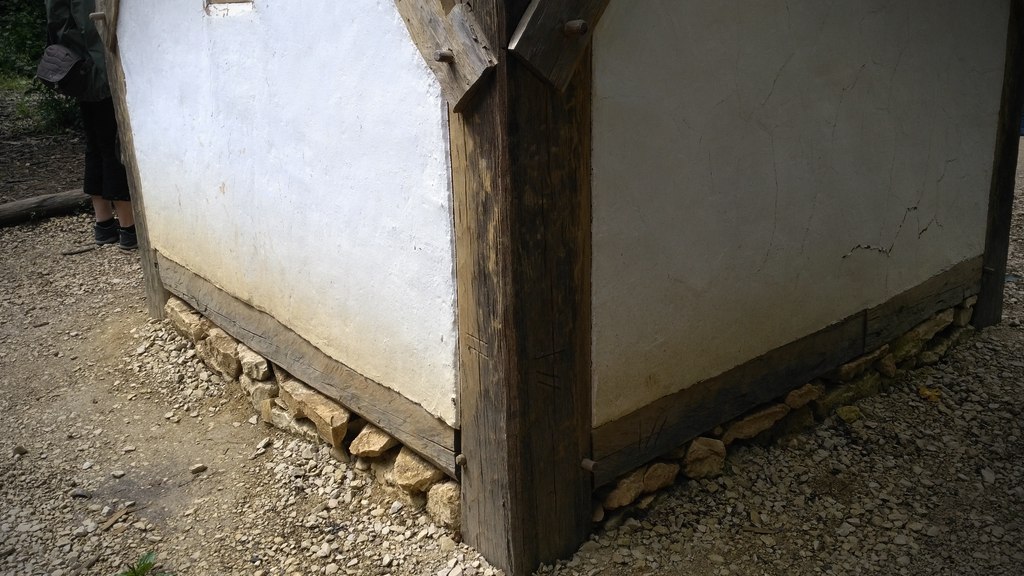
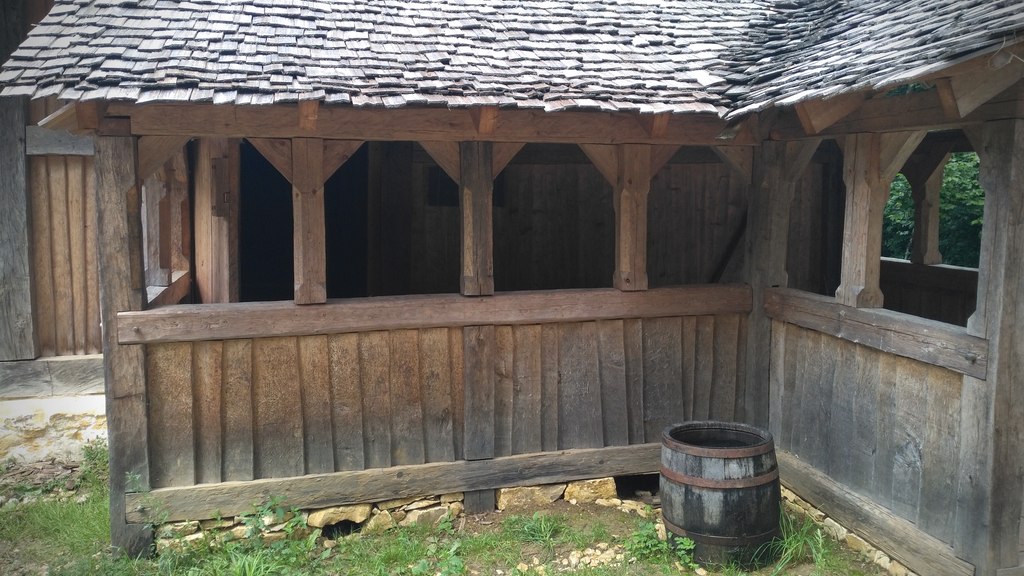
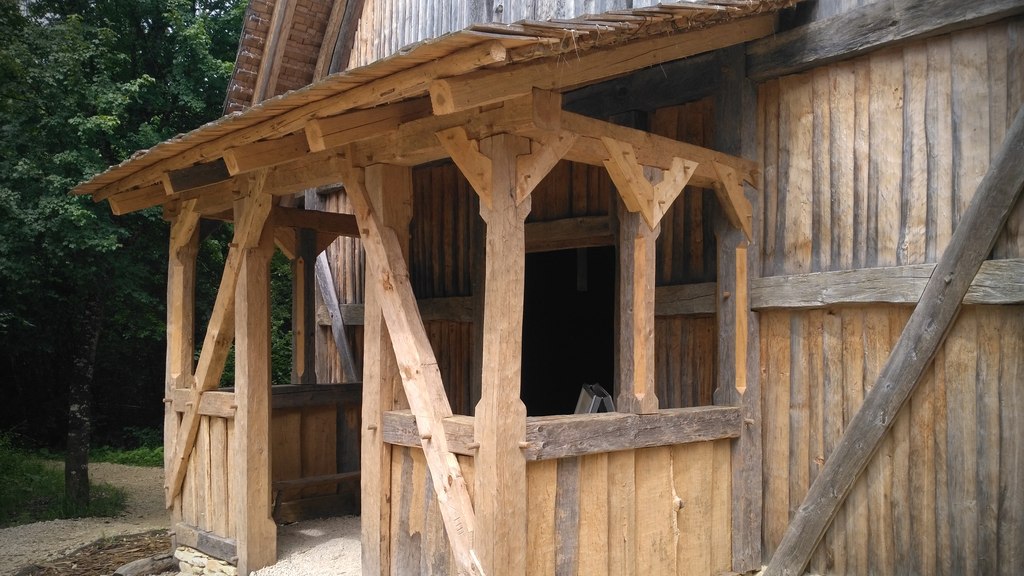
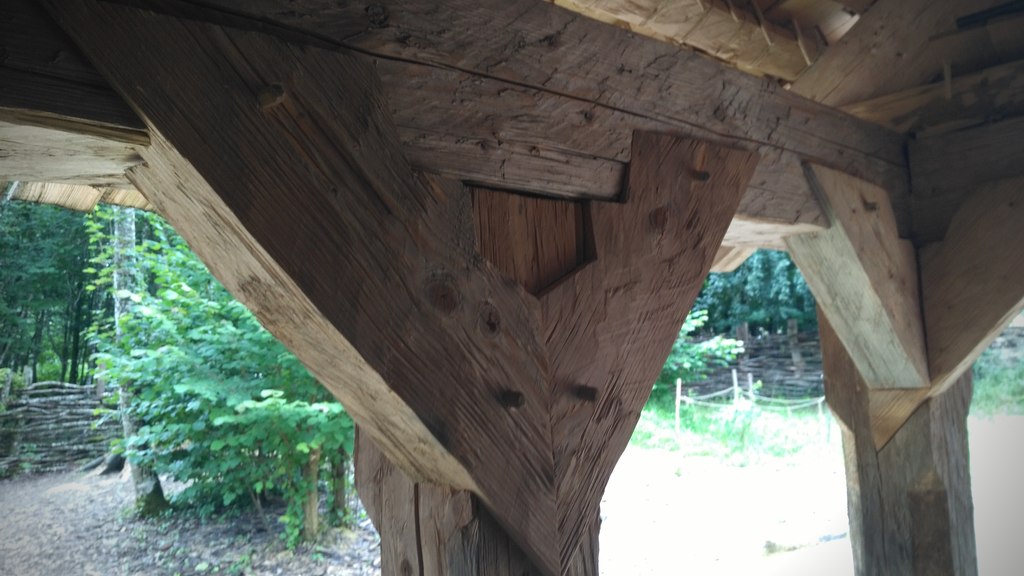
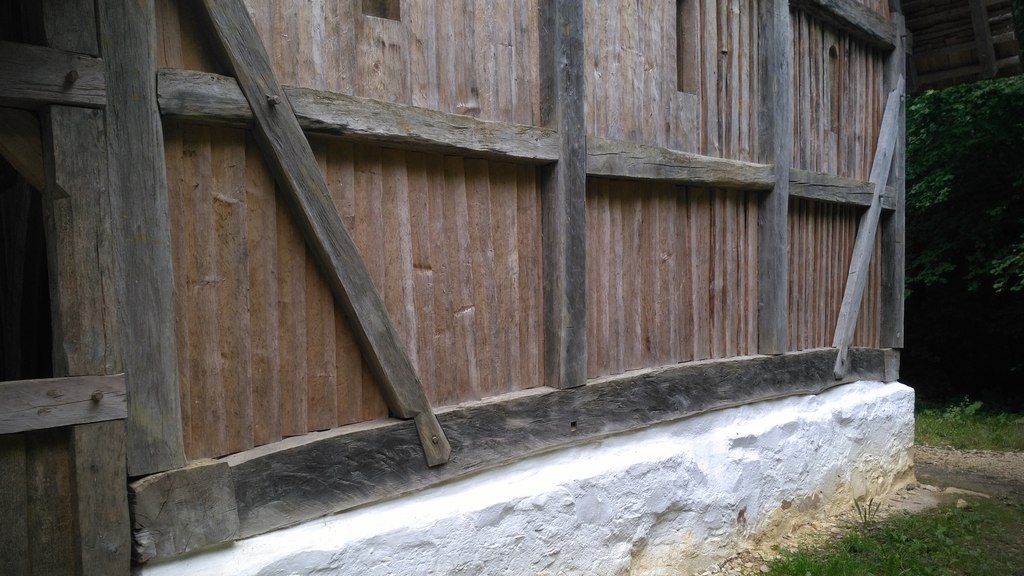
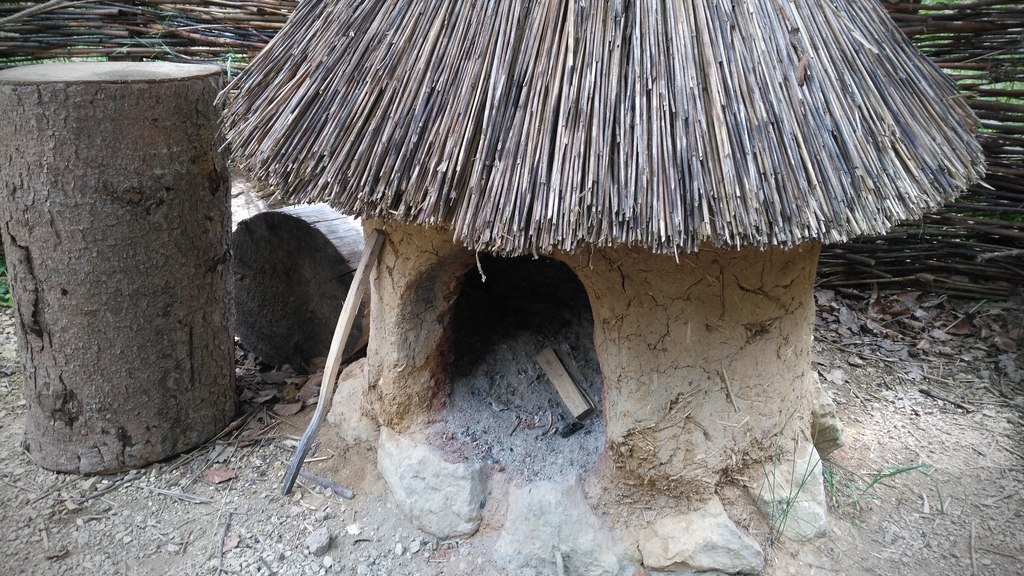
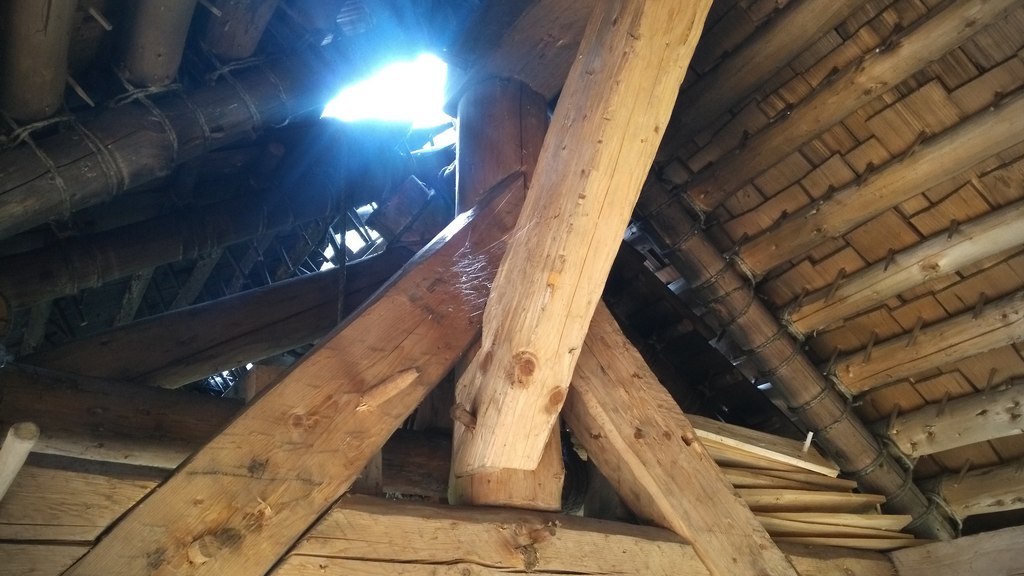
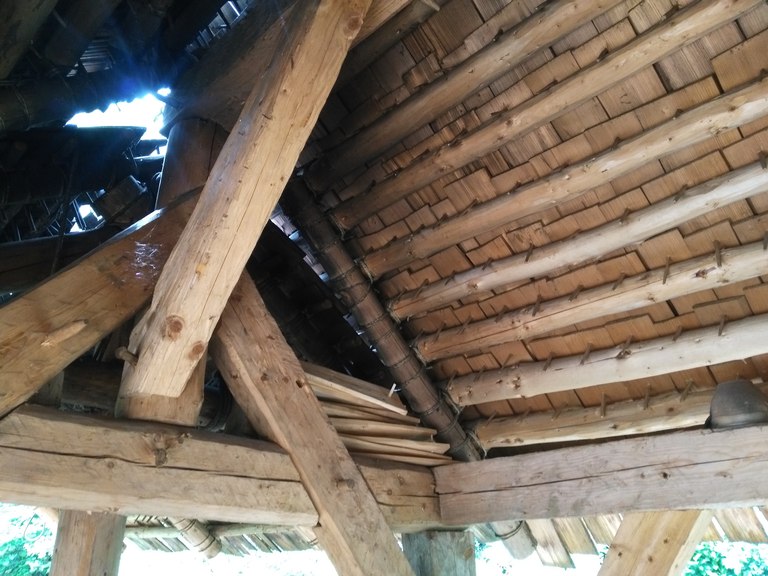
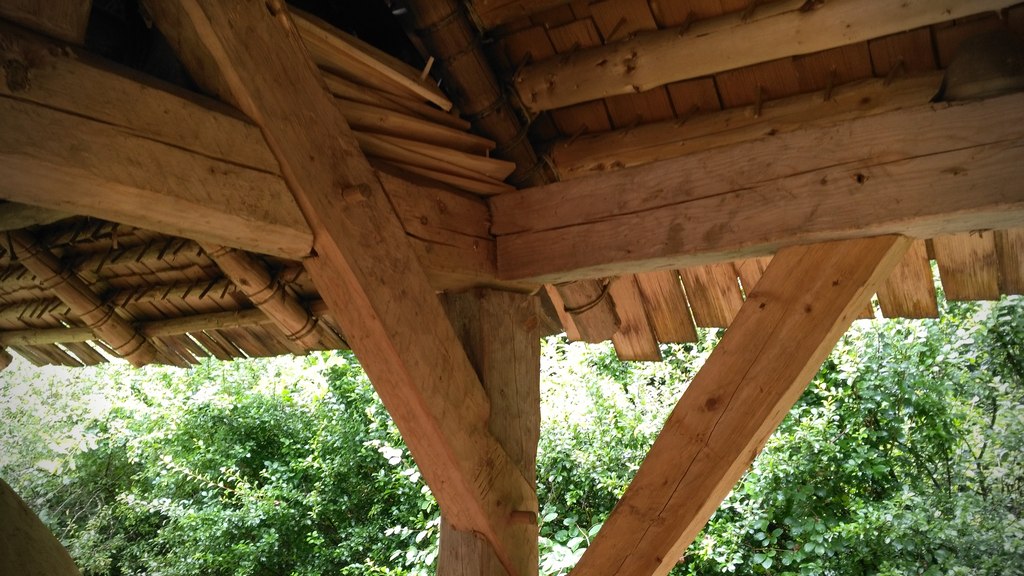
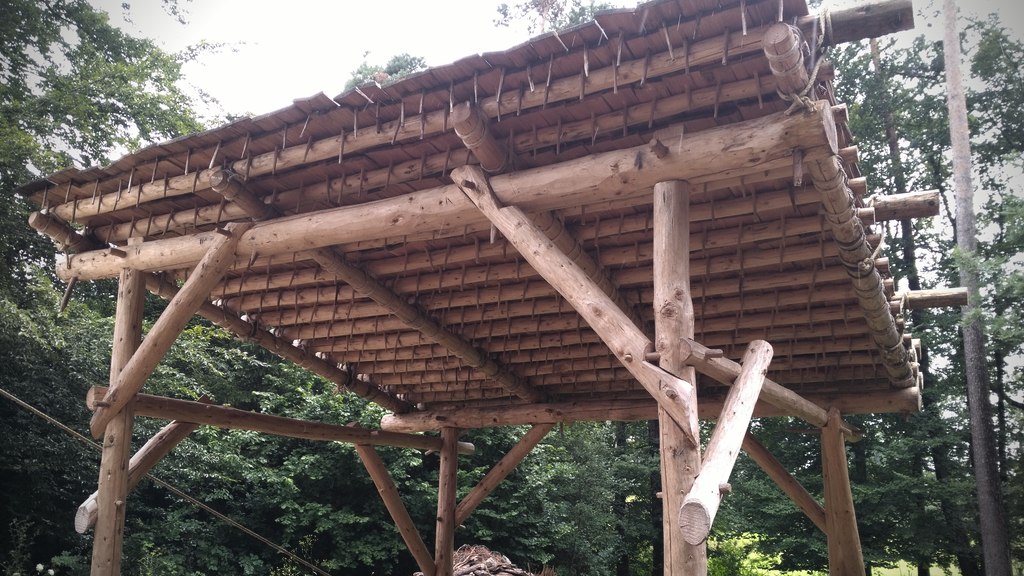
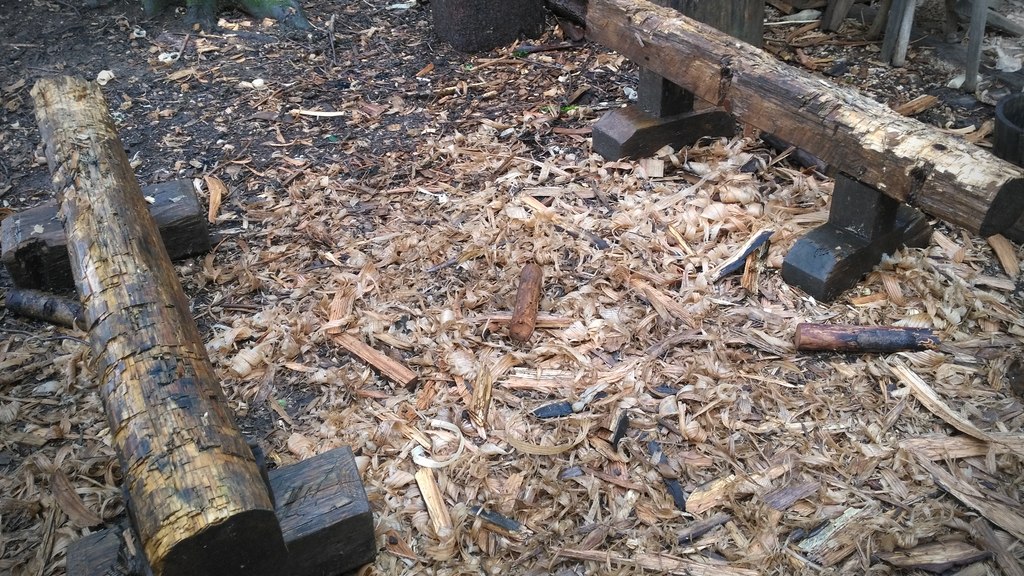
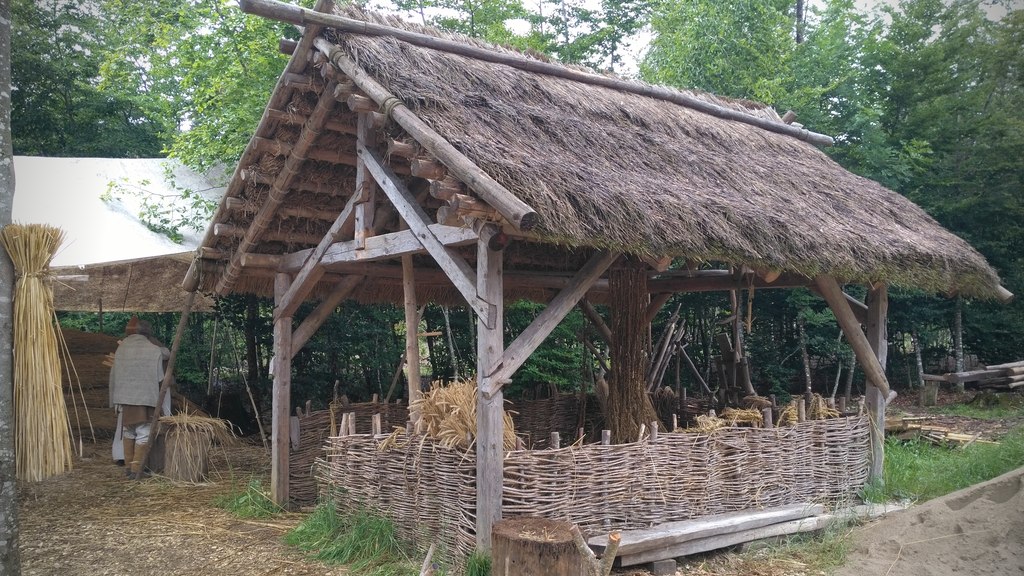
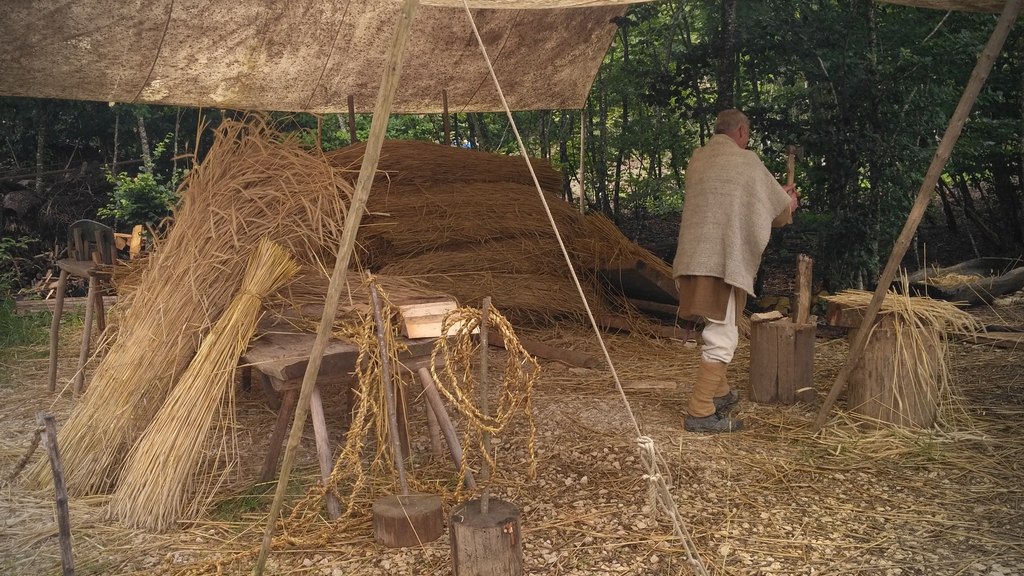
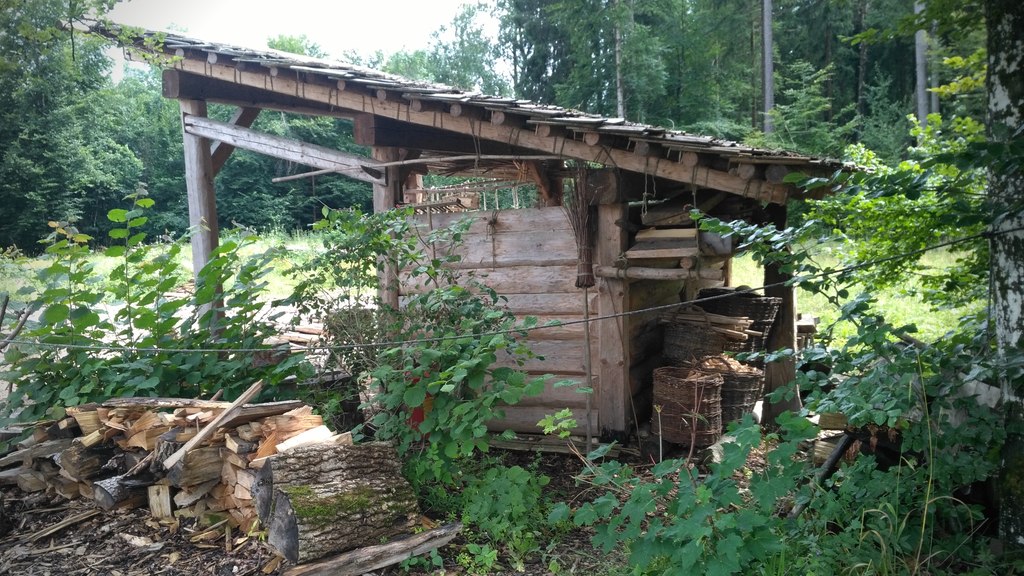
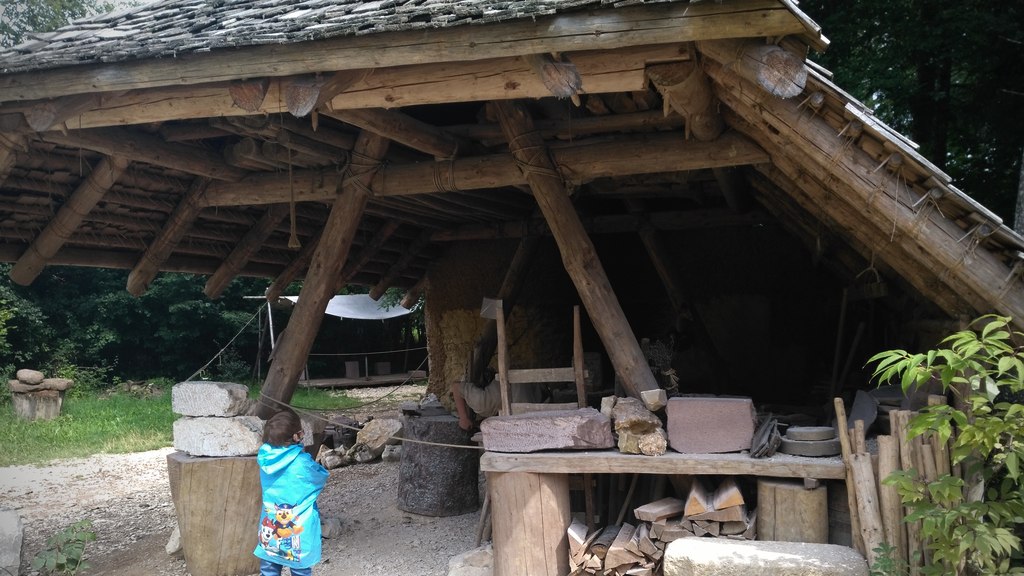
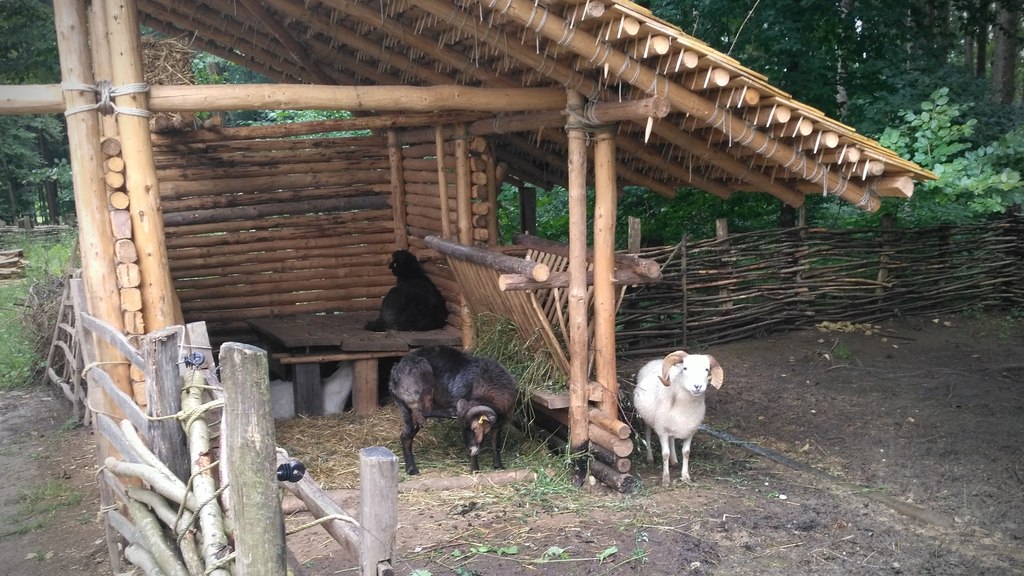
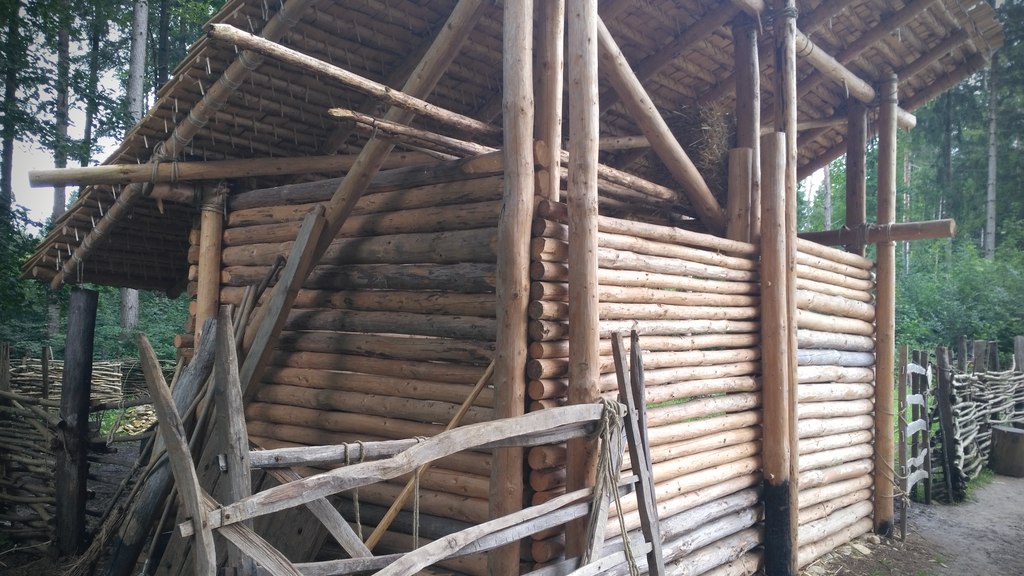
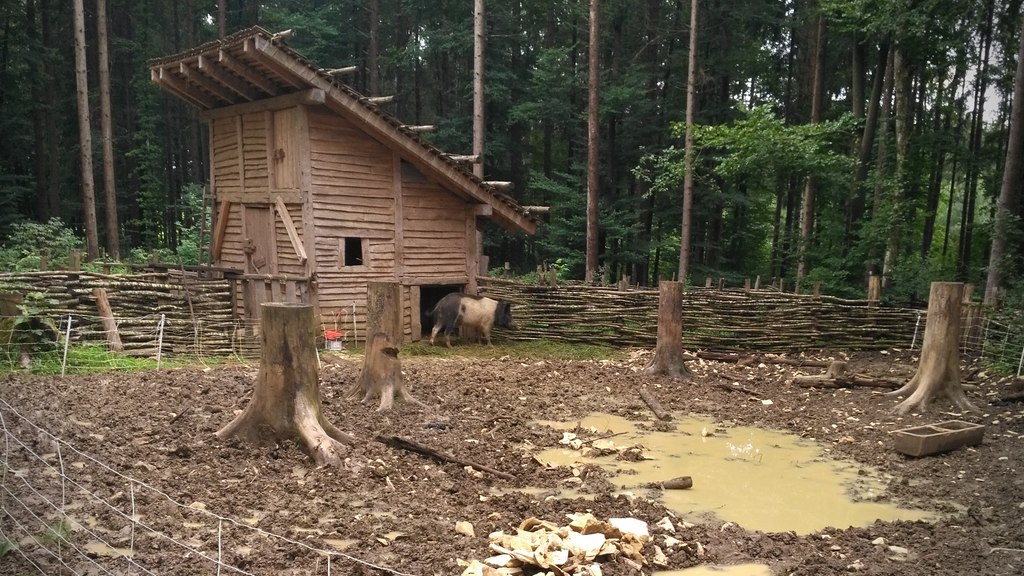
Re-Visited Campus Galli in 88605 Meßkirch / Germany mostly for the new barn that is almost finished by now. My last visit was in 2019 so it was really time to see how much changed (despite the gorram pandemic). This time I took so many pictures that my battery drained.
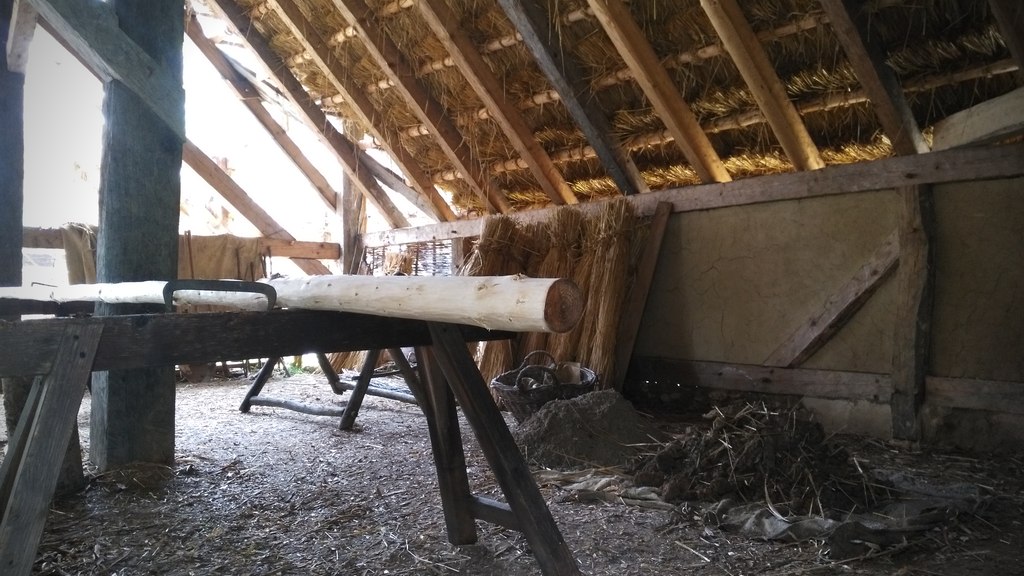
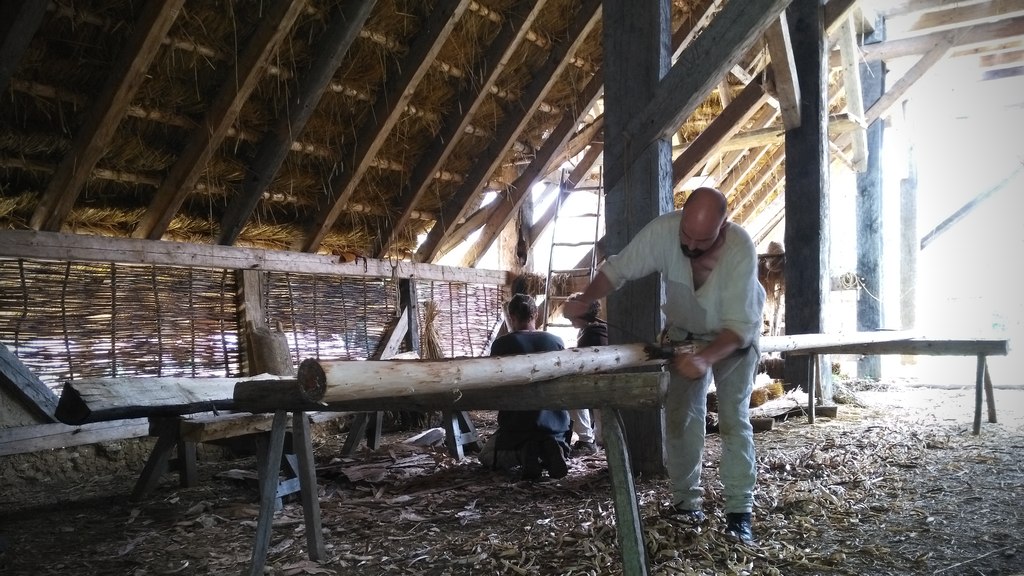
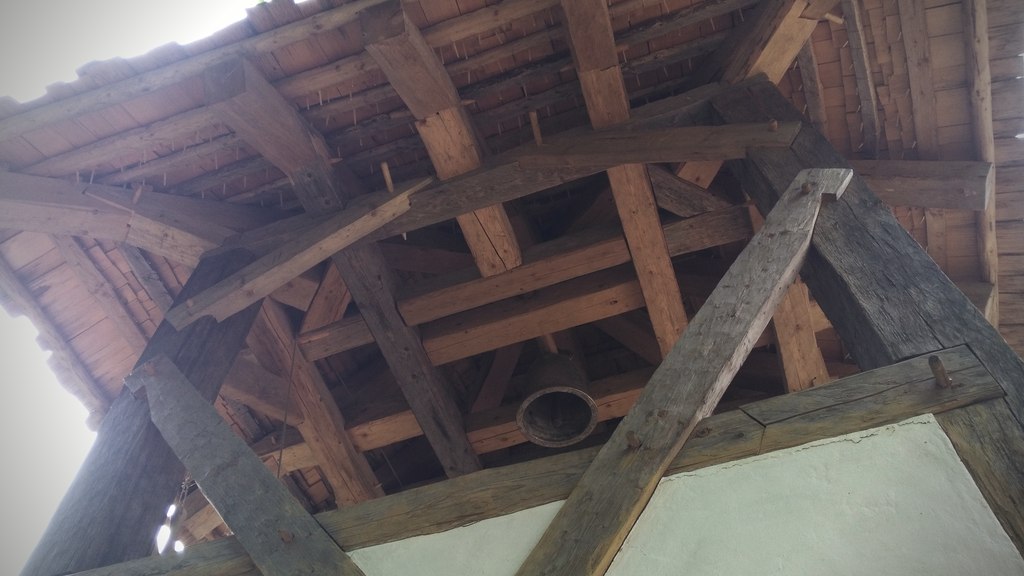
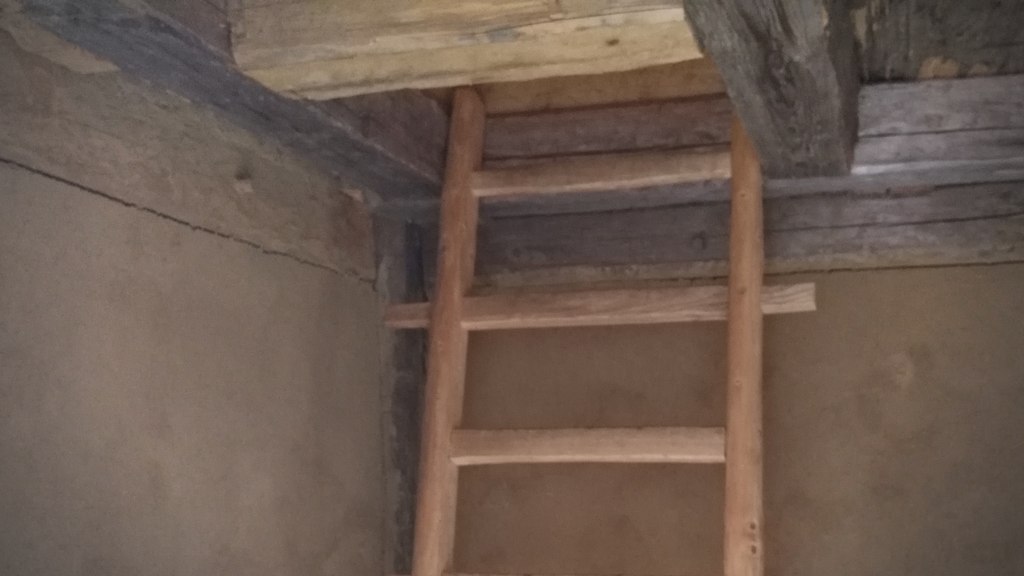
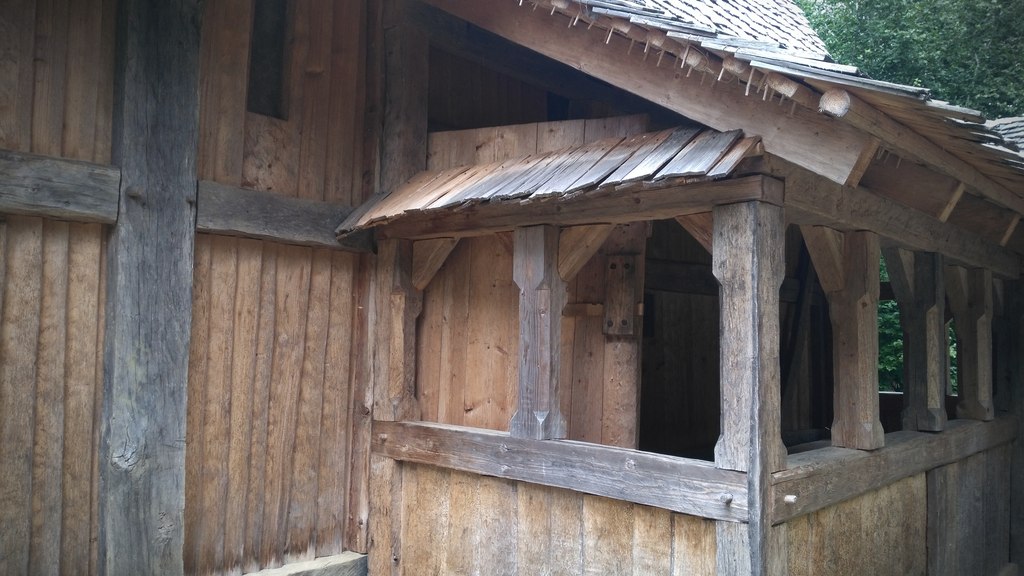
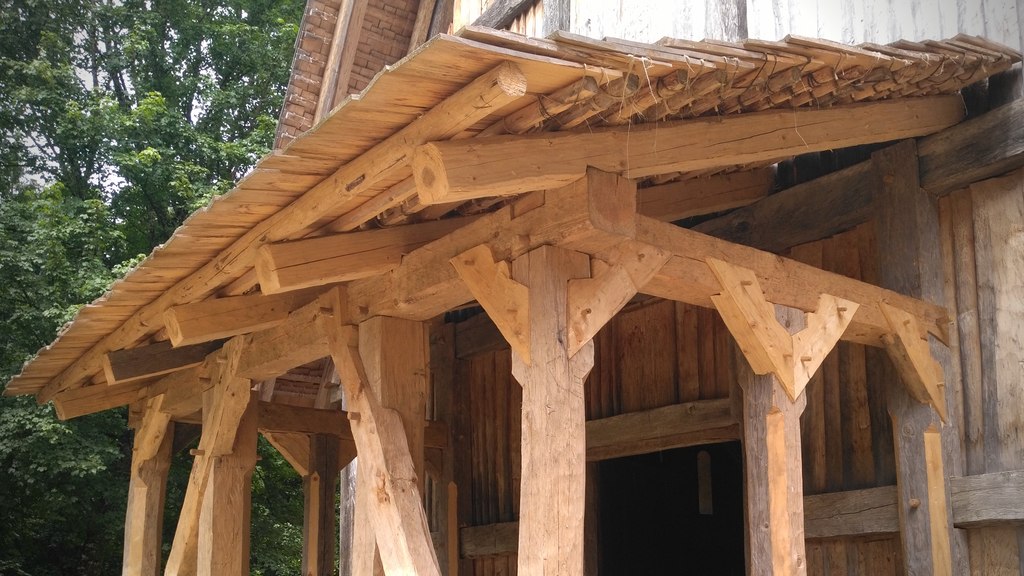
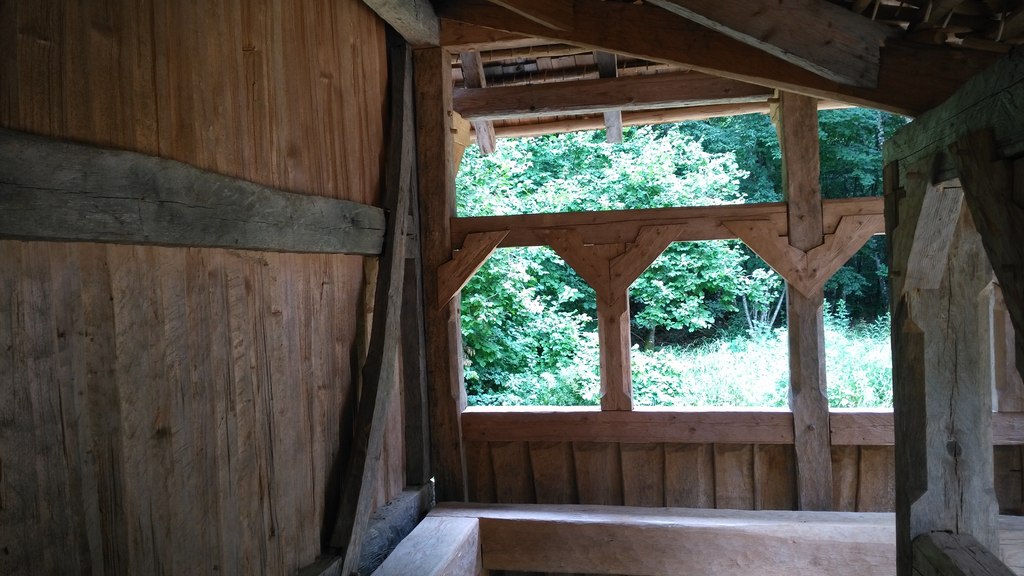
Visitors aren’t allowed inside of the barn yet since it will be under construction until the end of the month. That was perfectly fine for me because catching the impression of the almost finished building is what I was after:
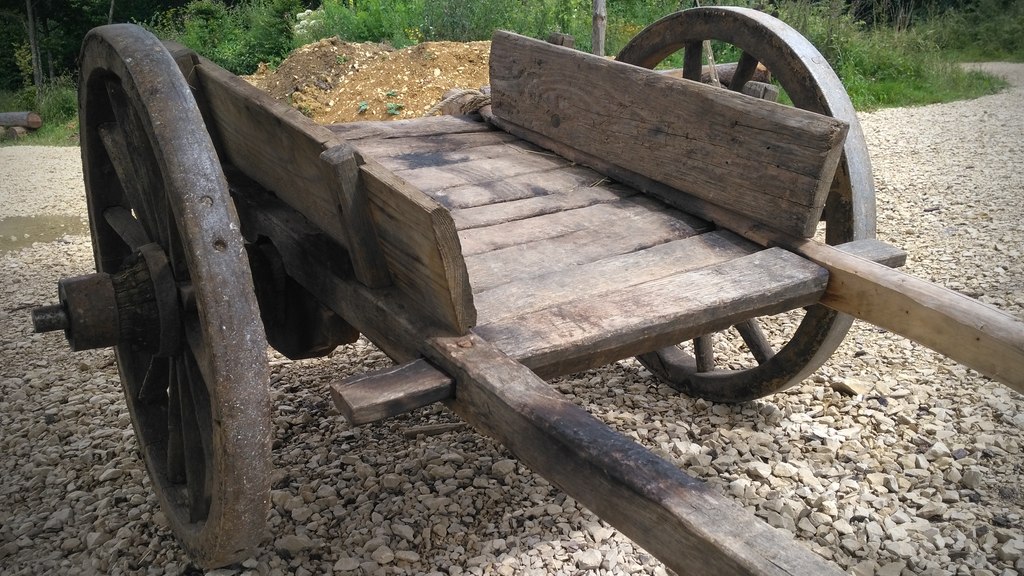
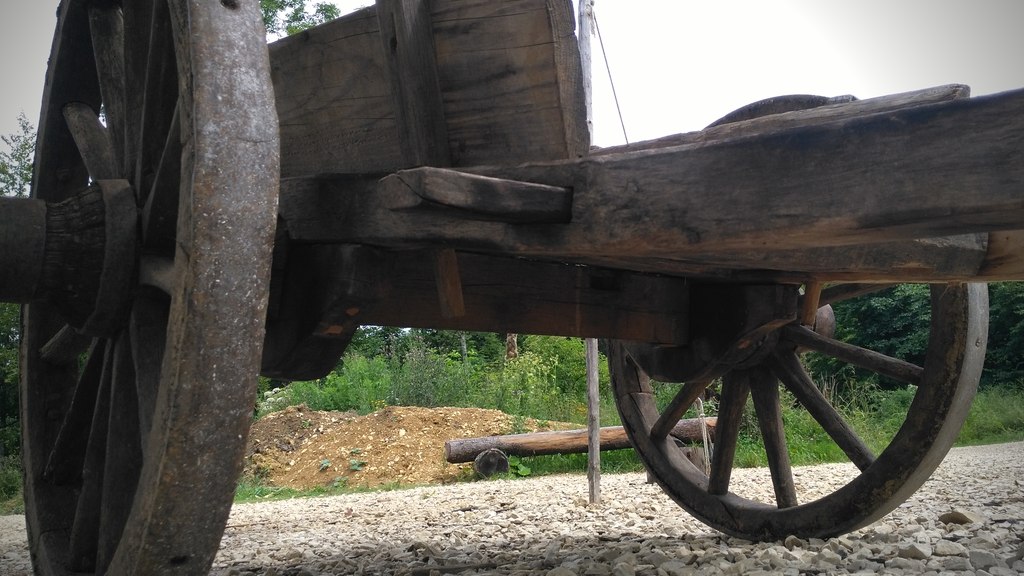
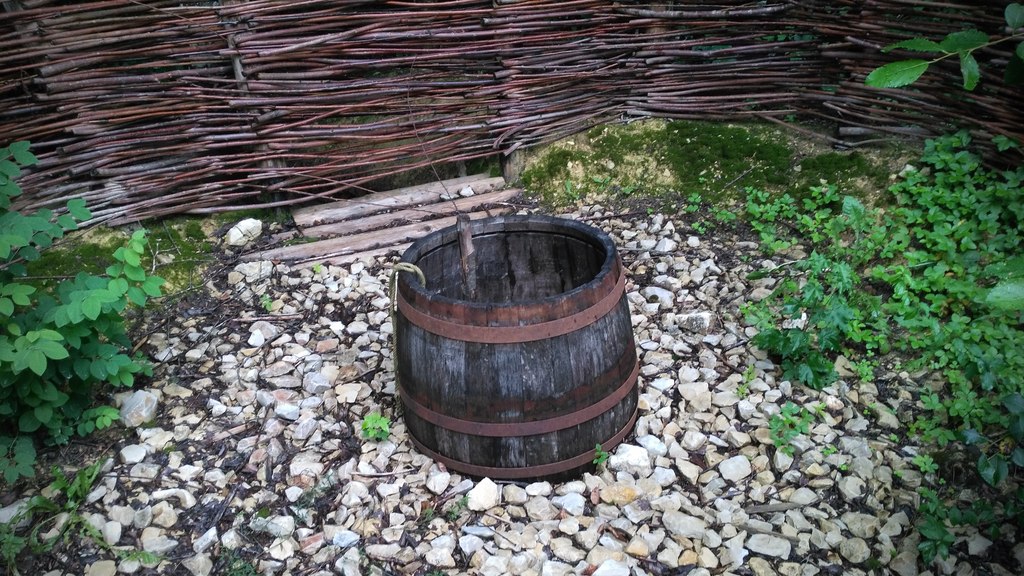
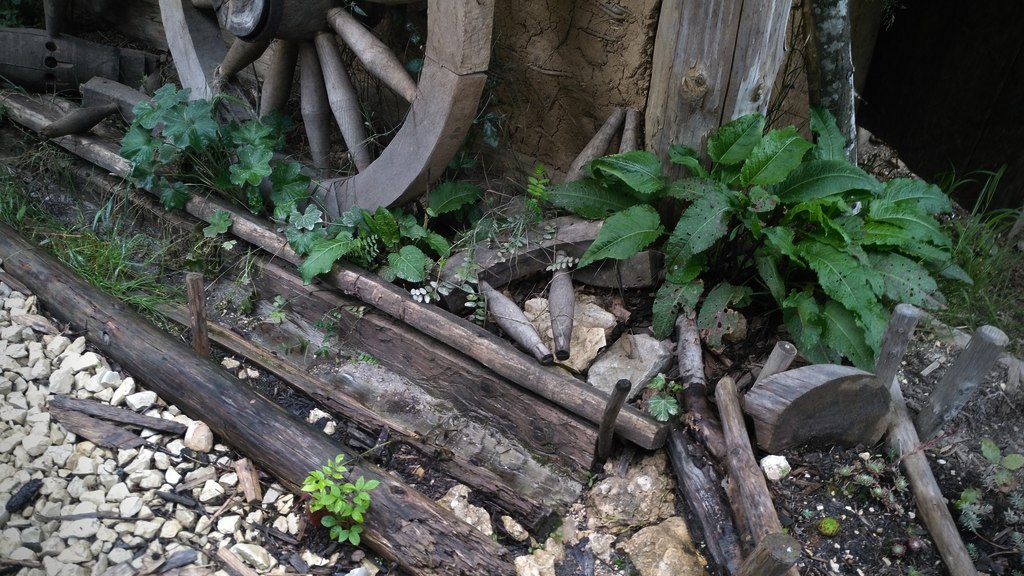
This cart also catched my attention so I checked it out closer. Spoiler: It doesn’t come with free rust proofer:
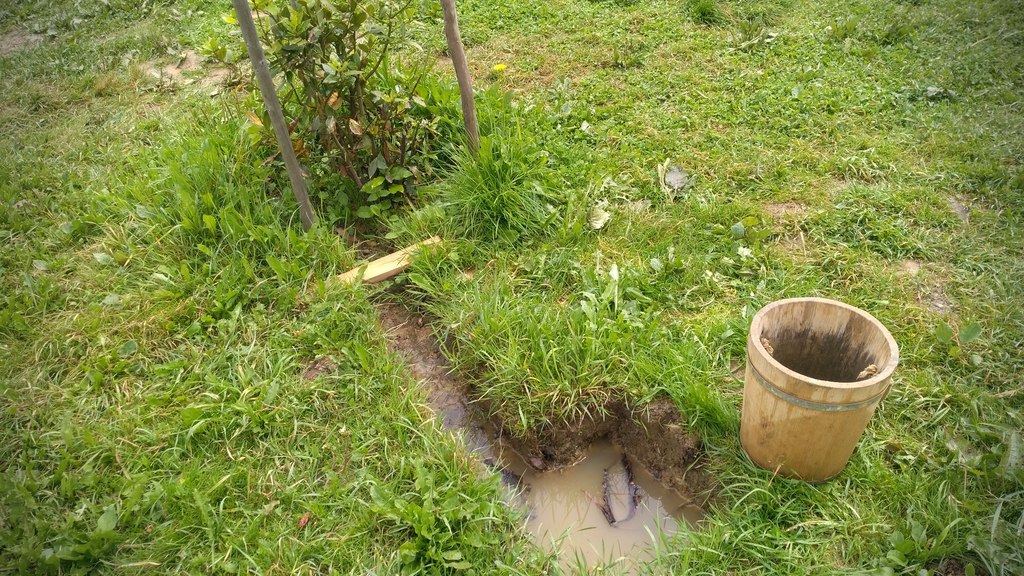
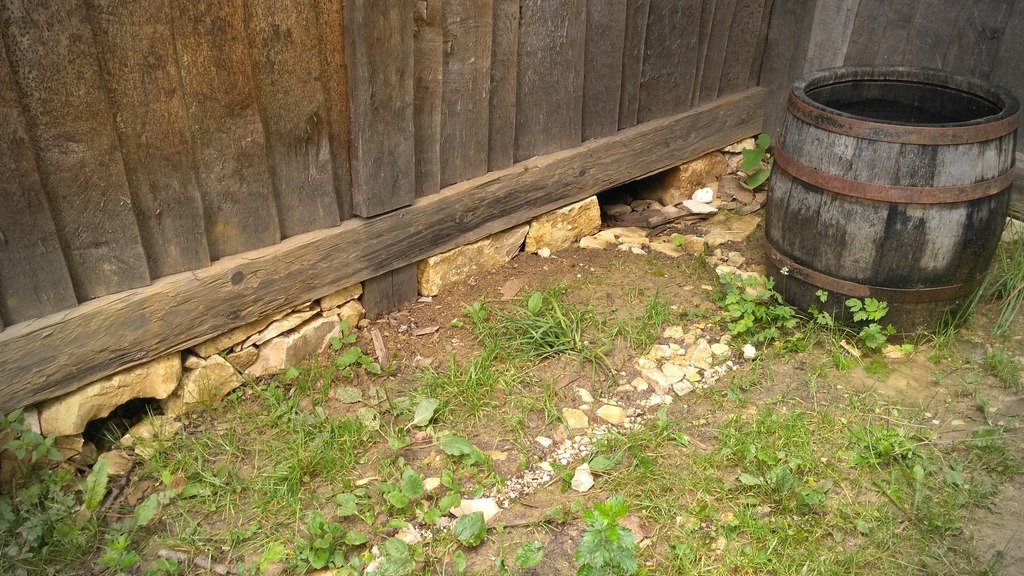
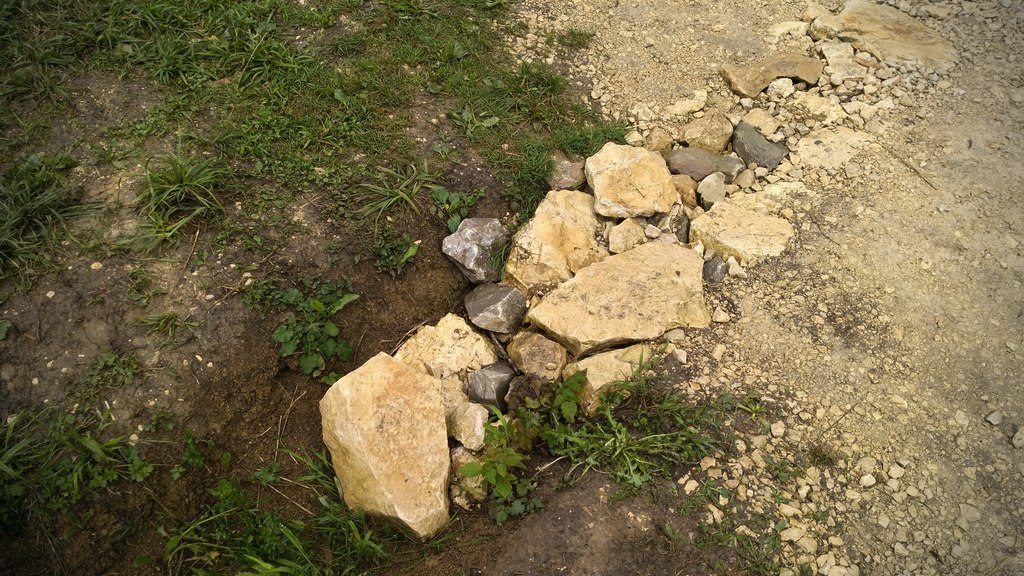
I consider myself lucky with the weather situation by the way. I could see a lot of systems that prevent flooding of the area in action – or not.
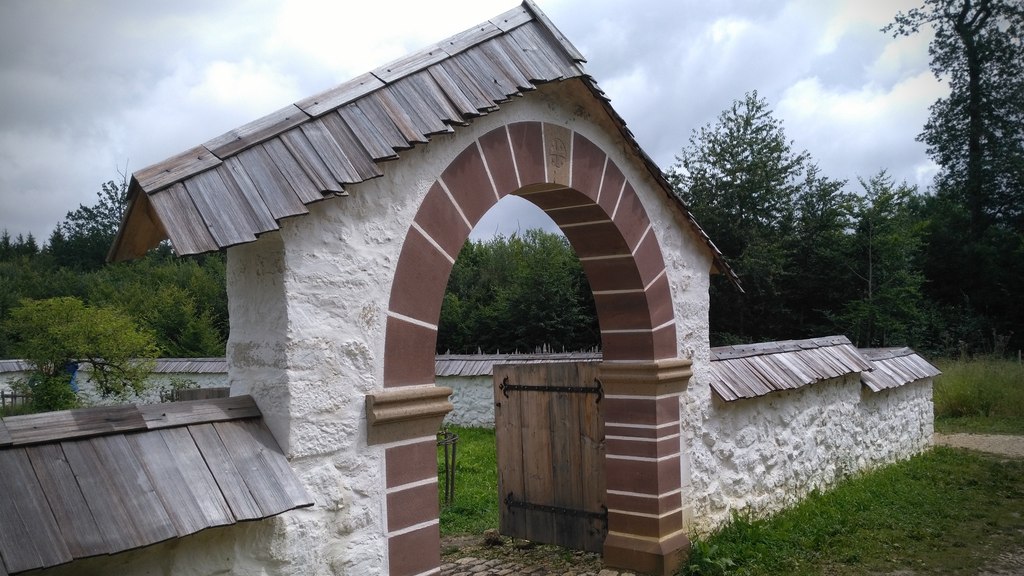
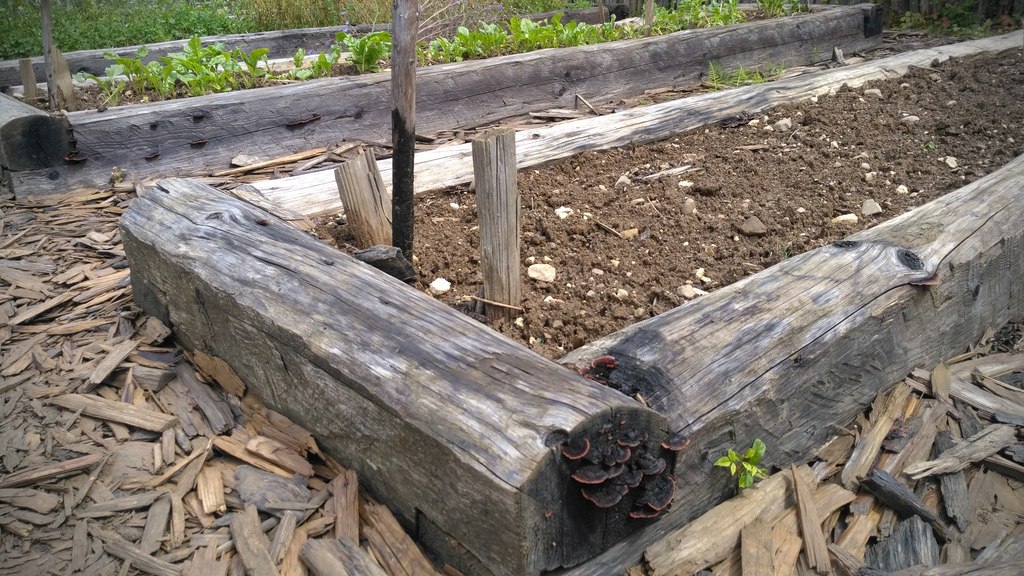
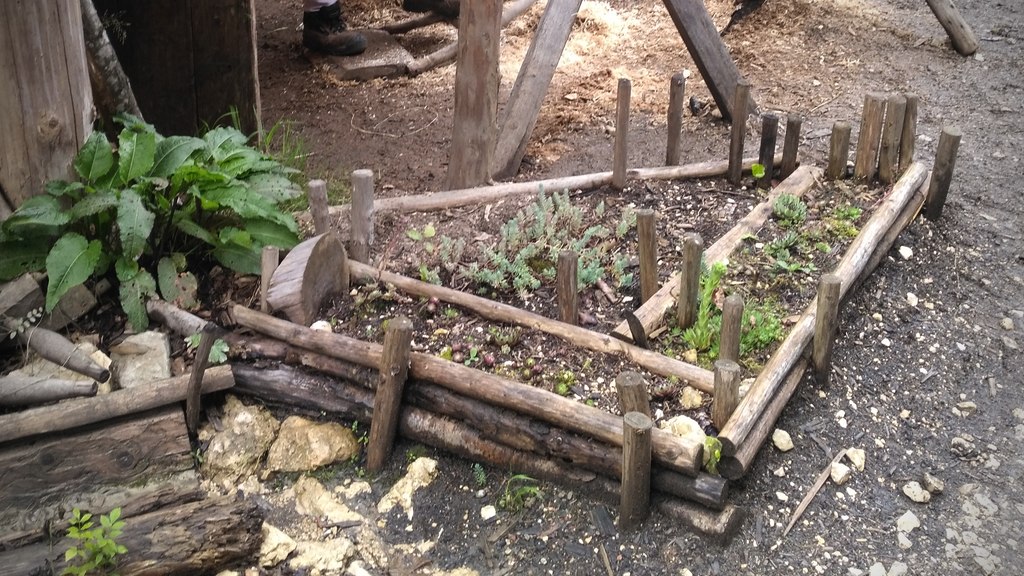
The orchard changed a lot since my last visit. The entrance for example is now completed.
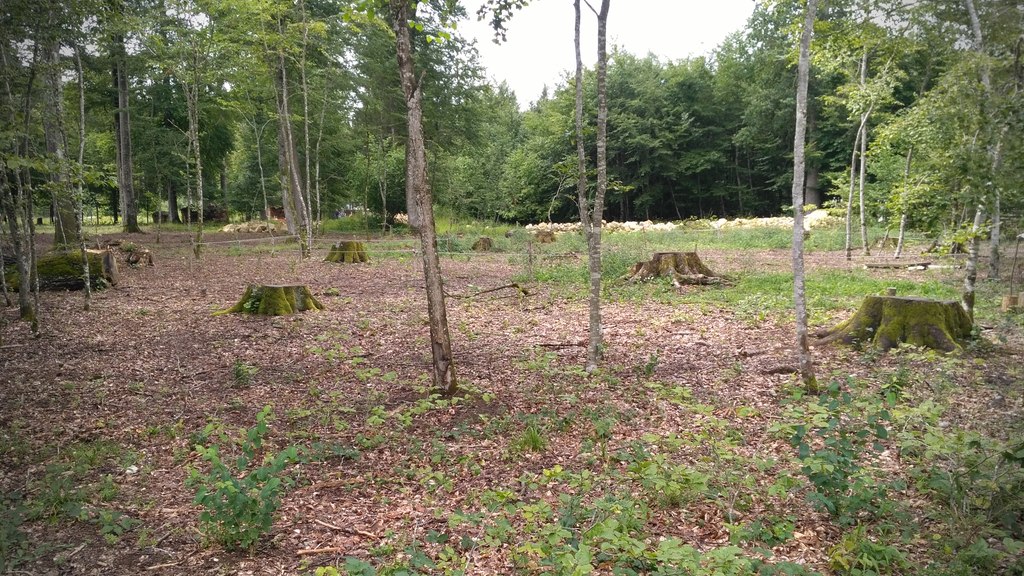
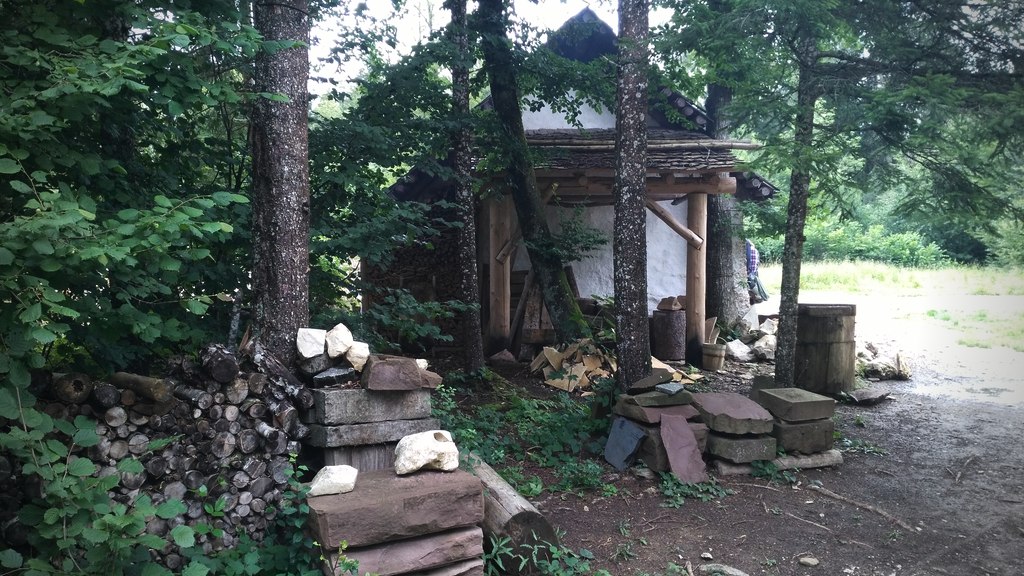
Many trees were cut down for the constructions going on. Wood is needed everywhere and for everything on the site and some areas are becoming aerial.
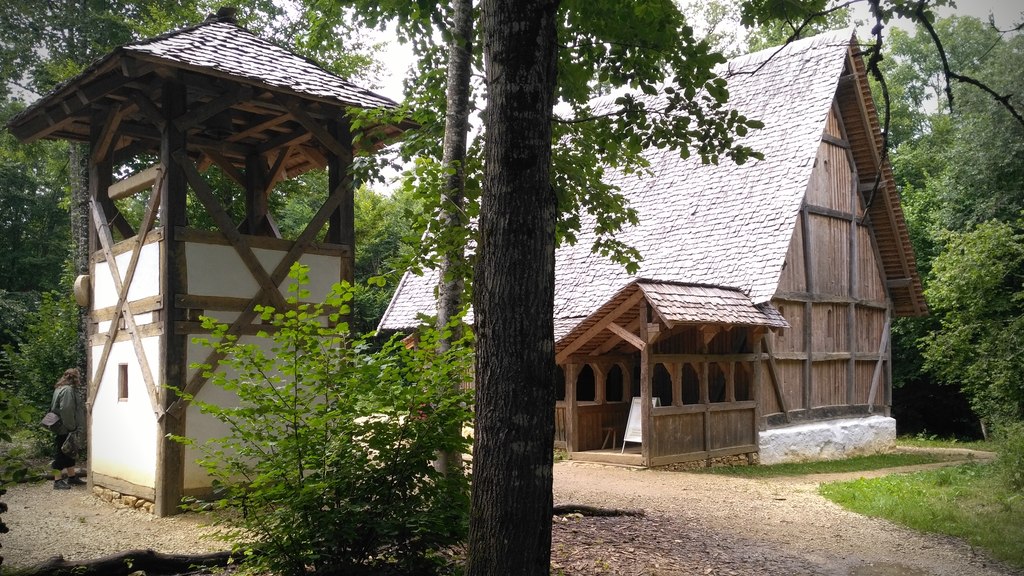
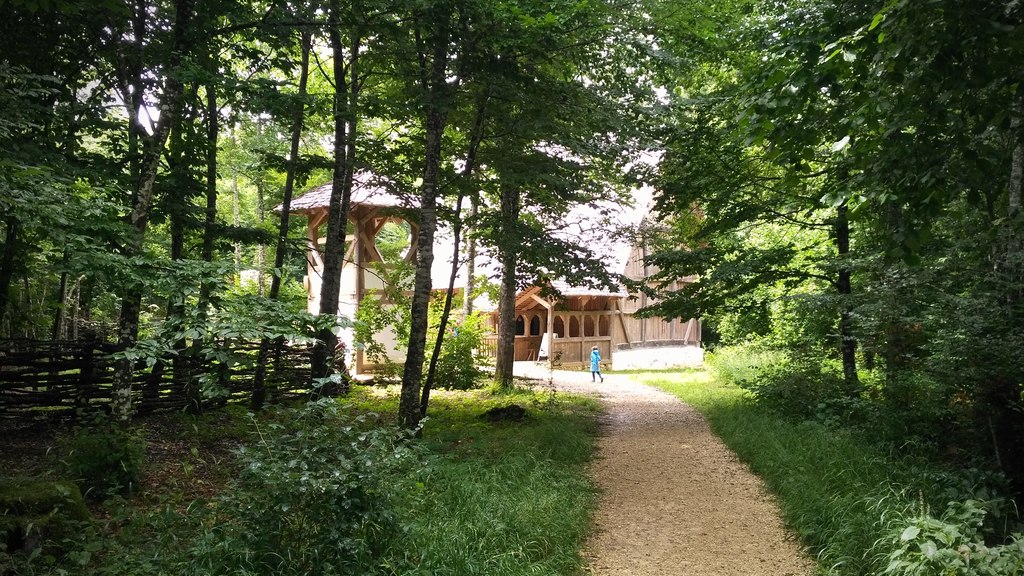
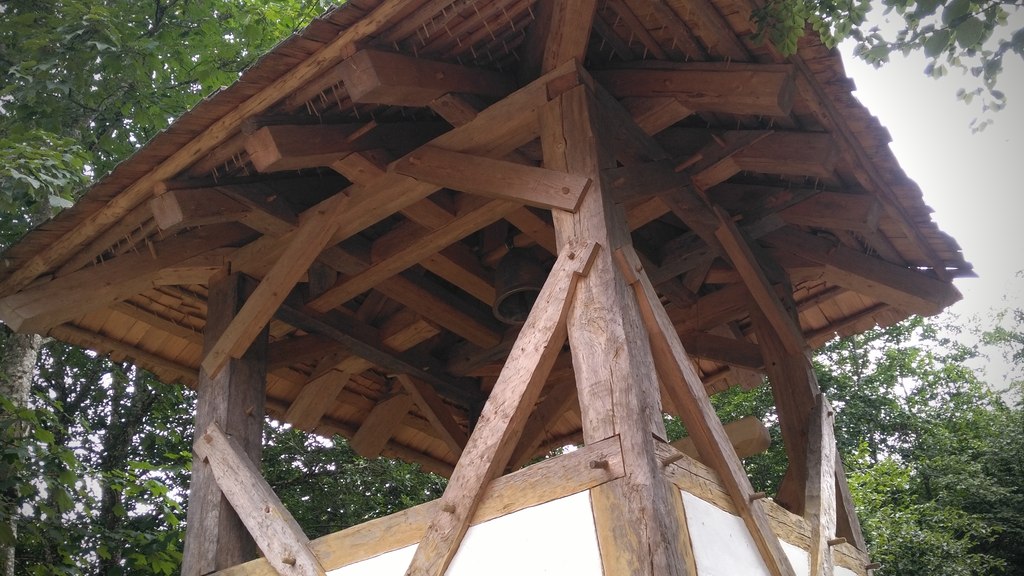
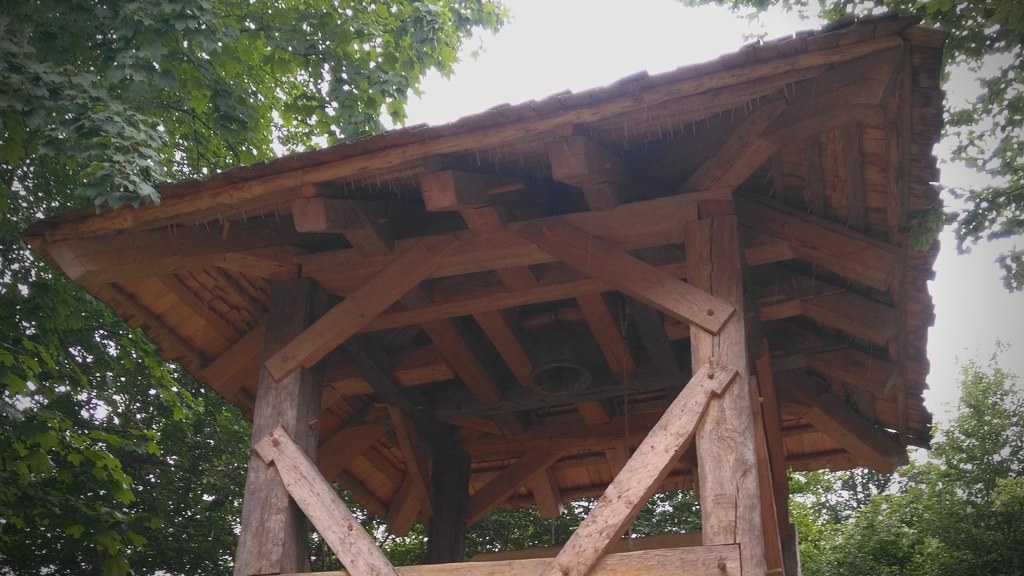
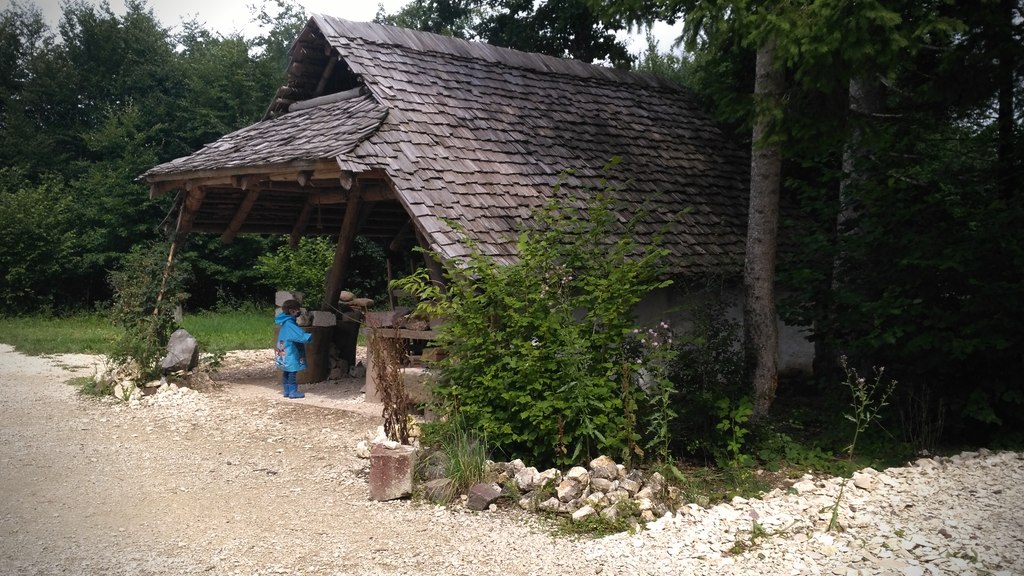
The wooden church also got some changes. Most important the bell tower next to it and also a new porch. Couldn’t get enough of it.
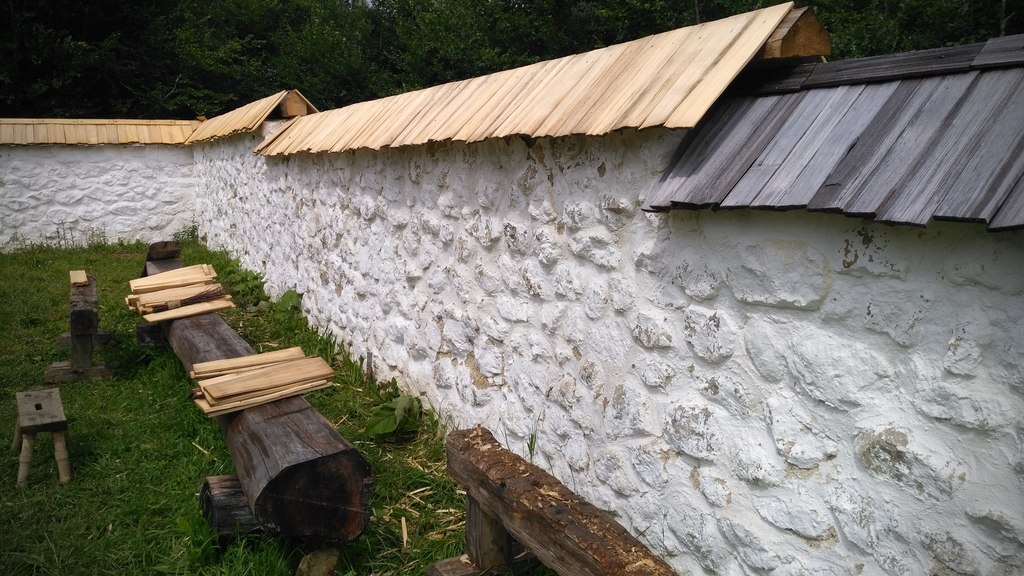
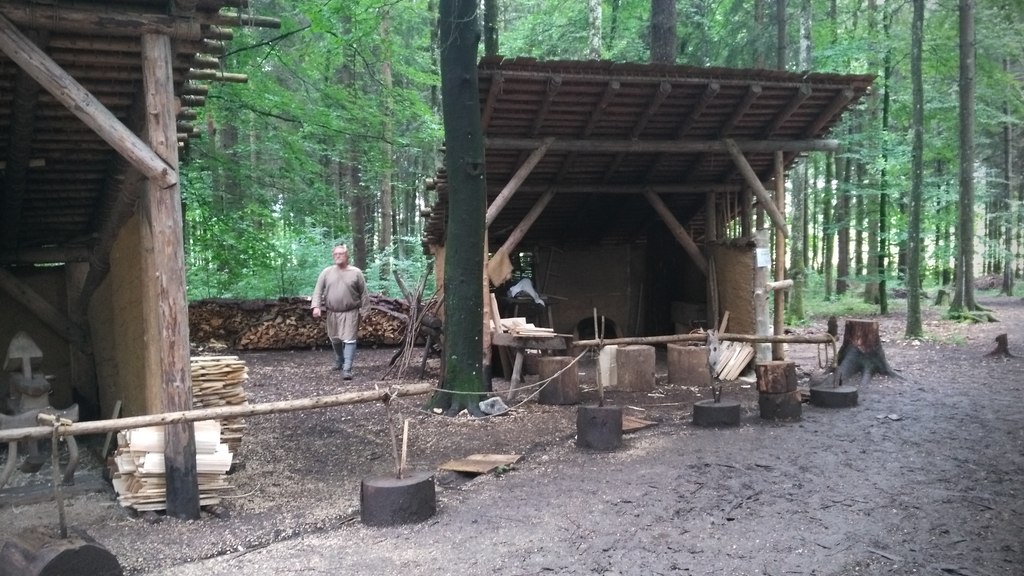
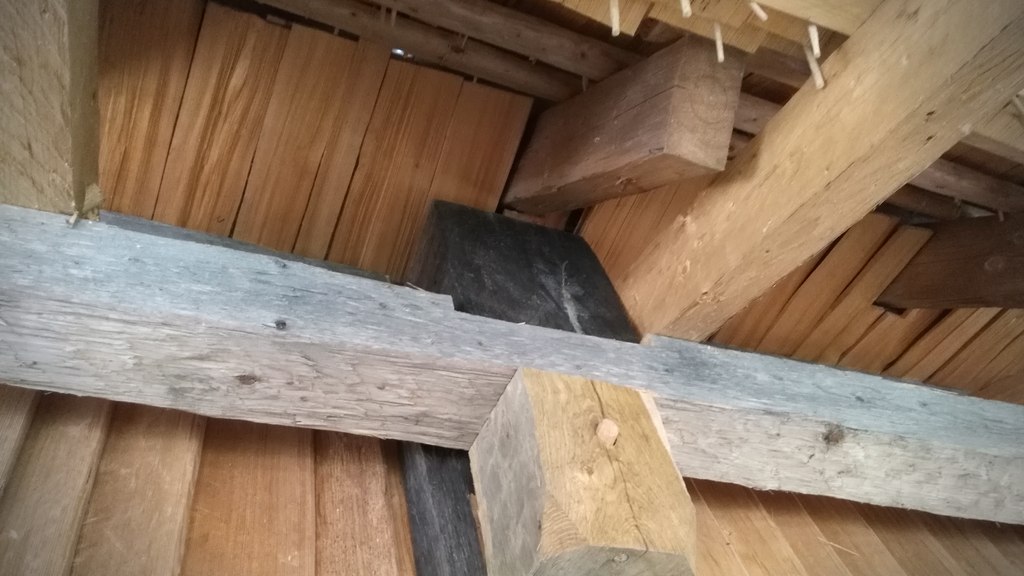
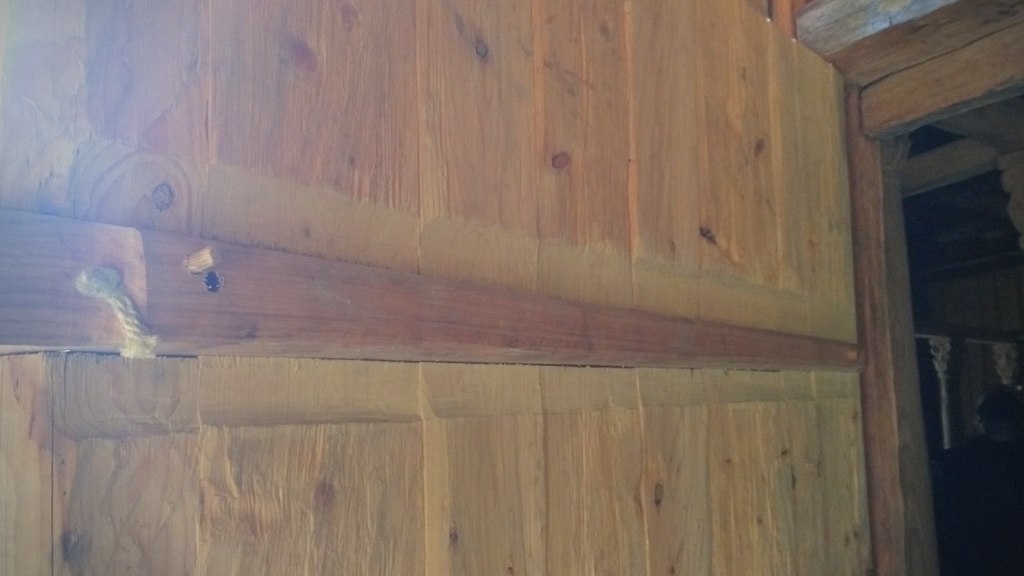
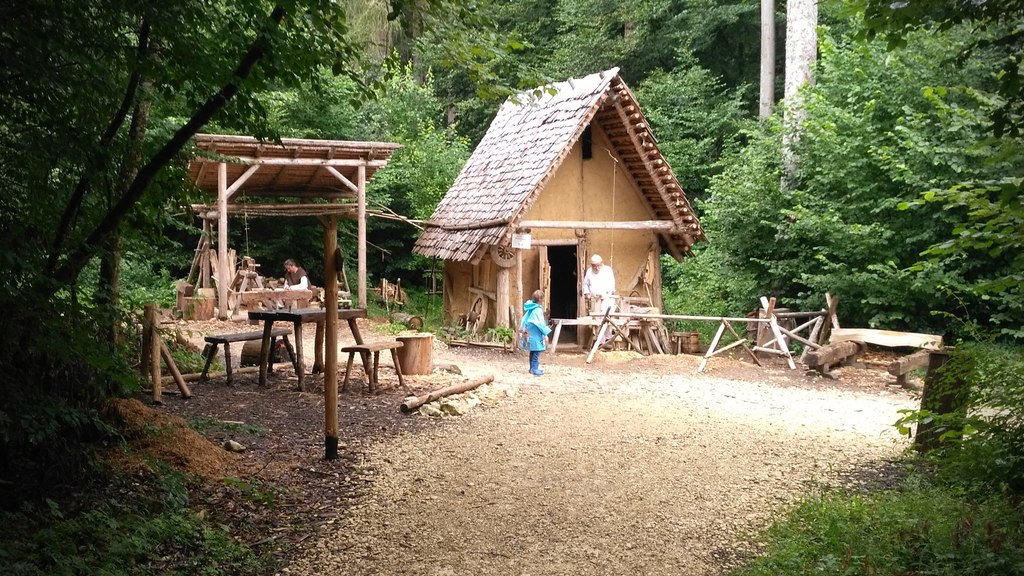
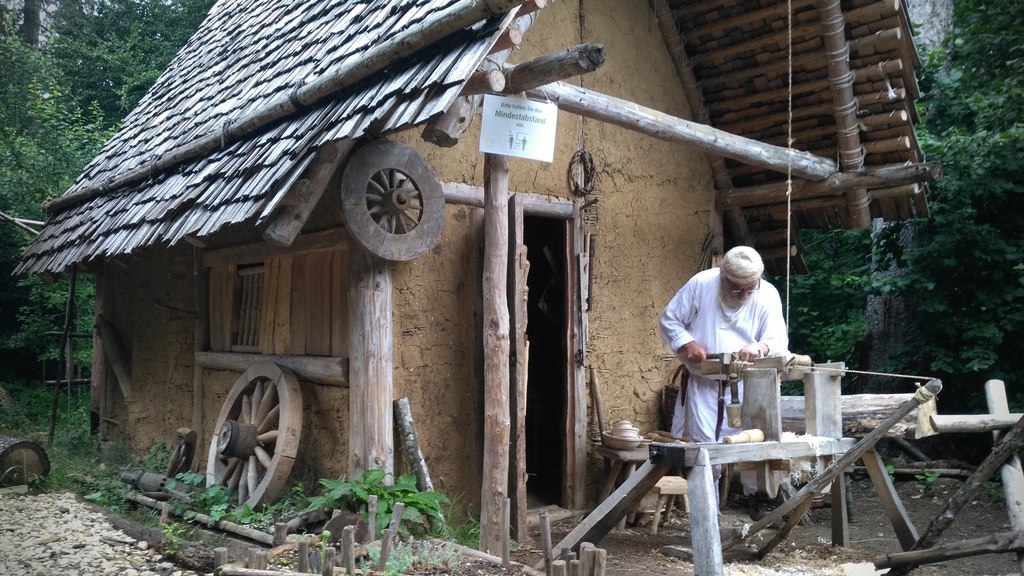
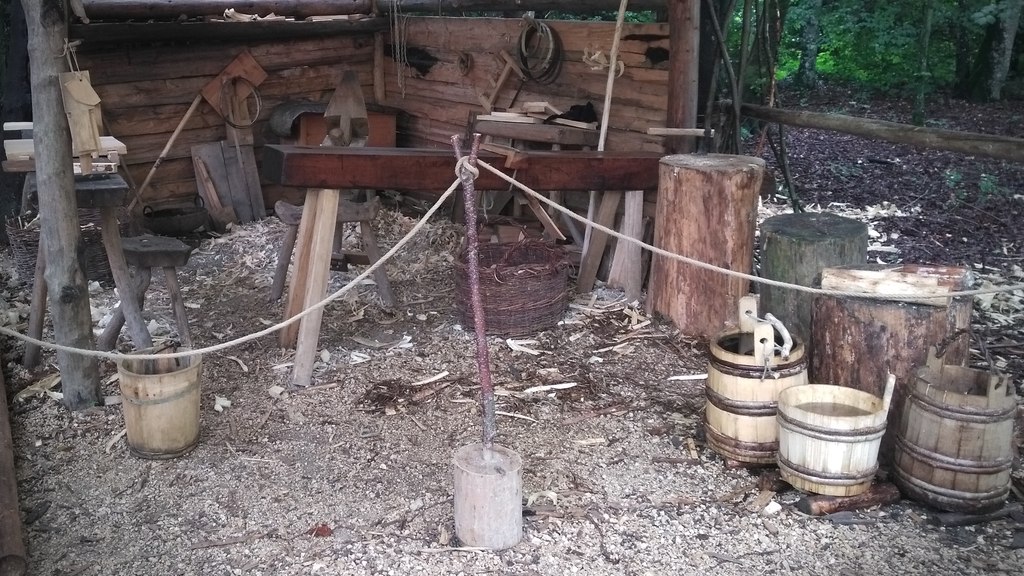
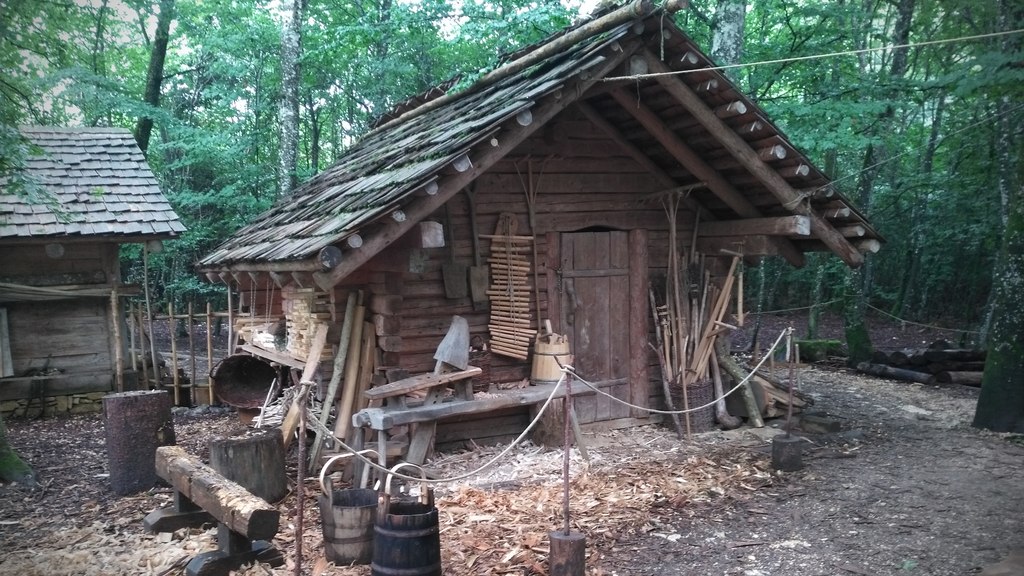
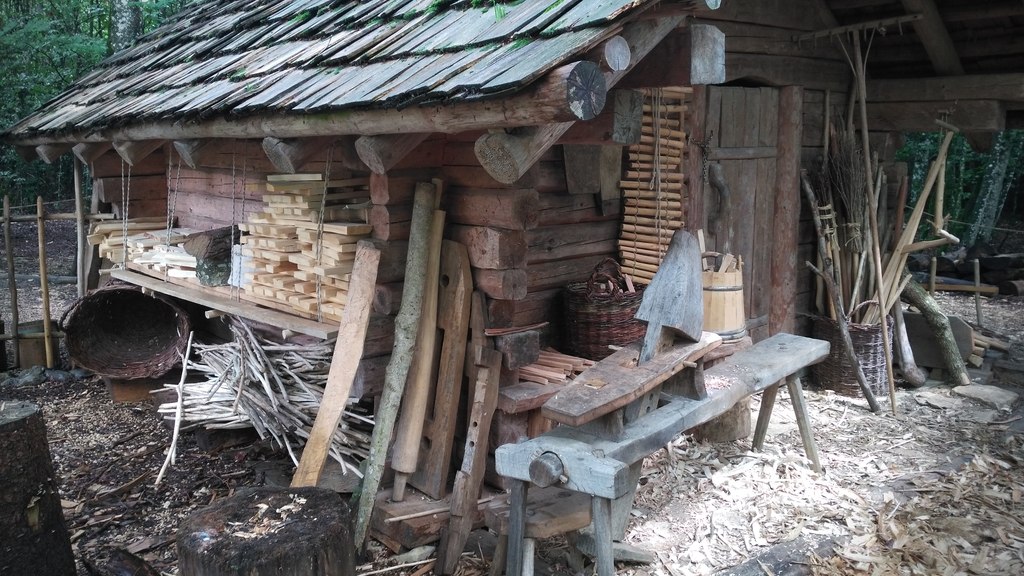
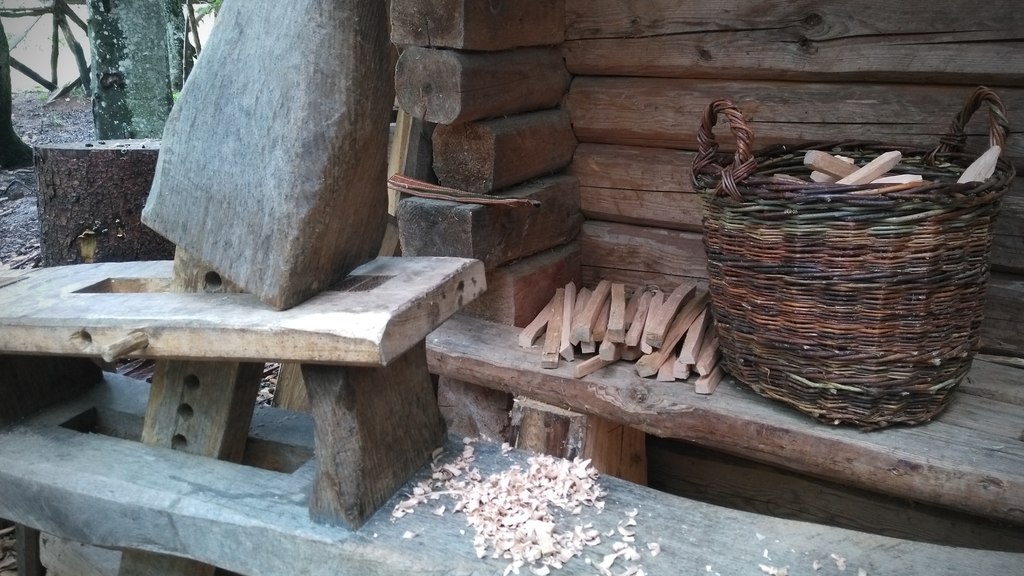
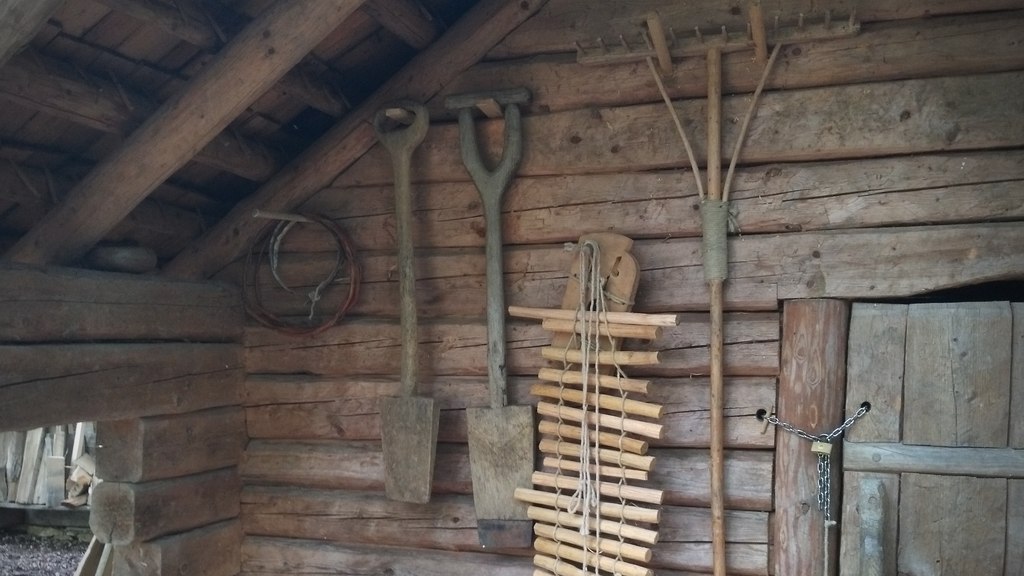
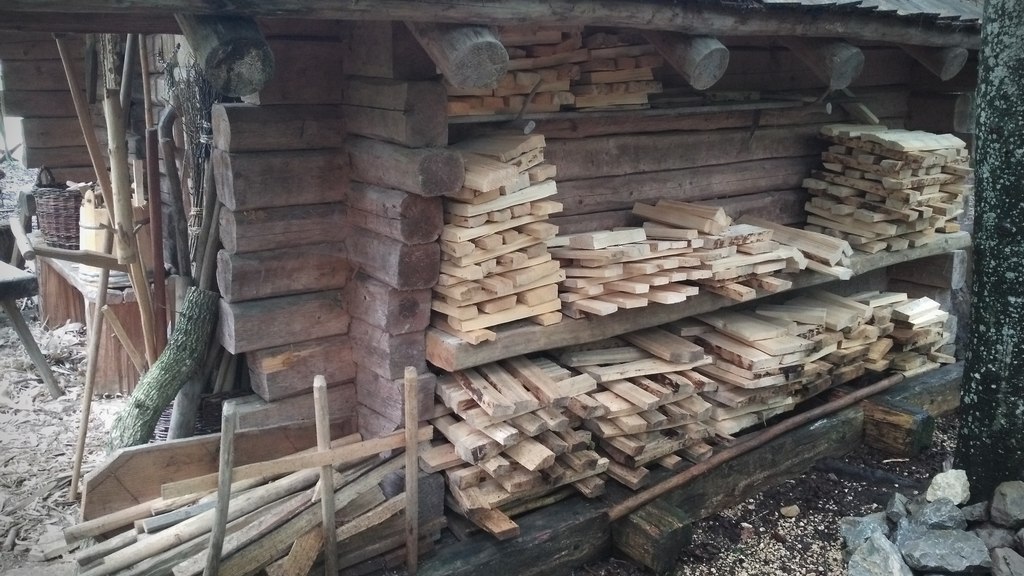
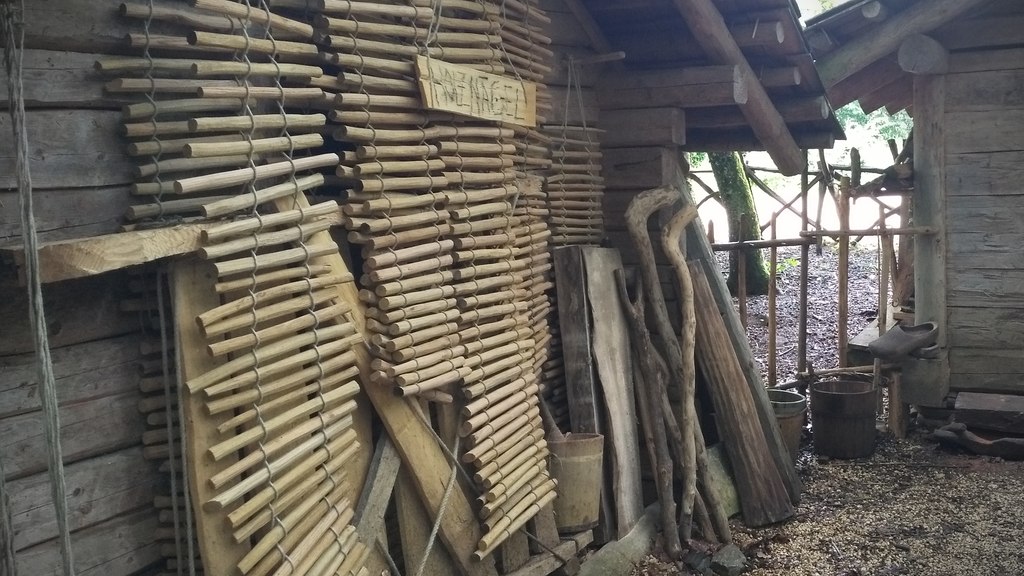
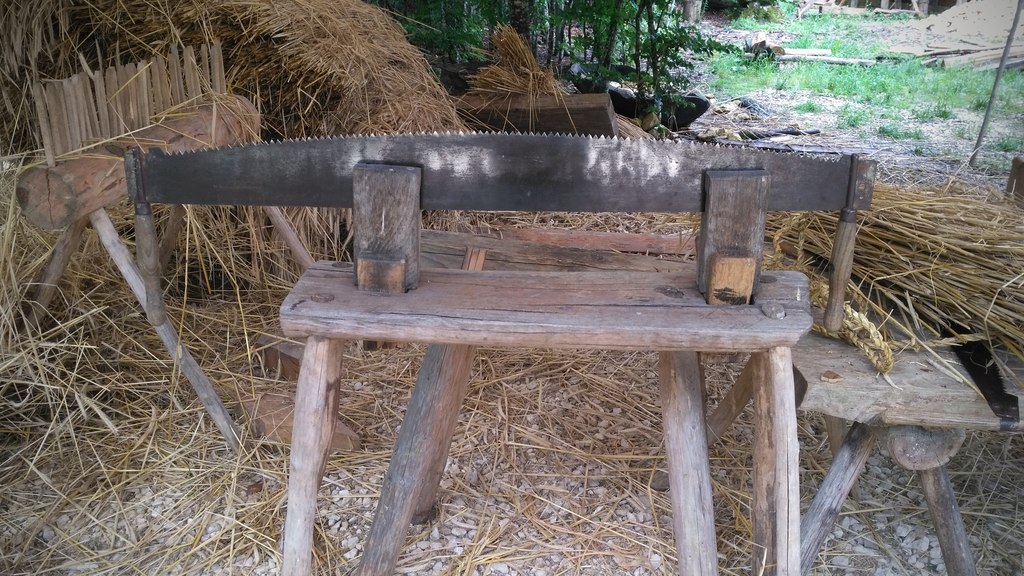
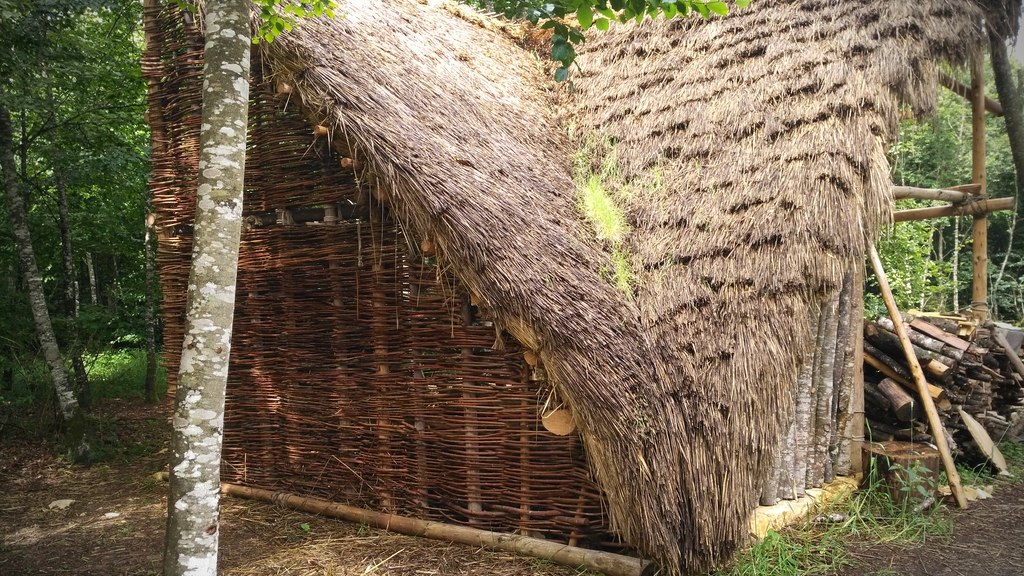
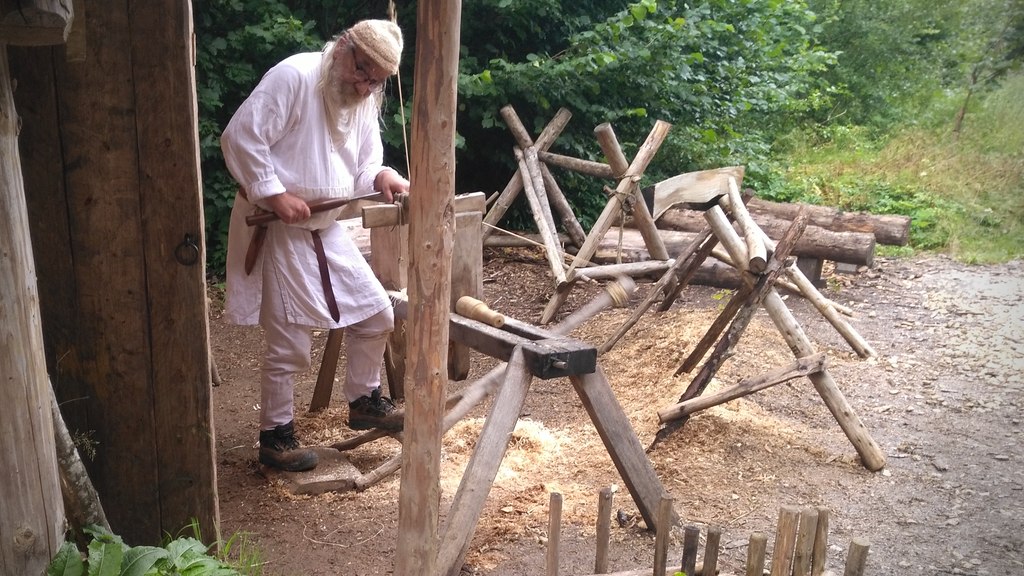
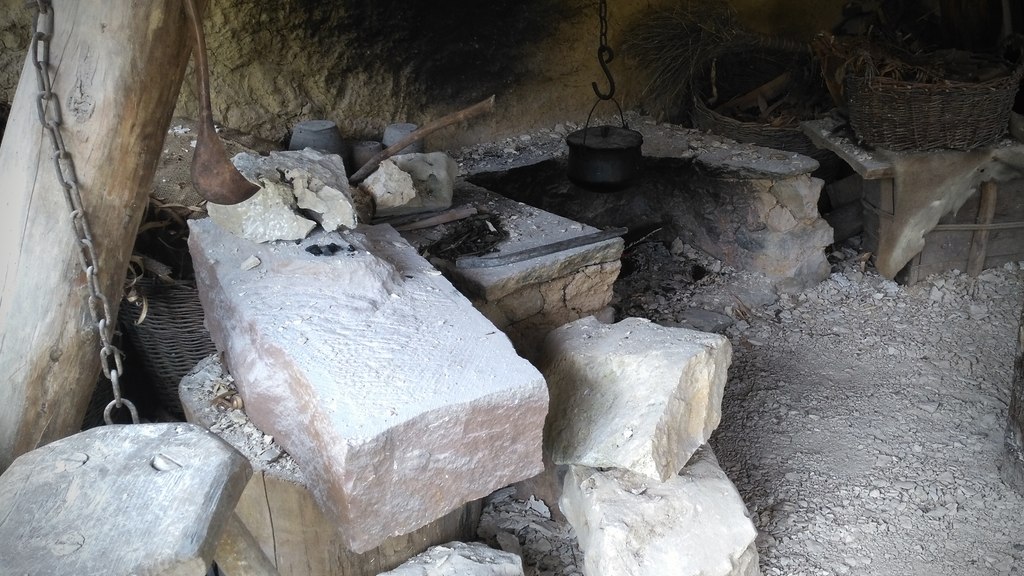
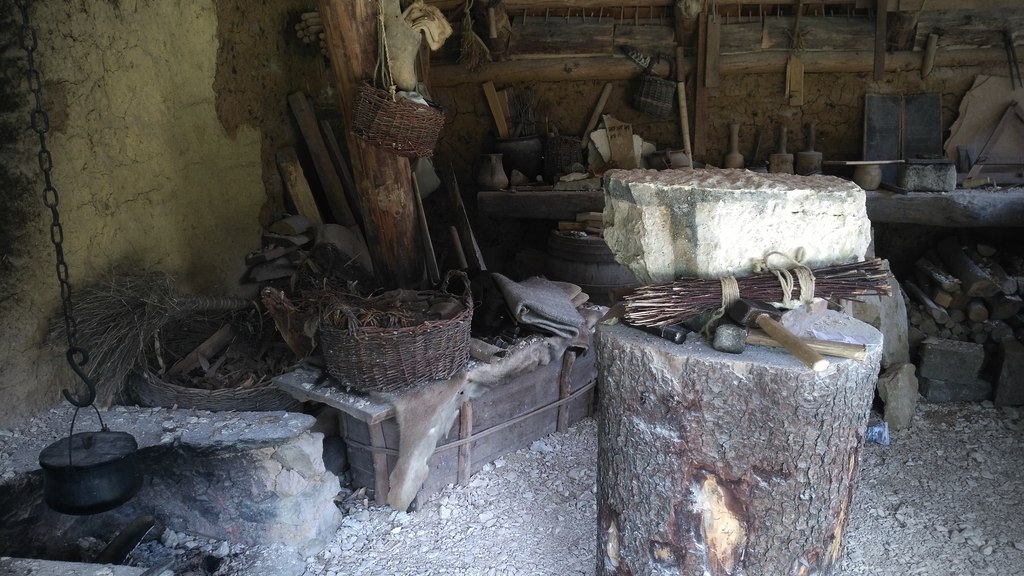
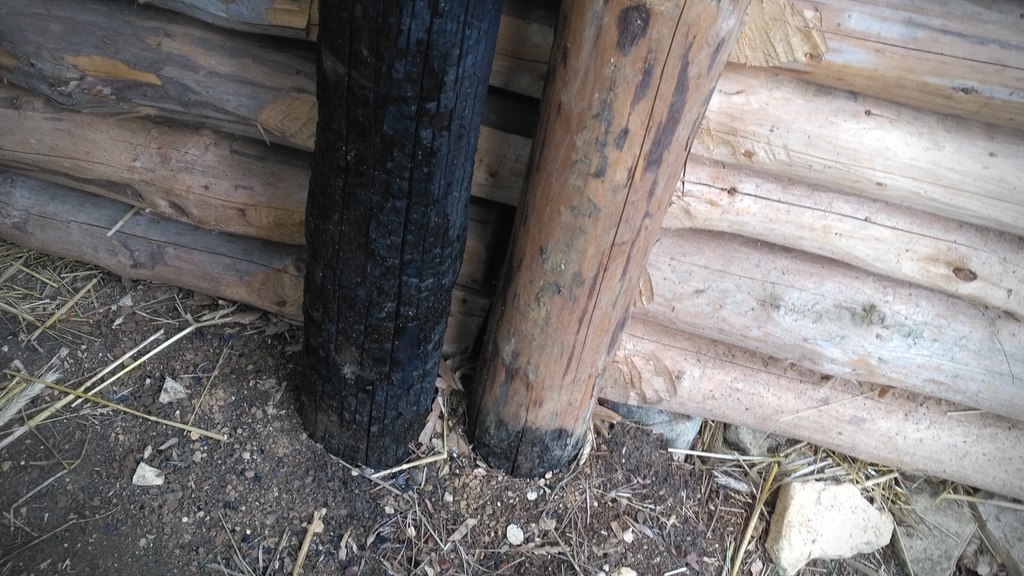
All the other buildings required on a medieval construction site are also still there. Some show a lot of wear by now and constantly ongoing repairs are required.
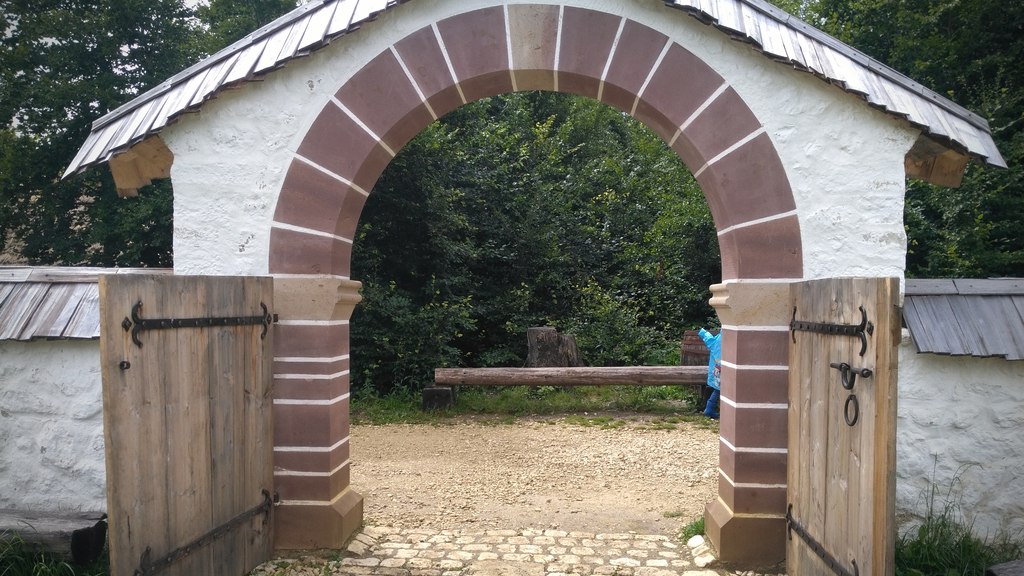
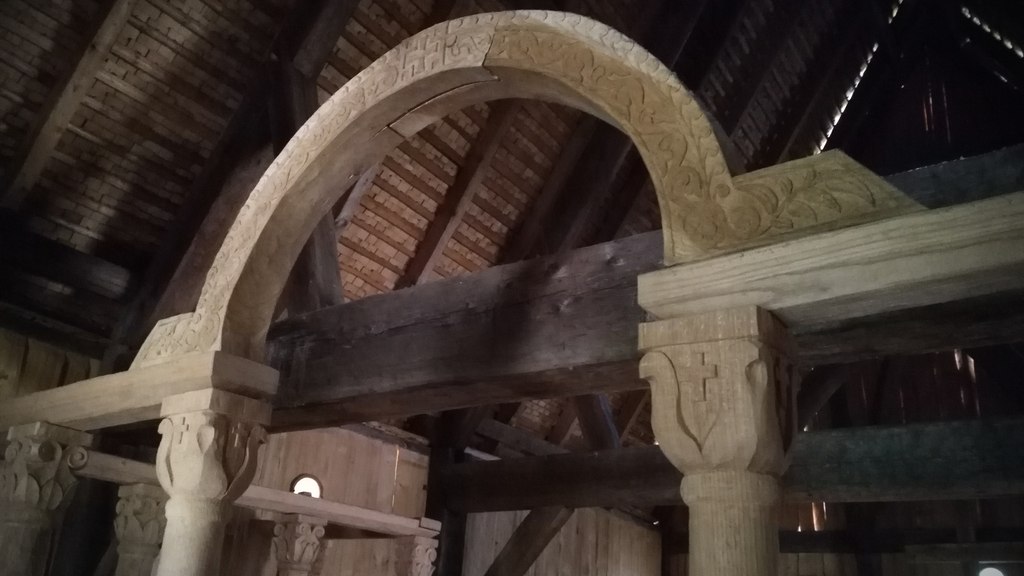
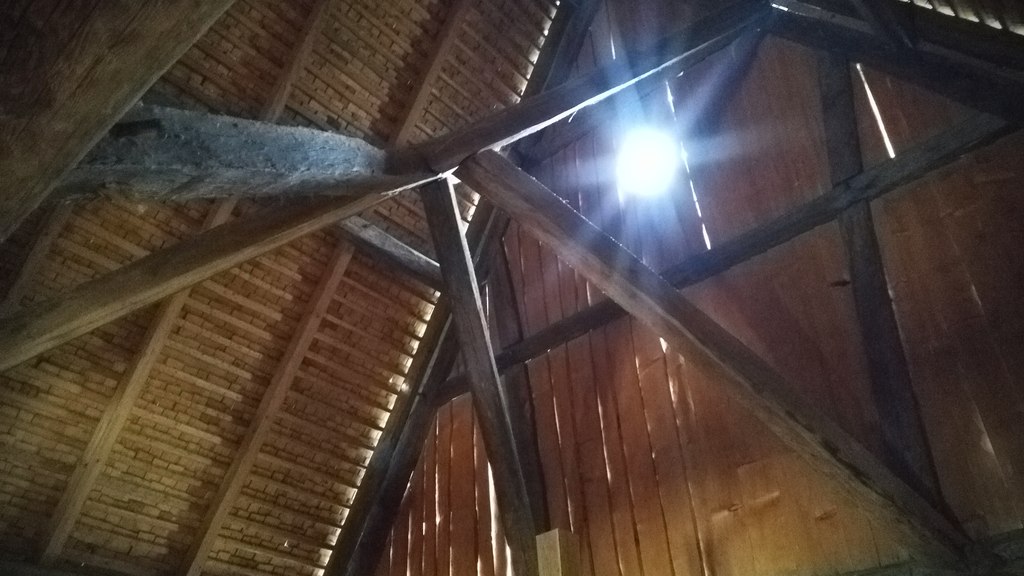
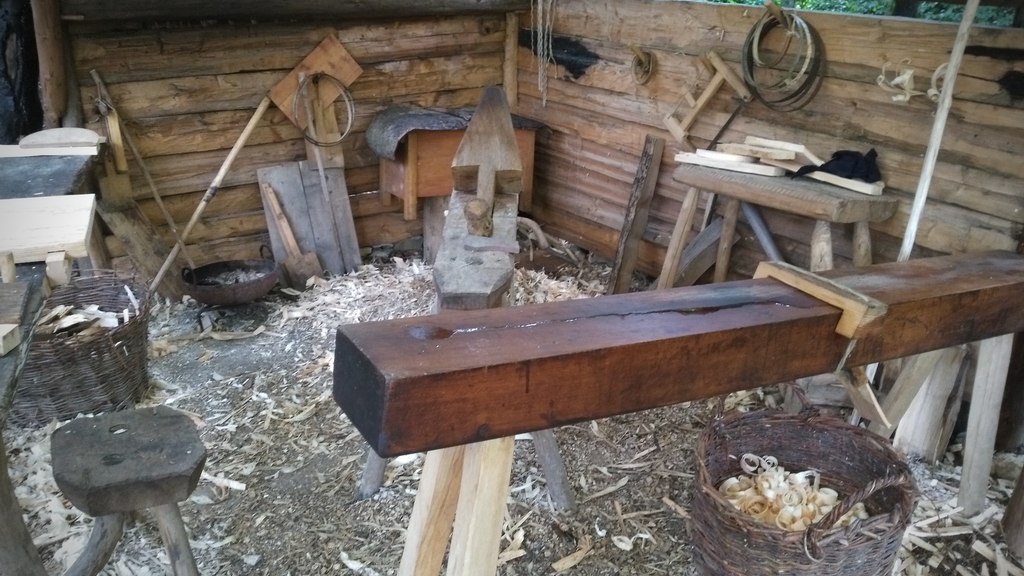
The masons seem to be busy with a new arch. No idea where it will go tho 🤔 Their space doubles as a place to dry scales of wood in the attic.
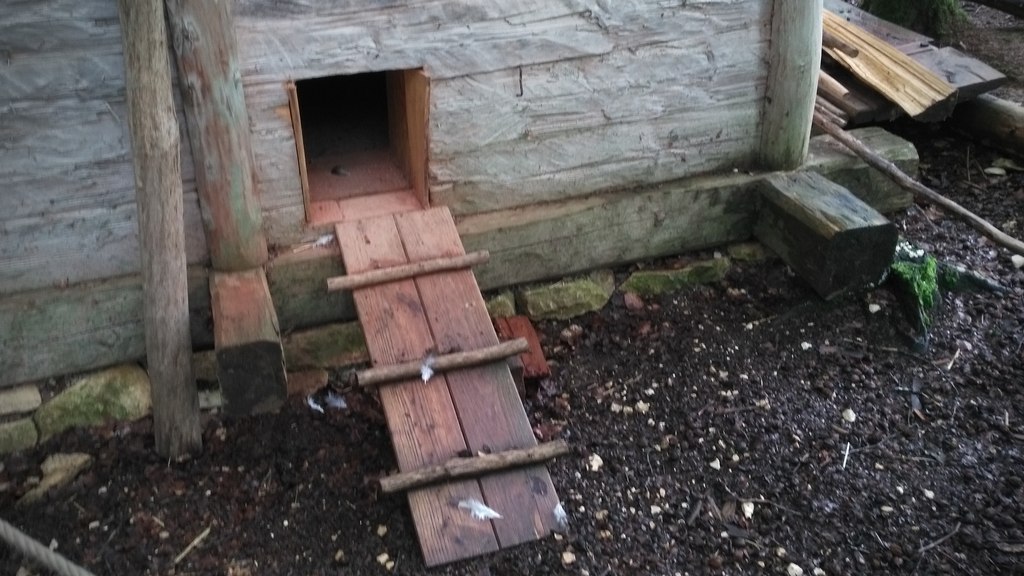
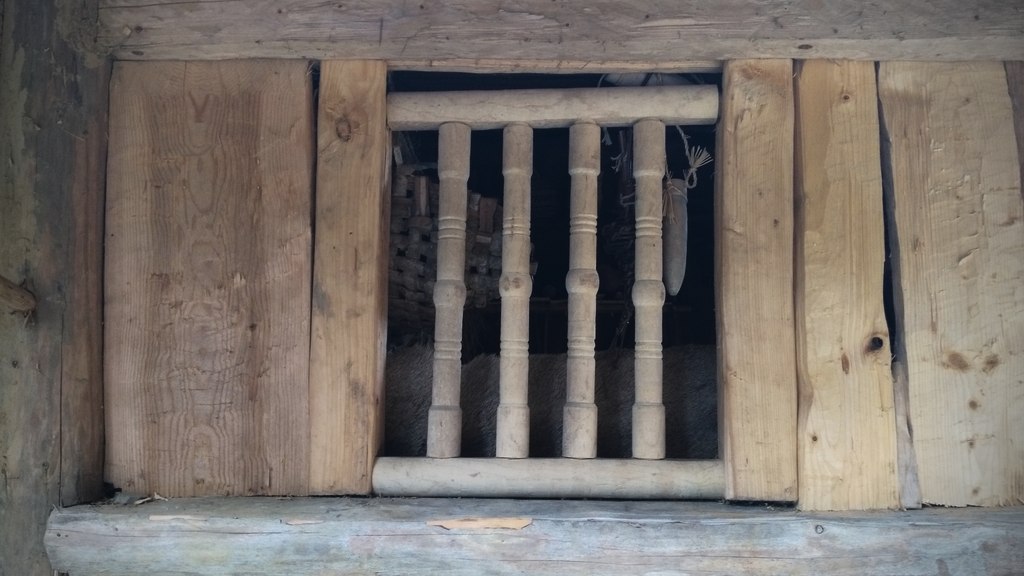
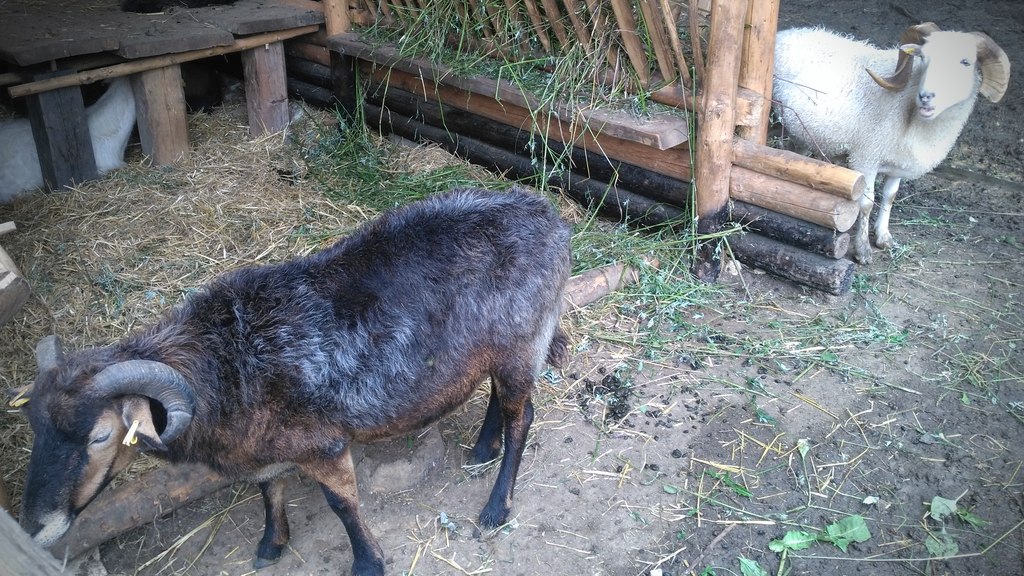
This time I also managed to get pictures of some of the livestock!
This was a great day. Didn’t poke my nose outside much over the last year and I really missed excursion like this.
I also recorded some small video snippets so I may eventually come around creating a small video later too 🙂
Video of Diaspora: Shattered Armistice (on Linux PC)
Seems to work nice with my DIY headtracker on Linux PC too. Sadly I got quite some frame-drops due to recording (and probably multi-head too). It works way better without all the cameras and a life-stream going on but I think it’s enough to get a good impression. Botched emergency landing included xD
Warning: This may fuel a desire to re-watch the BSG series again 😀
I like space and science fiction. Diving into epic stories set in some distant future amazes me since elementary school.
I’m also a gamer. And a tinkerer. It’s in the family.
I keep wondering: How can I improve the immersion of my games without going full VR?
DIY Headtracker for gaming (on Linux PC)
I used a triple screen set-up before. It consisted of different models in height and size. When one screen finally broke down I purchased 3 refurbished screens of the same brand and model. What a difference!
The kids love it too. Of course. Means less stick time for me. Anyway.
This is when I started to read about head tracking and went on a quest to get this working for the game X4. As a bonus on Linux PC, my preferred system also for gaming.
The thing is: “The” reference product for a headtracker is the TrackIR system. Price as of today: 220 EUR. Ouch! That’s like a cheap VR, right? And it’s Windows only. No thanks.
So I checked what’s in this thing. Apparently a cheap camera, some infra-red LED, and a filter allowing only infra-red waves. And software, of course.
Since this is for Linux I get to pick my poison for the software part, and I settled with Opentrack fast. Onwards to the hardware part. I abused my mobile phone for the testing, sending it’s Gyroscope data via wifi to my PC, and while it worked it also _sucked_. Both, phone and wifi I mean.
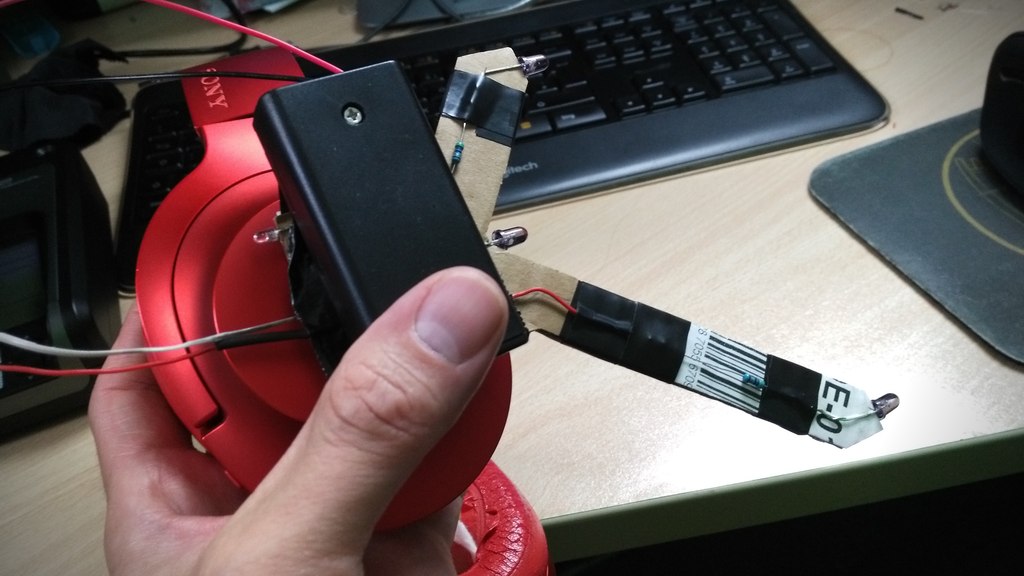
Head tracking is awesome. And I knew I want it. So I started prototyping. For this I went with a simple design that I eventually implemented on cardboard. It looks hilarious but it gets the job done.
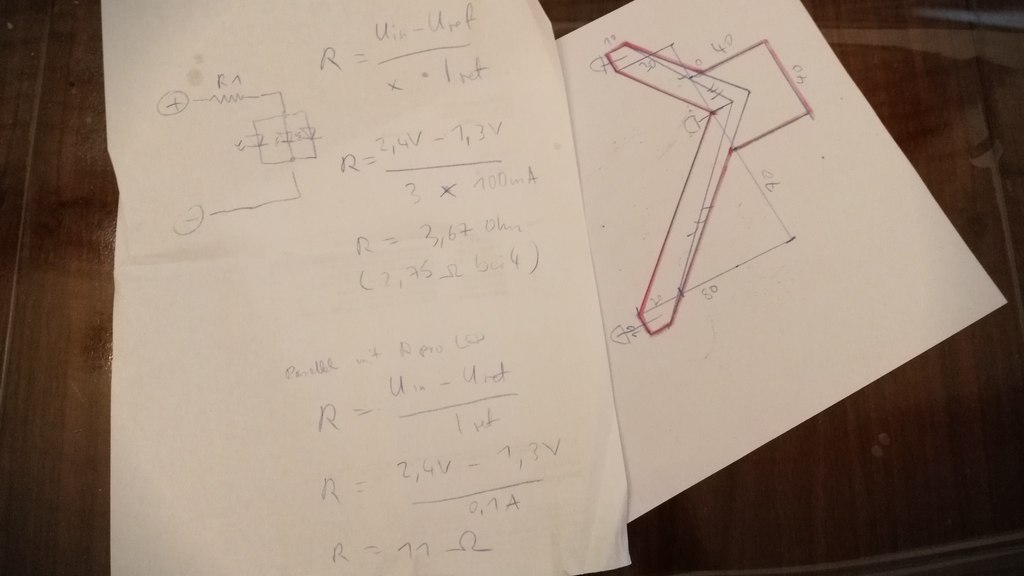
The focus was on a long life cycle so I wouldn’t have to replace the rechargables in the middle of a session. To get this right I checked with the camera that I was going to use. See (video above), this is way to bright and by trying various resistors I could get this down to 33mA per LED and still get a decent detection rate with Opentrack.
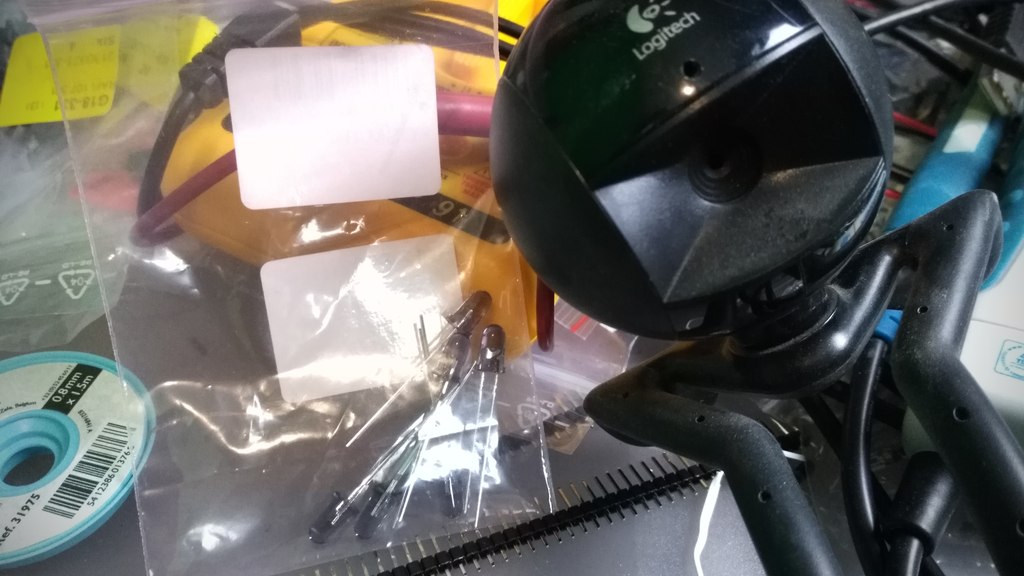
Speaking about the camera. That’s nothing special. It’s a dead cheap 480p Logitech QuickCam Communicate STX that I got from a discounter a decade ago. It was so cheap it doesn’t even _have_ an infra-red filter that I’d have to remove first.
I used tape to attach the salvaged camera cover of a dead G20 controller. That’s a Wii Remote knock-off that does basically the same thing like a headtracker. Various other foils can be used for this as well, as long as they permit infra-red. The idea is to reduce or remove all other light waves but infra-red.
The trick is to also turn off auto exposure and fiddle with the contrast and sharpness until a decent frame rate and a clear infra-red wave source by the LED can be seen.
When I was satisfied with my meter readouts, and my highly professional scribbles, I started working on the prototype while streaming the whole process on the Discord channel of the awesome Fly Dangerous project. If you like racing with a space ship give it a shot.
The prototype is made of cardboard that doubles as isolation for the polarity. The rest is tape and hook-and-loop fastener to attach the headtracker to my headphones. No magic here. The whole contraption is powered by two 1.2V rechargeables. I opted for a micro switch and an additional LED as power indicator, that I dimmed down even more. I can after all not see infra-red so this seemed like a good idea to me. Spoiler: It is.
So how does it play? Over the next weeks I tried basically any game supporting head tracking that I could get my hands on. Please keep in mind that I usually play with lights off but started the studio lights for demo purposes. The tracker does still work just fine.
I quickly found out that each game needs it’s own profile for fine tuned settings. Good thing that Opentrack has me covered on this. First, my beloved X4 using Wine and the TrackIR protocol.
Sadly I came to the conclusion that my GPU is no longer up for the task and Wine would cost me too many frames. I switched Opentrack to emulate a joystick instead and mapped it to camera movements in the native X4 version. It’s not exactly the same but it’s okay-ish. I have an idea how to hack this properly into X4 using an extension and a UDP server but that’s a topic for another day.
Anyway, the same principle works with X Rebirth too, making me even happier. While dated it still has it’s charm and the verse still feels a lot more alive compared to X4. It’s also not taxing my GPU that much.
Now for something different. When Opentrack would list a “protocol” named FlightGear I became very curious. I installed this free and open source flight simulator and crashed my first Cessna into the ground minutes later. By now I’m confident that I can crash a Cessna just about anywhere. I’m not fond of flying in real-life but avionics sure are a fascinating topic.
This was the moment a Steam sale happened and I bagged various flight sims, Space Kerbal and House Of The Dying Sun. All with TrackIR support.
Little did I know what gem I bagged with House Of The Dying Sun by the way. Sadly it’s also very short but I enjoyed every minute of it and will probably play it again. The art, sound and music reminds me a lot of Battlestar Galactica. Easy win 😀
So yeah, this is my current gaming set-up. I built myself a head tracker for 5 EUR. On Linux PC.
I also may have fallen into the rabbit hole called “simpit”.