
Comparison old sensor next to the replacement sensor and my DIY wiring job

tl;dr: Siemens photo resistive flame detector QRB1B-A070B70A is a suitable replacement for the Danfoss 057H7101 LDS sensor, that is so end of life, that I couldn’t even find it’s datasheet anywhere on the net. It did cost me 35 EUR.

Every time the central heater breaks down it’s in the wintertime and on a holiday or vacation. It’s probably some sort of law. So I was not amused then the heater started throwing up showing error messages of the sort “No flame detected”. This sometimes happens and it’s usually enough to simply reset the system to start another burn. It’s an older pellet system by KWB called EasyFire. I’d not go for such a system again but back when this was hot (haha, sorry) people were trying to sell me gas or oil instead and look where that went 😛

Anyway, I knew something was up when the errors started to pile up. Every time I checked the firebox I found no unburned pellets and only ashes so starting the fire was not the problem (this time) so I checked the flame detector sensor itself. That is a photoelectric cell that is used to detect light – and in this specific case a yellow light. This type of sensor is also found in oil burners. Gas burners usually have one that detects blue light so they are *not* compatible.

To check for the light of a flame it’s resistance is measured by the controller of the central heater. It’s my understanding they usually come in two different sensitivities, normal and high, but both types apparently have a “dark resistance” in the MΩ area and drop to KΩ when light could be detected.

A meter probing a sensor with it's setting to 20kΩ and a readout of ~9 kΩ with a sensor exposed to yellow light.

The sensor is a little hard to reach and can be found next to the spiral conveyor motor on the left backside behind a cover plate. The cover was secured with 3 screws in my case and could be removed easily. The sensor itself is secured with a tiny hexagon socket grub screw and getting this opened is a challenge due to it’s location. I marked the easily overlooked grub screw with a red circle on the photo. It’s directly over the sensor itself.

Once that’s opened (no need to get it out completely!) the sensor can be pulled out and while I could still measure something of it with a light source (that is *not* LED) it did definitely not work as expected any more thanks to it’s cap melted half off and grime blocking it’s photoelectric cell.

Half melted sensor next to a meter so a housing length of 50 mm can be read of it

And this is where the easy part stopped because I could not find anything on this sensor *at all*. It’s label says it’s a Danfoss 057H7101 LDS but I only managed to find a datasheet for the 057H7105 and upwards so it is total guesswork that this is close enough and the 057H7108 is *probably* also compatible but according to the Danfoss website also end of life already. The 057H7108 is at least also blue (which means it’s a LDS / high sensitivity version) and it’s length would fit alas I could not source the part from any shop any more probably because it is no longer produced. The product info on the Danfoss website has also no guide what part might be a proper replacement so well done Danfoss *slow clap*. Anyway, here are the characteristics for this type of sensor that is *probably* what the 057H7101 is about as well:

  • Rated voltage 230V ac
  • Operating range 195-253 V ac
  • Frequency 50-60 Hz
  • Flame sensor measuring condition 12V dc +/- 2% with Ri=100 KΩ +/- 2%
  • Signal output Max. 85 µA
  • Recommended signal output (light) ≥ 65 µA
  • Flame signal for no light (dark) ≤ 5 µA
  • Ambient temperature operation -20 to + 70°C
  • Ambient temperature transport -30 to + 70°C
  • Housing length 50 mm
  • Housing diameter 8.8 mm

I looked around for a while and found a sensor by Siemens that seems to be a good match for this. The QRB1B has the same form factor and the A070B70A type has the same length and comes also without a flange or clamp. Other variants can probably be made to fit as well since the flange/clamps are accessories that can be removed easily. It does have a slightly lower temperature range of -20 to +60 °C for operation though but that is still good enough for me / pellets. It’s housing diameter is also 8.8 mm on paper but in reality it came with 8.9 mm and I had to sand it down carefully a little bit in the end but who is counting at this point 🤷 I was happy to find a sensor that would match close enough already and it did cost me “only” 35 EUR. All that was left was cutting the old wires close to the original connector used by KWB and use some of my own to wire everything together again.

Comparison old sensor next to the replacement sensor and my DIY wiring job

The new sensor is doing it’s job for several days now and meanwhile spring arrived so it’s operation isn’t that critical any more. I’m considering to get another replacement part for the future though since I doubt that this one will also work for >10 years.

Researching all this and debugging the error itself took quite some time and of course it was all during a vacation and of course we were all down with a cold and absolutely needed that heater to function and it broke down for good on a Sunday on top. So I had to override this system until the replacement part was identified and arrived and connected because I was absolutely not going to pay for an emergency repair.

⚠️ A flame detector / watcher is a critical safety sensor and messing with this may result in injury or death so do not repeat what I do here at home. And if you do use your brain. I’m not responsible for anything you may make of this and I would absolutely NOT do this with a gas or oil burner because should there really be no flame or the flame die the system will no longer stop adding fuel until the system *may* detect out of place values from the exhaust sensor and stop because of that. For a pellet system this means that the firebox may be flooded with pellets and that is easily fixed but gas and oil are a whole different story 🤯

To do so I crammed two Dupont connectors on the pins of the sensor socket for the flame watcher of the KWB EasyFire. The socket in question has the number 201 on my model (KWB KSM EF C4). Now the next steps only work when the boiler is cold and the heater wants to start the next burn. So I simply disabled the automatic start until the system was cold again.

Two Dupont wires crammed into the socket 201

Now I opened the firebox, lit a fire starter and threw it in. This model has the ash box right in-front of the firebox and another sensor detects a missing box so it has to be reinstalled again. Probably a good idea to empty the box before so this can be done easily. I have some practice with this, because the heating element used to start the fire broke down several times before already too and this is the way to bridge the time until a new heating element arrives.

Now that I was sure that there was definitely a flame going I enabled the system again and *waited* until the system was in the middle of it’s start-up procedure. This means I can *hear* the fan of the fire starter wind up and the spiral conveyor motor engage to shove in pellets. The system says what it is doing on it’s operational info screen and tries to inflame the pellets 3 times waiting for fitting sensor readings from the flame watcher and(!) the exhaust sensor.

There’s no need to wait 3 times, of course. The fire starter does burn for a few minutes only so after 5 minutes I connected a bunch of prepared resistors in a chain to the Dupont wires. I went with 3x 2.2KΩ simply because I had them around. This results in ~8.8kΩ in the end, which is close to the reading I could get from the broken photo sensor when it was in a good mood. Doesn’t matter too much though as long as this is in the KΩ area.

Bunch of resistors wired together dangling around frightening close to other conducting parts

Again this was highly temporary and got old fast. Anyway, now the system “detects” a flame and goes into the “ignite completely” mode, which means it shoves in pellets from time to time and checks for the heat levels to raise and the exhaust sensors to deliver fitting data. After a few more minutes it should end up in “Working” mode and start it’s ~2h long burn.

I checked on the system during these ~2h again and again to make sure nothing went wrong, keeping a close eye on temperatures. The system stops on it’s own once the buffer is warm enough. From here it stops shoving in new pellets and lets the fire burn down. I disconnected my resistors after 30 more minutes again, when I could be reasonable sure that no flame could be going any more. The system will eventually start cleaning out the ashes and after that I disabled it again so make sure that the next burn would not start on it’s own.

Again: Don’t try this at home. I struggle with this system long enough now that I have some idea what’s going on and I hate wasting money on small problems like this. YMMV.

I repaired my old Thrustmaster rudder pedals. That’s the one I upgraded using an Arduino Pro Micro before (PeerTube, YouTube) to get rid of their old D-Sub connector so this device is really old and probably belongs into a museum. I doubt I’d get any replacement parts for this from the vendor nowadays.

Their sliding beds are made of some sort of plastic and this started to become brittle over the years. When I noticed that one side was coming apart I found several more hair fractures so I had to stop playing with the pedals for a while.

Yesterday I went with one of the sliding beds to the Swablab, our local maker space, and considered cutting and milling new parts of wood, when a fellow maker suggested to use some leftover HPL pieces for the job.

This was far less complicated compared to what I had in mind and I went for it. After a few minutes in the workshop I ended up with two new sliding beds that I mounted today. Worked like a charm.

I went with Liquid Moly LM47 for some lube, simply because I have a tube of that around from working on the car. That’s grease for stuff like bearings and probably overkill for the job.

Couldn’t be happier. The pedals are back into service and feel even better than before (probably thanks to the new grease) and I avoided once more going for expensive modern replacements. I’m also probably the only one with rudder pedals with wood aesthetic now 🤓

Metro Exodus by 4A Games (deepsilver.com)
Metro Exodus is an epic, story-driven first person shooter from 4A Games that blends deadly combat and stealth with exploration and survival horror in one of the most immersive game worlds ever created.
⭐⭐⭐⭐⭐

Played Metro Exodus (Enhanced Edition) and I liked it.

I’m catching up on my backlog of games. One of the games that was sitting idle in my library for years is Metro Exodus. Unlike it’s predecessors we get to see a lot more of the outside of the post apocalyptic world of the Metro saga. I rather enjoyed this change of the scenery not having to crawl around in dark tunnels all the time and learning more about this fictional world several years after the world was destroyed by atomic bombs.

It really paid off that I managed to avoid any spoilers until now so I could dive into this rather unique experience and the game’s atmosphere without knowing beforehand what would hit me. I’ll also try to keep this as spoiler free as possible but some may exist.

Like in it’s predecessors we get to play as Artyom from the ego perspective and just as before our actions matter towards the story. It’s entirely up to the player to go in all guns blazing, go for the stealthy approach and/or knock out opponents without killing. Funny enough there is even an achievement for not killing a single enemy in the last level, that I wasn’t even aware of. The opponent looked so mighty to me that I didn’t even try xD

Back to the beginning though. Circumstances cause Artyom to end up with most of the Spartans on a train with a destination unknown vibe going. From here the story literally rolls on rails (sorry) and we get to explore vastly different biomes in search of parts, fuel and other necessaries to keep going. The maps/levels are large and for the most part non linear allowing us to roam around freely. Here we encounter many people, some outright hostile, some just trying to survive, and learn how they adapted to their new environment. We also learn about some individual fates, usually sad and gloomy, as it fits a post apocalyptic world where everyone struggles to survive.

There is also light though. Exodus is the story of a tight knitted group against the horrors of a world that is mostly uninhabitable to mankind and no longer doing it’s bidding. Everyone struggles to find hope and sense in anything and good deeds never go unnoticed. Each companion has it’s own backstory and some may even find what they’re looking for.

The journey sends the player not just through dangerous tunnels and the icy surface of a nuclear winter but also through scorching deserts (Mad Max vibes included), lush forests and swamps. Not all have to be explored by foot too. Beside trains and various boats we also get to drive around by cars or slide down ropes and mud slides.

There are times where the group is just travelling while the story unfolds and we get to explore the ever moving train where the player has time to change and fix equipment or simply enjoy bonding activities with the comrades. There is also a radio to tune in where we can pick up transmissions and learn even more about the world. Some chatter on the radio is the direct result of our previous actions, adding to the immersion.

The immersion is top notch again. Be it rain (or other fluid) drops on the glasses, weapons getting dirty until they jam (cleaning is a game mechanic) or filters running low. We’ve to watch out for radiation hot spots as well and sometimes caves require the use of the gas mask. Some wildlife is sensitive to light, some to noise. New is a day and night cycle, which changes the behaviour of e.g. animals or bandits. Sneaking around is after all easier at night. A bed or fireplace helps to pass time quickly. Here we often find workstations, where equipment can be fixed, replaced or crafted so that the player can adjust on the fly to the situation. Sometimes there is simply no other option than to bring out the big guns.

I thoroughly enjoyed the story and the game mechanics, just like with the previous parts. The last levels felt a litte tedious and forced focusing mostly on horror and supernatural aspects that I could do without. The supernatural experiences kinda irk me in such games and I think they could do perfectly without. It’s however what’s to be expected from a Metro game by now since this always played a part in the story.

The rest has a good pace and never felt tedious to me. There was always something new or different, like finding out what’s going on in the first place or working together as a team on some task. The cinematic cut-scenes felt a little dated – but still fine for a game that released 7 years ago.

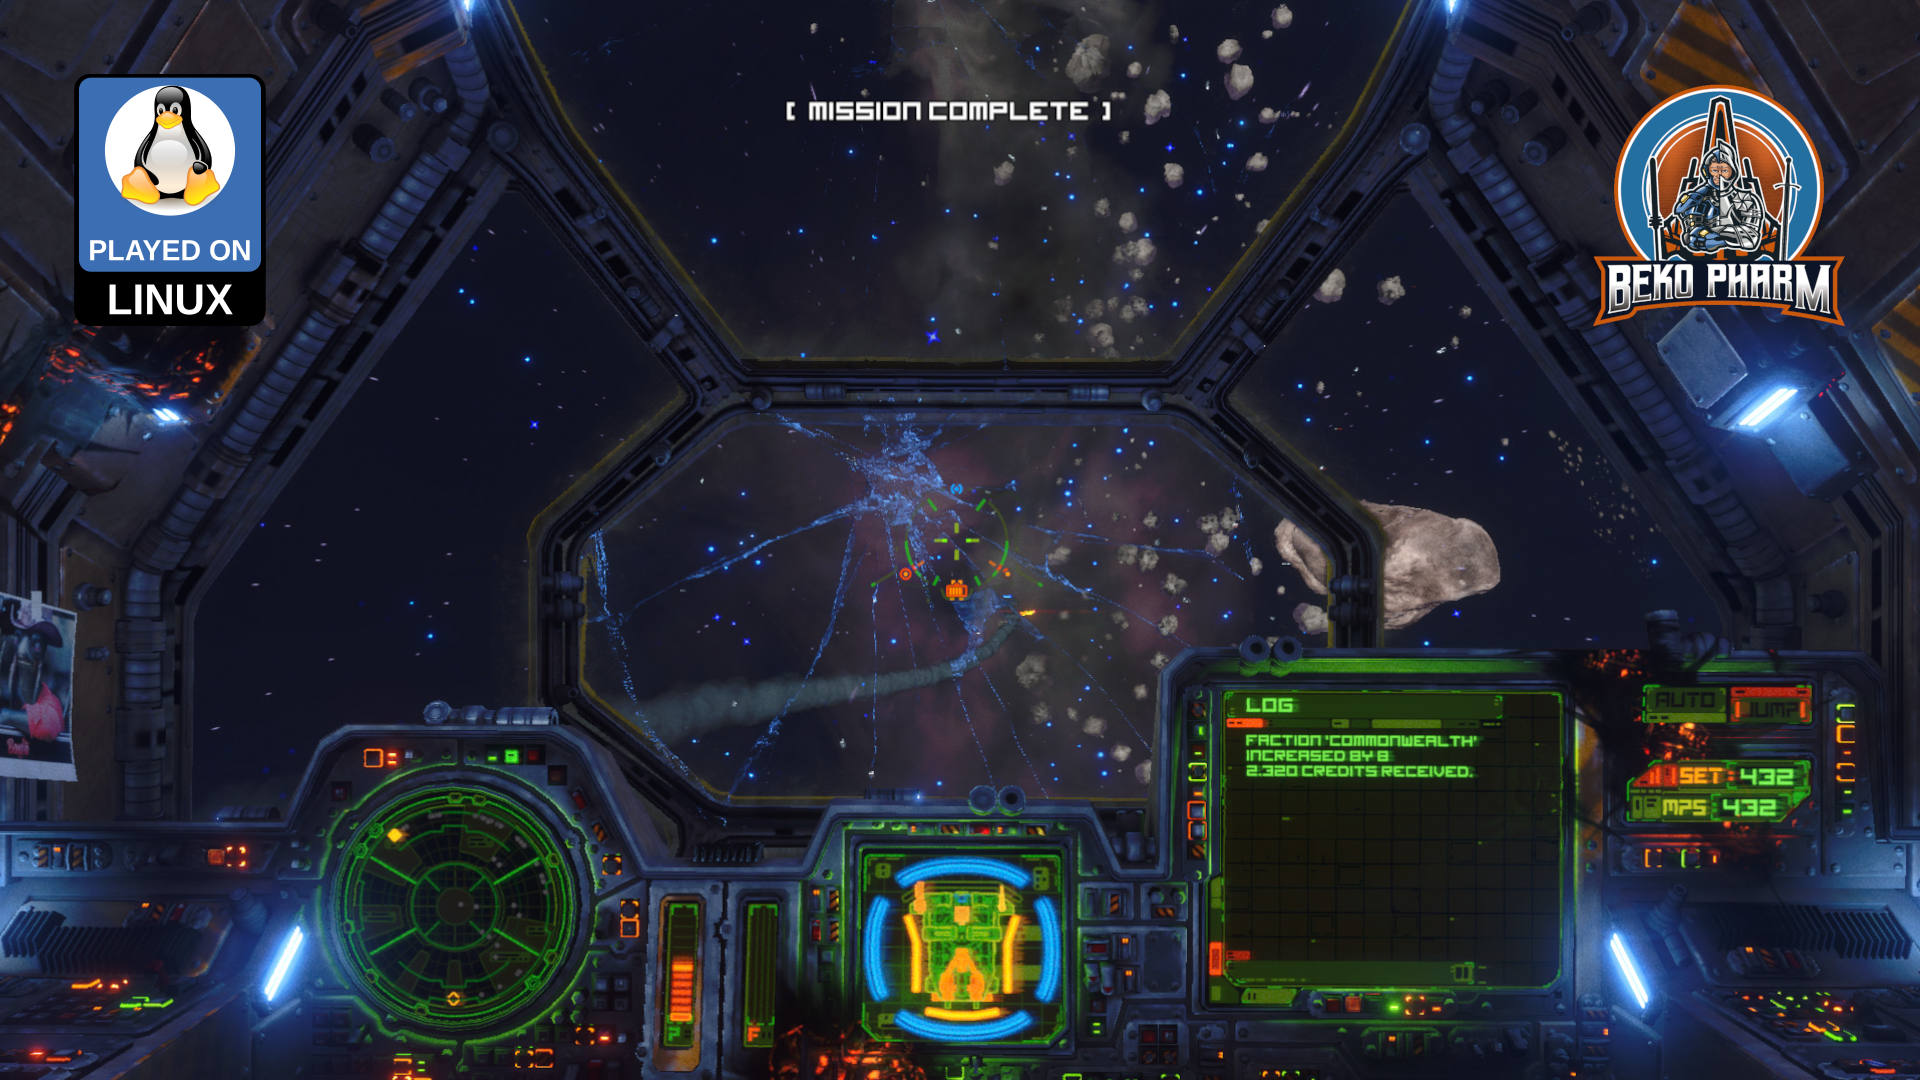
On the technical side I couldn’t be more than happy. The game runs absolutely flawless via Proton on Linux PC on my ultra-wide with a resolution of 5120×2160 and an AMD RX9070XT. Granted it has been a few years since release, so my hardware had some time to catch up, but I still appreciate it when something like this just works. I also experienced not a single crash. Sadly we didn’t get a native Linux PC version this time, which may be one of the reasons it was sitting idle in my library for a while.

I got “the good” ending btw (Metro games usually have two possible endings), which left me yearning for more. This may be a good time to check out the books again, too. There are apparently also 2 DLCs, that I didn’t get [yet].

A Cartridge Music Player by Johan Johan (analog.sylwander.com)

What if, in the 80s, music had been sold on cartridges? And what if there was a portable music player that played these cartridges? And…what if this player was made to look like a miniature boom box? These ideas got me excited enough to start this next project.

🔖 https://analog.sylwander.com/experiments/a-cartridge-music-player/

A cartridge based DIY music player with a boom box design straight from the 80s similar to the TonUINO.

Monolith by Animation Arts Creative GmbH (animationarts.de)
Monolith is a classic point & click adventure with a modern sci-fi look. Join space researcher Tessa Carter and her sarcastic analysis robot C.O.R.E. on a journey that will question your perception of reality.
⭐⭐⭐⭐

A person in a space suit standing infront of a sleek crashed spaceship. It's aft is still burning while the cockpit in the front is leaning over a cliff. Parts of the spaceship are all over the place. There are only desolate mountains in the background and no signs of life

Played https://store.steampowered.com/app/1542390/Monolith

Needed 10.4h and somehow missed every single achievement 😆 The end was a little tedious (I mean at some point you just see what’s coming next) but the puzzles are intriguing and most are logical (unlike certain other wacky puzzlers). Plenty of nods and references to the genre and the humour is right up my alley.

Heh even found some known names when the credits rolled 🤓

Zero hickups / crashes with Proton. Didn’t get into any dead ends too.

Oh yes and it’s 70% right now.

Having an action webcam strapped with bow ribbons to my XR glasses grinning mad into the smartphone cam. A bunch of wires are also strapped to the glasses.
Video: How to get 6DOF with older 3DOF XR glasses using Breezy and OpenTrack

Breezy can now turn a 3DOF (degree of freedom) device into a 6DOF device by augmenting the missing positional data from a webcam. Spoiler! It is not the cam strapped to my face – this is just for the demo you can watch here, on PeerTube or YouTube.

The cam, that I used for this task, is sitting on my monitor. How this works? Well not with magic! This requires a somewhat decent webcam – really anything from the last decade should suffice – and OpenTrack, of course.

OpenTrack is a head-tracking application with multiple tracker plugins. One of it’s plugins is the Neuralnet Tracker, an AI powered extension that comes with a bunch of different head pose models to choose from. With a webcam connected this can now locally run the detection model with very low latency – so it’s usually blazing fast on most systems!

This alone is already 6DOF and is used a lot for gaming already – so what does Breezy do with this? Simple! It reads the forwarded data via an UDP listener, a very quick way to transmit data on a local network or system [and complements it’s own rotational data with the missing positional data].

With this a Breezy user still gets the rotational data from the XR’s very sensitive IMU, that is short for Inertial Measurement Unit btw, and the not so important positional data sent from OpenTrack.

This works of course only while the webcam can still see the user. So sadly no walking around while using this.

And the best thing? It can also send the data back! This means that the very same combined values can be forwarded – e.g. to a computer game – benefiting from the best available data sources for rotation and position.

That’s not the main use case, of course, and only of importance for some nerds like myself. This is mostly relevant for the productivity features of Breezy, because sometimes a text may be too small to read with the glasses on. We do no longer have to increase the font size – we can now simply lean in! That is a feature that is usually only available with glasses, that come with little cameras of their own, so they can have native 6DOF support. And when I say native I mean that such glasses usually also outsource exactly this calculation to the connected computer. It’s my understanding that this seems to require a lot of computation power, which is something many XR users with the more modern devices complain about.

Well not so much with OpenTrack and the Neuralnet tracker, that utilizes the ONNX runtime under the hood. That’s a high-performance, cross-platform engine to power exactly such models locally. The runtime automatically makes use of the best available hardware acceleration, if there is any.

Overall I’m rather hyped about this feature – especially because I’m using the OpenTrack output option of Breezy for quite some time now, to get a VR like experience with stereoscopic 3D rendering in Side-By-Side mode. I can now keep using my older XR glasses and still enjoy this more modern 6DOF feature. This is rather expensive hardware after all.

And all that on Linux PC!

Breezy xr_driver: https://github.com/wheaney/breezy-desktop by https://www.youtube.com/@WayneHeaney

Official Announcement XR desktop with 6DoF + multiple displays: https://www.youtube.com/watch?v=eFLmjpjF-rA

Music “Life’s Worth Dying For” CC BY-SA 3.0 “LostDrone”. Licensed to the public under https://creativecommons.org/licenses/by-sa/3.0/ Verify at https://soundcloud.com/lostdrone/rock-lostdrone-lifes-worth-dying-for-free-download-and-creative-commons-license

The Little Witcher (Goodreads)
In this delightful comic twist on the magical world of …

❤️ https://www.goodreads.com/book/show/217245570-the-little-witcher

In this delightful comic twist on the magical world of The Witcher, Geralt of Rivia is just your average monster-slaying dad, trying to raise young Ciri to be a good kid while teaching her all about life as a Witcher.

Oh my… cuteness overload. Straight to my 🛒


https://beko.famkos.net/wp-content/uploads/2026/02/raspberry-pi-gift.jpg

An unboxed Raspberry Pi 3B+ next to it's box

Got a late present for my birthday from my parents (we couldn’t see each other much over the last months). A brand new Raspberry Pi 3B+ for more home cockpit shenanigans 🤓 Man my parents are awesome.

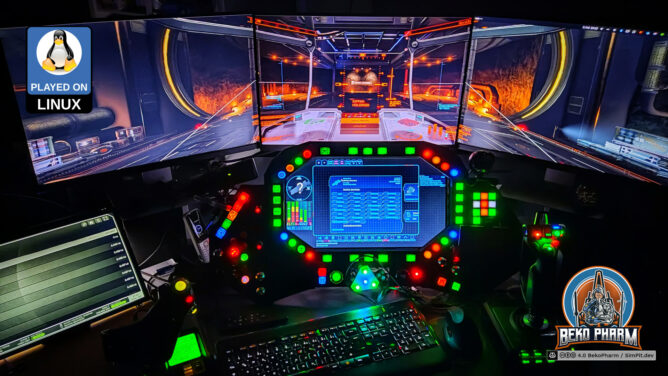
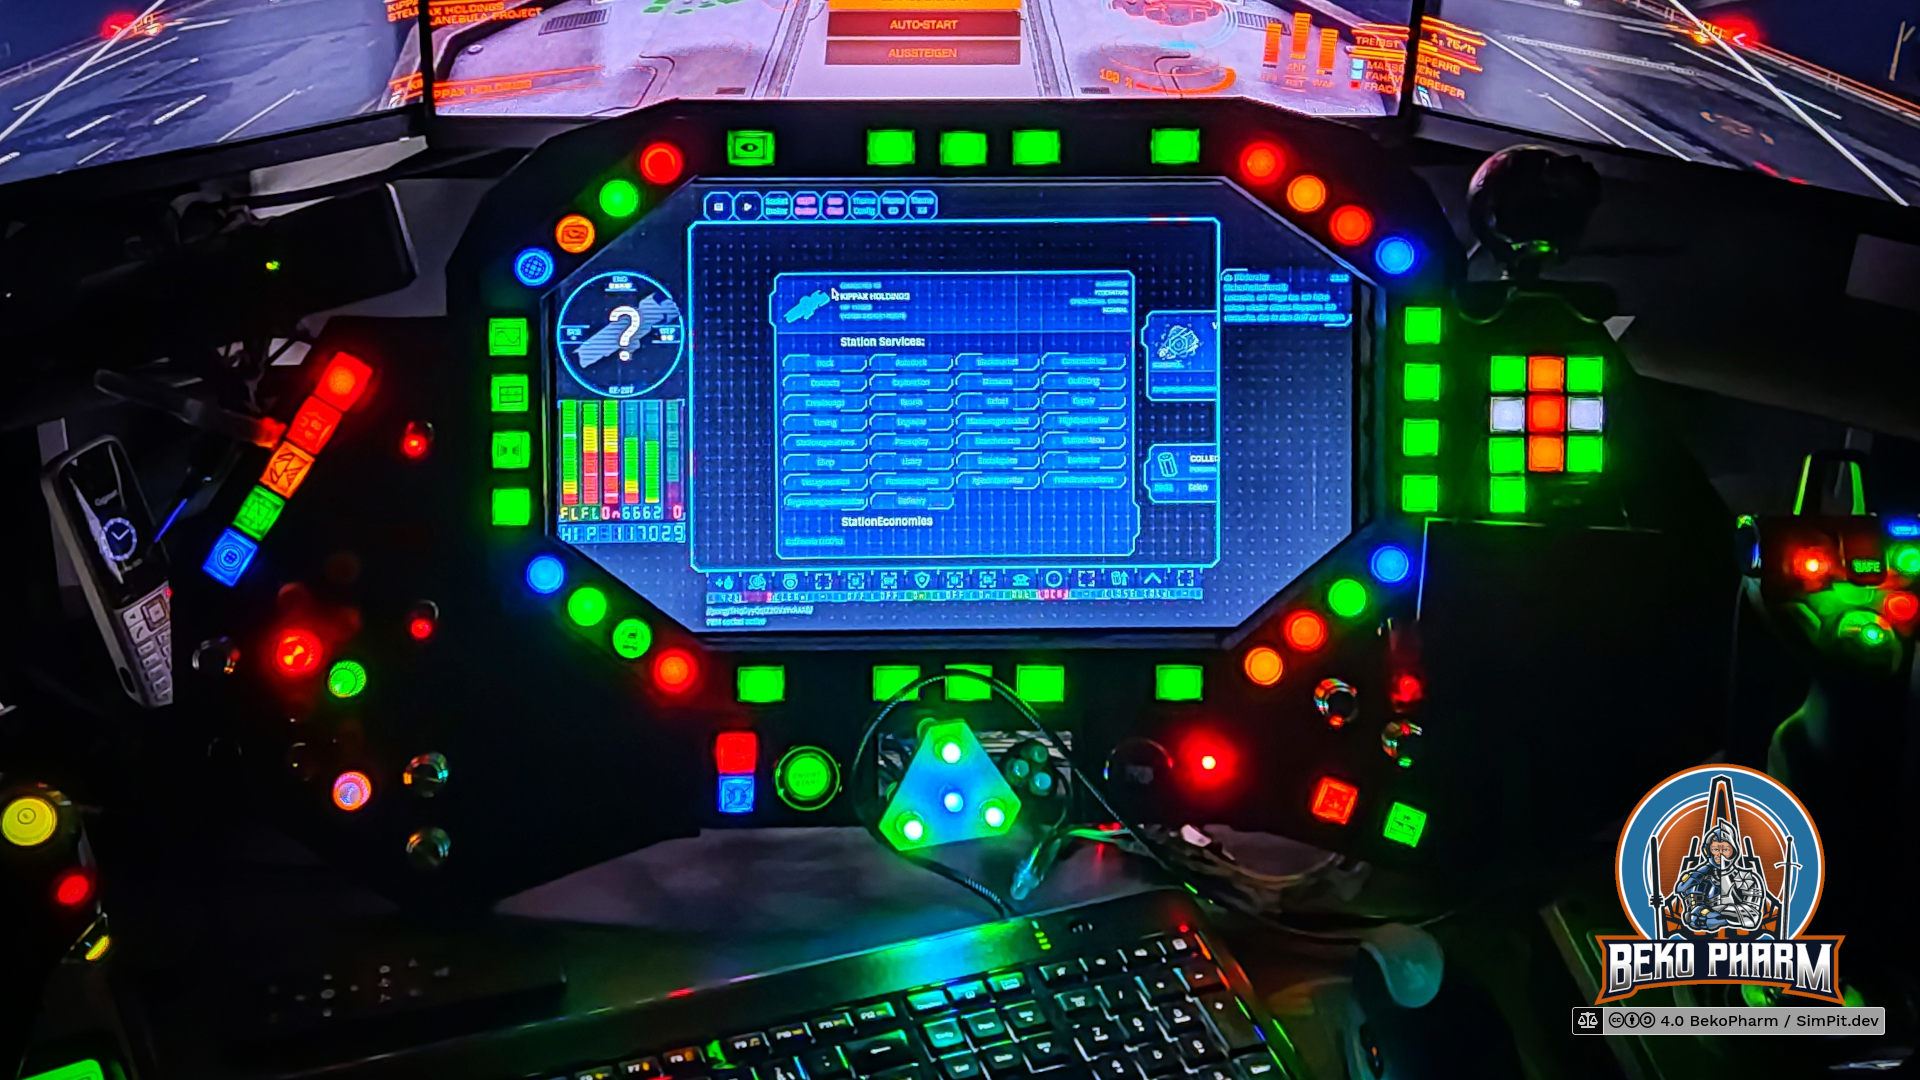
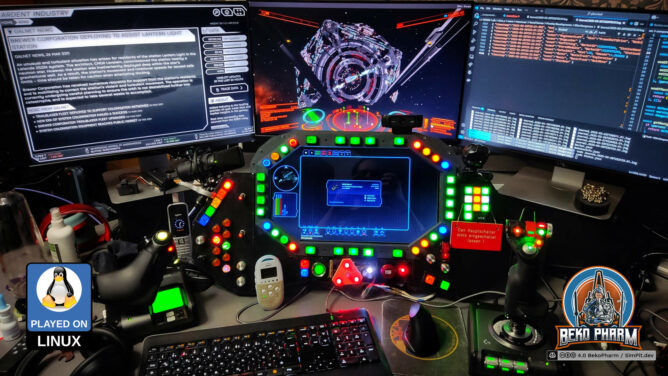
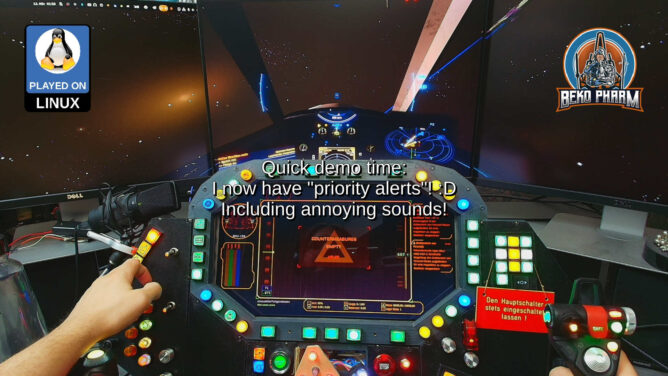
Finally replaced the old display with a new touch display in my VF-1 inspired home cockpit panel.

The old display was salvaged from a laptop years ago and while it was working fine it also has a very bad viewing angle. I also got really tired of it’s glaring reflections so I experimented with an anti glare foil. This reduced the reflections a lot (worth every cent) but couldn’t help with the bad viewing angle, of course. I now had an idea how this could look though so I decided to buy into a replacement kit.

The new display is the N173HCE-E31, a 17.3" with a resolution of 1920x1080. The touch controller registeres as a USB HID pointer/mouse by ILITEK and is basically sitting on top of the display. The kit included a PCB, that was advertised as VS-RTD2556HC-V2 controller by VSDISPLAY but came without any data sheet and I have no idea who really made this.

Thing is this PCB runs very hot and the noted input voltage isn’t explicitly stated. An attached image suggested to use an USB PD power supply without 20V so I was looking for it’s datasheet to check if I was just holding it wrong. Picture me surprised but VSDISPLAY does not list this particular configuration in it’s datasheets. I contacted them via mail and they confirmed that this is not theirs. Theirs is apparently also strictly 5V/12V so that matches the picture I get.

Mine is equipped with the IC RTD2556VD that does not match the list of supported ICs. Theirs has 2556TE_R20.1 printed on the PCB. Mine has 2555TF_R30.1 printed on. It’s like 99% similar but differently routed. It also mentions E470791 JPX-D which seems to point to the PCB manufacturer Dongguan Jingweixin Circuit Co Ltd but that is where my GoogleFu left me. I did also find the very same pictures on other offers, each stating a completely different controller model 🤷

Anyway. I tried different configurations and while it works with 5V at ~2A I feel way more comfortable with 12V at ~0.8A on full brightness + blue color. I also attached a passive cooling block I had laying around and slapped a fan on top. Now it’s only “comfortable” warm to the touch after running for an hour.

Sadly I do not have any device with DP ALT providing more than 5V and the PCB will always switch down to 5V the moment the USB-C dedicated for the display signal is used as well, even when a proper USB PD power supply is attached on it’s dedicated power connector. I could only keep it at 12V with my VITURE USB-C XR charging adapter, which can indeed provide 12V and more via USB-C while still allowing DP-ALT + USB2. There went my plans to only have a single cable for all, DPPD and the USB2 lanes for the ILITEK pointer, because I really do not want to block this adapter all the time.

So now I have a dedicaded USB PD power supply at 12V connected, a HDMI connection for the display and an additional USB2 for the touchpanel pointer – and on top of that the little fan, that I simply connected to the micro USB2 socket on the PCB to provide it with 5V.

This also means that my Linux PC can not know that both, touch panel pointer and display, belong together. As a result all touch panel inputs were all over the place and not limited to a single display. Apparently KDE has an option in it’s graphical settings where this can be easily configured. Gnome does not [yet?] have such an option in it’s graphical settings. There is however a way to enforce the mapping of the touch panel in Gnome too! And while the real manufacturer for the controller of the new display is still a mystery to me I found the following snippet in my monitor configuration $HOME/.config/monitors.xml after plugging the controller in:

<monitorspec>
    <connector>HDMI-2</connector>
    <vendor>RTK</vendor>
    <product>0x2555</product>
    <serial>0x20230705</serial>
</monitorspec>

The touch panel is, according to lsusb, connected as ID 222a:0001 ILI Technology Corp. Multi-Touch Screen. Armed with that knowledge I can limit it’s input with gsettings to this specific display:

gsettings set org.gnome.desktop.peripherals.touchscreen:/org/gnome/desktop/peripherals/touchscreens/222a:0001/ output "['RTK', '0x2555', '0x20230705']"

Works like a charm but what a mess. I still wish I had a data sheet for this so if you know more kindly drop me a comment!

The last thing to fix was the already mentioned reflective glare. For this I went with a screen protector by BROTECT (that name still makes me laugh), that promises beside anti scratch also an anti glare effect without limiting the view angles (some foils do this to enhance privacy).

Attaching the foil was straight forward. The trick is to make sure that not a single dust particle is around during the process. To help with this I used an air humidifier to raise the humidity in the room before I even started. After that I removed the protective cover from the display and started slapping on the foil with the provided mounting card (yay, cardboard again). This was the very moment one of my curious cats decided to investigate my actions and jumped onto the table almost giving me a heart attack. The last thing I needed was cat hair all over the place and indeed after a lot of hissing I had to make good use of the also provided adhesive sticker to catch all dust particles in the last corner. Cats!

The end result is like night and day. I do no longer see any light sources or myself clearly reflected on the display. The touch panel is still accepting inputs just fine and the colours look very bright from any angle, especially with HDR enabled. This will also ease it’s cleaning because the cockpit panel is collecting dust like crazy due to the gradient of the panel. I usually use a vacuum cleaner for this and the foil will help a lot to avoid scratches.

Replacing the old display was also a task on it’s own. The old screws didn’t fit, of course, so I kinda had to build little adapters from leftover angle and wood pieces. Very ugly but good enough – this is just a toy after all 🤓

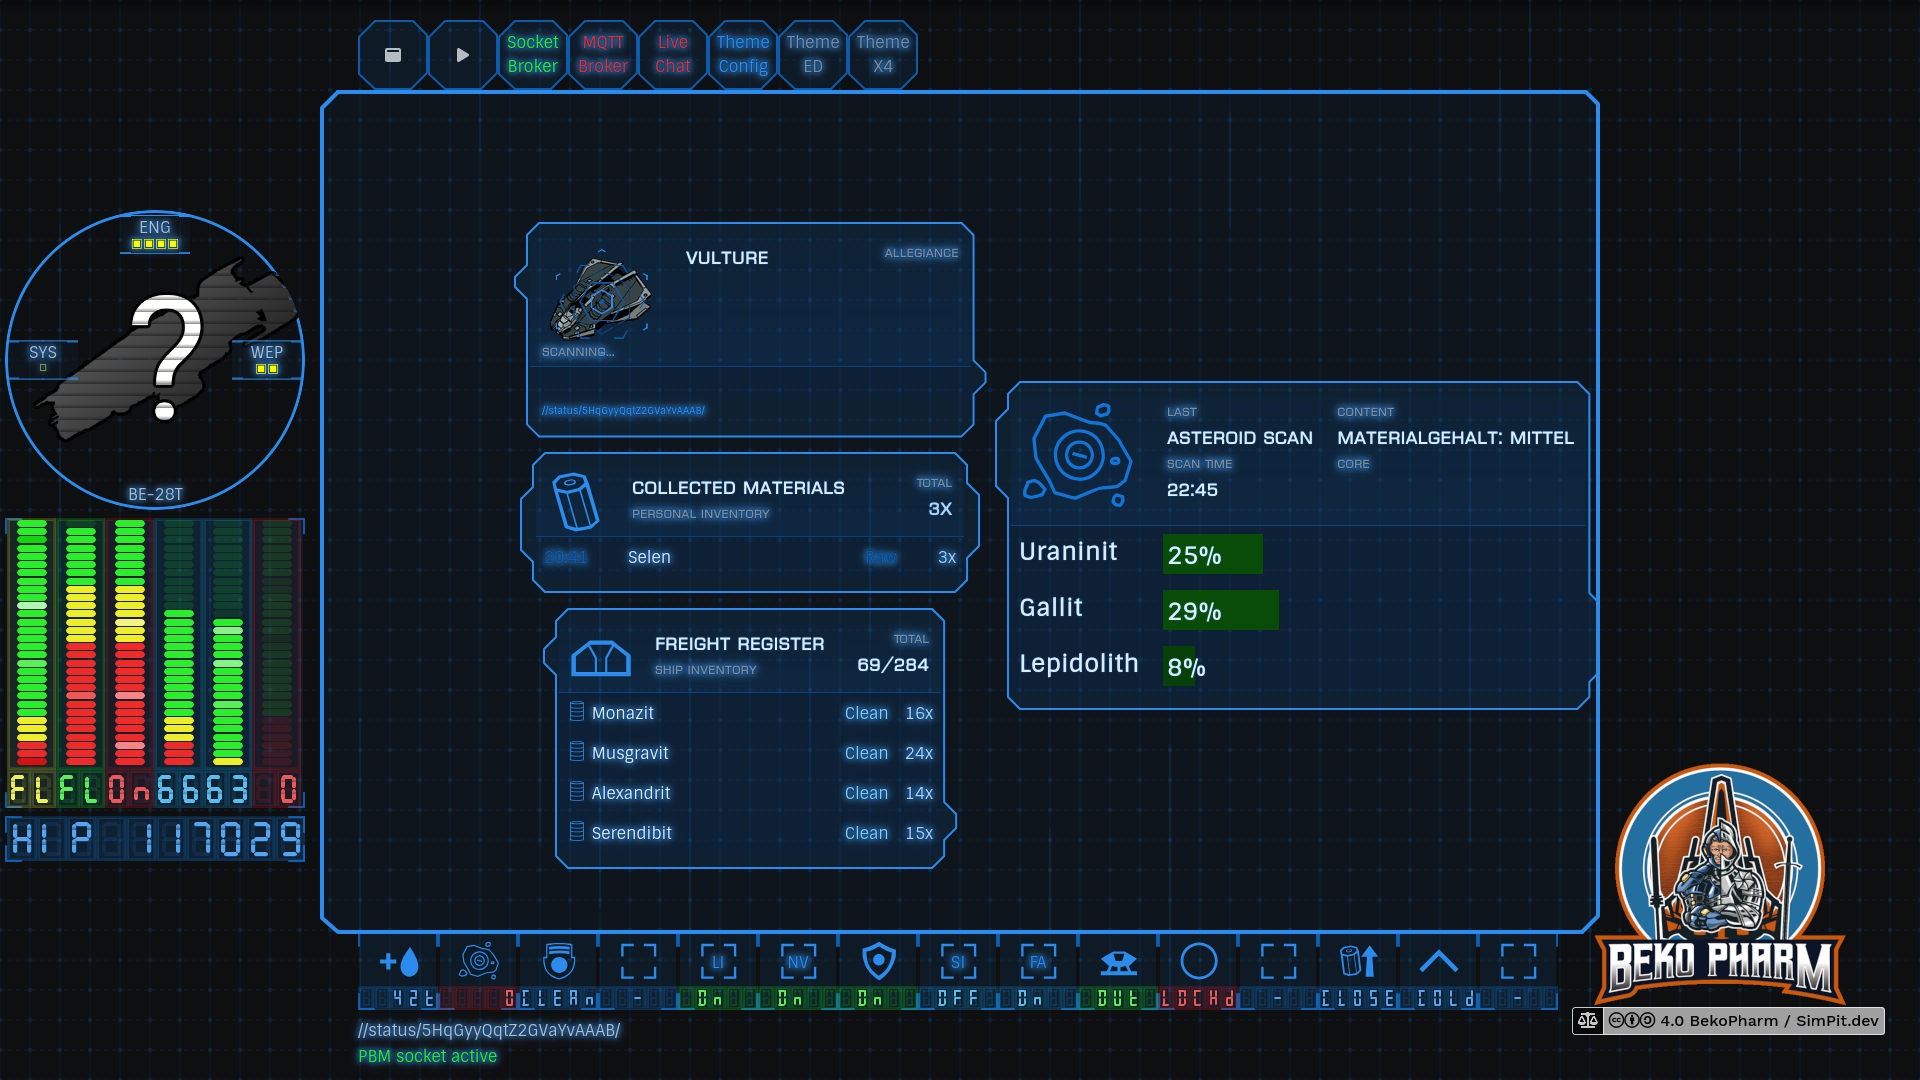
Ah yes and now that I have a touch panel I also have to rewrite my HUD app, of course 🙃