So, #x4foundations Timelines released today. Bagged it, of course. Don’t even really know what’s coming but the X series are something I enjoy since X: Beyond The Frontier in 1999. Kinda rad that a company that old managed to stay in business and true to their very own franchise.
Oh and also native for #Linux PC, my daily (and only) system for #gaming.
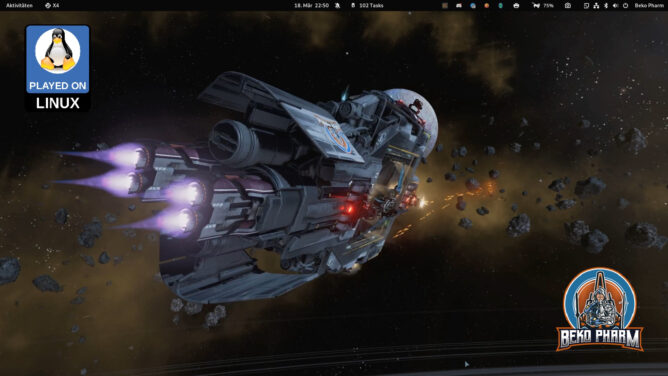
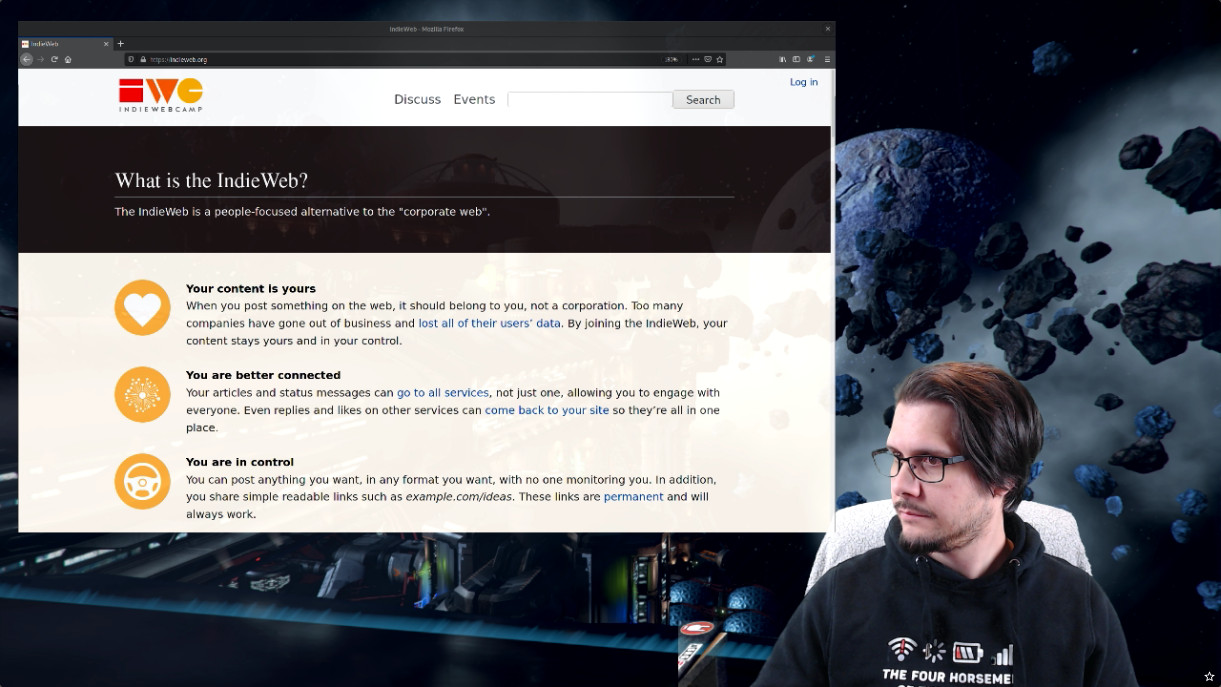
I was reminded by the OnThisDay feature that I used many X4 screenshots and recordings as background for presentations and video conferences during the self isolation times of the first Covid waves. The media was recorded in-game before, of course.
I also wish I’d had recorded that IndieWeb presentation alas I did not ☹
I held an online presentation and talk for 2h about #LinuxGaming some weeks ago **in German**. The presentation itself (20m) went live today with **English subtitles** on the channel of @Sciencekeeper@troet.cafe (Stellanebula project lead). I mention #X4Foundations as example for native games but the main focus is, due to the audience: a huge German Elite Dangerous wing, focused on #EliteDangerous (and some #StarCitizen for good measure). I’m going to release the talk that happened after this eventually but I have to cut this first, which is _a lot_ of work, so no promises yet. Mebbe this is of interest for someone else too: https://www.youtube.com/watch?v=wmaj-MyRkPs.
This presentation was made for absolute beginners as intro into the topic #GamingOnLinux.
Toyed with my Steam Link (I still have this as hardware) at the 55″ TV in the living room today. Never tried this before with X4, because I bought X4 on GoG so it’s a “foreign game” for Steam.
It just worked though. Think that’s a little bit too much for gaming (neck hurts already xD) but it was a nice experiment. Maybe with an elevated seat 🤔 …oh and I even tried it via the Steam Link App on my mobile phone – briefly xD
Also tried House Of The Dying Sun this way (little gem, IMHO, even if very short).
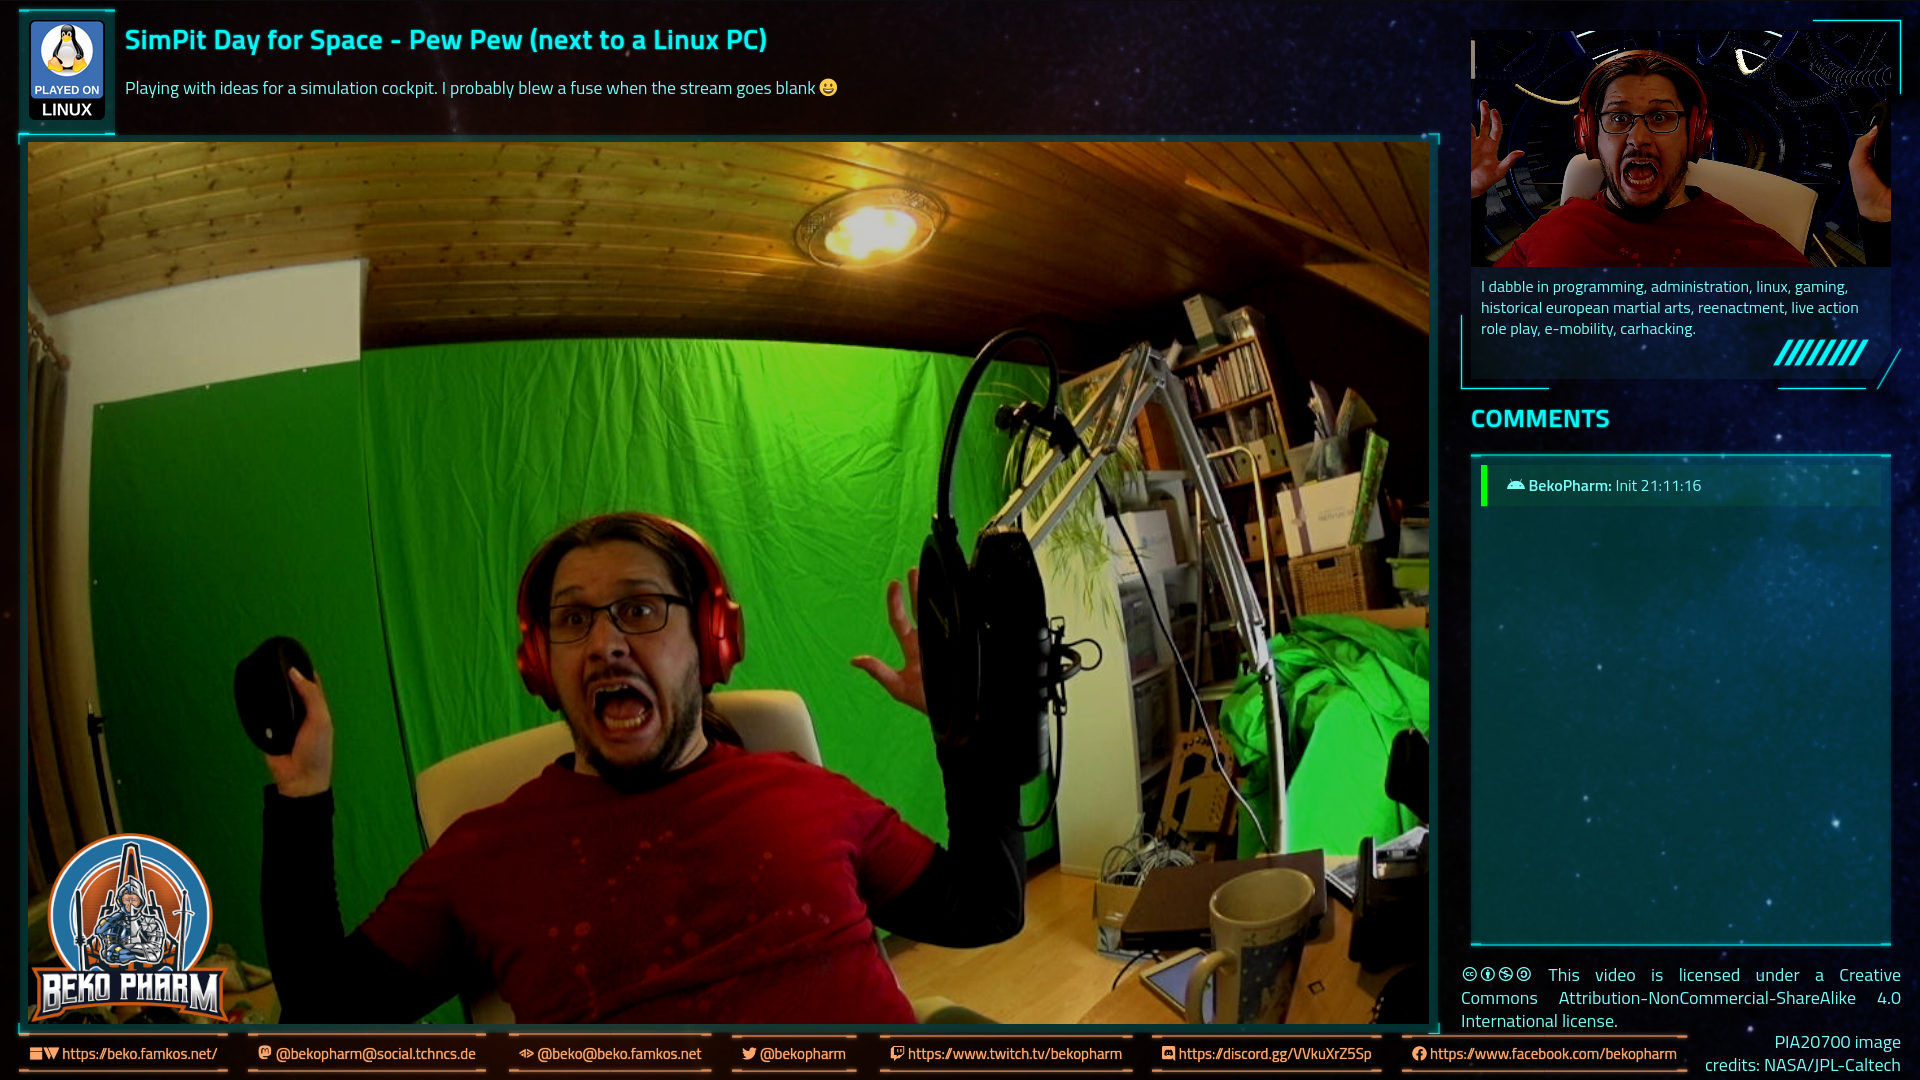
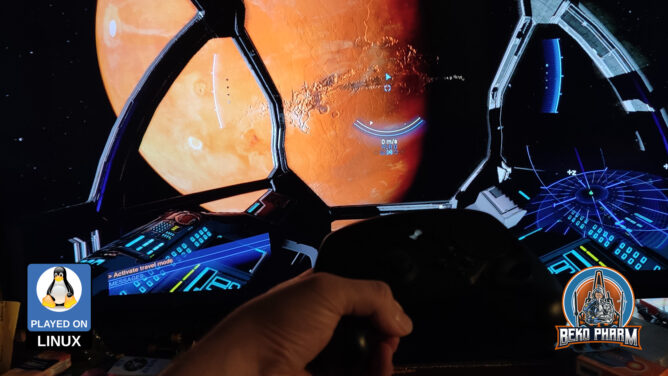
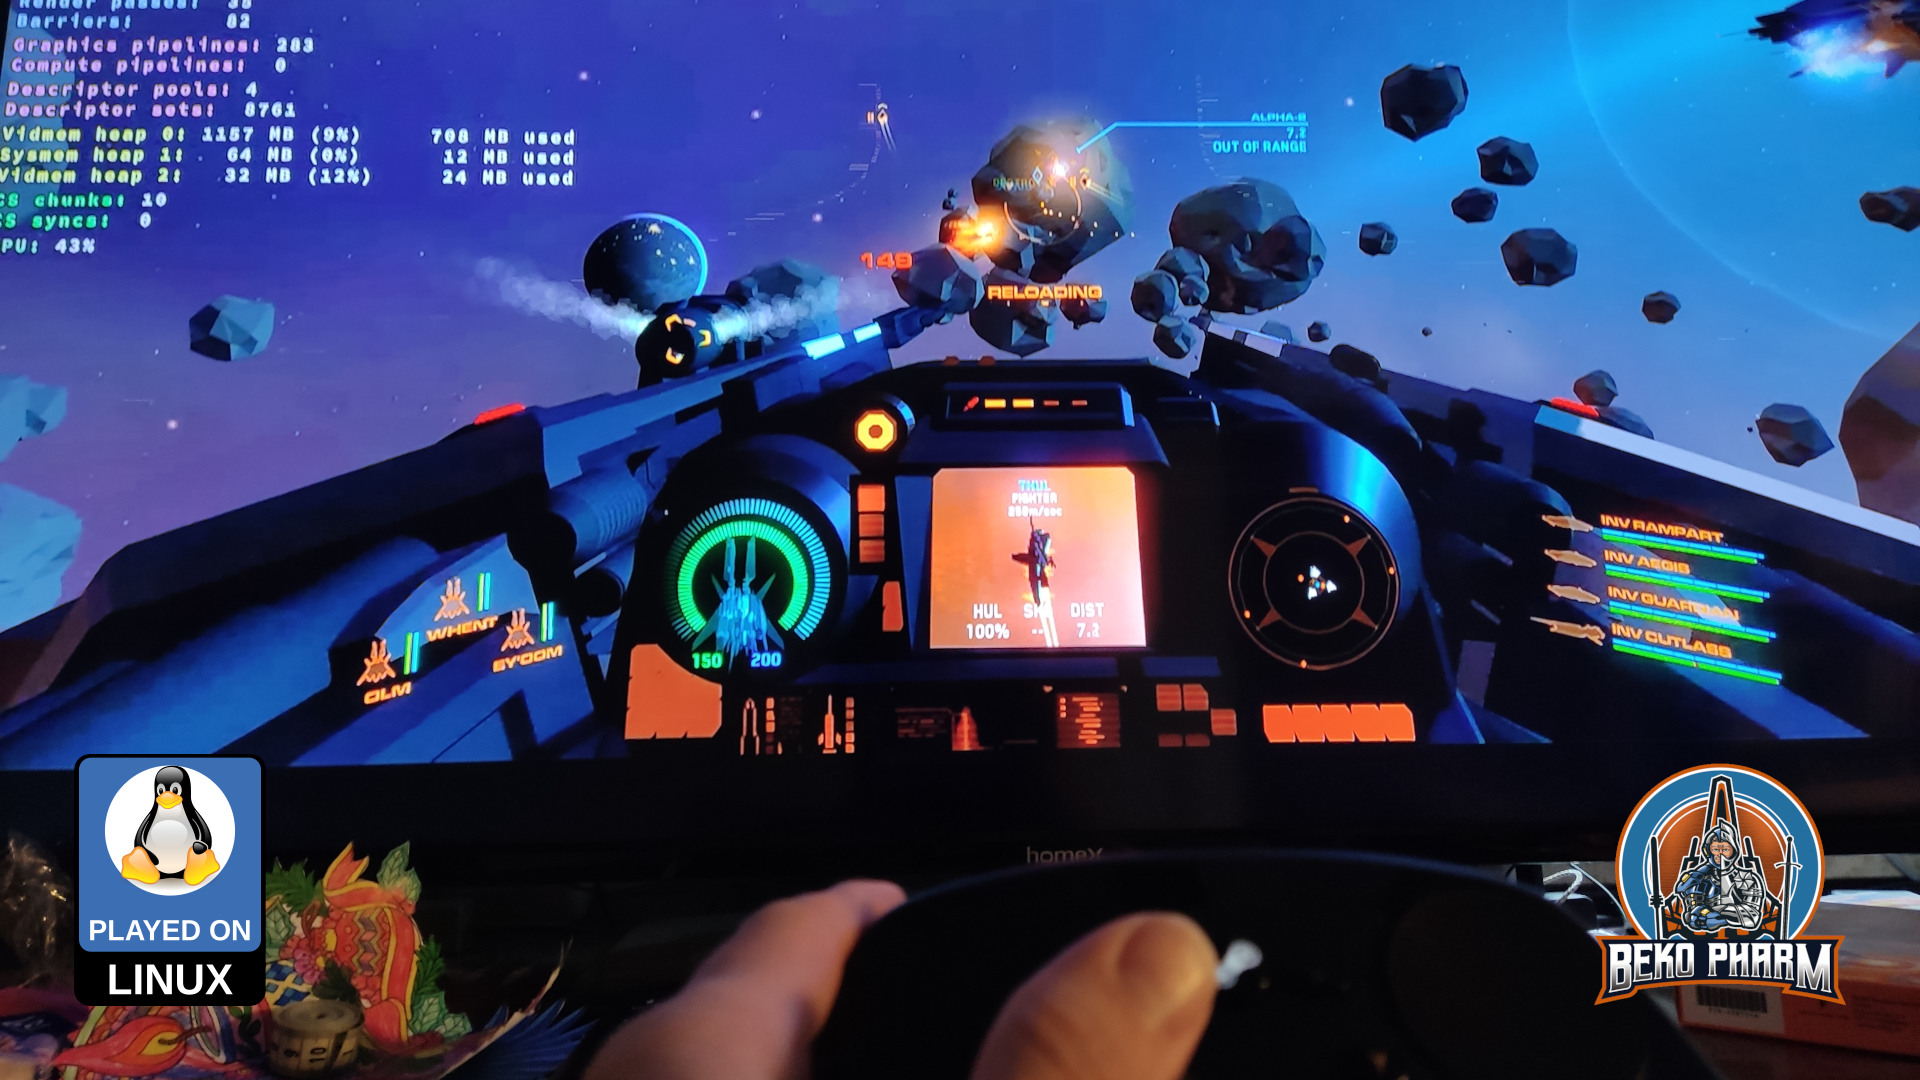
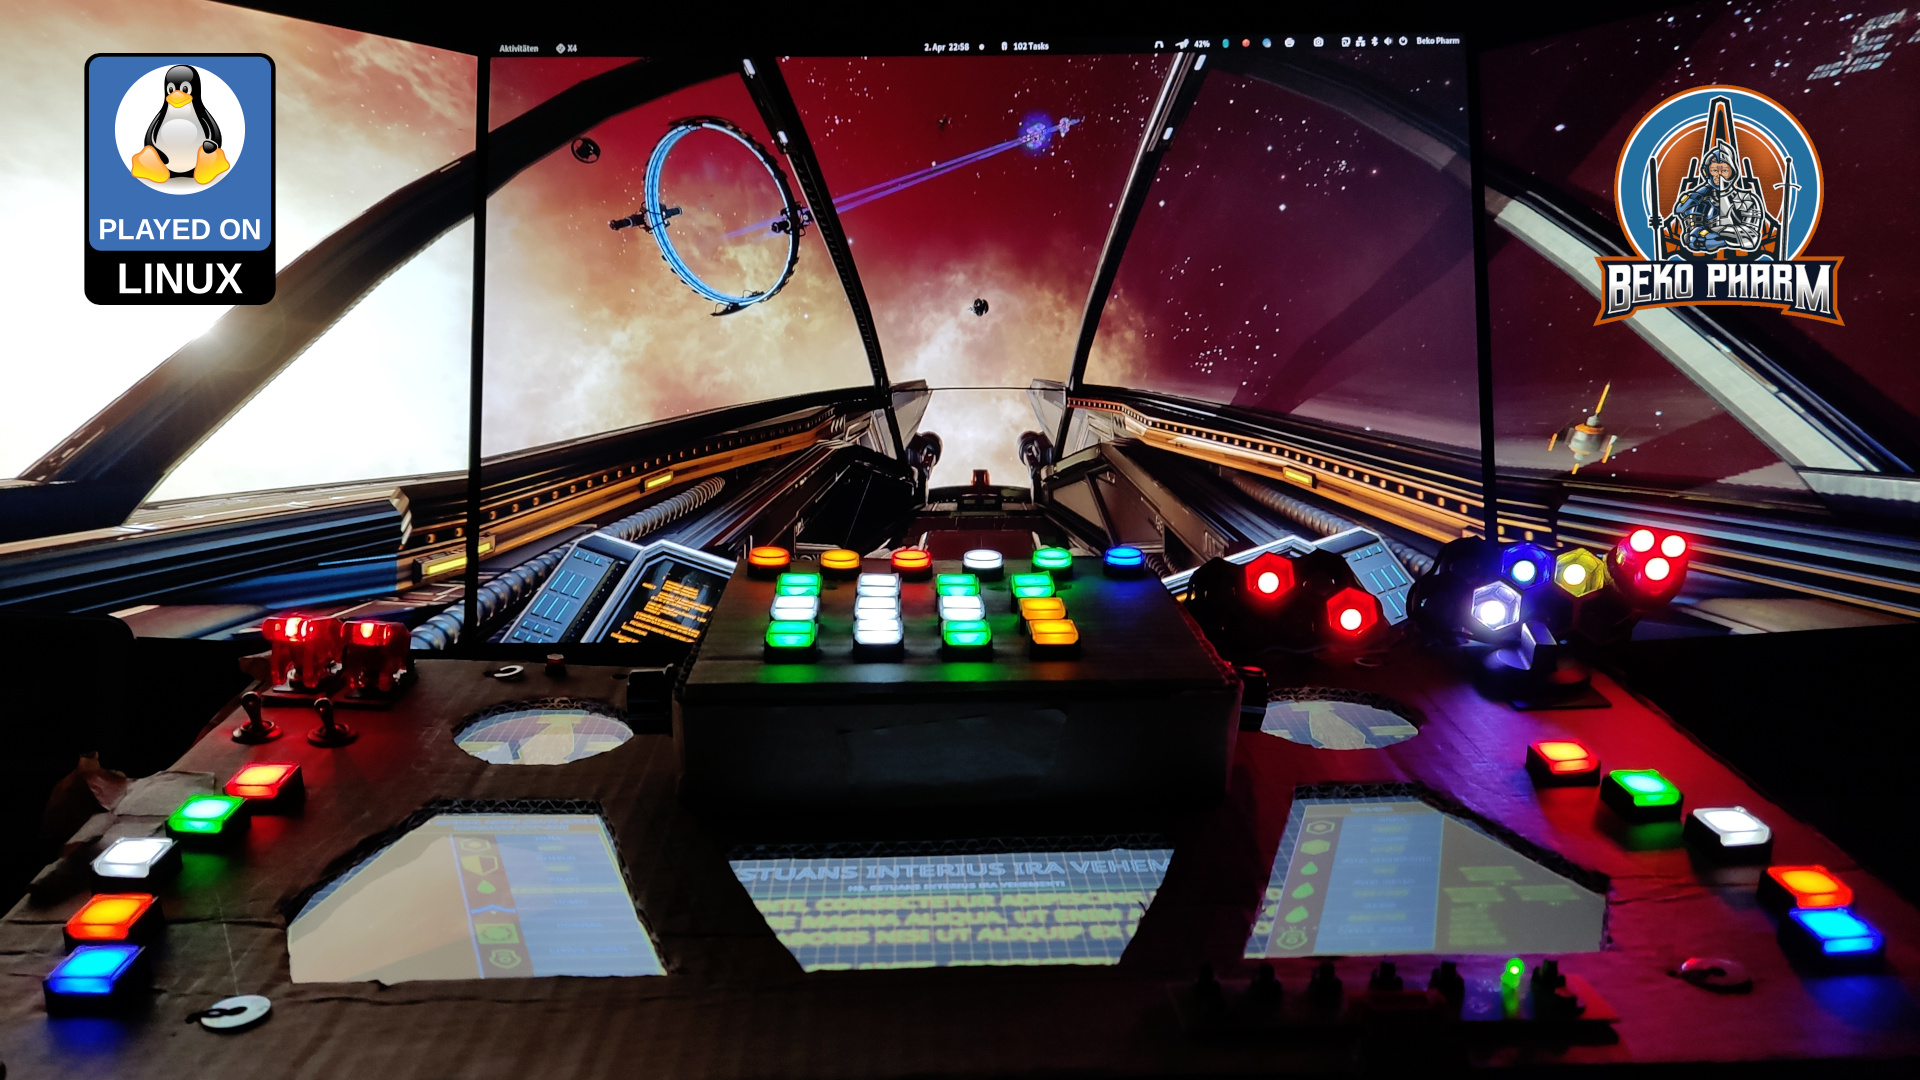
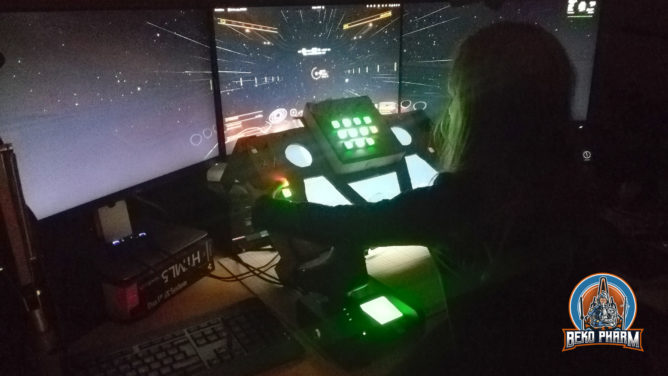
I hacked a mod for X4: Foundations to get ship telemetry and targeting data to my “Primary Buffer Panel” via a socket. This is a demonstration of my simulated cockpit made from cardboard on a budget usually used to play Elite Dangerous now also used for X4: Foundations. This is work in progress.
My DIY cockpit for X4: Foundations (on Linux PC)
In use:
A Linux PC
A DIY Headtracker
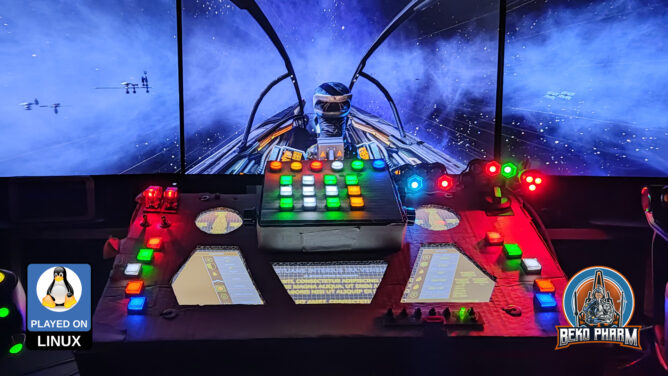
A DIY Joystick (My Primary Buffer Panel)
A X52 Pro HOTAS
An AMD RX6700XT
…a lot of plumbing in Node-Red xD
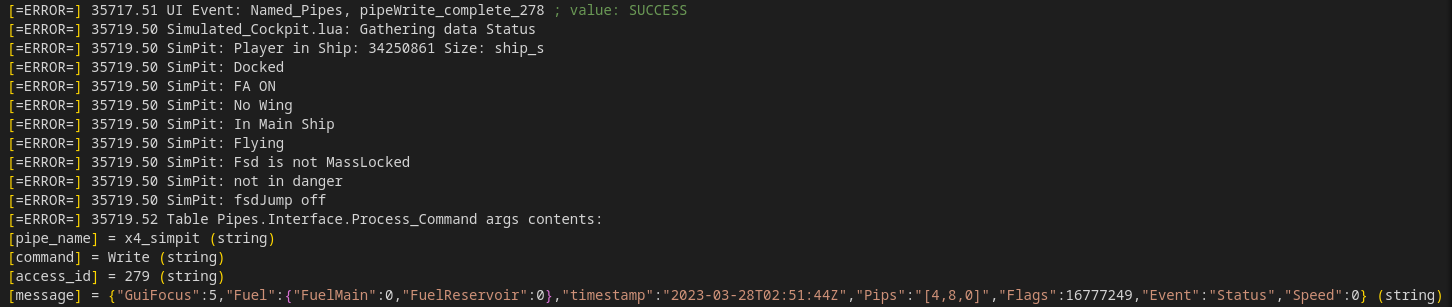
This is loosely based on the Python Pipe Server mod for X4 that is sadly Windows only using Named Pipes. I fixed that for Linux PC by side-loading the library LuaSocket and starting a socket server directly in X4. That’s right, the Python Server is simply not needed now and companion tools may directly connect to the socket. It’s a nice bonus that LuaSocket also allows a UDP or TCP server depending on how it is started. That was some piece of work though and I’m still wrapping things up to publish my code changes. I’m also still looking for testers so if you’re interested get in touch!
Modding my X4: Foundations into using the same data format as Elite Dangerous does so I can run my SimPit without changes. Things are coming together nicely 😀
Here are the humble beginnings[1] of a working example to read the ship status of #x4foundations in a format very similar to the Status File of #EliteDangerous
Both games are quite similar and by using a “well established” format it should be possible to use this with existing companion apps – like my own #SimPit
It uses the “Named Pipe API” of “sn_mod_support_apis” – on #Linux PC 😁 This was not supported by this MOD so far but I made it work.
Well, at least on my machine 🤓
And yes, the pipe server works with some minor adjustments for other _existing_ apps as well. Here is a demo of #X4ExternalApp with a data feed directly from X4: Foundations – it does not use the #X4PythonPipeServer though, since that is not really needed, so I had to make some small adjustments in it’s connection routine but that was like 2 lines of code 🤷
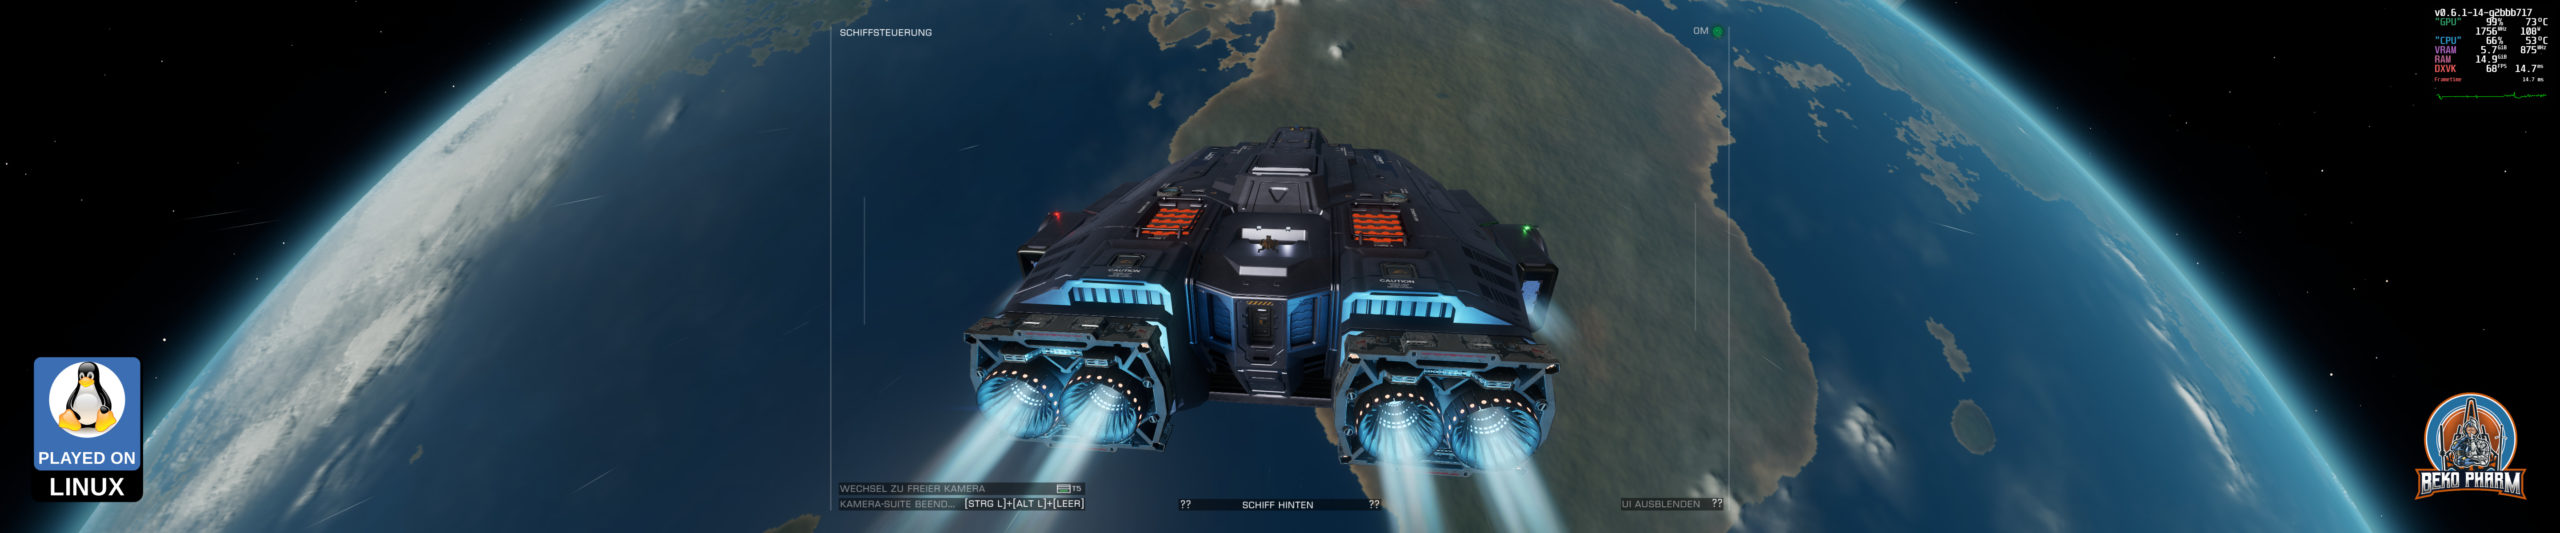
This is heavily distilled early gameplay of X4: Foundations, where I started another play-through slowly expanding my little empire with trade, side missions, station building, border patrol (loosing the the “Misfit”, my good old starter-ship), a surprise Xenon attack on a station where I was just for shopping and eventually good old fashioned piracy with unexpected guest appearance of some Kha’ak trying to crash the party.
01:11 Setting up trade routes aboard The Law Abiding Windrunner 02:20 Switching over to the Misfit 03:05 Witnessing the death of a trading station (while escorting my own ships to safety) 03:50 Patrolling for money (and looting stuff) 05:48 Repairing satellites (in EVA suit) 07:32 Docking at the impressive Teladi ring station for shopping 08:45 Surprise attack on the ring station by a Xenon K (and it’s demise) 14:32 Extending my own station and buying more mining ships 11:26 Switching over to my frigate for border patrol (lots of pew pew) 14:30 Loosing the Misfit to Kha’ak (and avenging it) 16:07 Going for resupplies and preparing for piracy 16:39 Ambushing the prey, a fat water freighter looking for a new owner 17:59 Starting the boarding operation 18:40 Realizing I need more support to deal with surprises 18:58 Stumbling over mentioned surprises, Kha’ak trying to crash the party 19:51 Sending more boarders as the first group fails 20:22 Finally going home with the price, a “slightly banged up” L water freighter
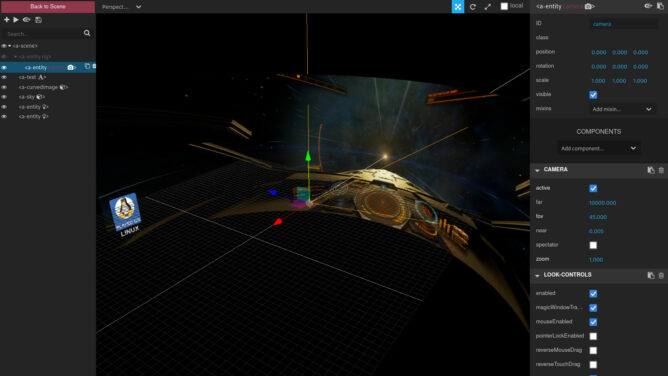
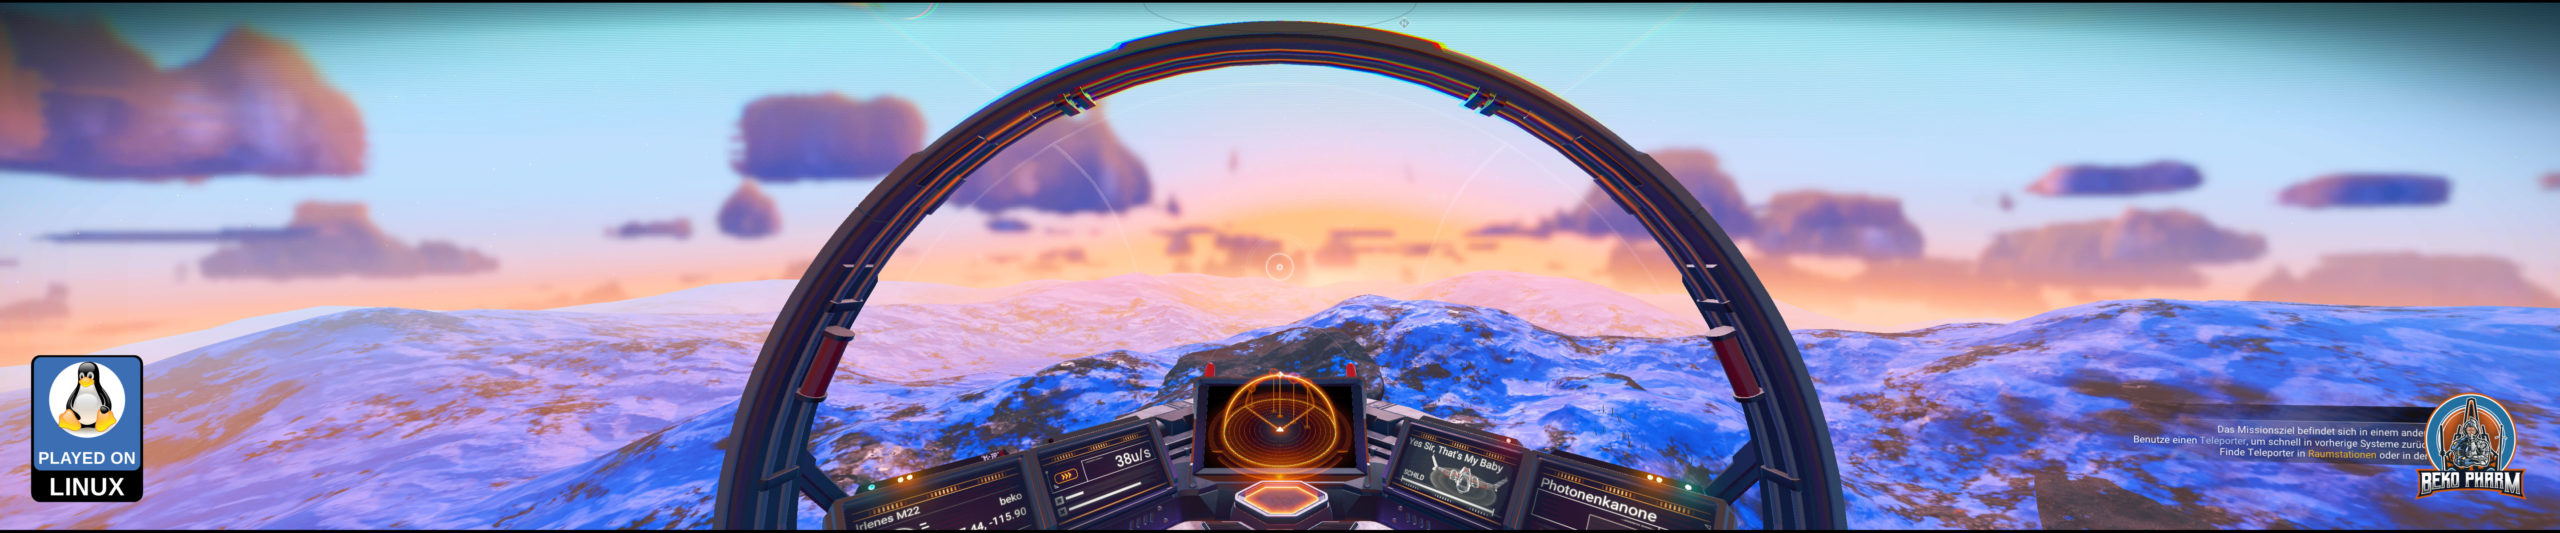
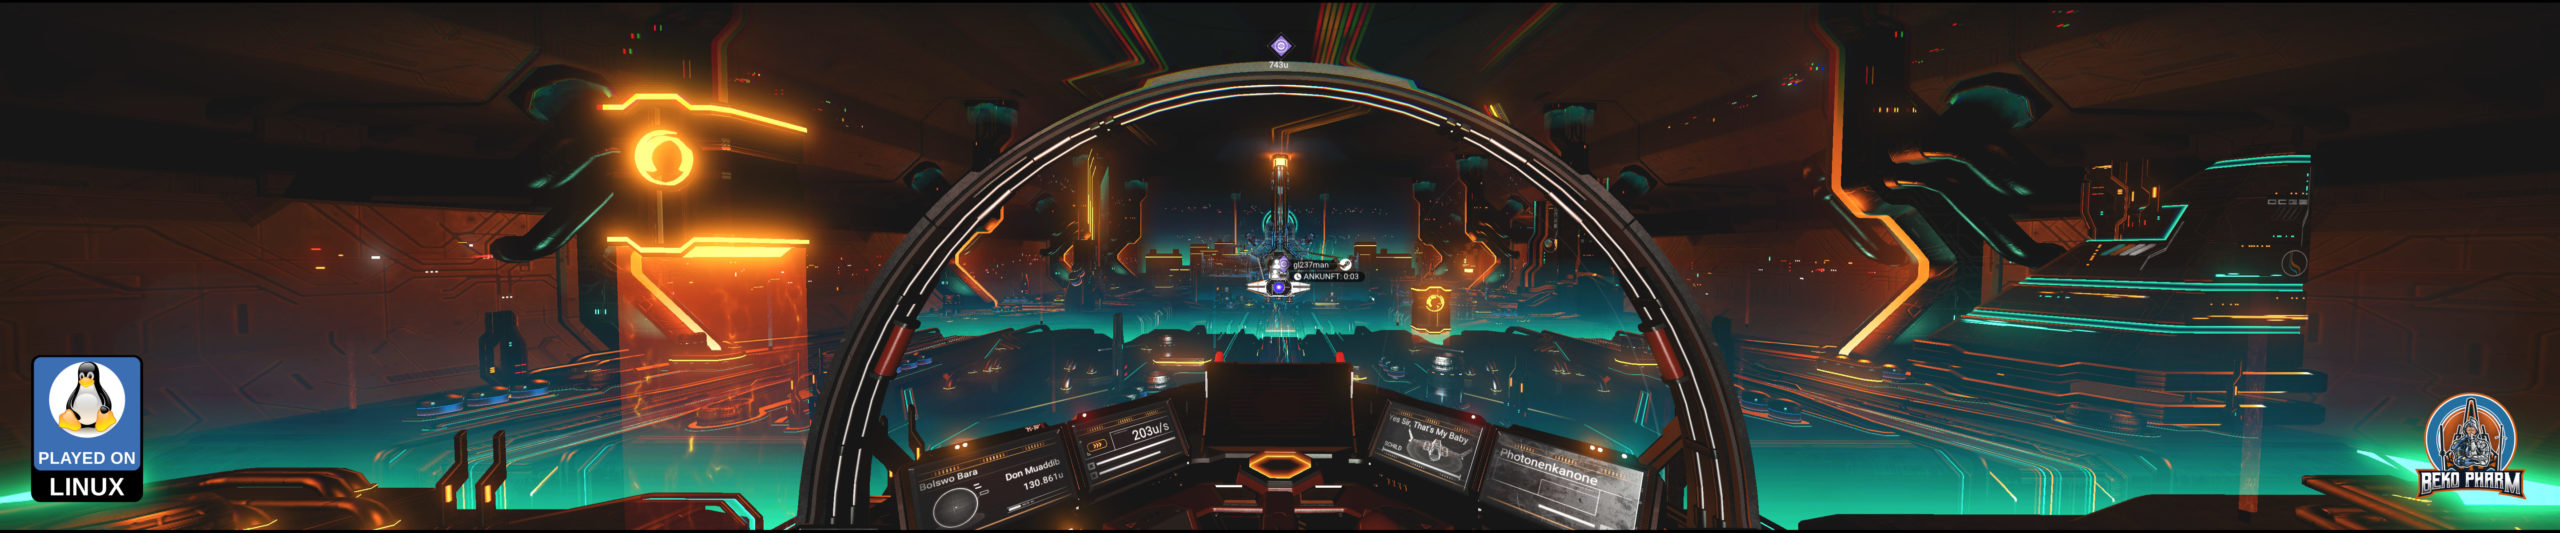
I’m wondering how to present ultra wide screenshots for a while now, because most people will not have an ultra wide display at hand or not run their browser in fullscreen on such a device. A scaled down version with retained ratio also just don’t really cut it:
Now what if we could wrap this in some sort of 360° image? This isn’t really 360°, of course but you get the idea. A quick search usually yields JS libs like Pannellum (https://pannellum.org/), which look great for this use-case as well and yes we could also solve this in CSS by using an animation and go for a little camera ride.
What if we could optionally also make use of a gyroscope though? You know, that sensor every mobile phone, tablet and VR device comes along with. So the user could device where to look just by moving the device around?
This was when I stumbled over A-Frame (https://aframe.io), which is basically a library for building 3D AR or VR experiences and while I may only scratching it’s surface with my quick tests here it does deliver exactly what I was looking for.
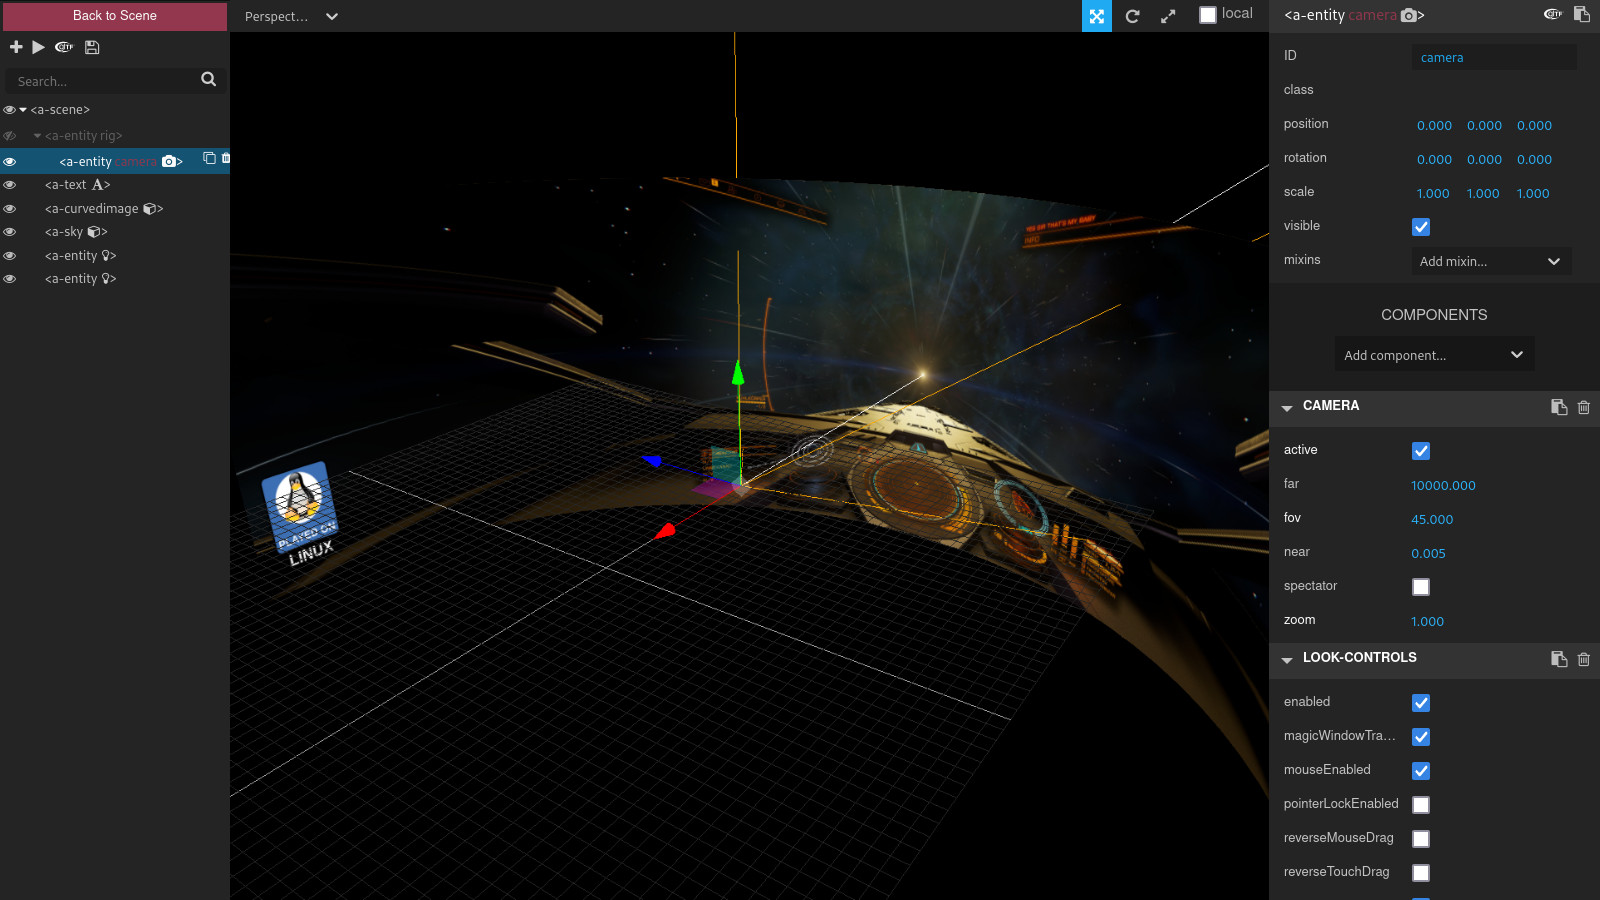
I built demos for various games today and I don’t know how long I’ll host the files here but they all follow the very same code pattern that I’ll add in the end:
Please be aware that I’m loading a ~5mb blob of JS code directly from A-Frame in the demos so don’t check them out if that is a problem for you. The image asset adds another whopping MB so please be patient. The best experience is on a mobile phone where you should be able to look around by moving the phone left and right. It works on a desktop browser too where the mouse can be used to look around.
Feel free to copy this snippet and play around with it. Just keep in mind that you have to use _local_ assets too or they won’t show up. Make sure to read the documentation too and play with the built in inspector opened with the key combination ctrl + alt + i.
And yes I’ll happily take a CSS only variant too but I really doubt that’s possible without loosing features like gyroscope data usage.
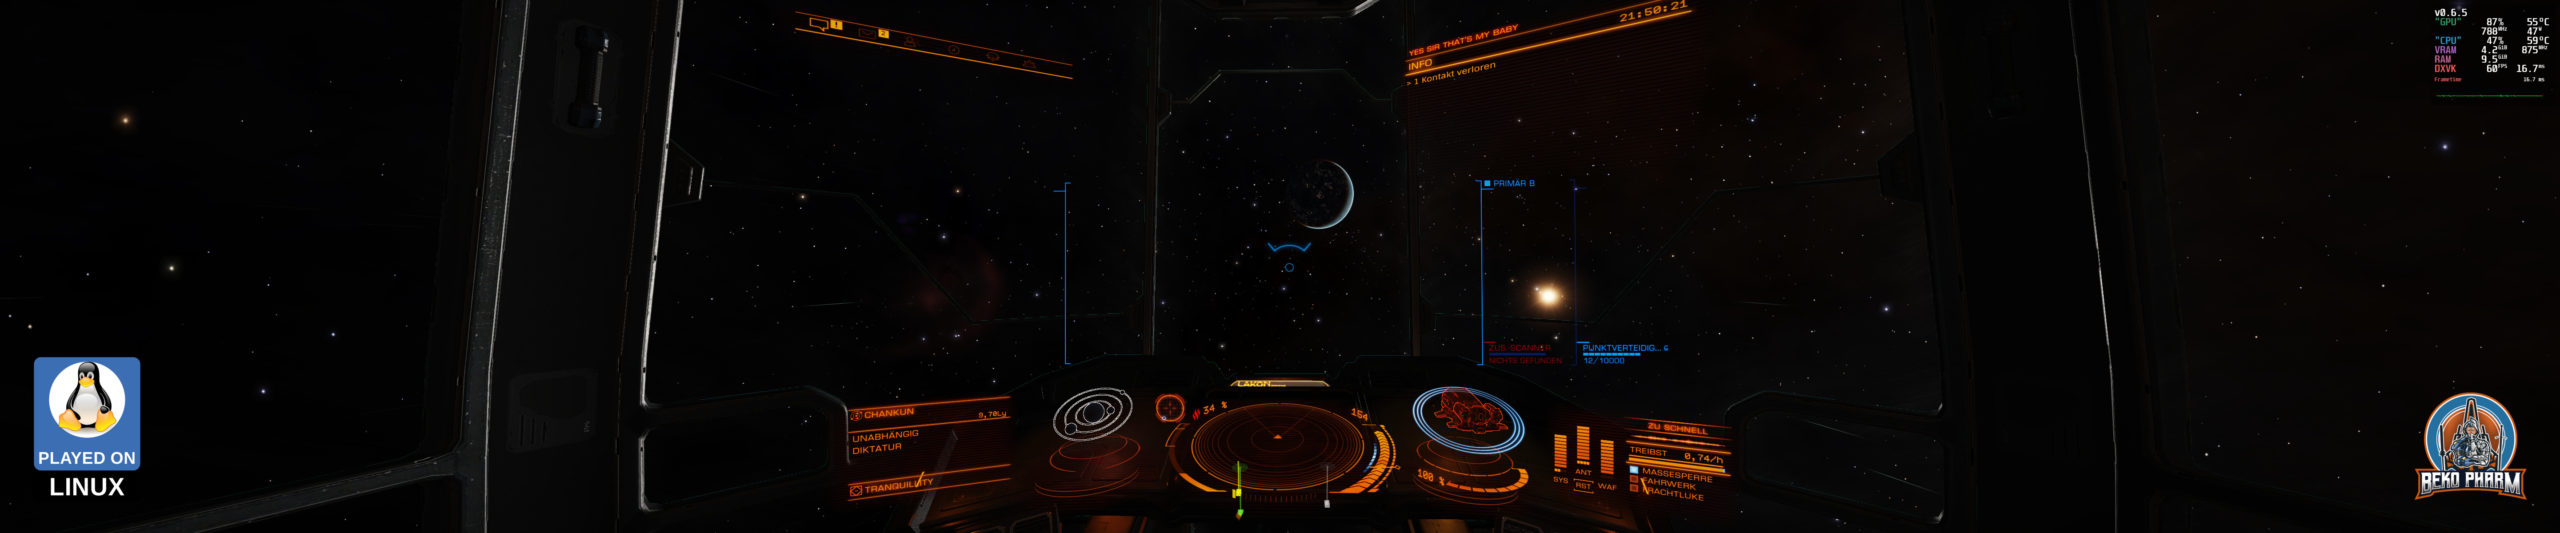
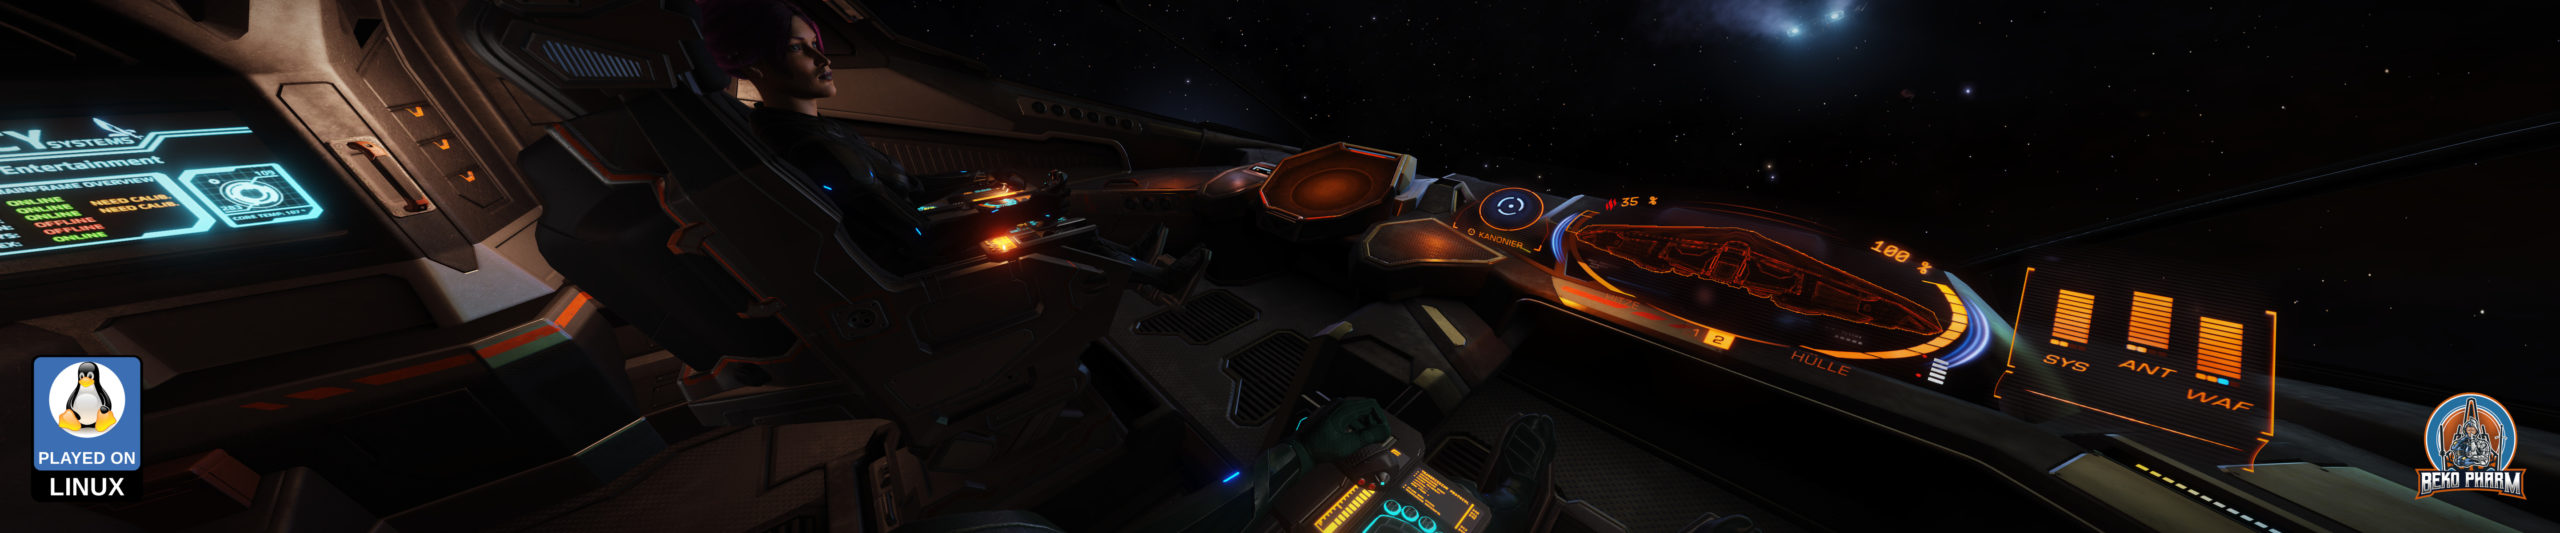
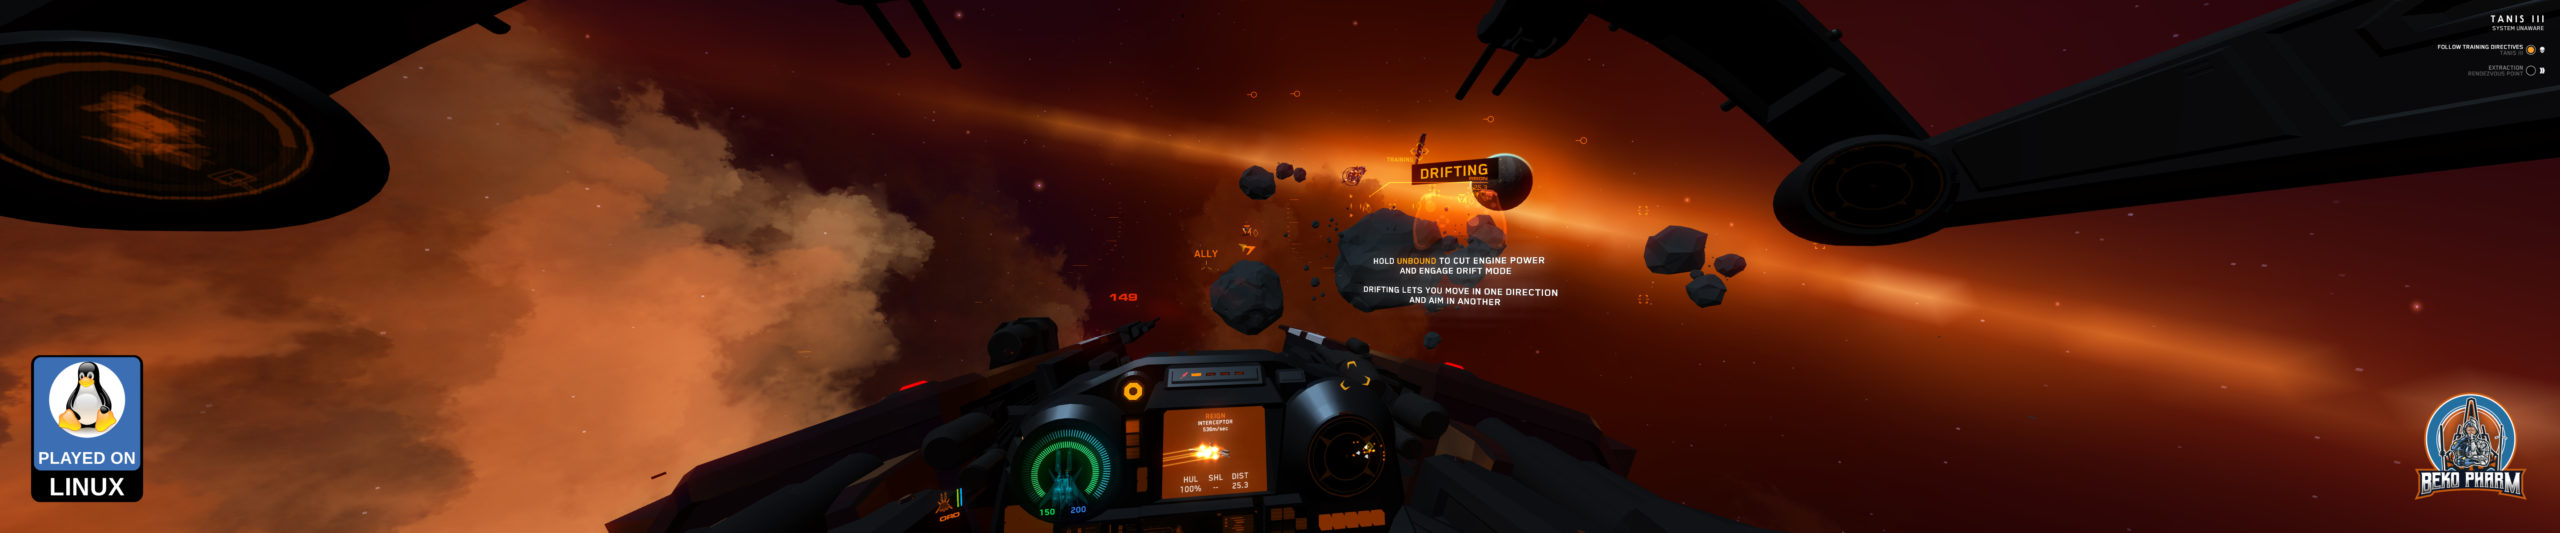
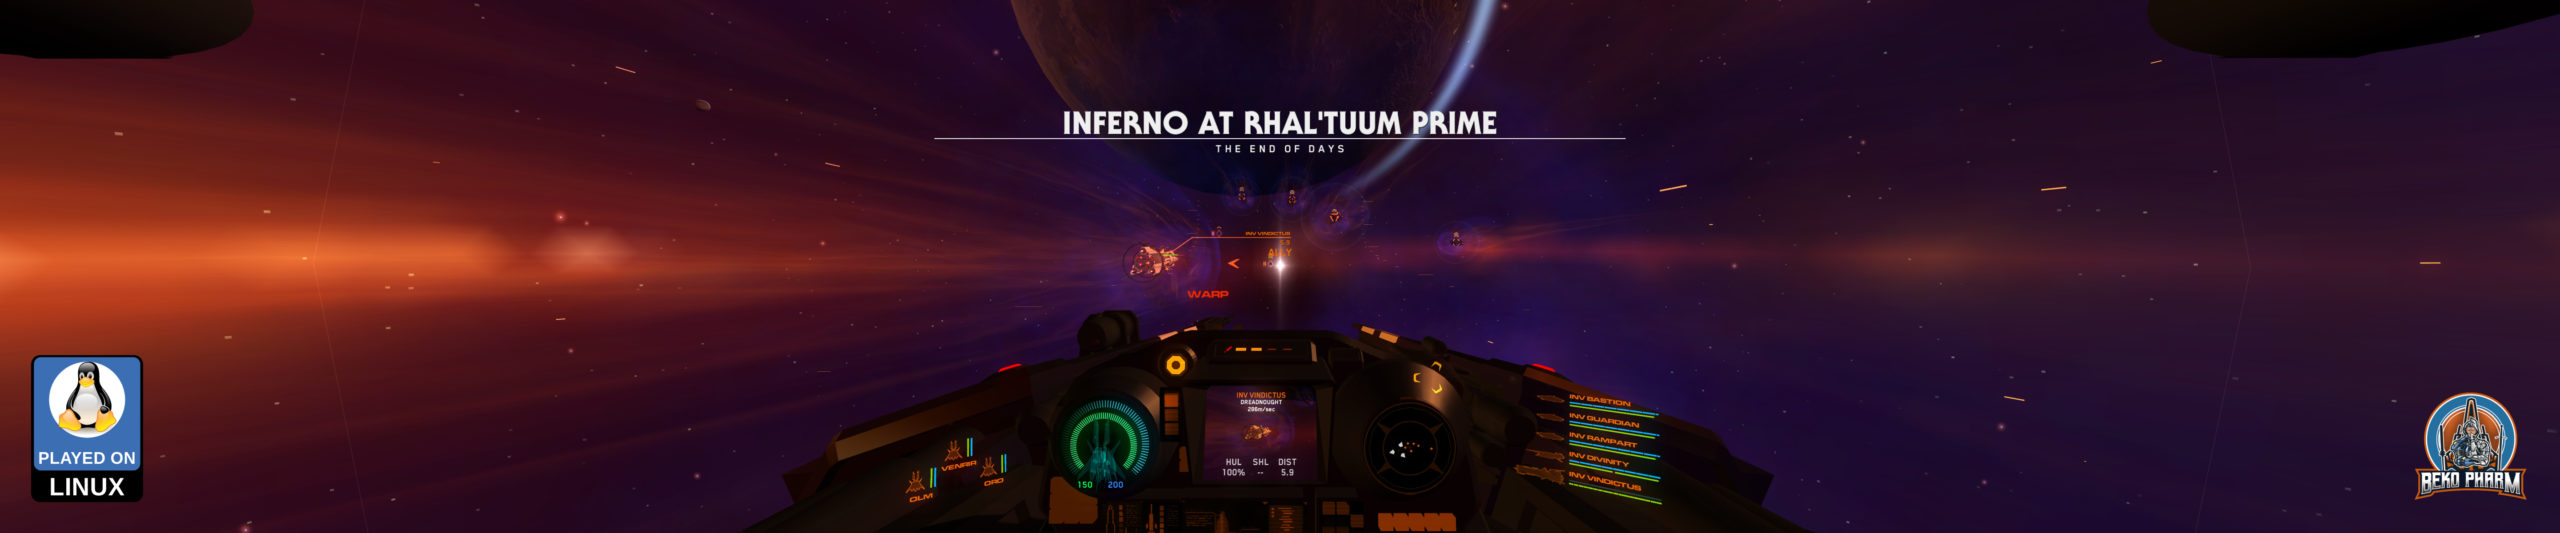
I sure am playing a lot of space pew pew over the last months. Took a lot of screenshots too and it’s kinda hard not to drown my timeline with screenshots every day. Today I sifted through the pile and found a bunch I’d like to share (some again) so here is a little gallery of (mostly) space simulation games I play on my Linux PC. And I’ll keep making that point until I can browse the web without getting daily reminders by random strangers claiming that gaming on Linux PC is not possible. Cuz it is.
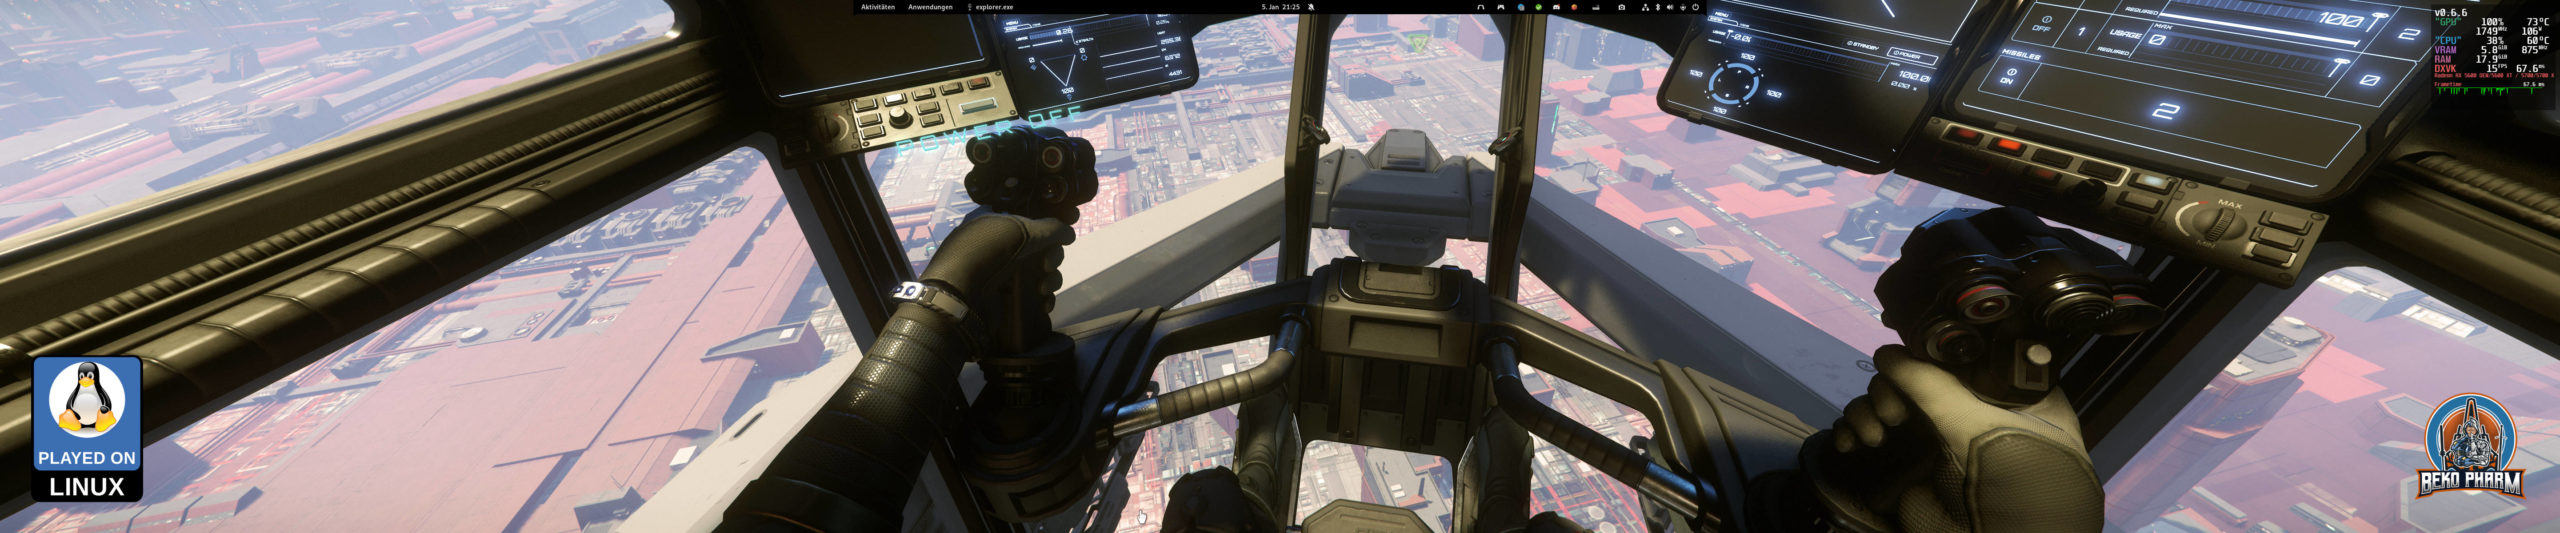
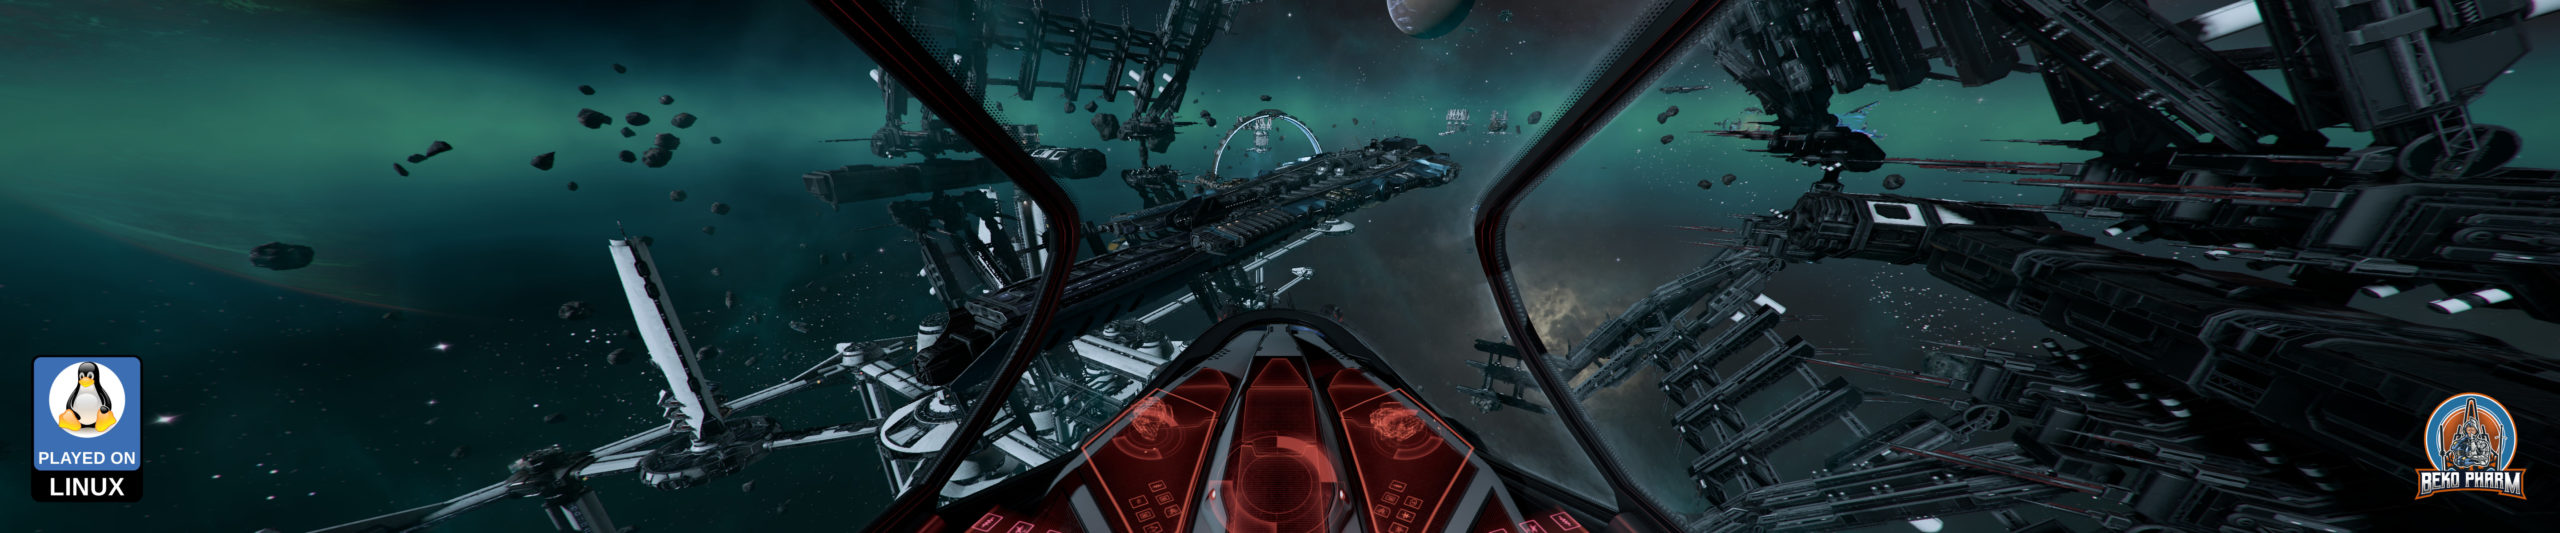
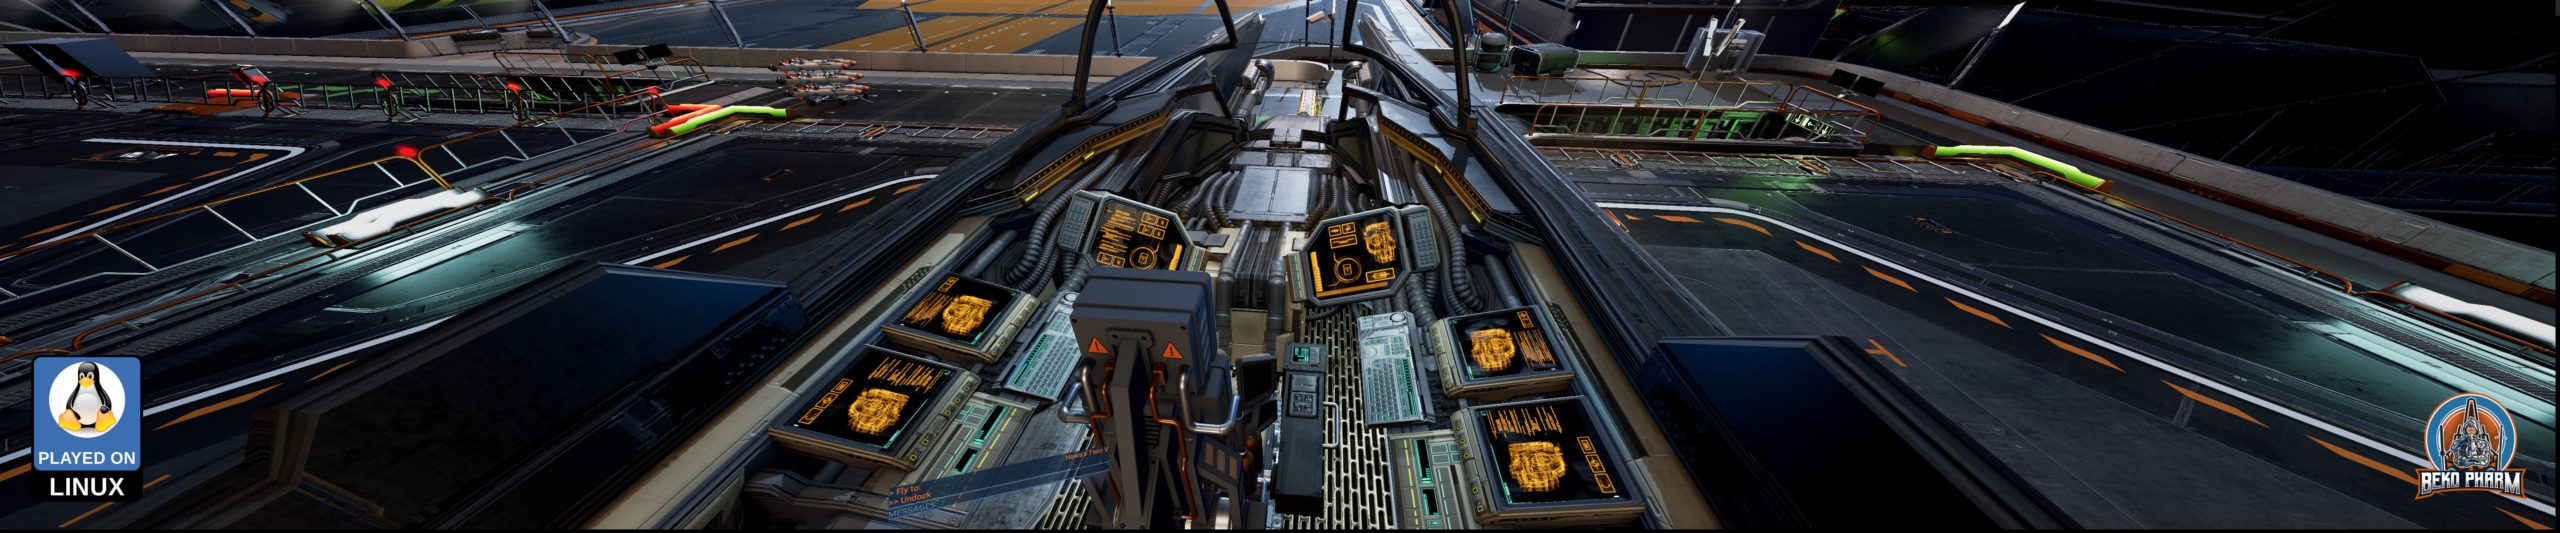
Star Citizen
Added on 5th January 2022 and played with whatever Lutris thinks best. I really was going to hold out on Star Citizen a little longer but I got it as a gift to my birthday. My GPU is definitely at it’s limit here. Will probably have to give it some more time. I mean it’s Alpha and all but hey, it _does_ work.
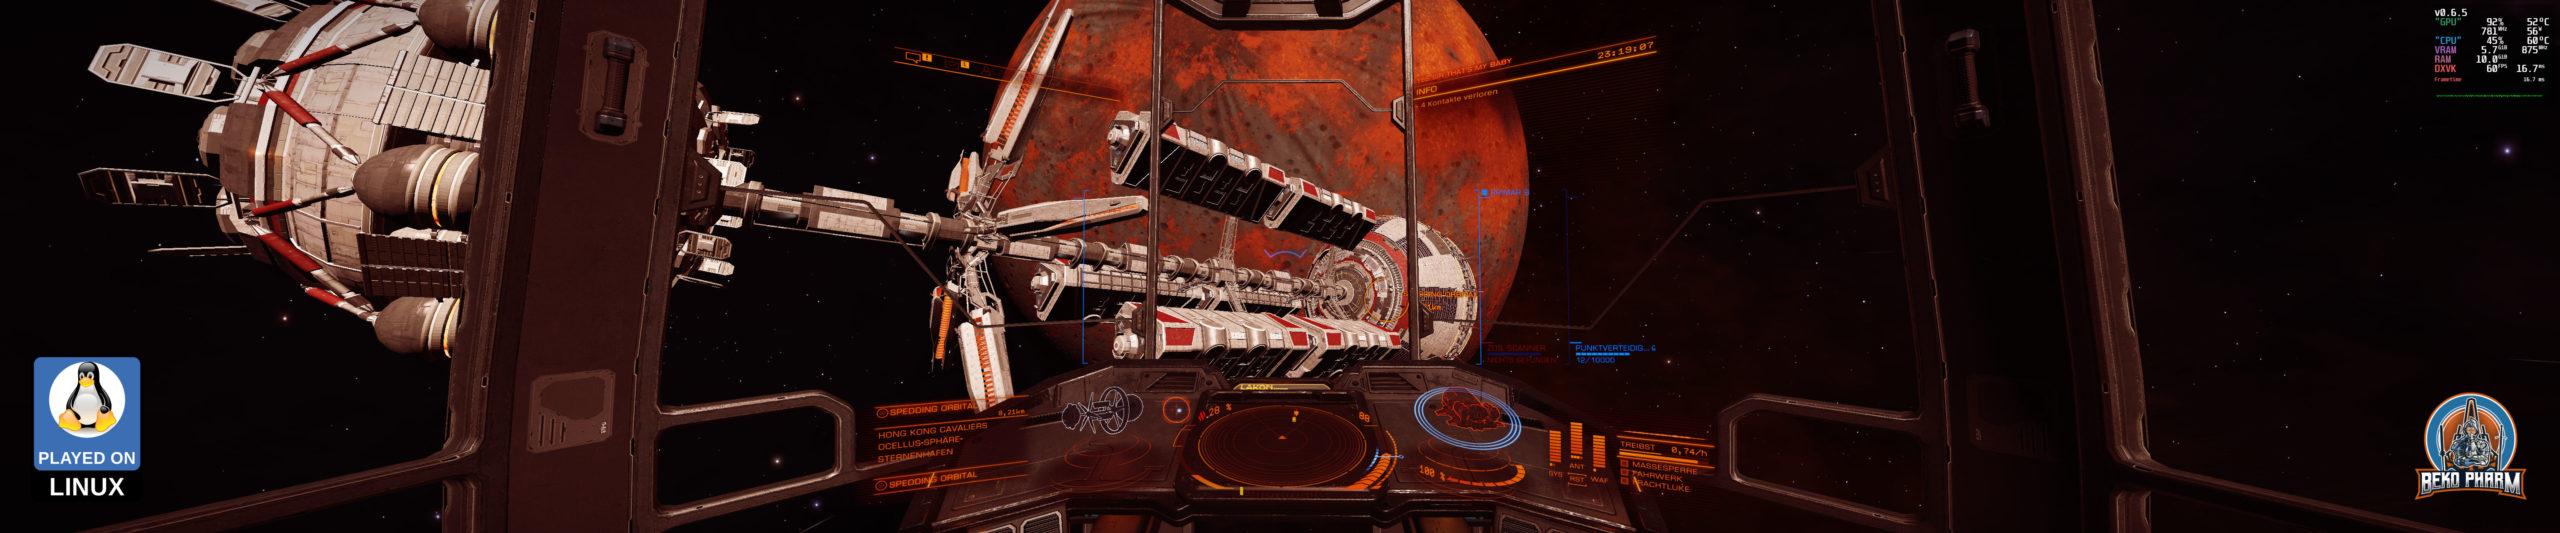
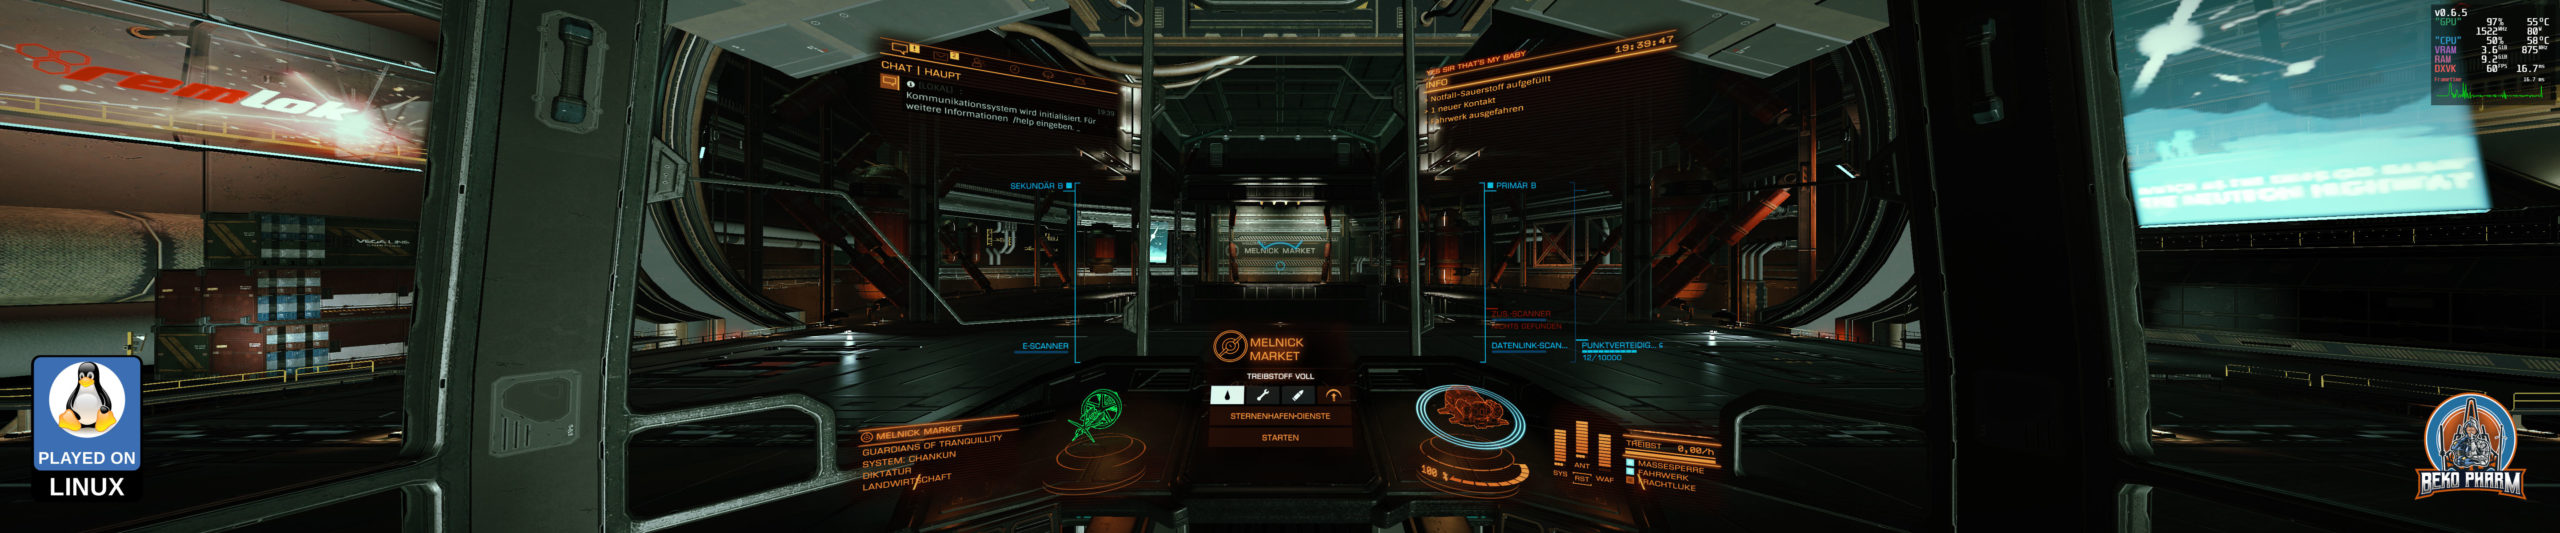
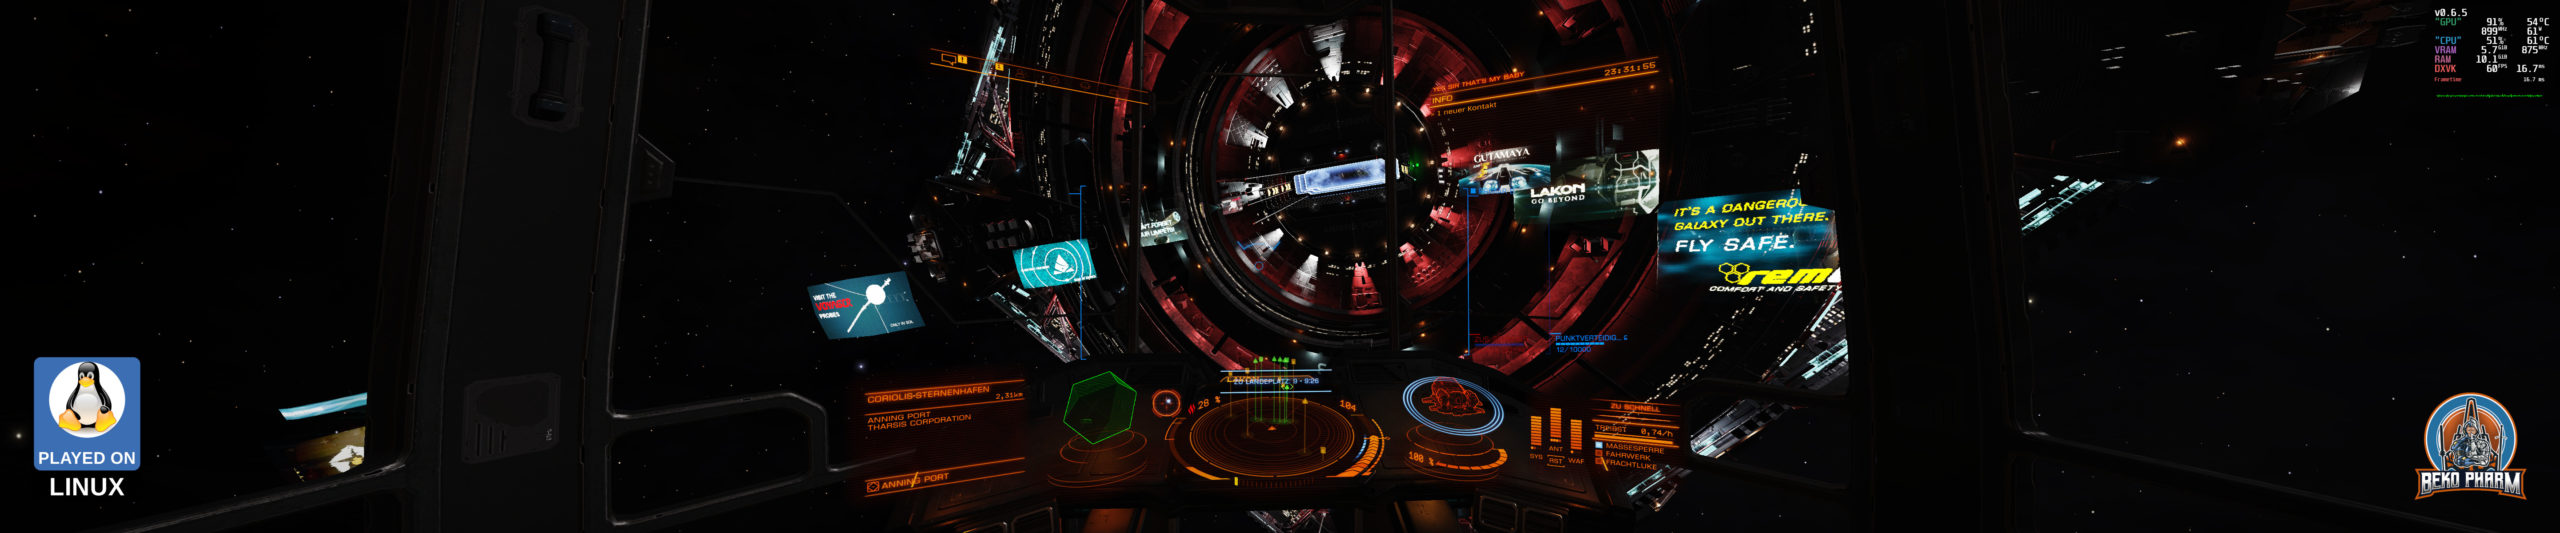
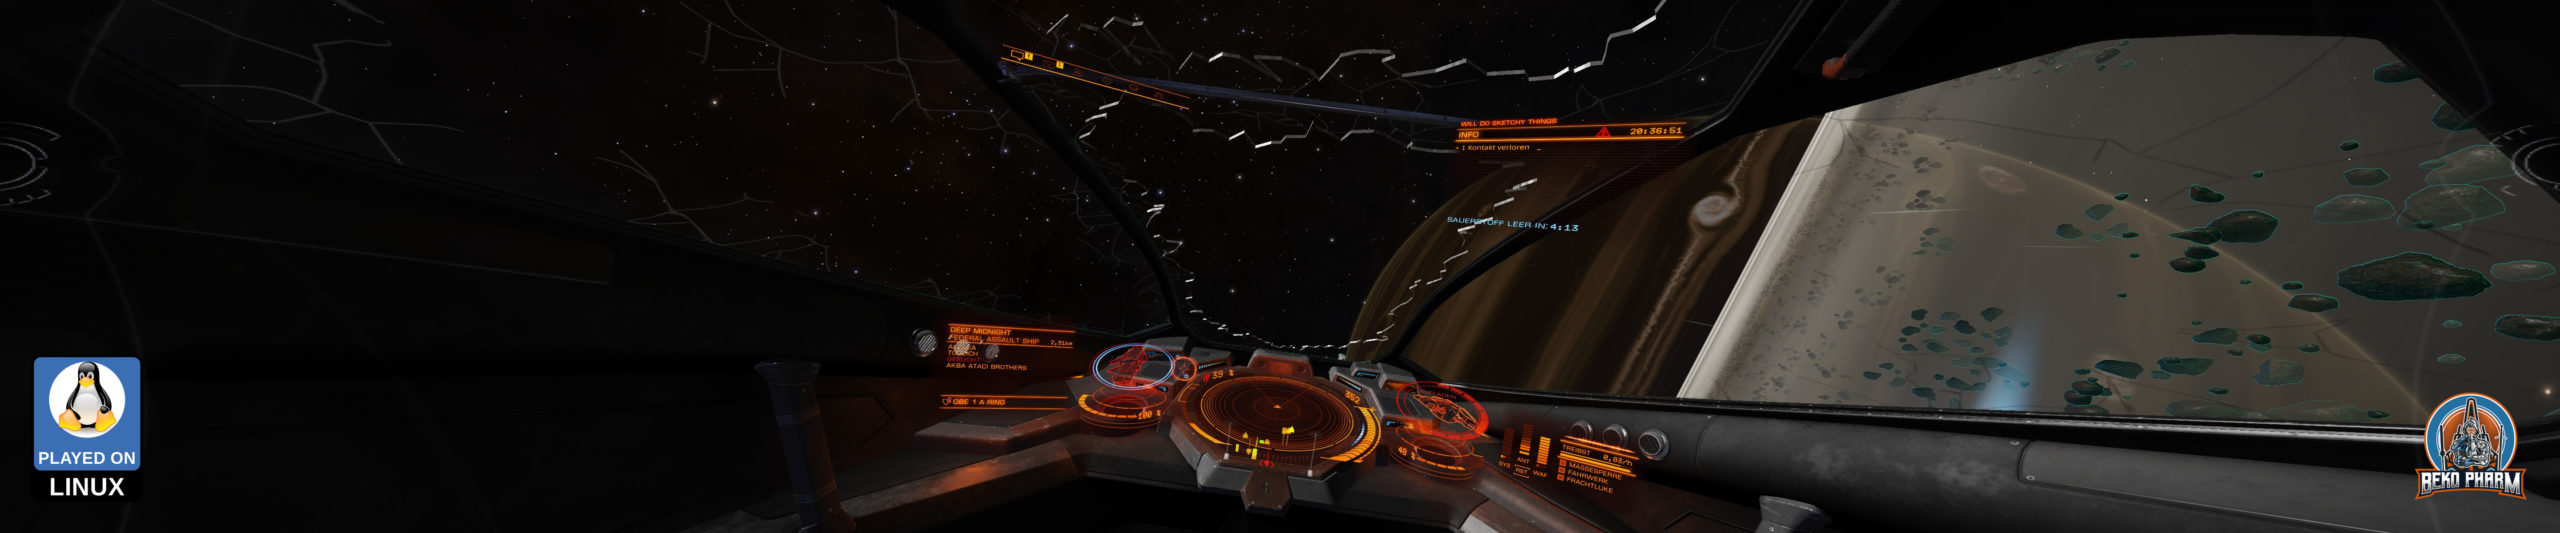
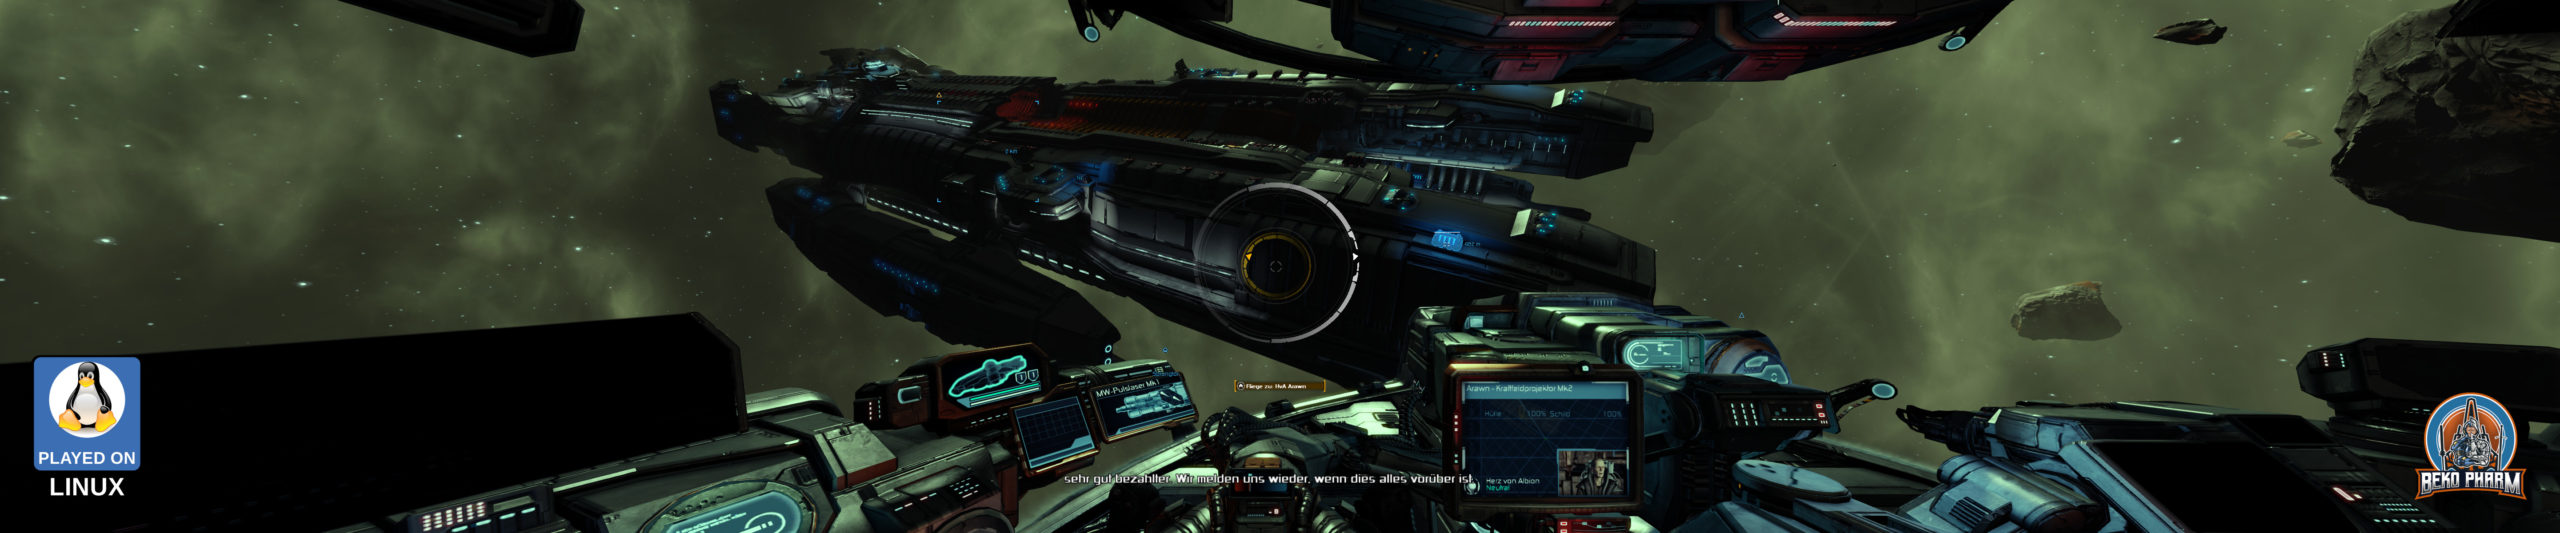
Elite Dangerous
This I play mostly under Proton with the Primary Buffer Panel whenever possible. It’s just the most fun this way (kids love it too).
X Games, mostly X4 and X3: Rebirth
The more recent X series have native Linux builds but work also perfectly fine with Wine.
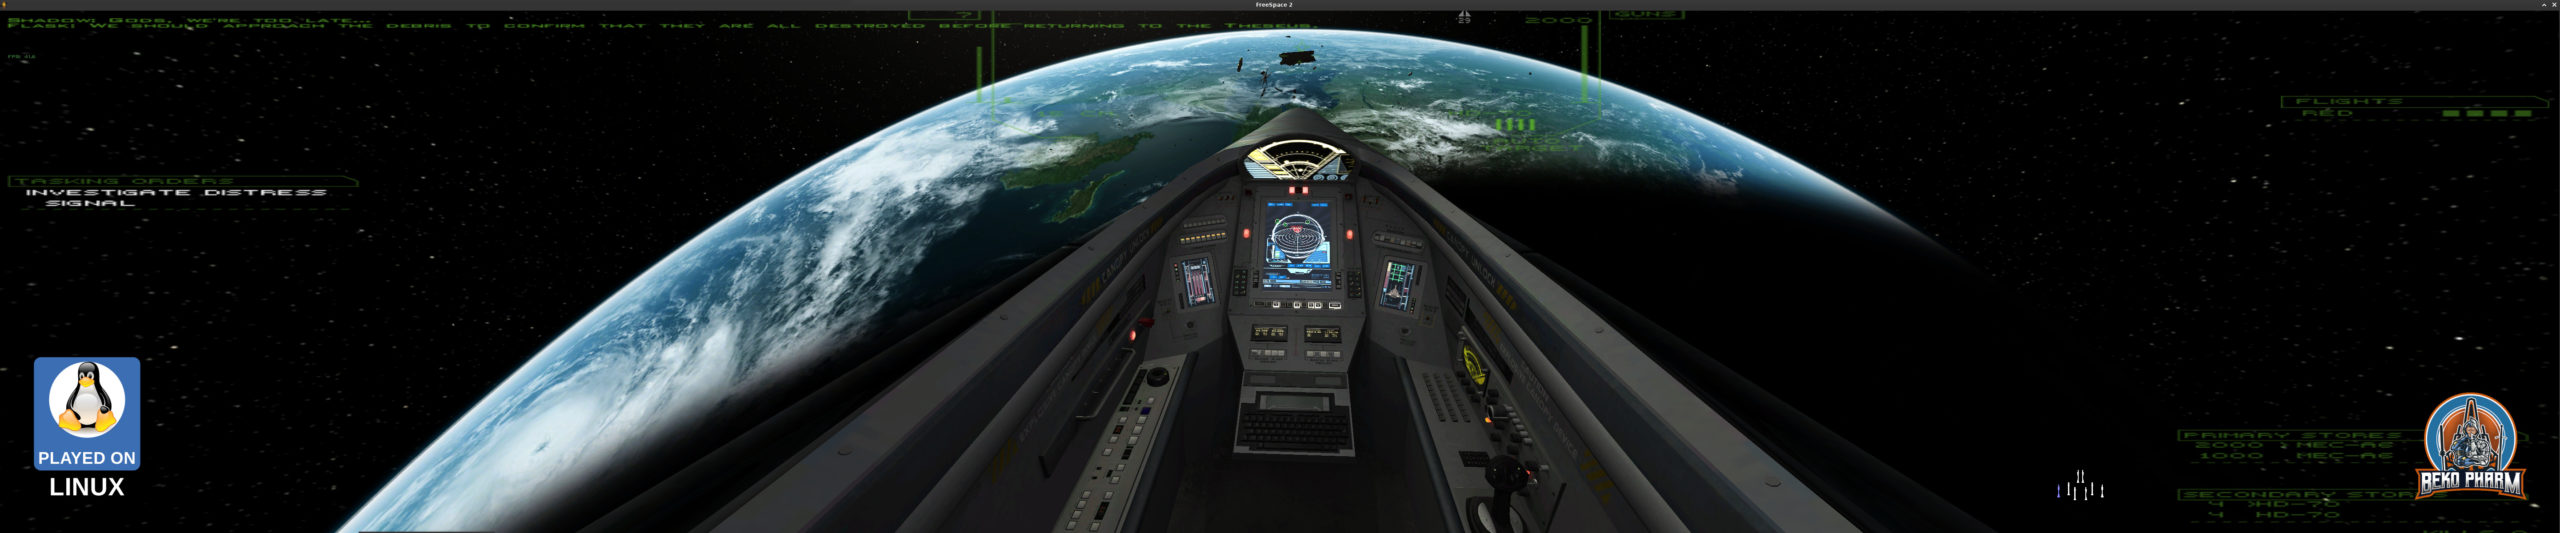
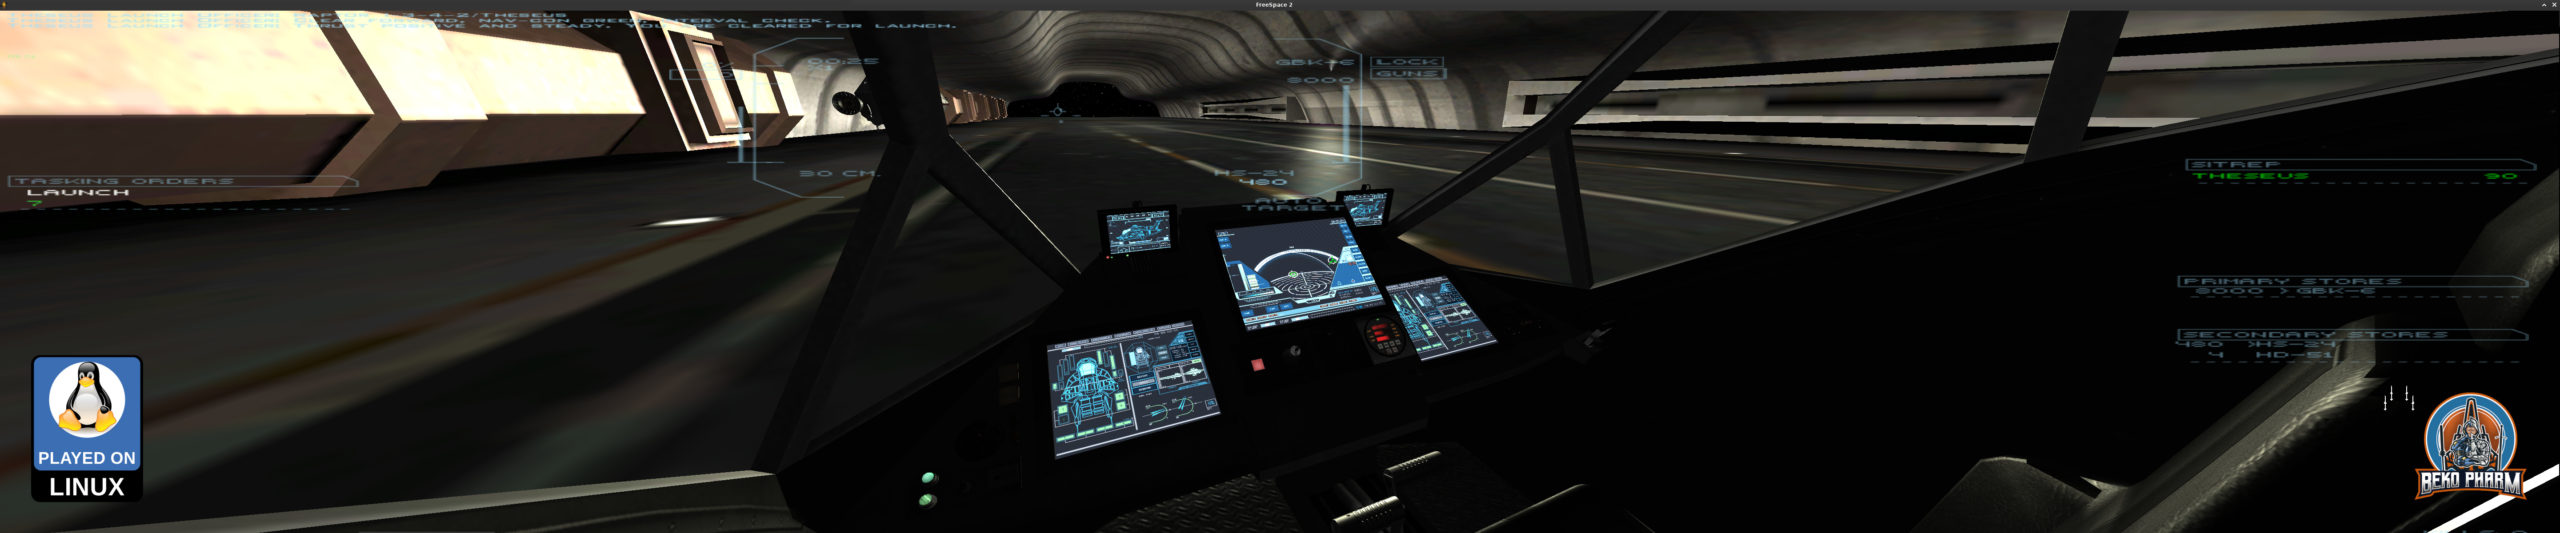
Slug Throwers: Diaspora: Shattered Armistice and House of the Dying Sun
Both run via Lutris and with Proton-GE and usually with my DIY Headtracker.
Relaxing ones: No Man’s Sky, Fly Dangerous and… FlightGear (yeah, not space, I know – there’s a spaceship MOD tho :P)
FlightGear runs native on Linux and Fly Dangerous does have a native Linux build but due to an issue with terrain generation being single threaded I use Proton for this one too until this is solved. No Man’s Sky runs perfectly with Proton.
I play all of the above with my X52 Pro H.O.T.A.S. and some with my DIY headtracker stretched over three displays in a so called multihead setup. Let me know if you’ve any questions how this can be set up.