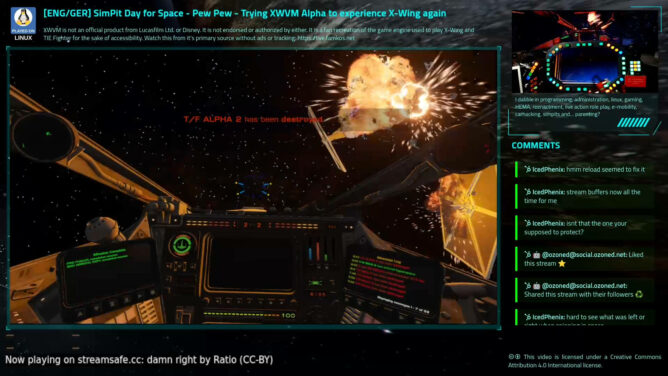
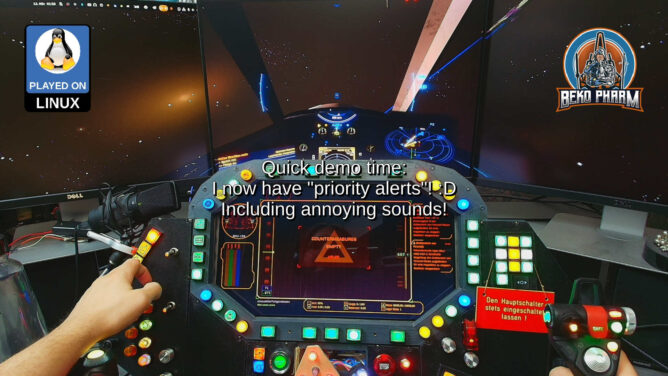
Played #XWVM (closed) Alpha with my #Macross inspired #SimPit. I’m simply in awe that I can replay missions from #XWing (or #TIEFighter) with more modern graphics and modern interface devices again. I spent _so many_ hours playing these #StarWars games as a kid.
This time I play with the native Linux version and my X52 Pro joystick (which means I actually have a chance of hitting stuff too). The following missions were played:
Historical Mission 2 / Wingmen Are Important
Historical Mission 3 / Sattelites Near Coruscant
Historical Mission 4 / Beating The Odds
OP 1: Destroy Imperial Convoy (Uncut)
OP 2: Reconnaissance Mission (Uncut)
OP 3: Fly Point During Evacuation (Uncut)
OP 4: Protect Medical Frigate (Uncut)
XWVM is not an official product from Lucasfilm Ltd. or Disney. It is not endorsed or authorized by either. It is a fan recreation of the game engine used to play X-Wing and TIE Fighter for the sake of accessibility and requires the original game assets to work.
Kudos to the XWVM team, they are doing a stellar job here.
The dedicated project website for the Macross inspired SimPit is https://simpit.dev
This uses my X4-SimPit extension for X4: Foundations, that sends ship telemetry via a socket to my node-red plumbing pipeline, which in turn forwards data to Websockets, SocketIO and MQTT. Various subscriber listen on the new messages to run blinken lights and my HUD app. I’m using the well known message format also used by Elite Dangerous so it’s compatible with that game as well.
X4-SimPit code (pending changes) is here: https://github.com/bekopharm/x4-simpit The cockpit panel has a dedicated project page here: https://simpit.dev/
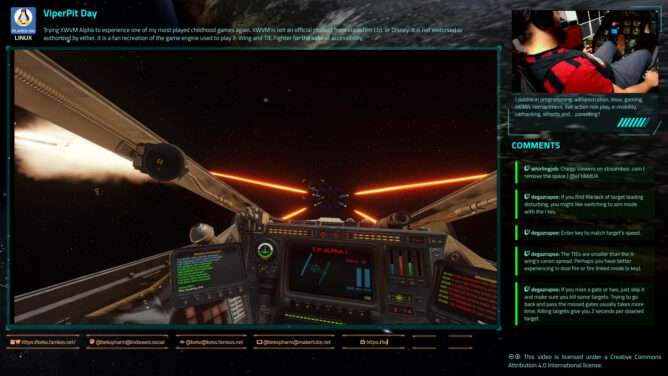
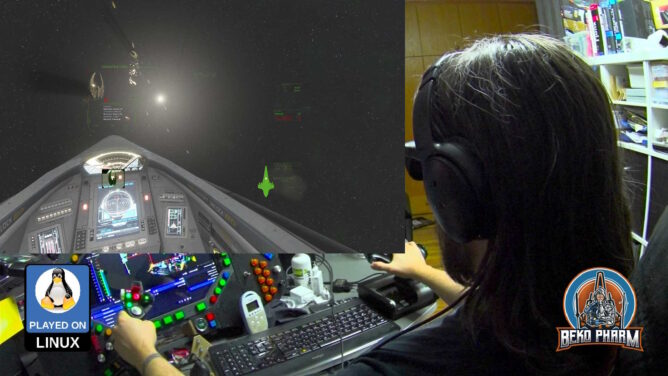
Played #XWVM (closed) Alpha with my ViperPit and with #XR glasses. I’m simply in awe that I can replay missions from #XWing (or #TIEFighter) with more modern graphics and modern interface devices again. I spent _so many_ hours playing this as a kid.
This is the heavily cut VOD of the live stream over at https://live.famkos.net (pick your poison):
I go over the input settings and show it’s capabilities to connected various joystick devices, demo the Proofing Grounds and showcase mission 1+2. In the end I go over various settings for the XWVM engine and how the machine hardly sweats displaying the gorgeous cockpit.
XWVM is not an official product from Lucasfilm Ltd. or Disney. It is not endorsed or authorized by either. It is a fan recreation of the game engine used to play X-Wing and TIE Fighter for the sake of accessibility and requires the original game assets to work.
The game was played with #Viture Pro XR running in Side-By-Side mode thanks to ReShade on a Linux PC.
Kudos to the XWVM team, they are doing a stellar job here.
So I was asked if my head tracking approach of reading the IMU data from my Viture Pro to OpenTrack and SBS (side-by-side) mode with ReShade would also work with StarCitizen.
It works with the Breezy GNOME xr_driver: https://github.com/wheaney/breezy-desktop (but the Vulkan one works probably too but that’s untested). It should also be compatible with other glasses that have IMU for Breezy available.
There is an unlisted SBS version of this video linked in the description. You will need XR glasses that do FULL SBS though to watch it!
Until now I used OpenTrack with my DIY IR tracker or the Neuralnet tracker. I knew that my XR glasses feature IMU data though and the xr_driver of the Breezy Desktop project allows to access the data via IPC on Linux PC. So I did what Linux user do: I wrote a script to access the IMU data and forwarded it via UDP to OpenTrack:
This reminded me that I also wrote a proof of concept to implement the FaceTrackNoIR (or OpenTrack) protocol into FreeSpace 2 Open on Linux PC ( https://makertube.net/w/7VtfAjW7EiAUS5aiPwG7if ) so I gave it a spin to test the data bridge. That was smooth sailing!
The mod is Diaspora: Shattered Armistice, still awesome today: http://diaspora.hard-light.net/ (Warning: This may fuel a desire to re-watch the BSG series again 😀).
It works with the Breezy GNOME xr_driver: https://github.com/wheaney/breezy-desktop (but the Vulkan one works probably too but that’s untested). It should also be compatible with other glasses that have IMU for Breezy available.
Update: hodasemi wrote a Rust connector based on the idea that works without Breezy: https://github.com/hodasemi/xr_to_opentrack_rs – comes with a systemd service file so it can run in the background. Once installed the only step left to do is fire up OpenTrack 🤘
So bear with me if I mix something up, this is all news to me and I’m still flabbergasted. I got myself some XR glasses mostly for watching movies and perhaps some gaming on the Steam Deck a while ago.
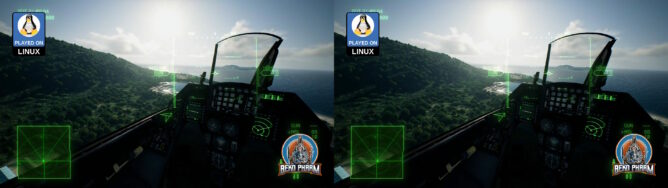
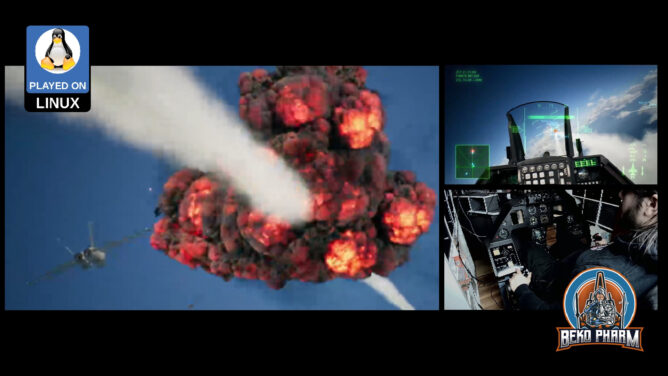
Now I learned about “SBS” (Side-By-Side) mode like ~3 days ago, that the glasses support. I tried this with the game Elite Dangerous first, since this has an SBS mode built in too, and was mind blown. My current favourite time stink is Ace Combat though so I started digging.
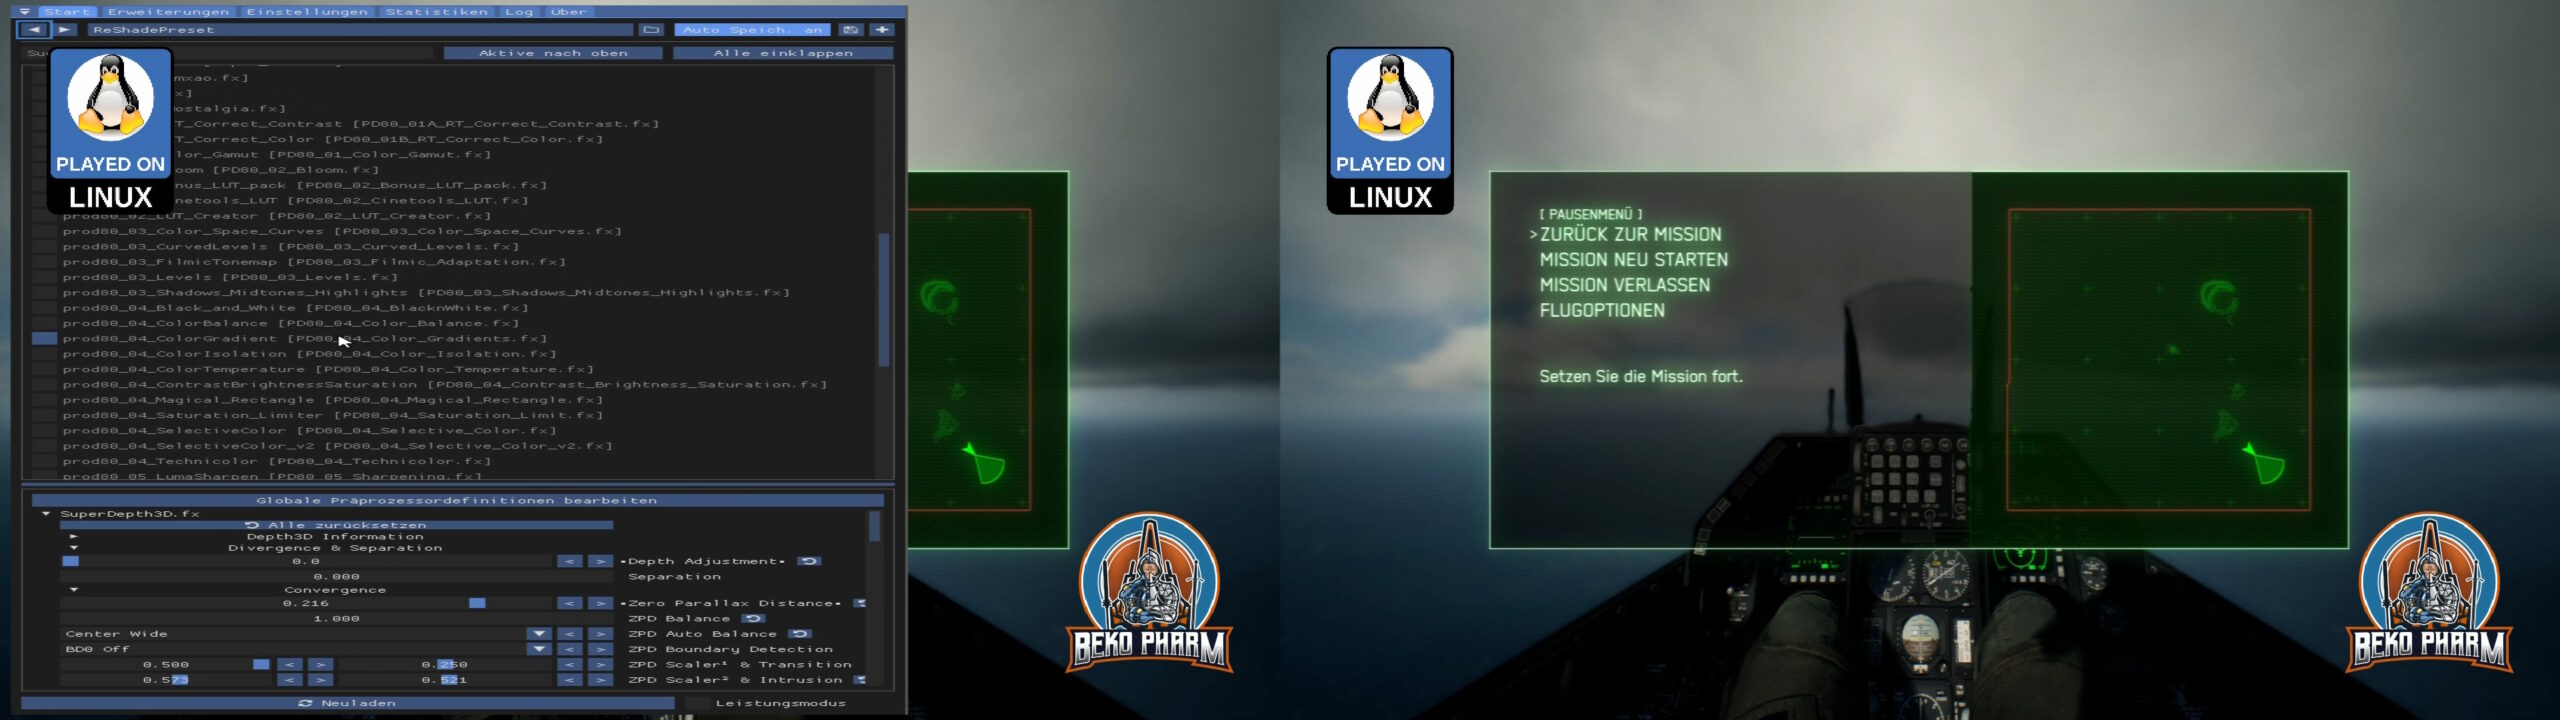
Turns out there is this Reshade tool that would forcefully enable such a mode for basically any game with the right shader. Several exist but the first I found, “SuperDepth3D.fx”, seems to do the trick. Enabling it split the 1920×1024 in half with two slightly different view ports, one for each eye. There are many options to fine tune this and I’m still fiddling with this to find the perfect settings but results look great already.
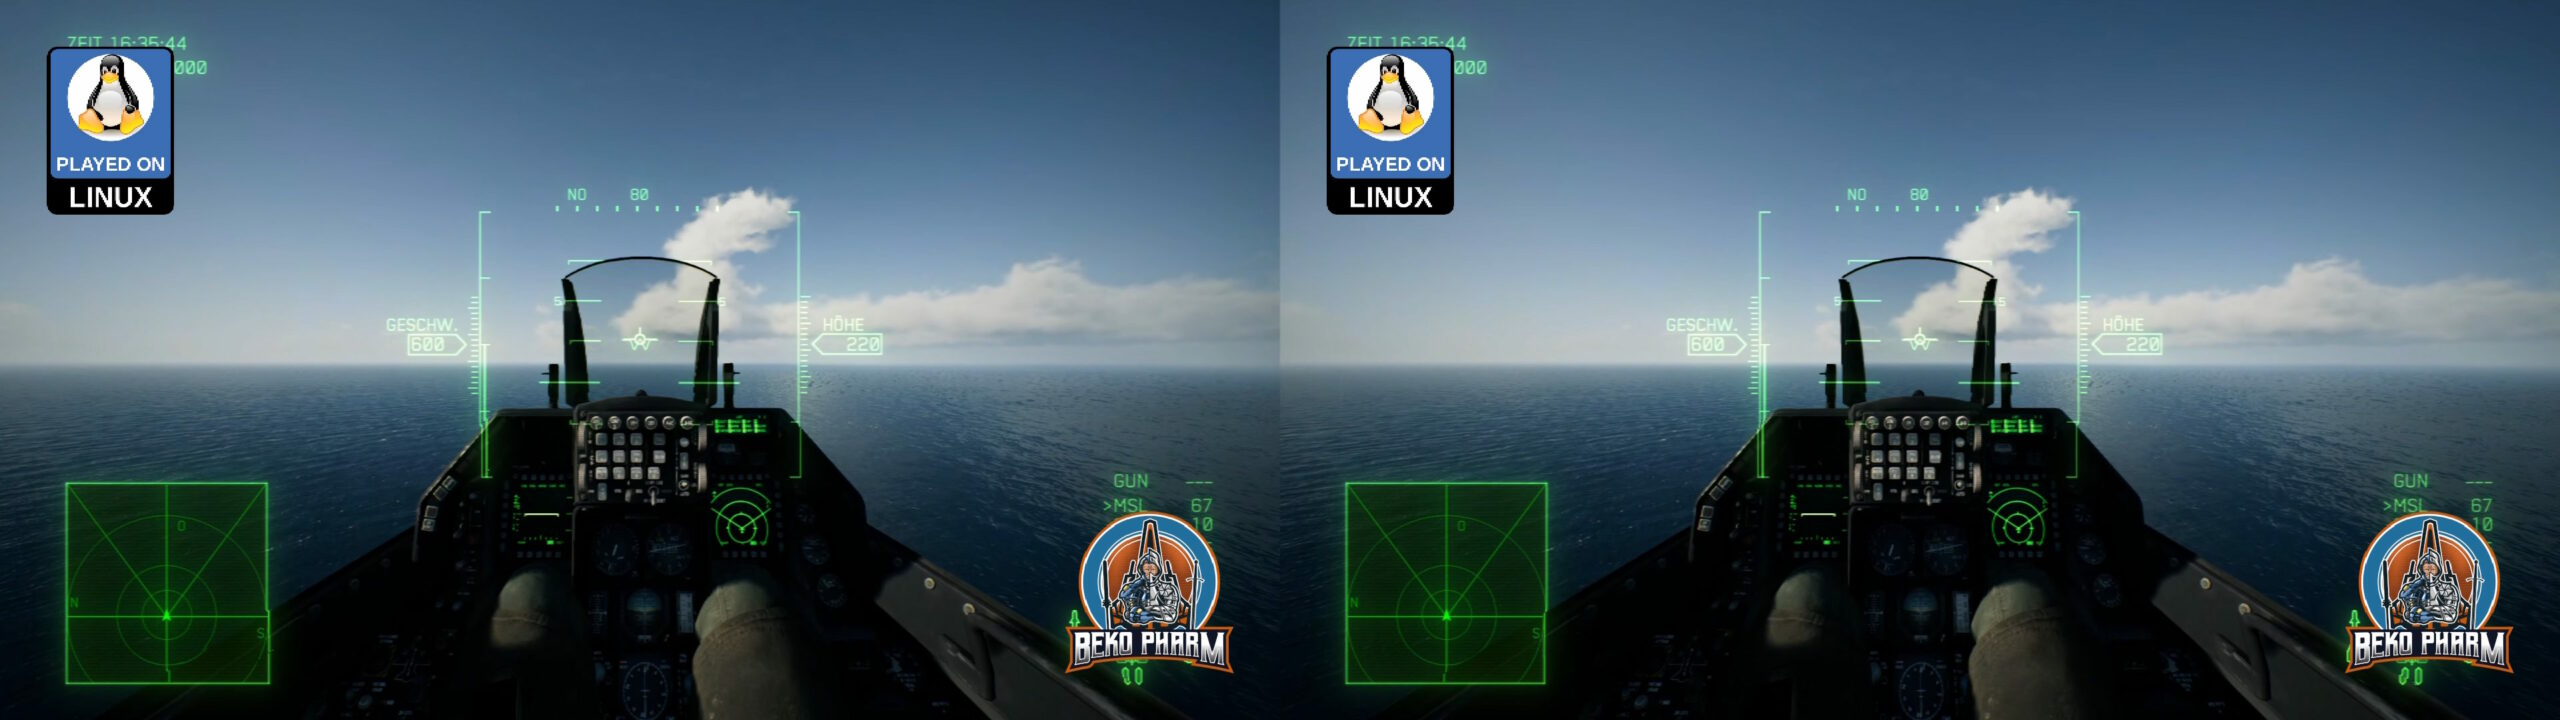
My glasses do Full SBS though and have a resolution of 3840×1024. I read somewhere that wide-screen is possible with more DLL shenanigans with Ace Combat 7 too but I run the game on a Linux PC anyway, where we utilise a tool named “gamescope”. This allows basically to configure a virtual display for each game and override the game resolution in various ways. It also has a stretch option, which is exactly what I needed to get the “compressed” SBS view from 1920 to 3840, where the aspect ratio would fit again. BTW: This also has FSR built in so any upscaling looks good enough too. I’m not entirely sure but I think there’s a similar tool on Windows called “Virtual Deskop”?
Anyway, I already managed to get my head tracker working by mapping the output to a virtual gamepad on the look-around axes before. I also found a mod that enables a wider FOV. Imagine my stupid grinning when everything fell into place: Full SBS with head tracking, a more sane FOV and yes, I jumped all the hoops to get my HOTAS and rudder pedal of my old ViperPit working (which is a different story because my devices are so old that I had to upgrade em to USB before, which involved some Arduinos, programming and soldering). I guess that makes me a member of multiple niches at once 🤓
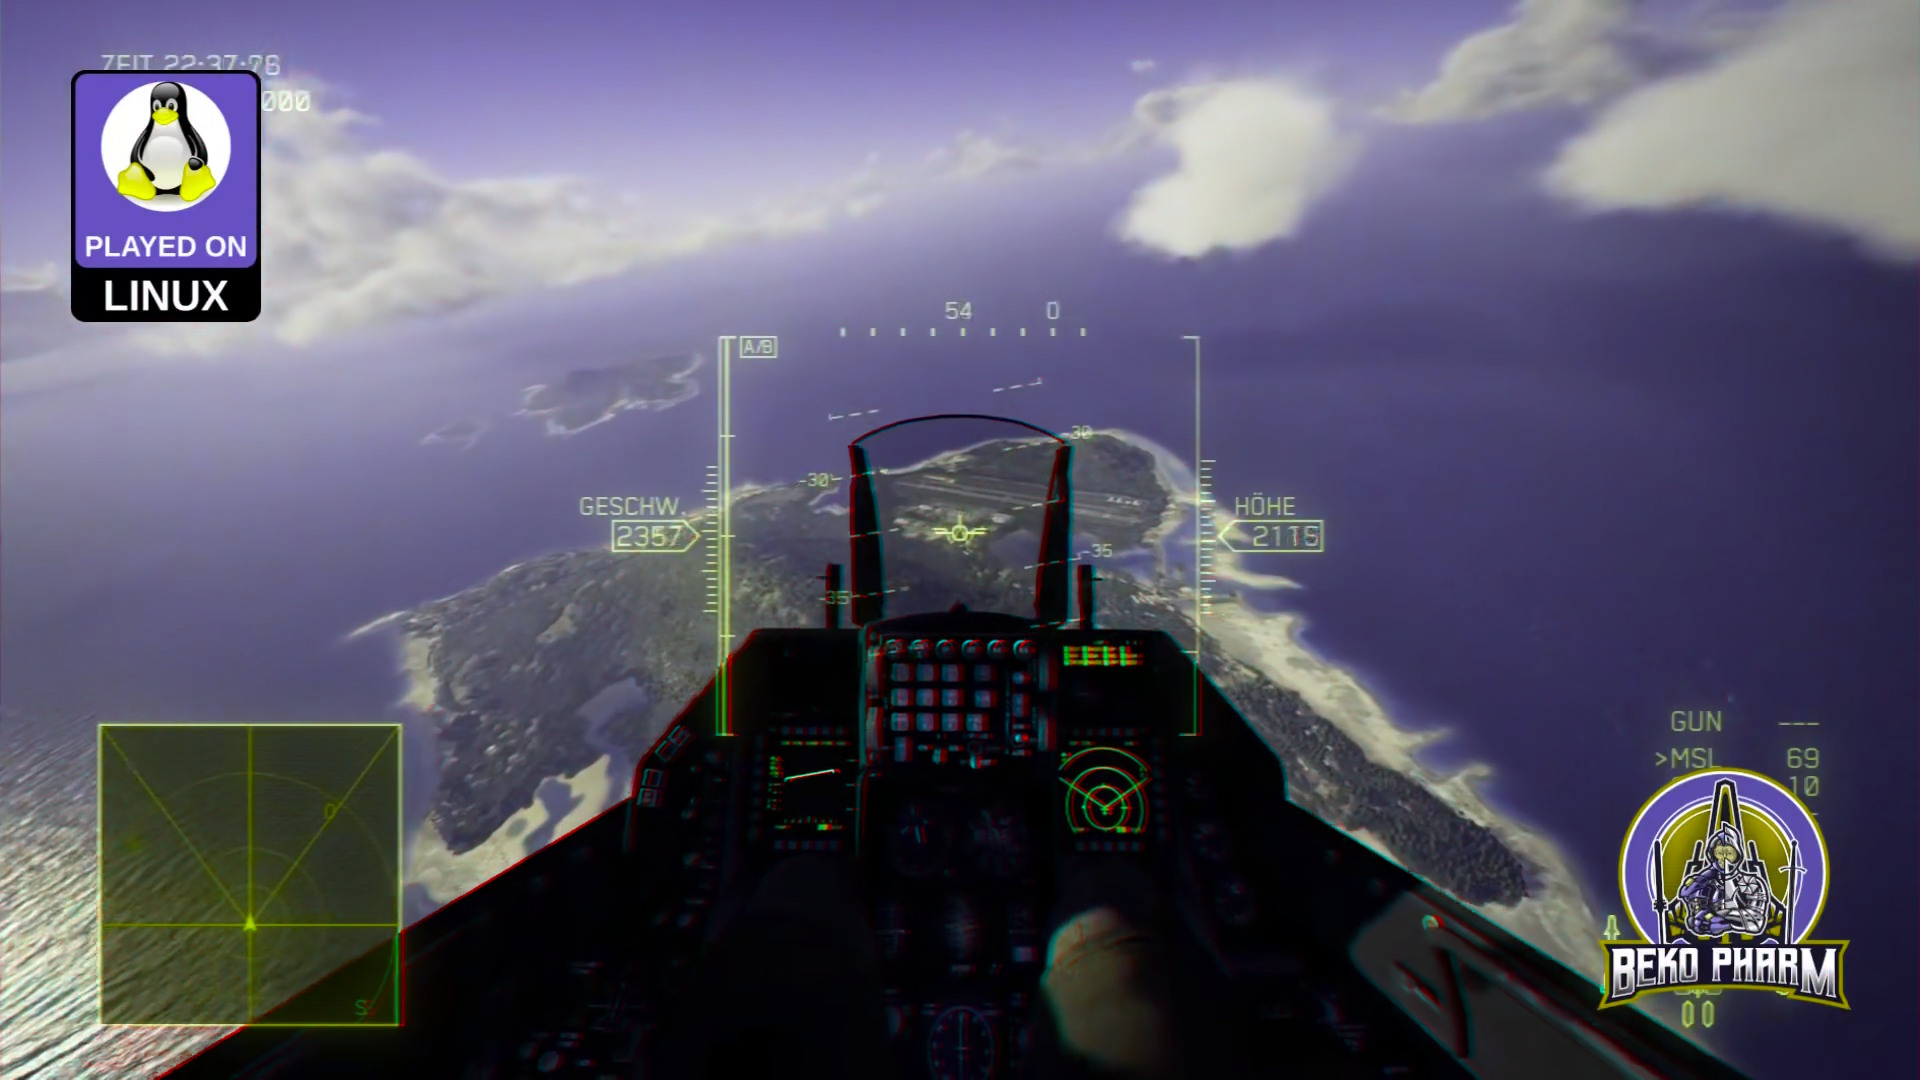
And since I’m aware that nobody can “see” what I’m talking about, without having XR glasses or a VR headset (or a DIY VR Box for smart phones) on their own, have also an Anaglyph 3D render. This requires just some old school two coloured (red and cyan) glasses often made of paper, that many people still have around somewhere, to get an idea.
The colour of the sky? It’s perfect. A deep dark blue.
Little did I know what a pain in the neck it would be to get this running. No, Linux wasn’t the problem. That was just Press Play, as usual.
There is however no settings menu for #HOTAS joysticks so any mapping has to be done by manually editing the `Input.ini` of the game in an text editor, which is a guessing game. Head tracking is also a no go. I pulled the old trick to map the head tracker to a virtual XBOX controller but the game comes with an annoying deadzone where the camera snaps to the center.
Ah well, got it all working okay-ish in the end and enjoyed some pew pew in the skies. There seem to be plenty of #Macross mods too so trying that will be next 🤘
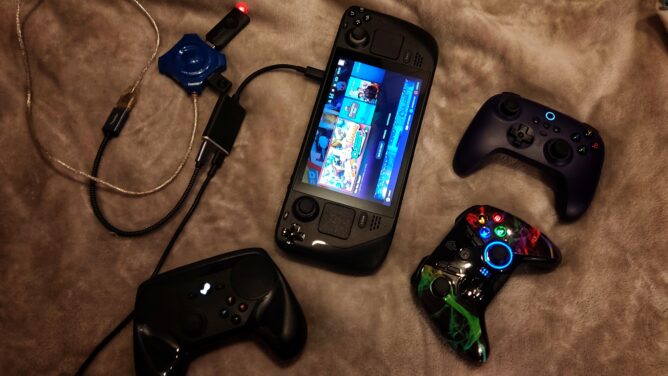
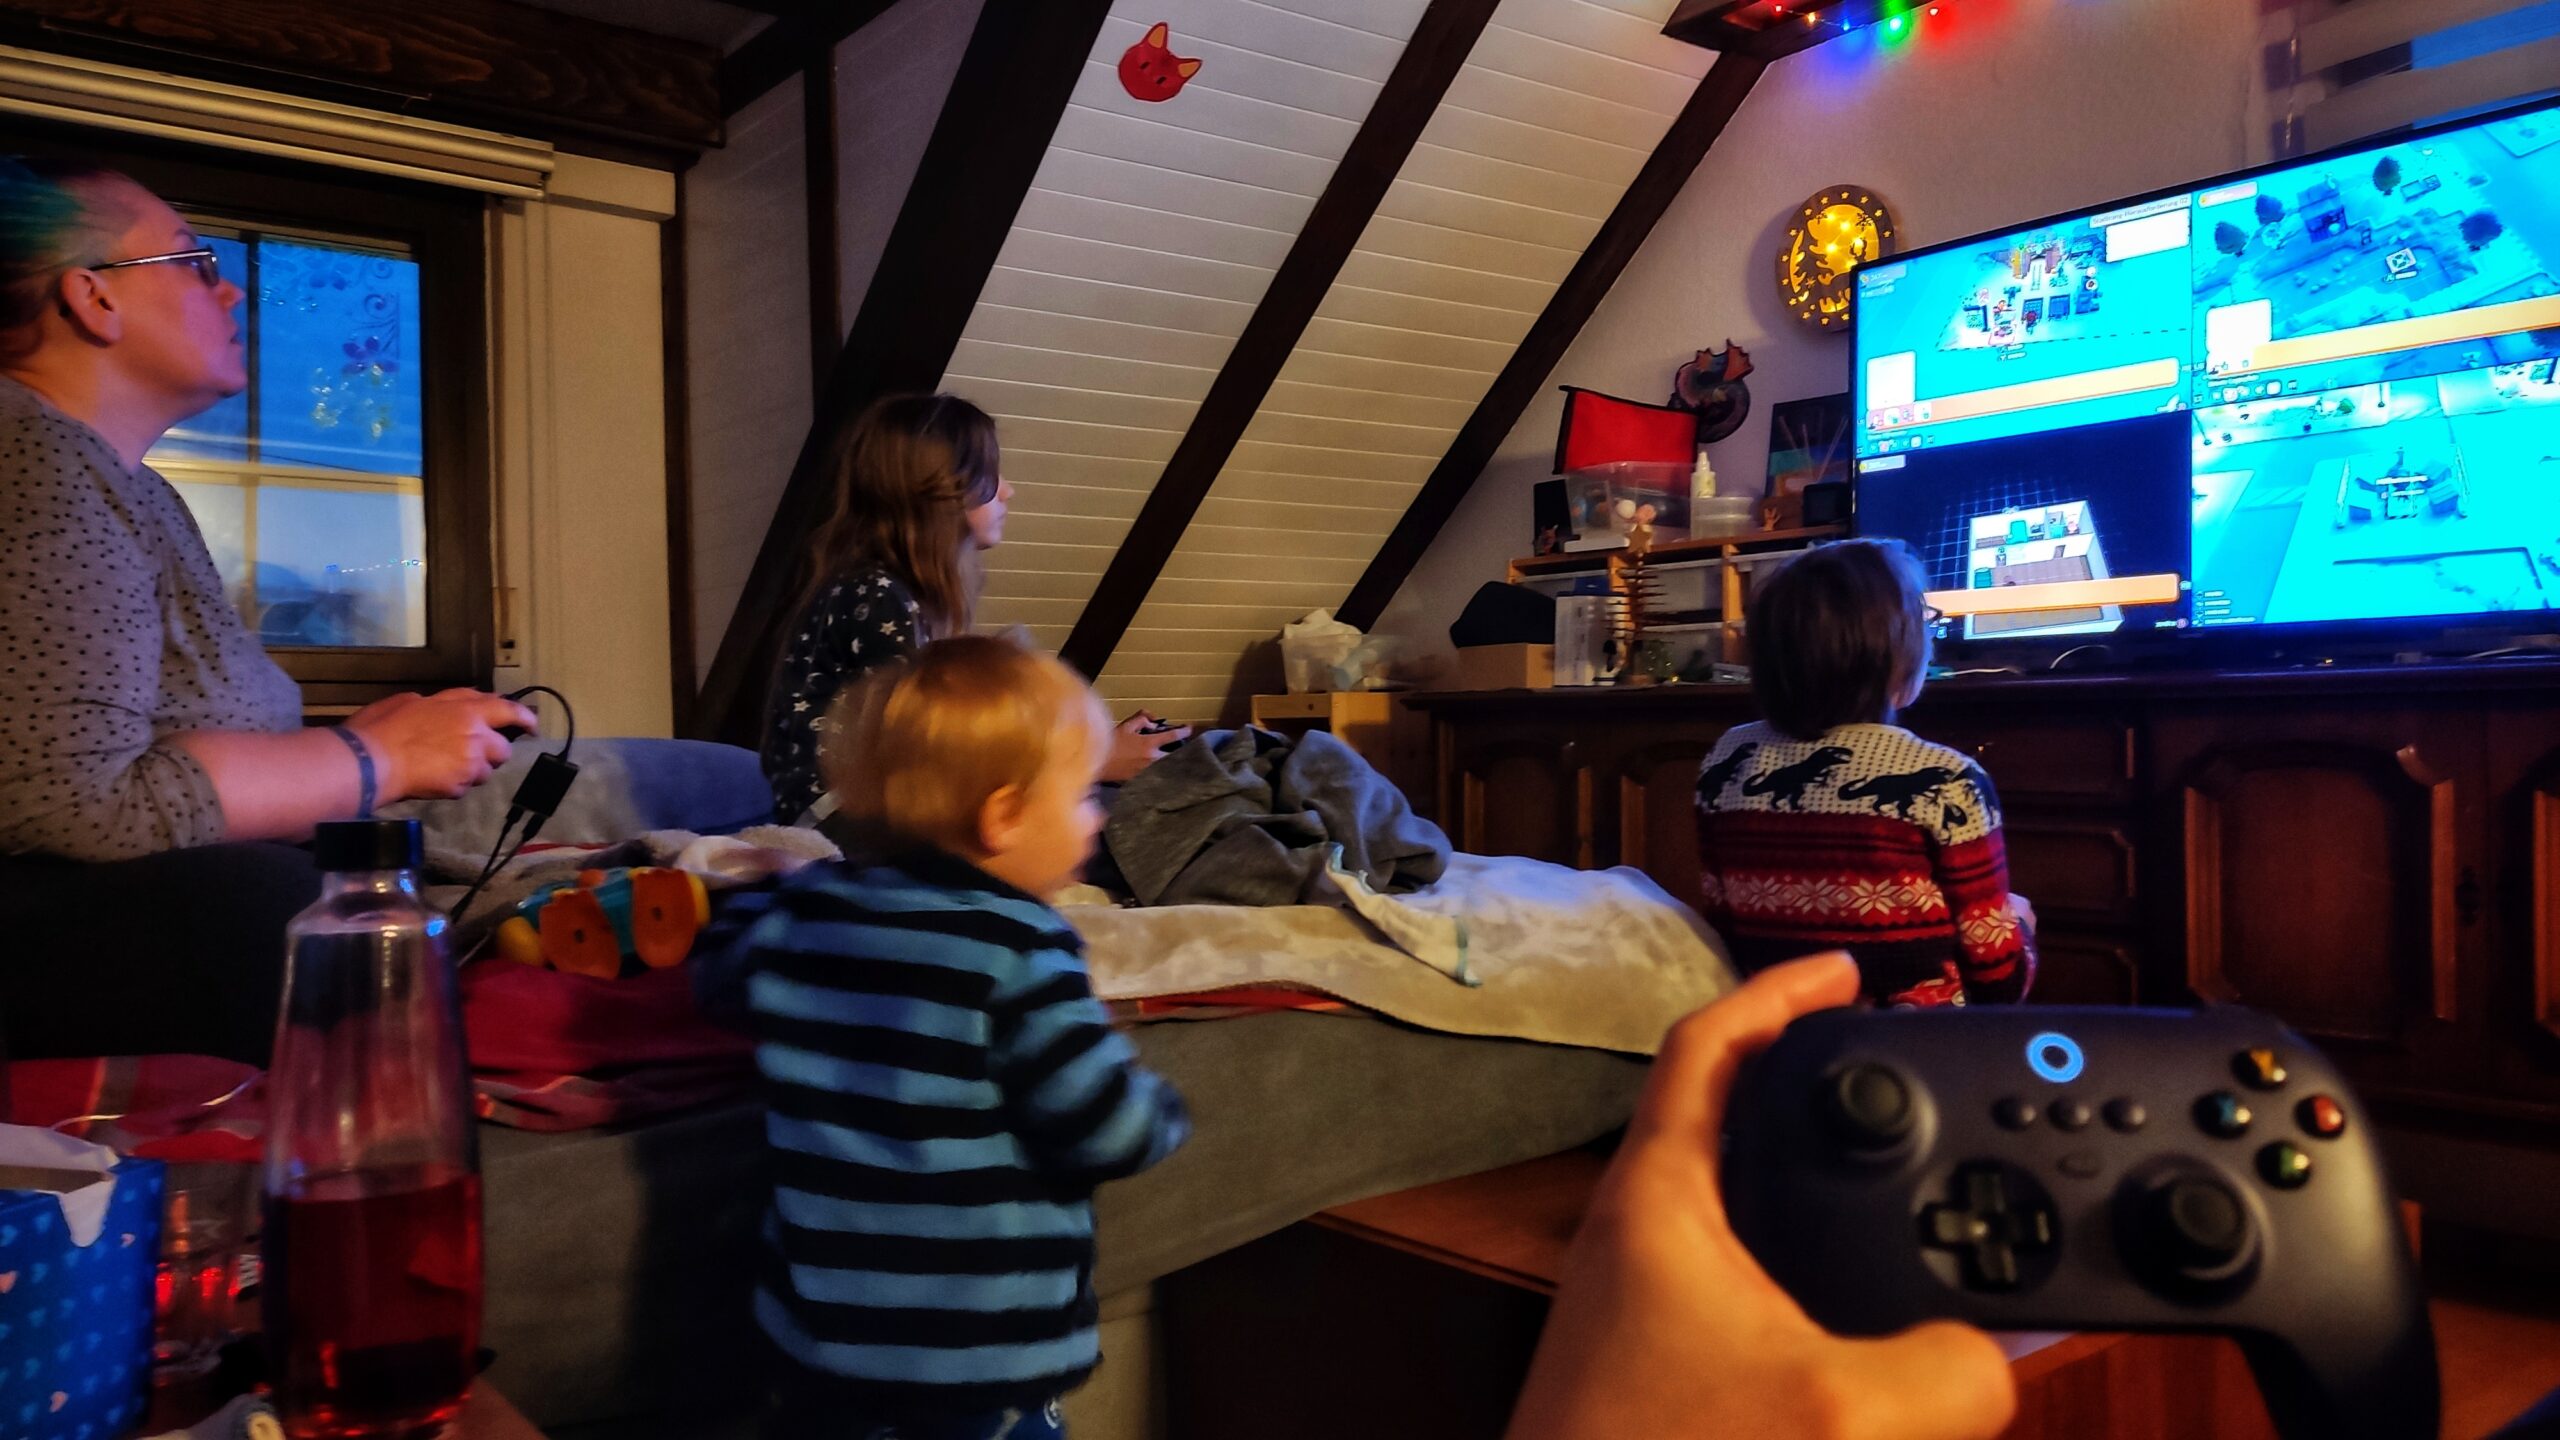
Today we player all together on the 50″ TV in the living room from the [Linux powered] Steam Deck. We used the Viture USB-C adapter, so the Steam Deck didn’t discharge, attached an OTG cable and an ancient USB hub so we could connect our zoo of accumulated controllers. This way we could all play together the Windows game GoGo Town in early access 😁
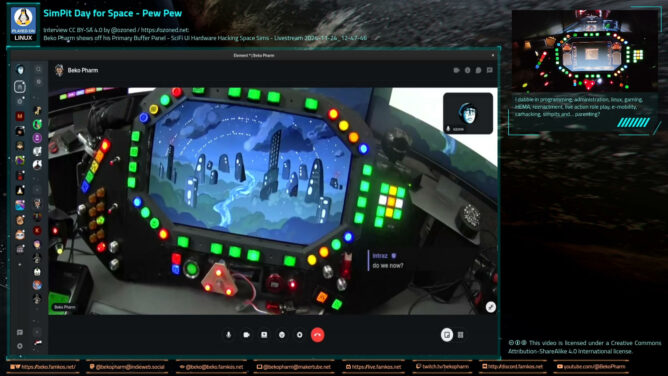
`@ozoned` interviewed me on my home cockpit on a live stream via his #Owncast instance at https://stream.ozoned.net/. This is a more condensed version of the stream that is still just 1h shy. We’re going over almost every feature of my Primary Buffer Panel and I explain how everything works. I also decided to add various photos, slideshows or video snippets during the talk only sections so things don’t get too boring. Sometimes that even complements the talks 😄
Ever wondered how to start your own DIY #homeCockpit / #SimPit on? It’s easy. Just watch this stream 🤓
This one flew under my radar so far (haha, sorry):
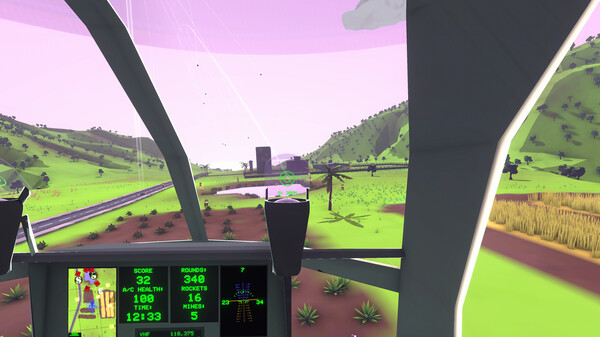
Rescue the civilians, race the clock, and raze the enemy in MH-Zombie, the world’s only helicopter arcade simulator! Three flight physics modes, three difficulty modes, and a tutorial mode provide a stepped learning curve and wider accessibility to realistic helicopter flight.
The reason this came to my attention is because it’s one of the few games that [just] implemented #headTracking via UDP e.g. available by #OpenTrack (and various others). This is great because it doesn’t force people to jump the hoops of #TrackIR, which is only supported for Windows and officially limited to their proprietary devices. See this in action at https://www.youtube.com/watch?v=jMGFdO7VXiY
Apparently it’s written for mobile games but runs on PC as well – that seems to include Linux PC which even makes this a #LinuxGaming title! 🤓
I don’t know about you but for 3 bucks I’ll totally get this for the occasional pew pew fun. Game seems to be a labour of love so sharing is highly appreciated.
Close
🦠 Ad-blocker not detected
Consider installing a browser extension that blocks ads and other malicious scripts in your browser to protect your privacy and security. Learn more.
Stay cool. Stay safe. Use an ad-blocker. Use protection.