So I dunno if you know what a #VFD (https://en.wikipedia.org/wiki/Vacuum_fluorescent_display) is but I’m a sucker for these – at least virtually.
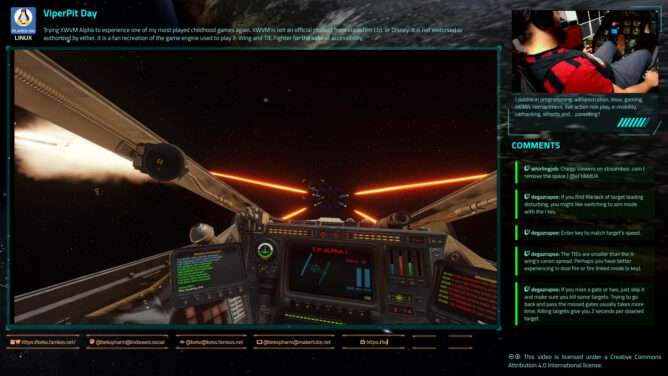
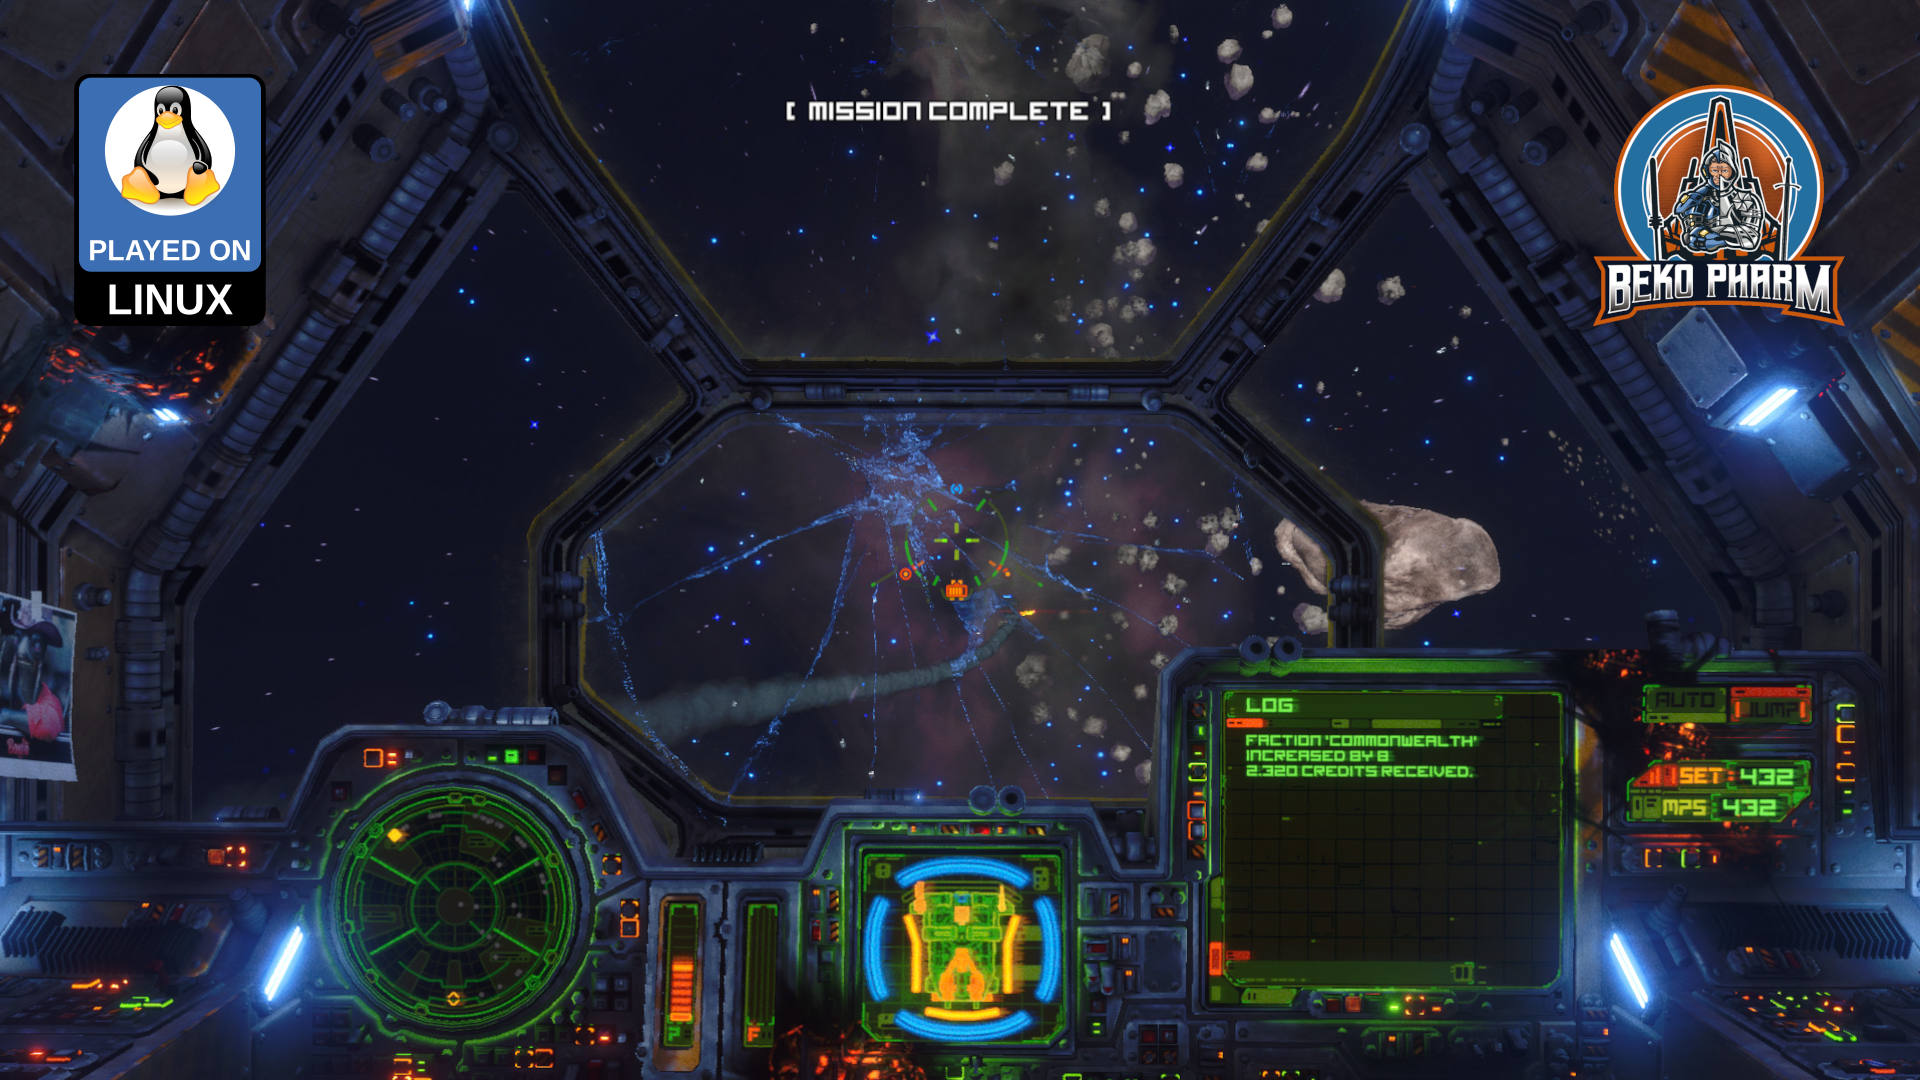
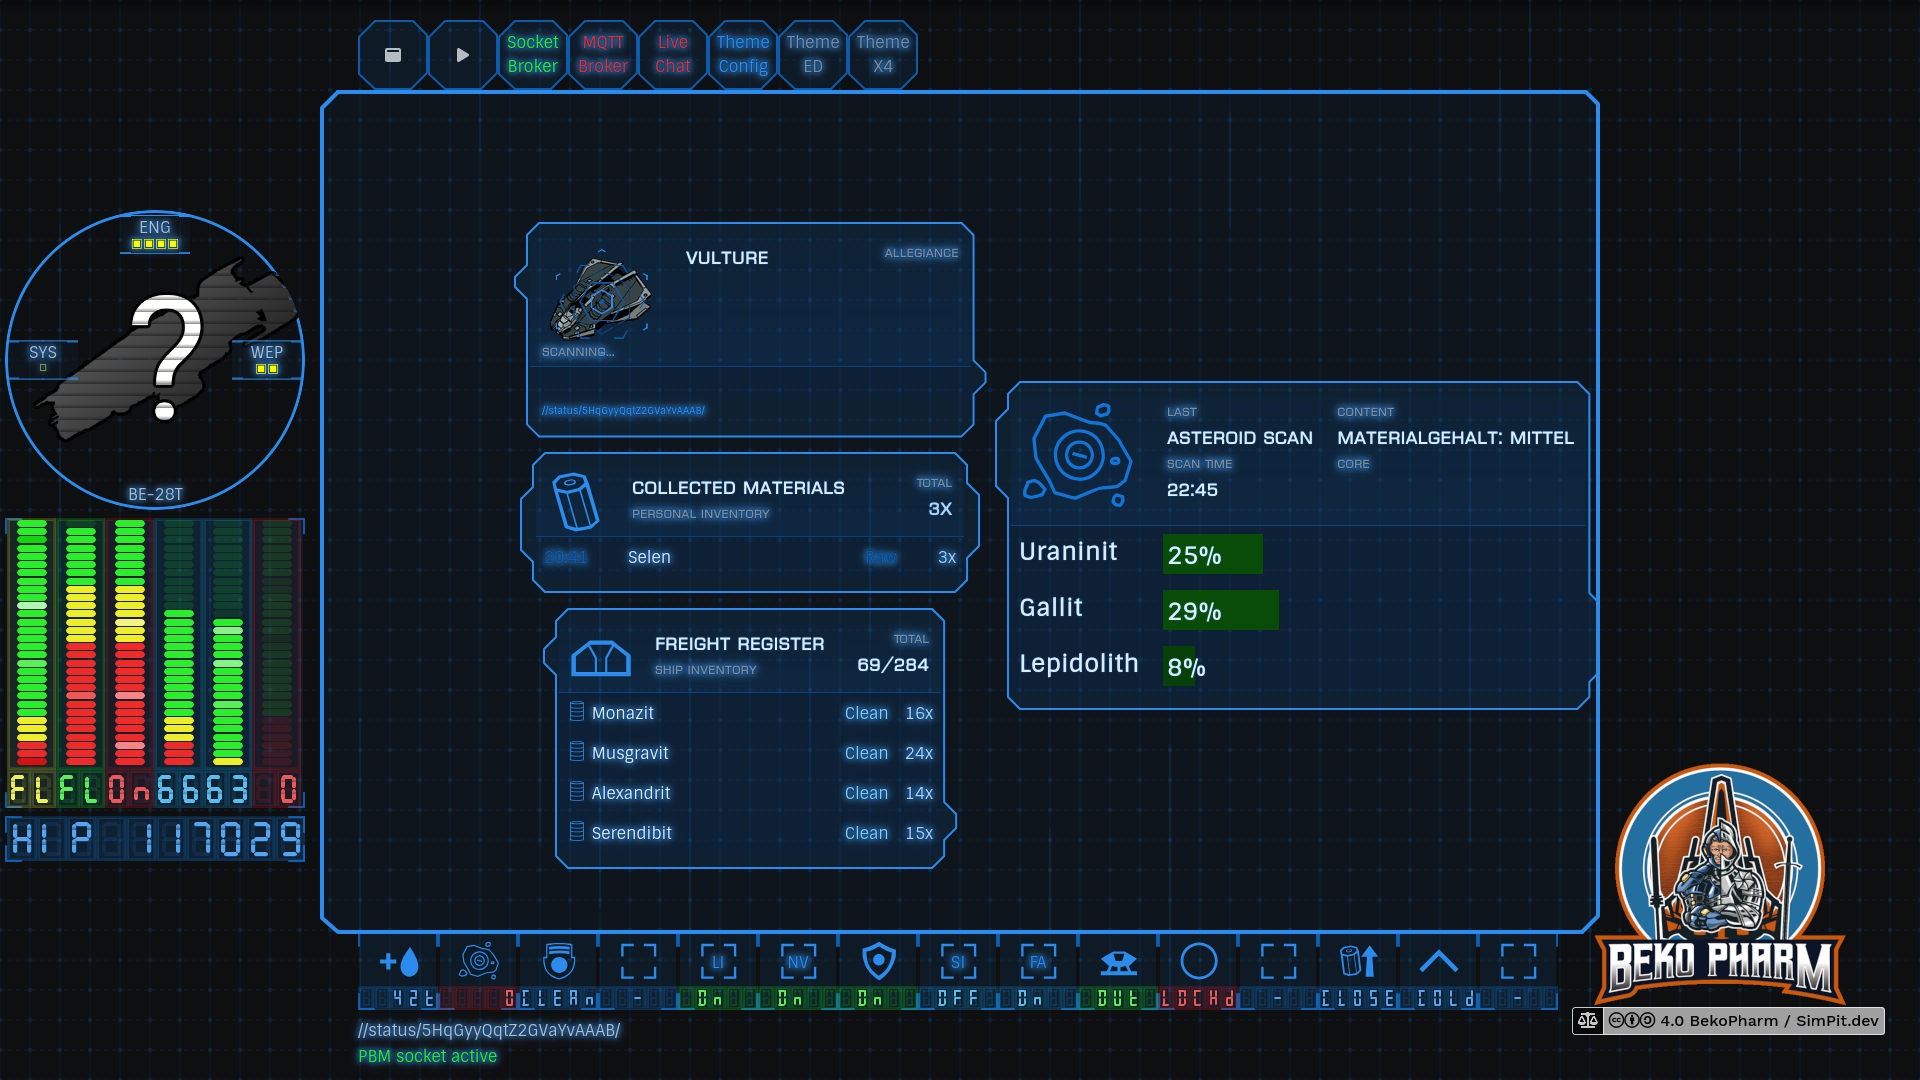
Games like #RebelGalaxyOutlaw perfected the look and this is where I want to go with my #Arwes HUD app for my #EliteDangerous / #X4Foundations home cockpit too.
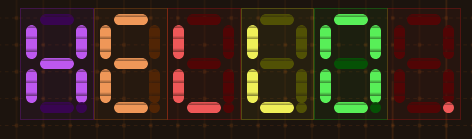
The segment displays are heavily inspired by #AugmentedUI project (https://augmented-ui.com/) where I’ll borrow some more elements. Learned the neat fake scan lines from there too. And yes the 8 segment display works by shifting bits under the hood 🤓 This isn’t really needed for an app but I have plans to add some real segment displays eventually (I do have a whole box full with these!) so I wanted to know how to implement this anyway.
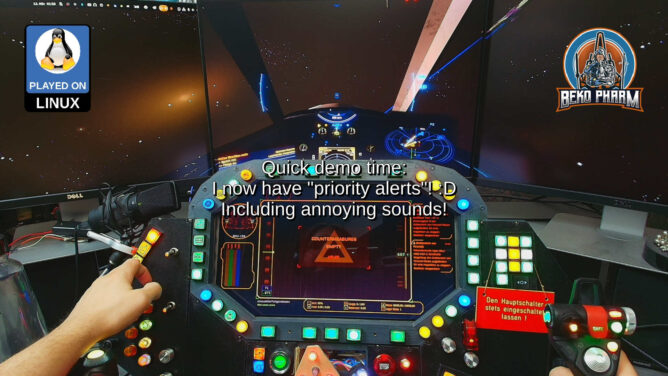
Video from an earlier stage in the development demos the scan line effect.
The bars are configured with parameters in size, count, percent, colours and thresholds 😁 I also added a random chance of 5% to shift the hue a little bit because just as in real life nothing is perfect.
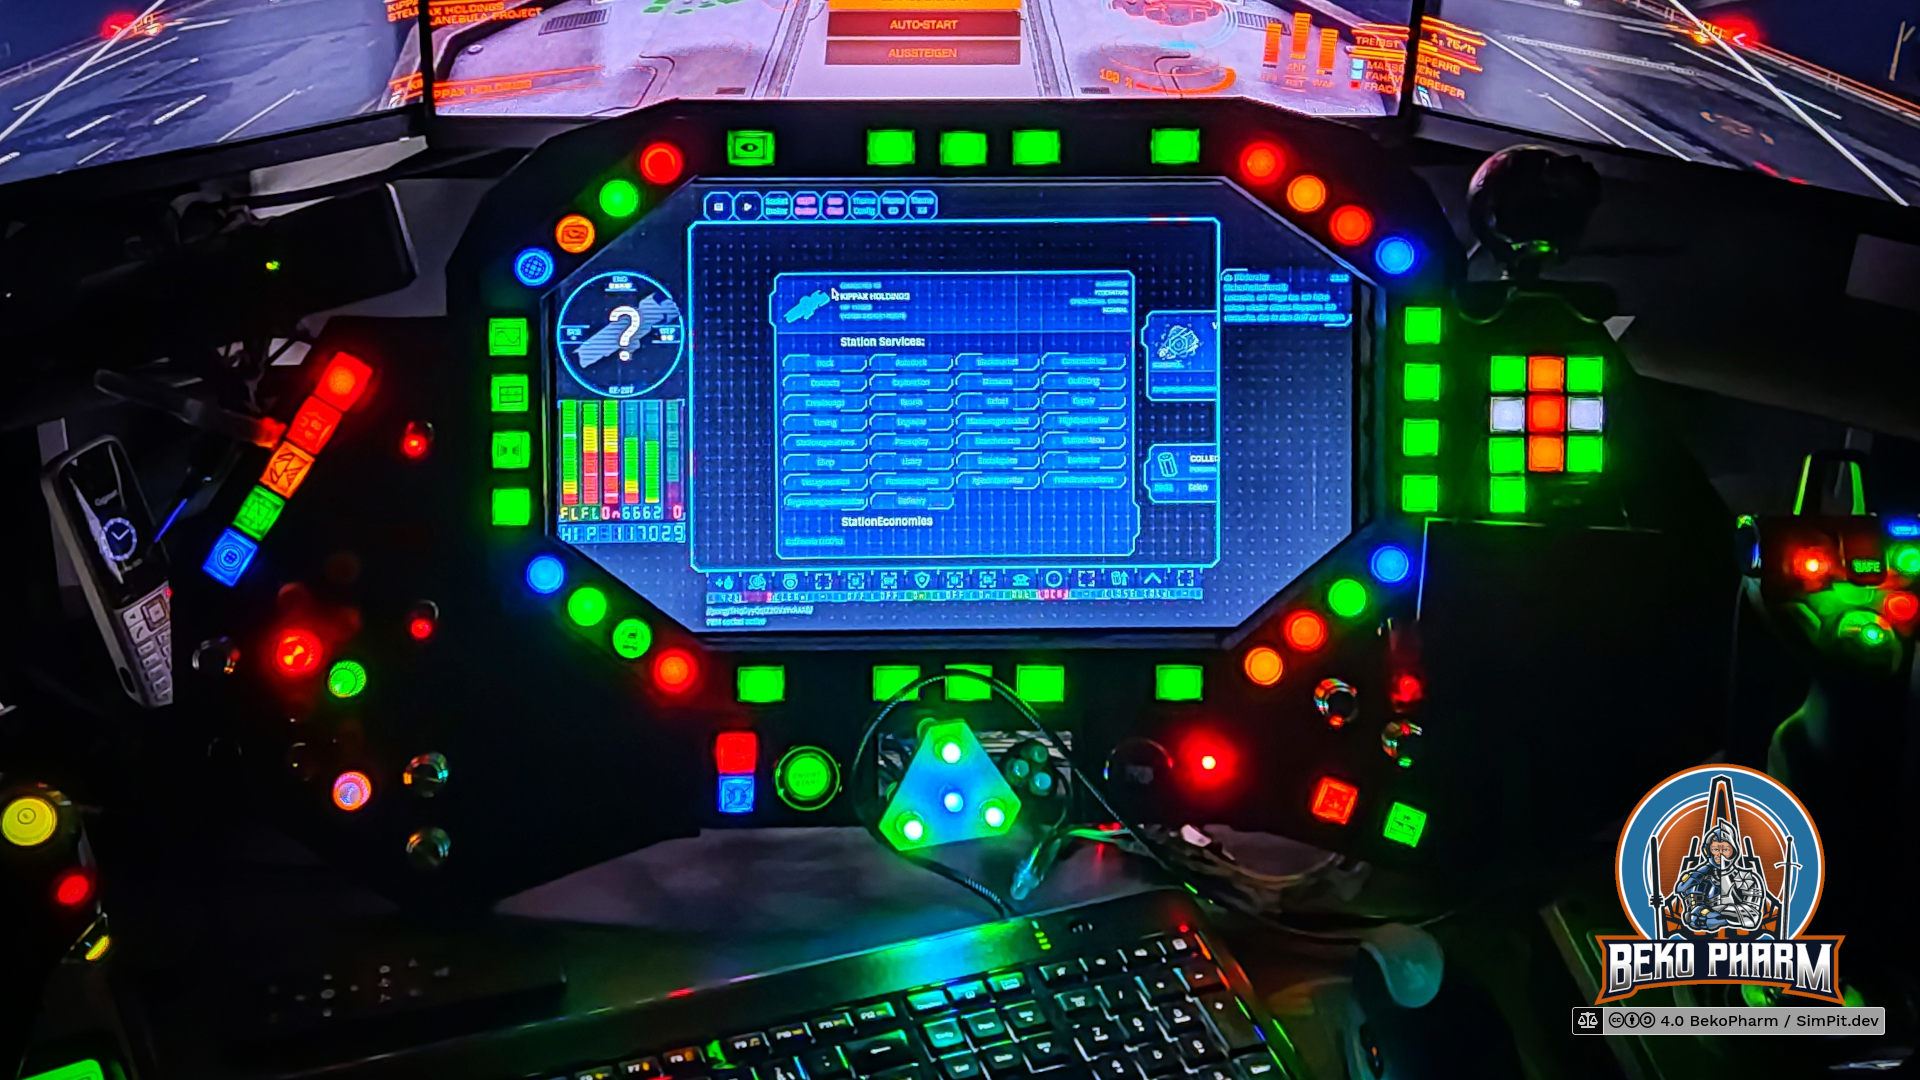
And yes they are fully themed so switching the colour theme also affects the virtual VFDs.
I’m also going to replace the older horizontal bars, that look way too boring in comparison.
It’s still very early but I hope to get some rad animations going too. See https://www.hudsandguis.com/home/2022/retro-digital-dashboards to get an idea in which direction this is going 🤓
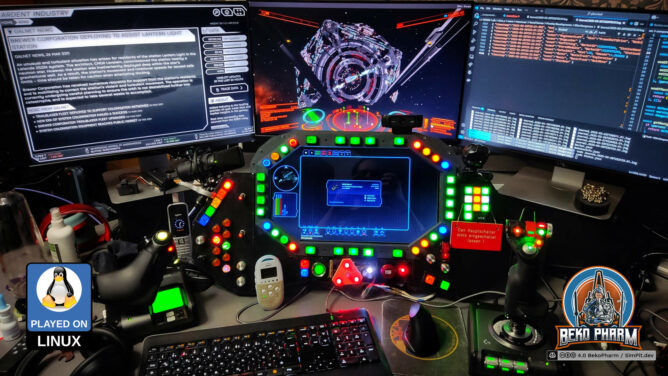
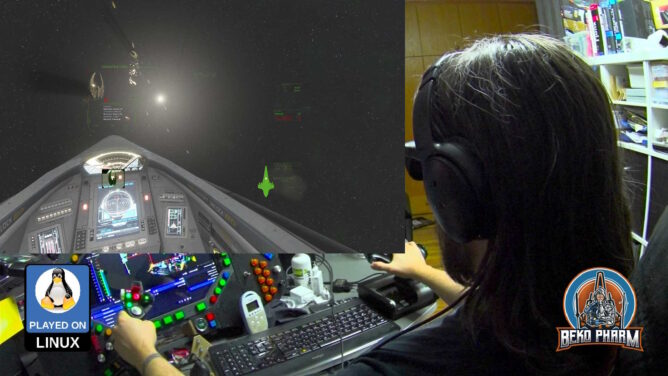
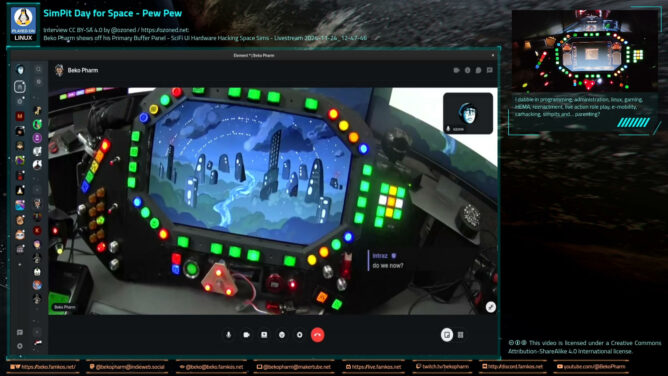
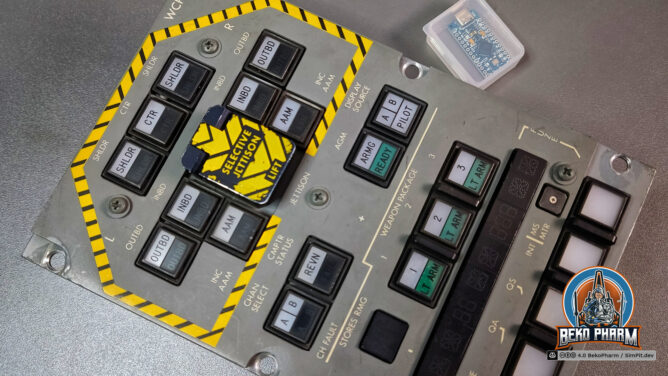
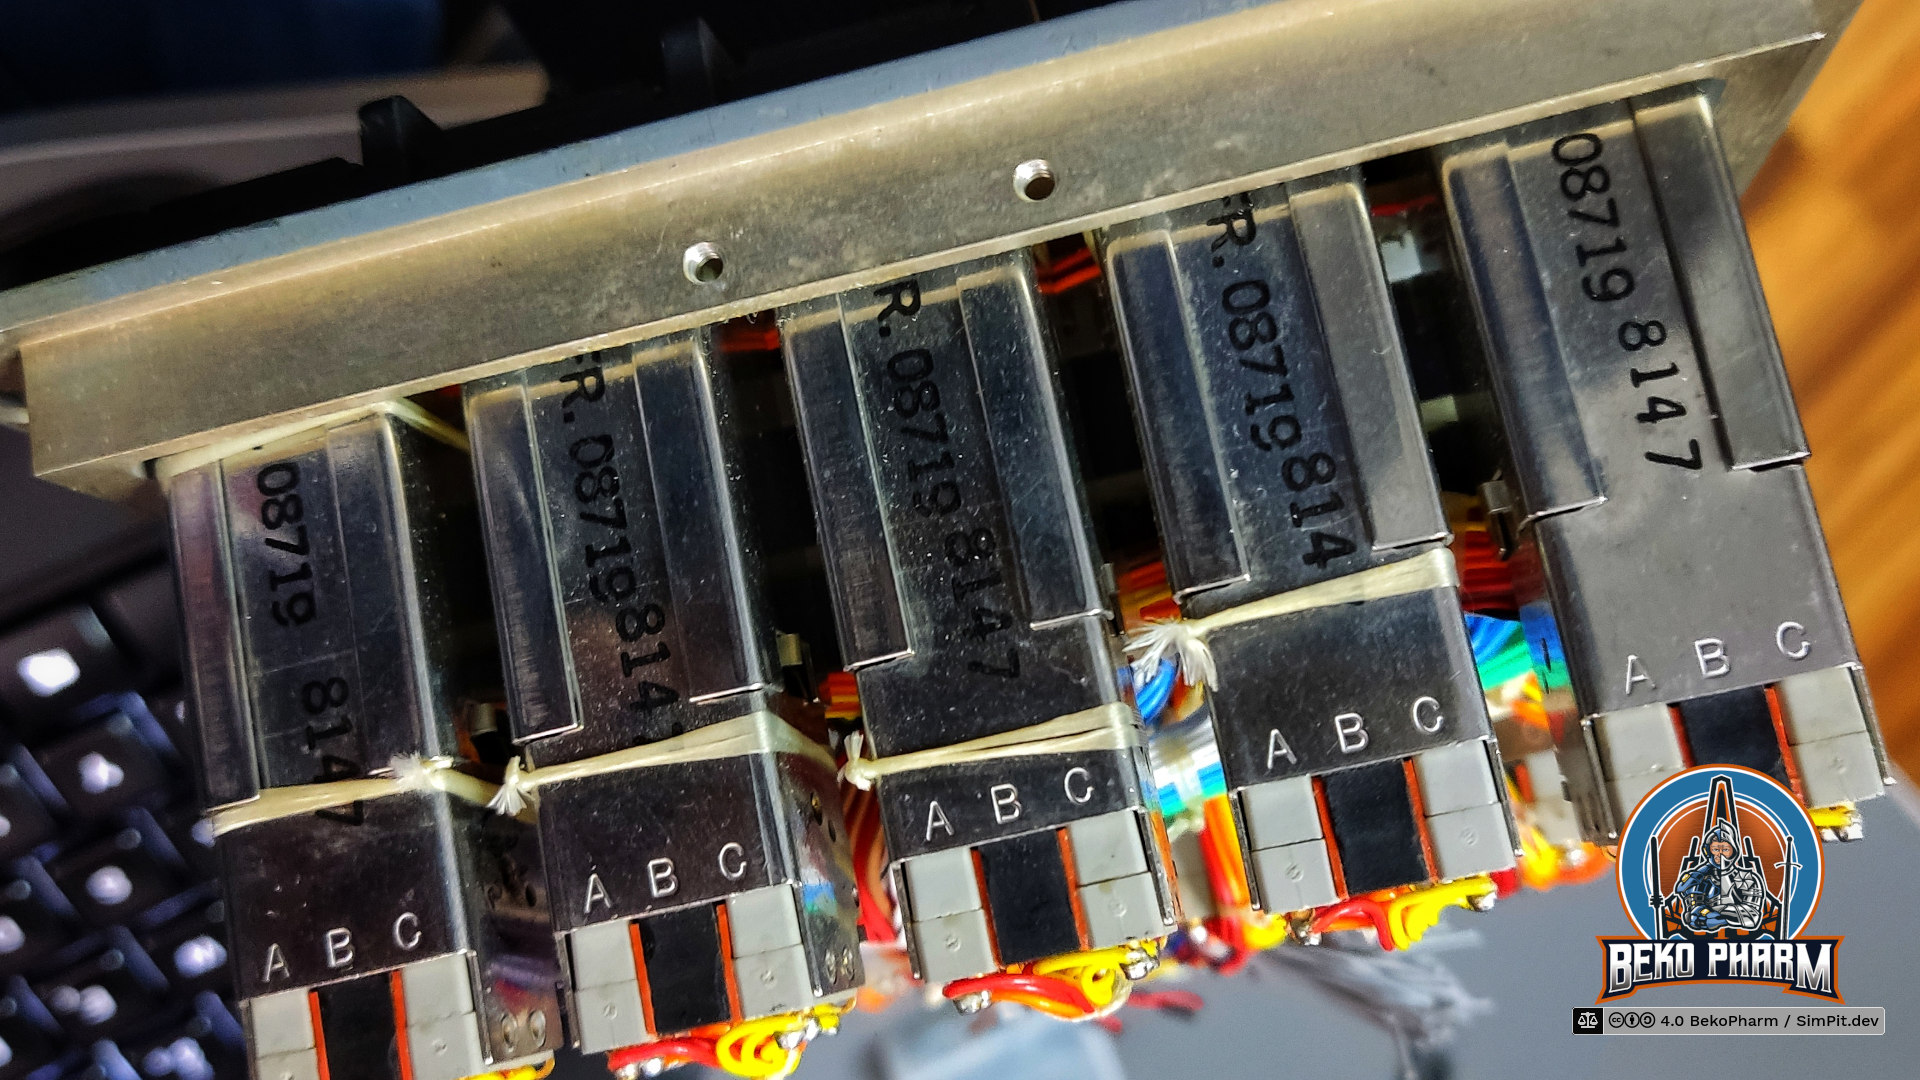
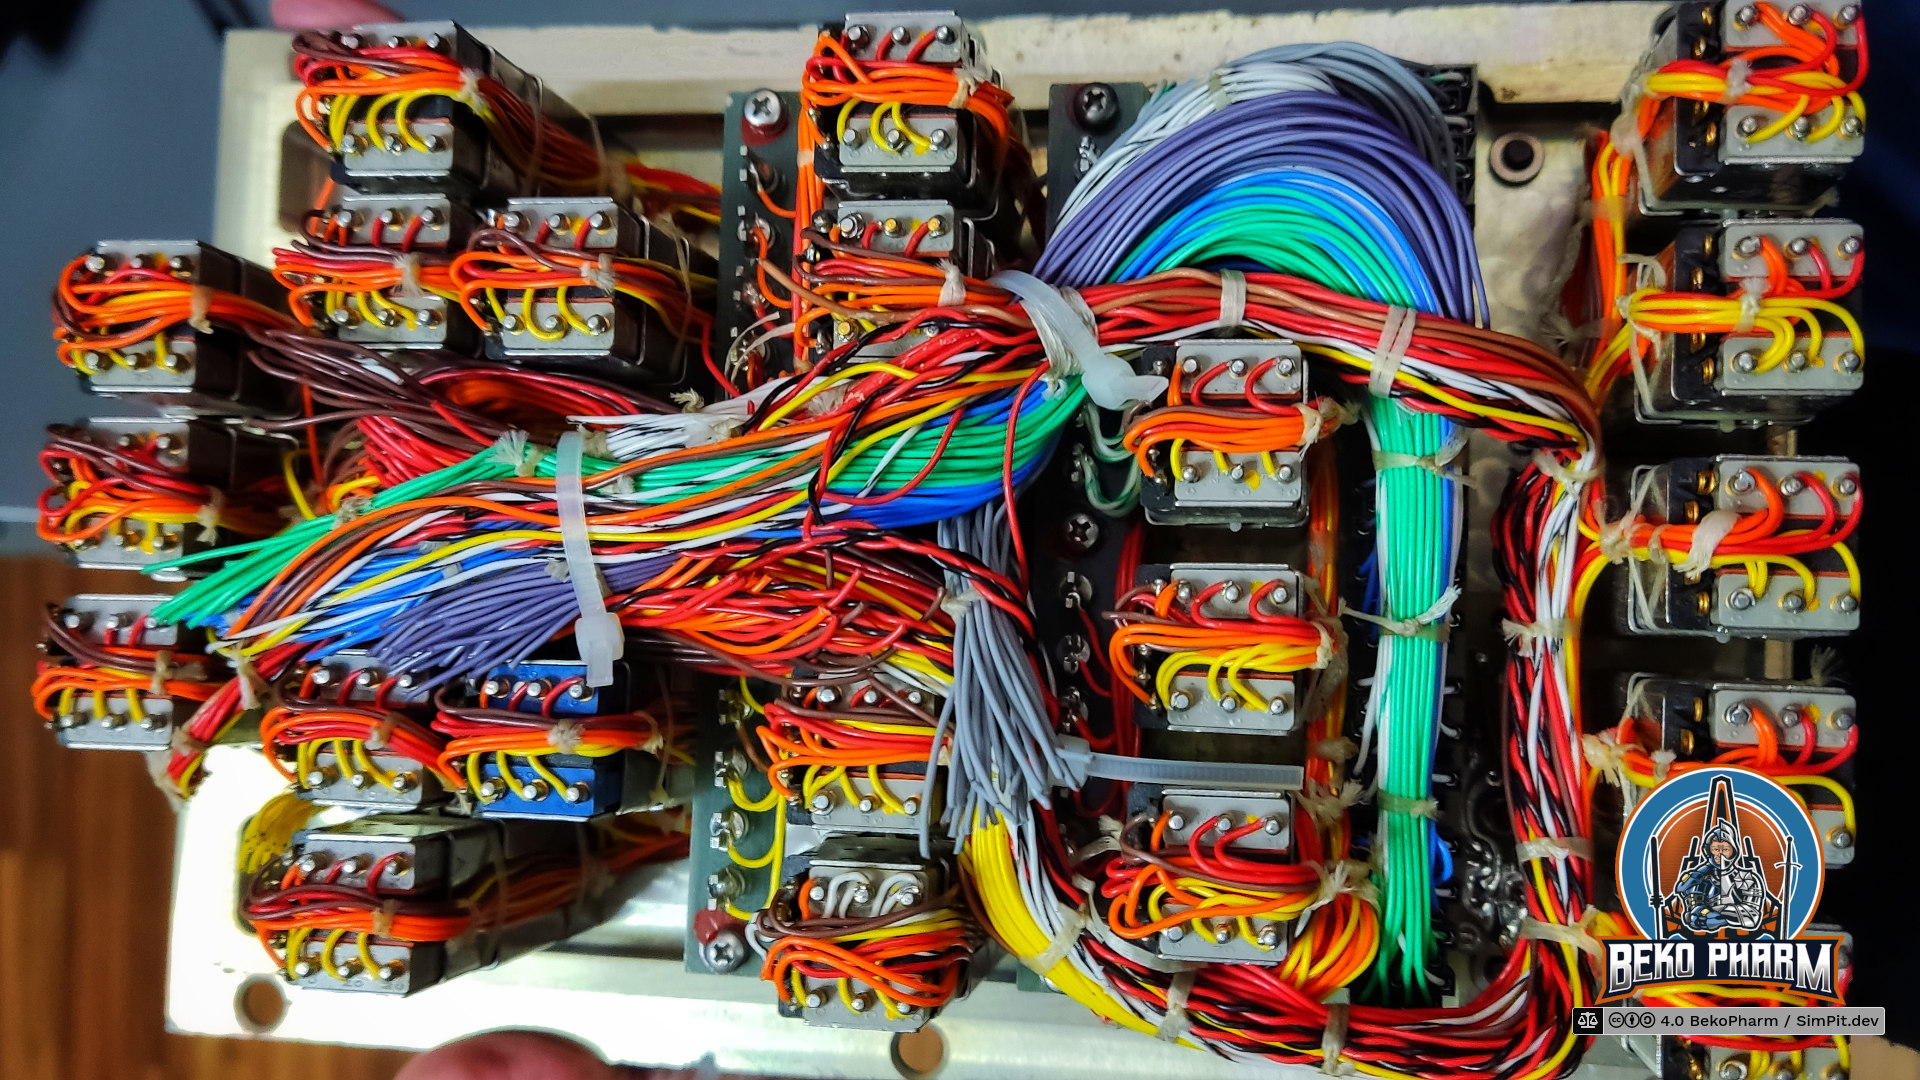
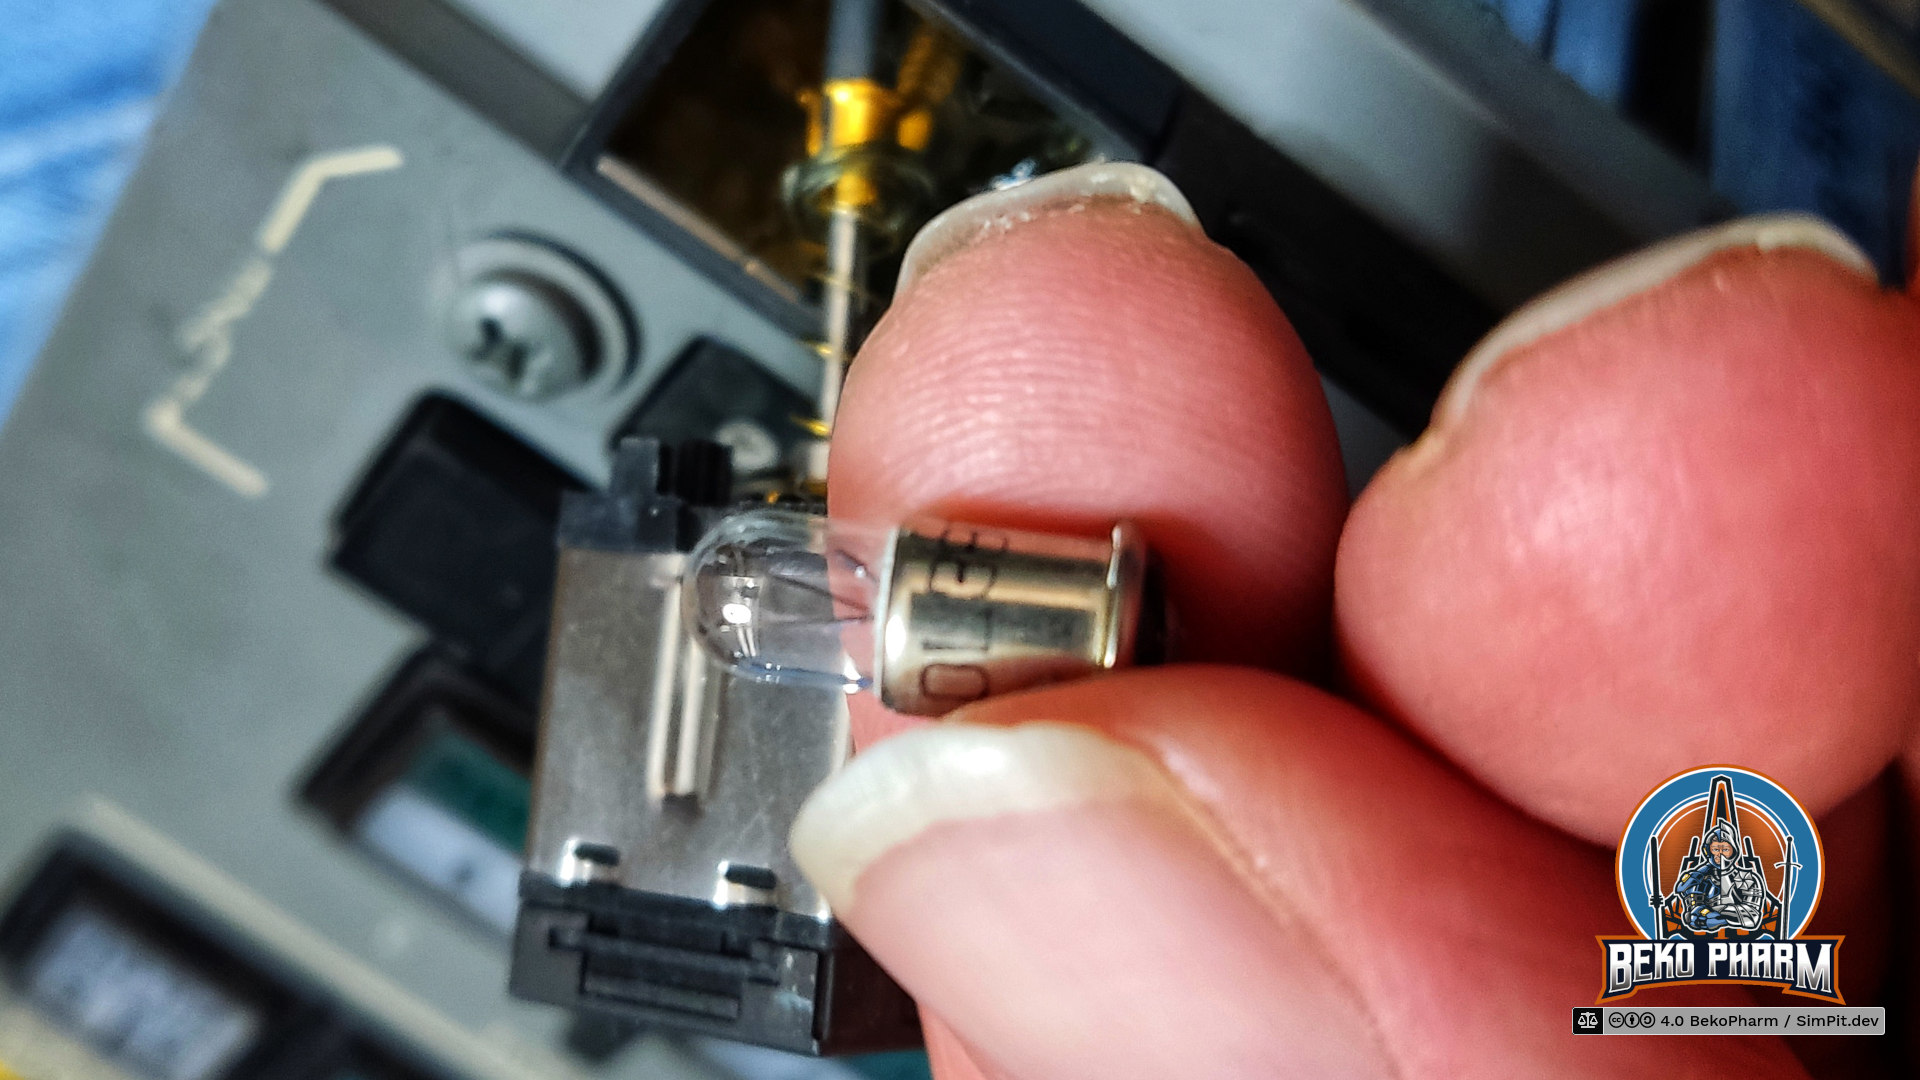
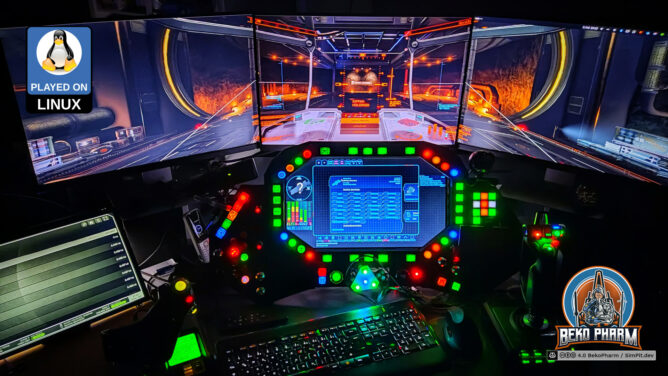
See the dedicated project page https://SimPit.dev for more details on this #Macross #VF1 inspired #cockpit panel.