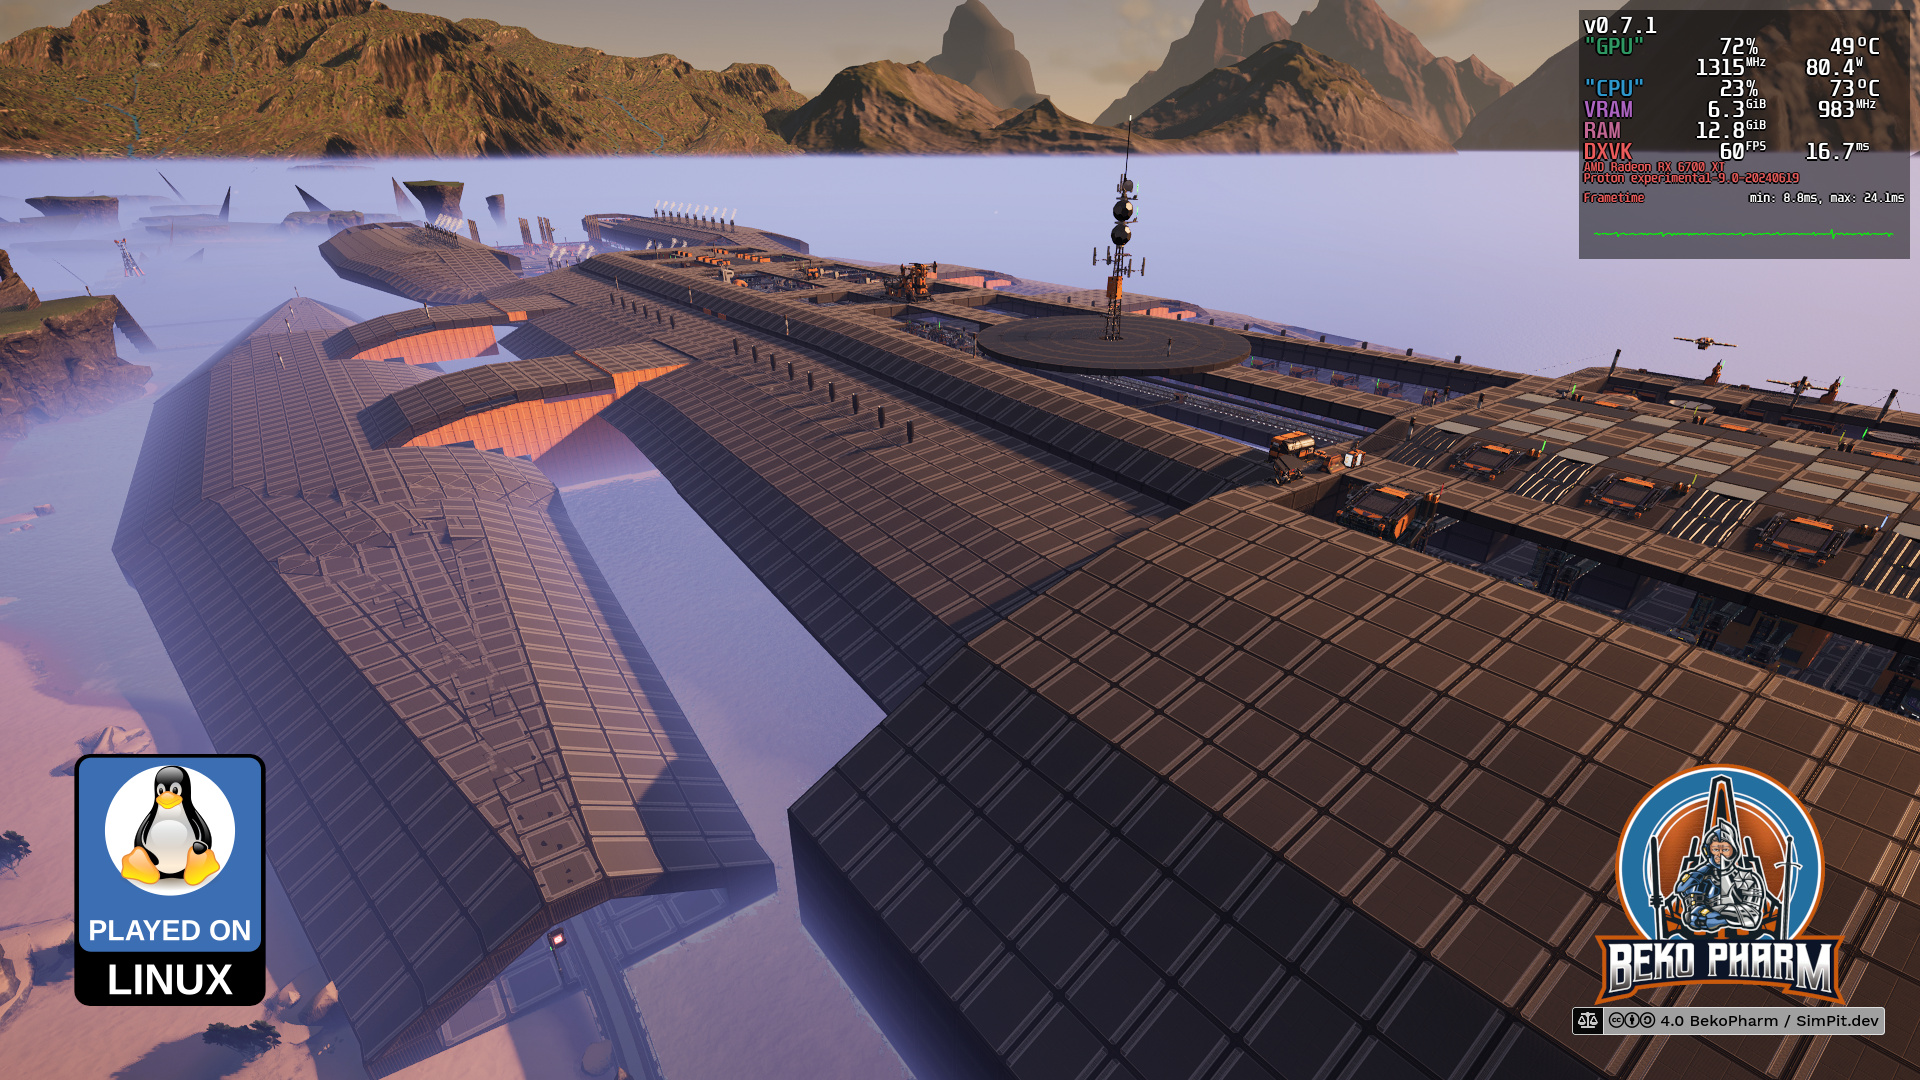
Back in 2023 I started a new game in #Satisfactory where I did set out (on a whim) to build the #BattlestarGalactica – and fair warning: I never finished it. I found some measurements of this iconic ship from the #BSG verse online, which is apparently something like 1.44km x 551m and converted this to 179.6 x 68.9 Satisfactory Foundations (look Mom, a game made me do MATHS again).
Finding a spot with enough space was a task on it’s own and I settled for the West Coast in the end. This is so close to the edge that the game starts to kill the player because the map ends there. This is also a Vanilla game with no mods.
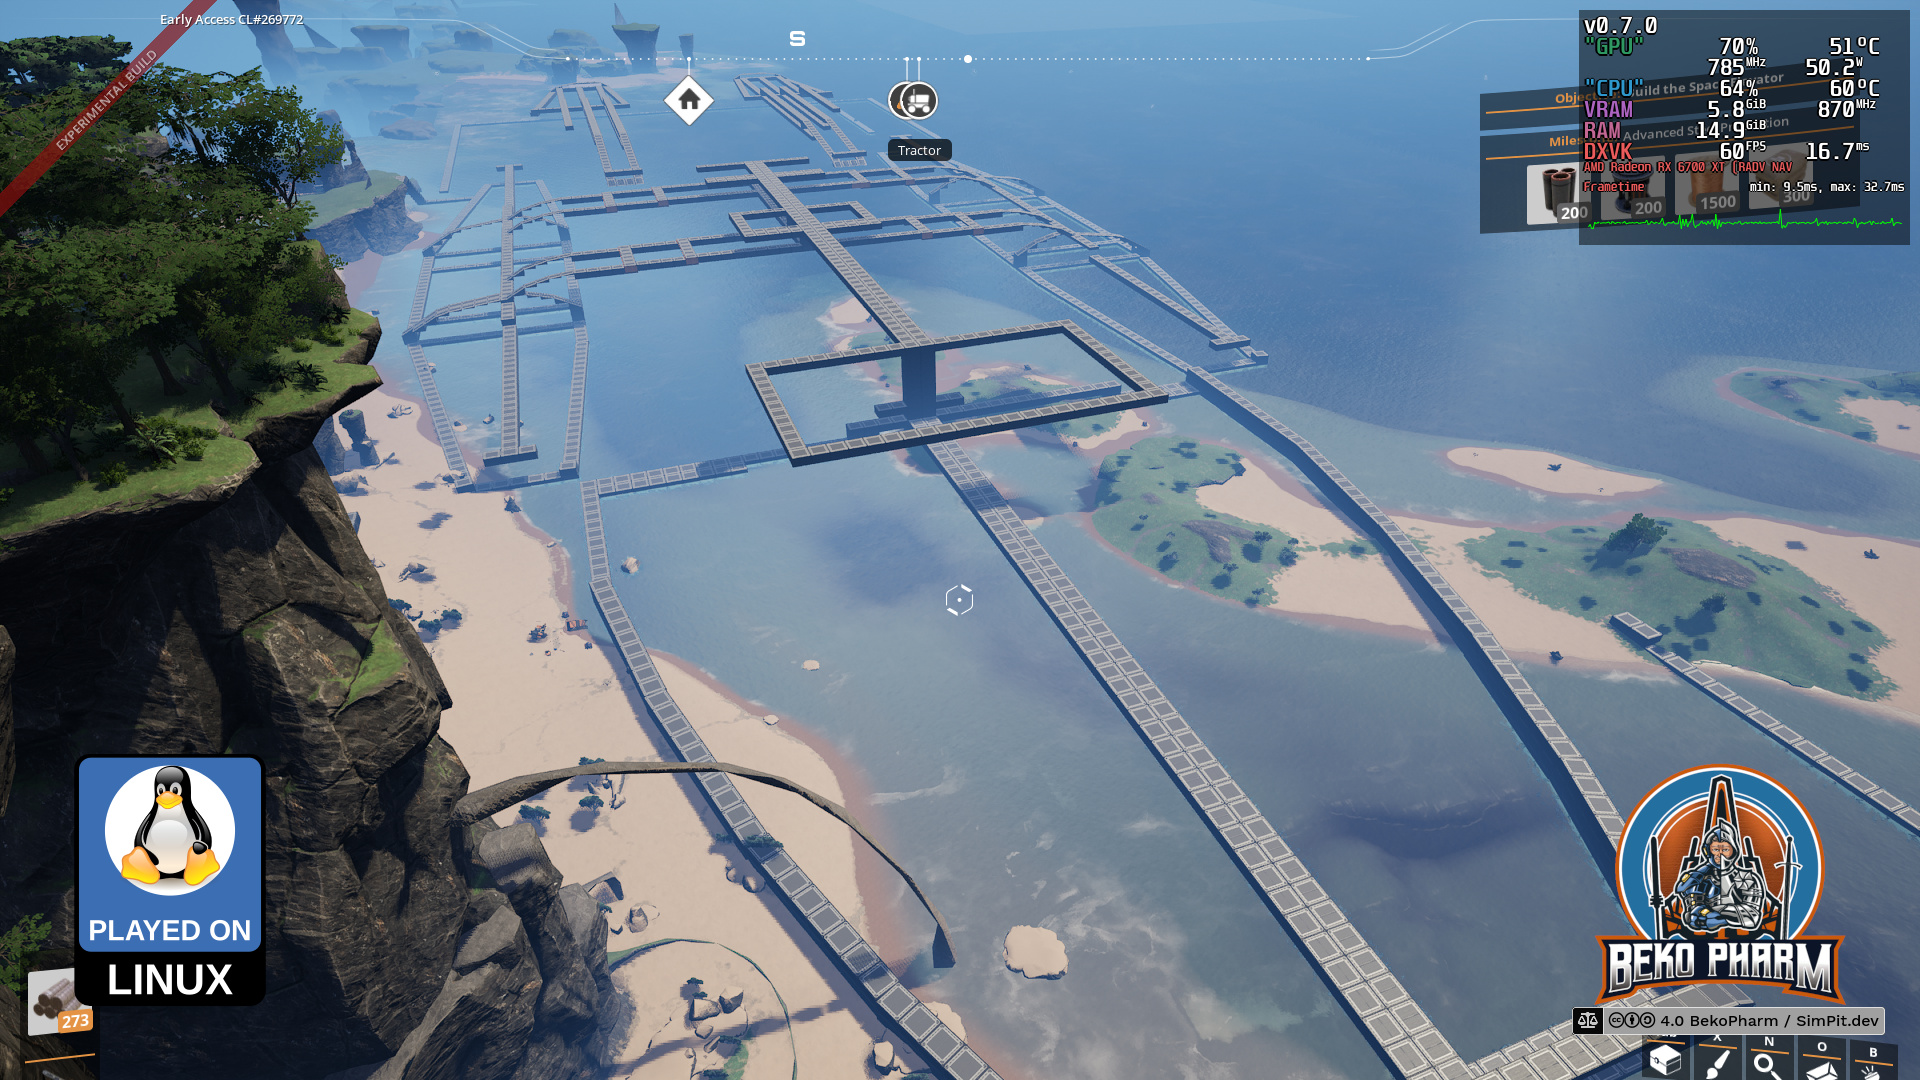
After laying a square for the proportion and being somewhat satisfied (haha) with that I started refining the outlines. This took ages and some mad image editing skills to scale photos with correct proportions and overlaying them with a grid in the Gimp editor. Ah well not really but you get the idea.
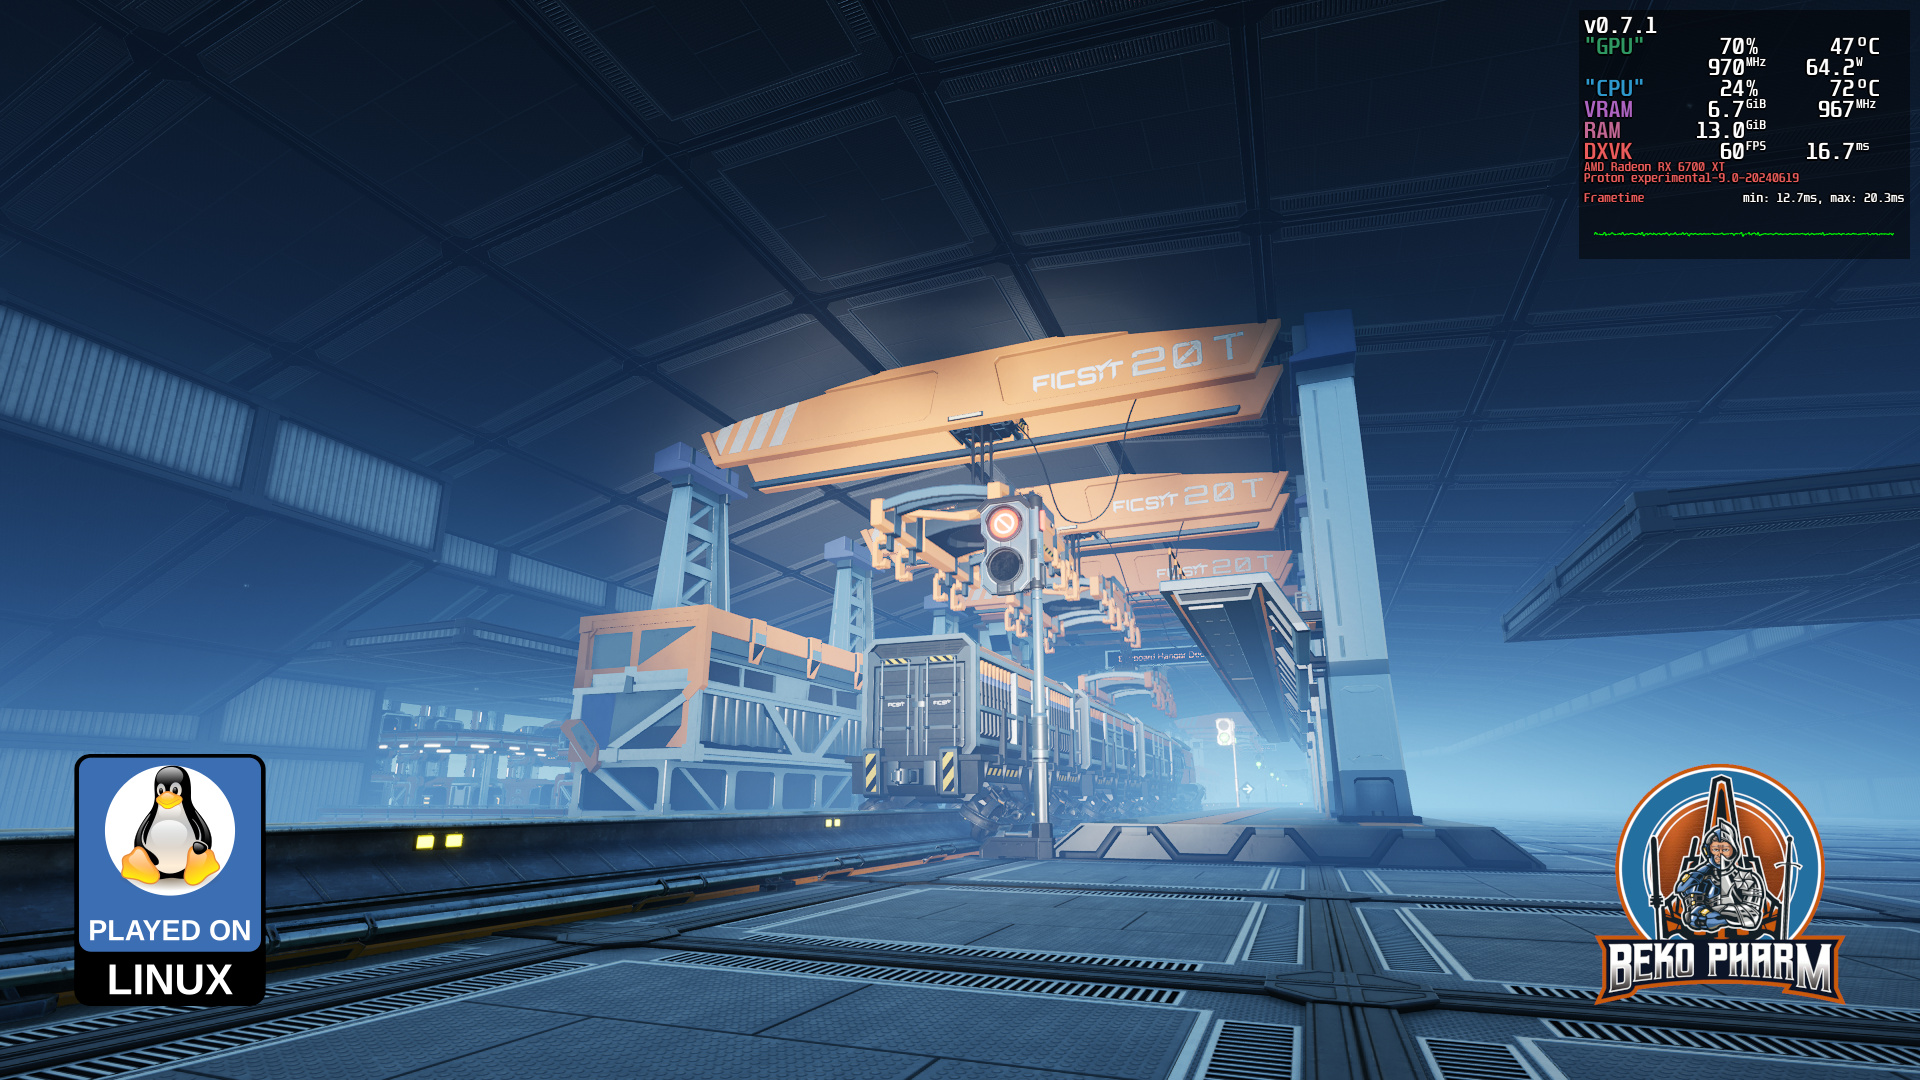
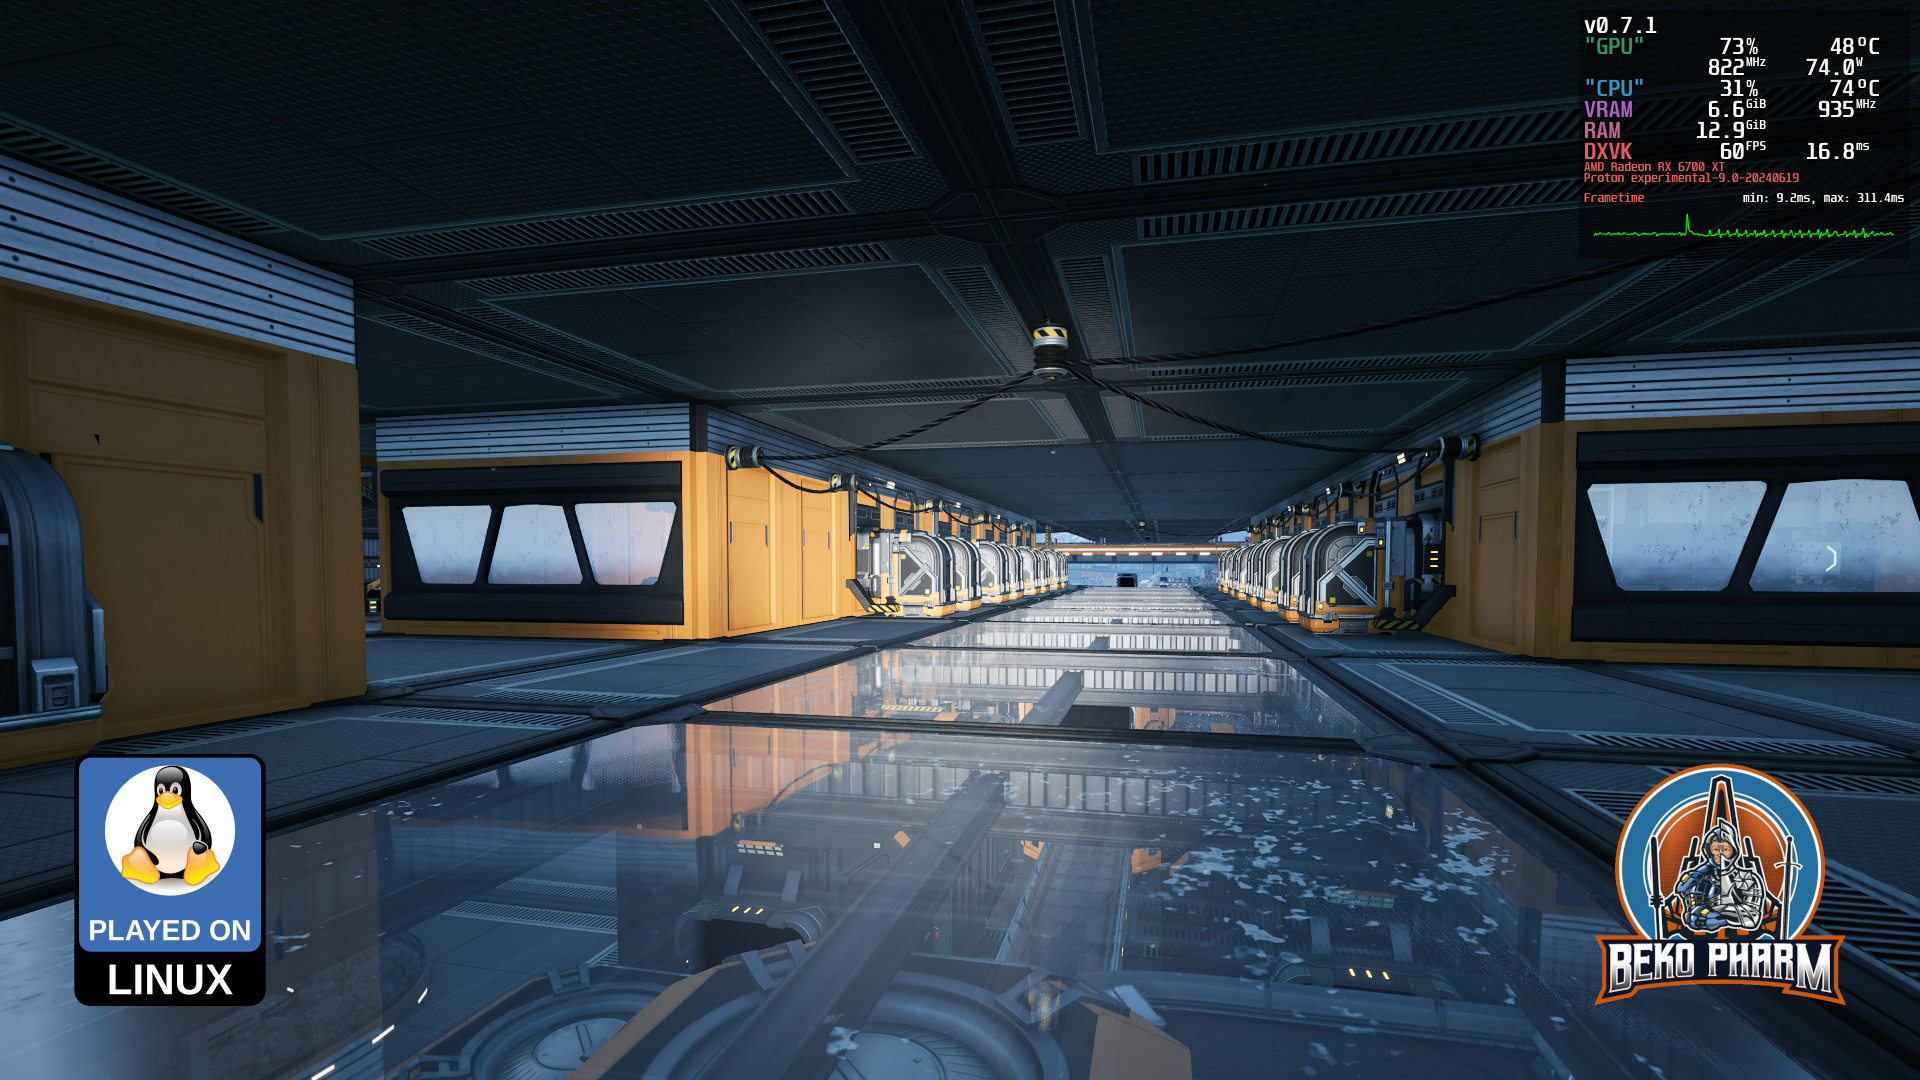
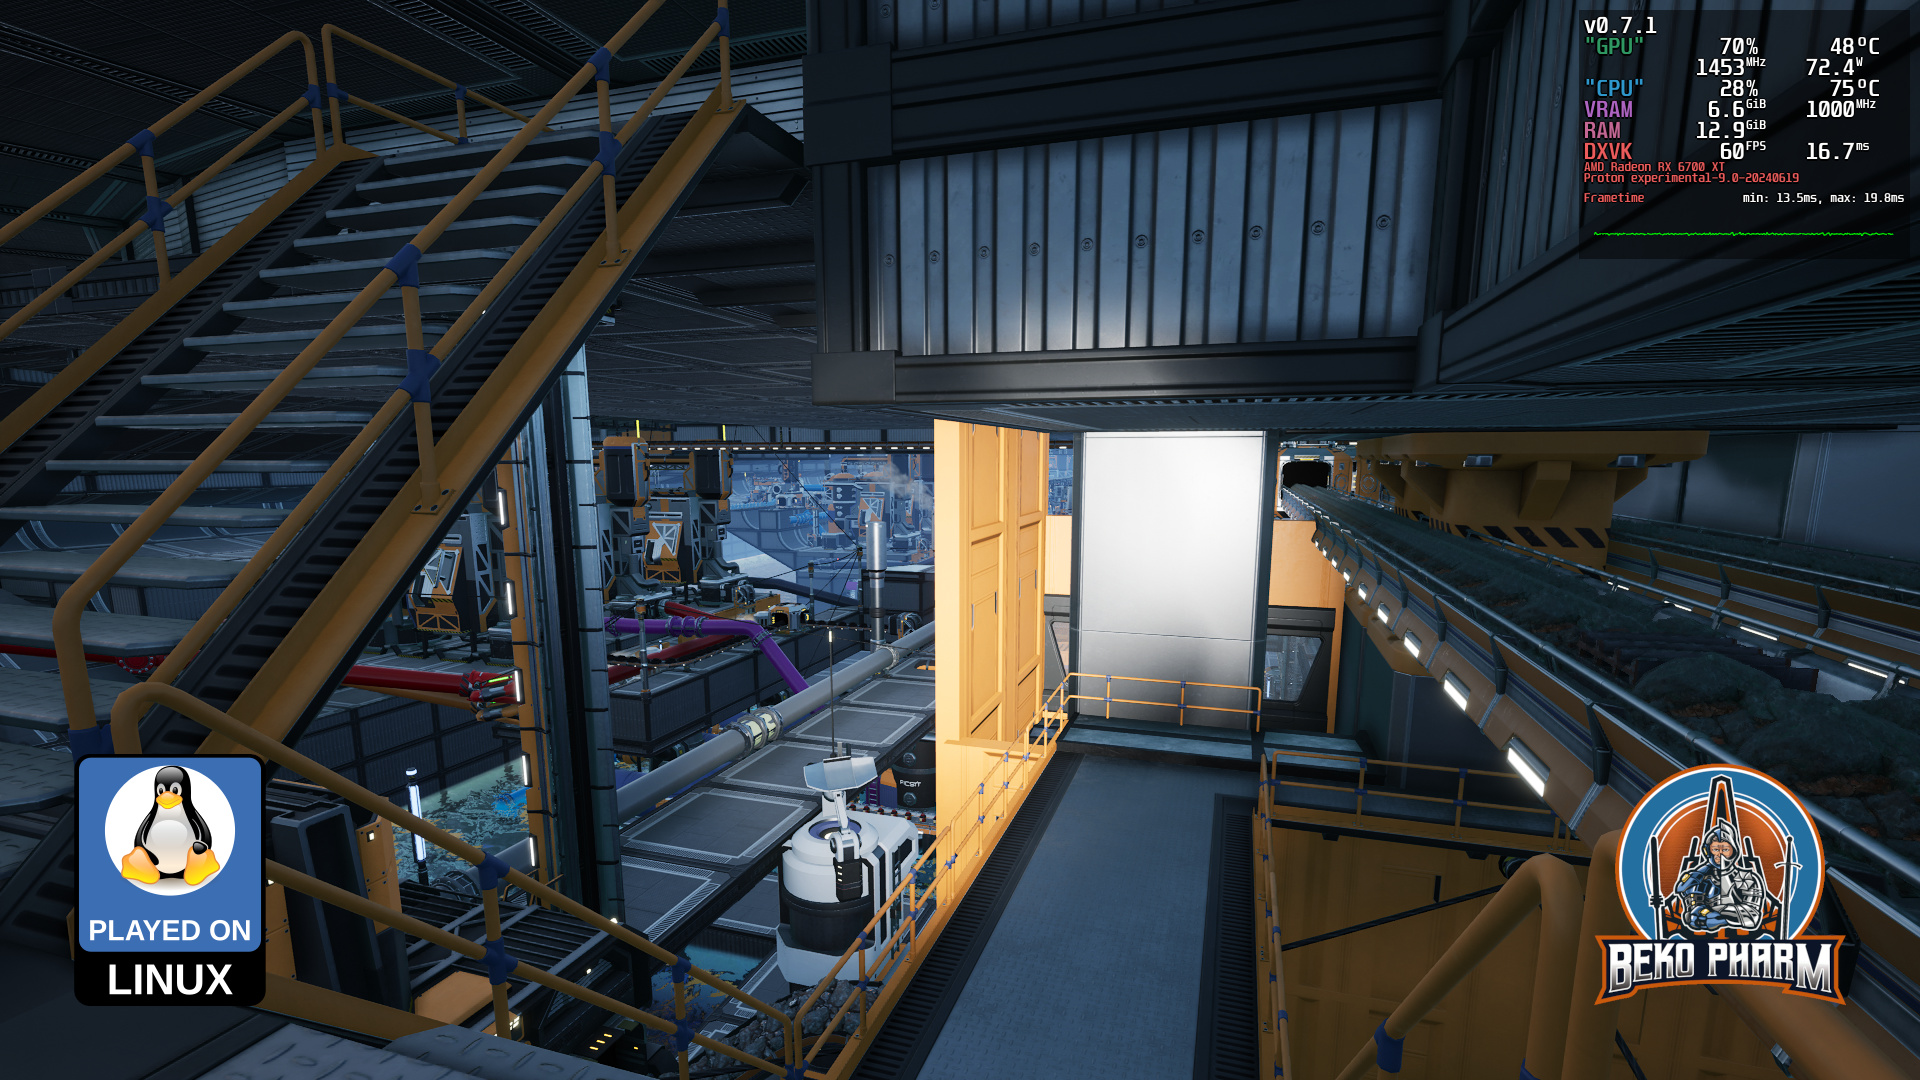
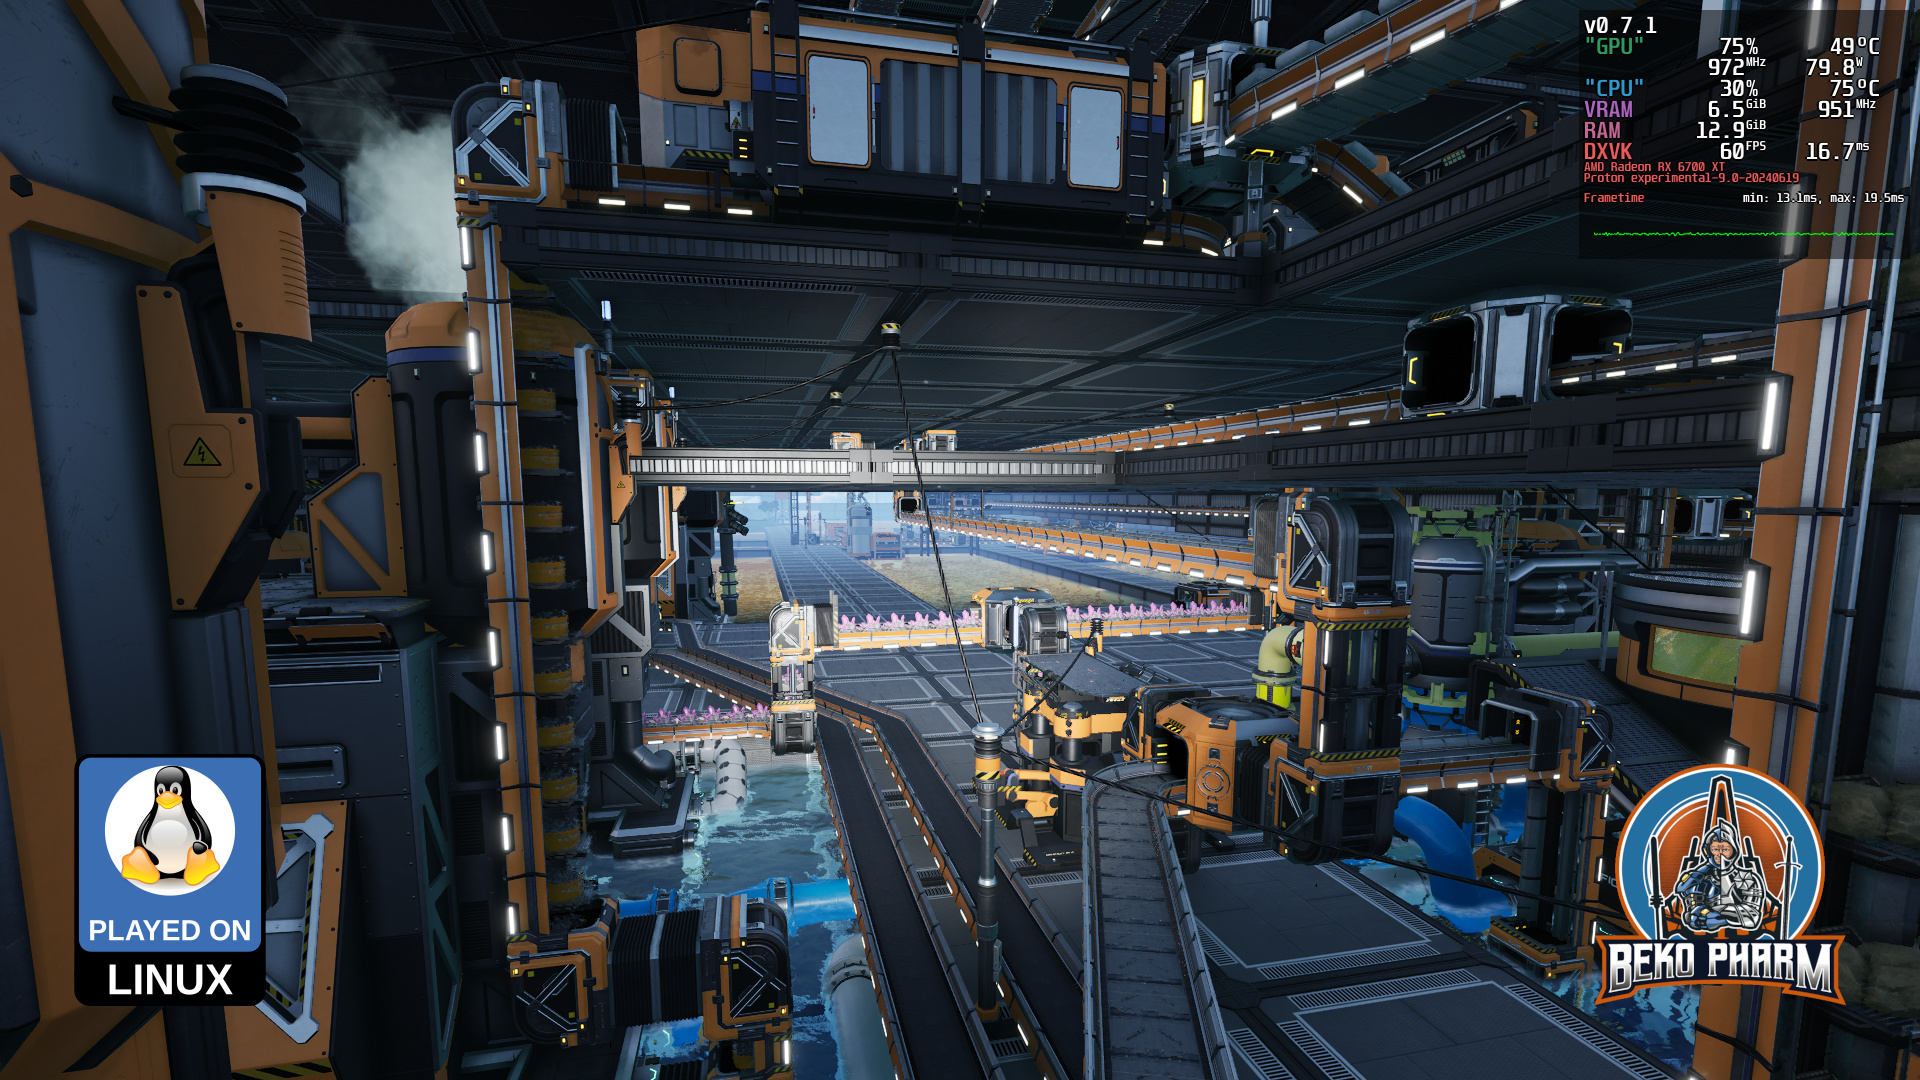
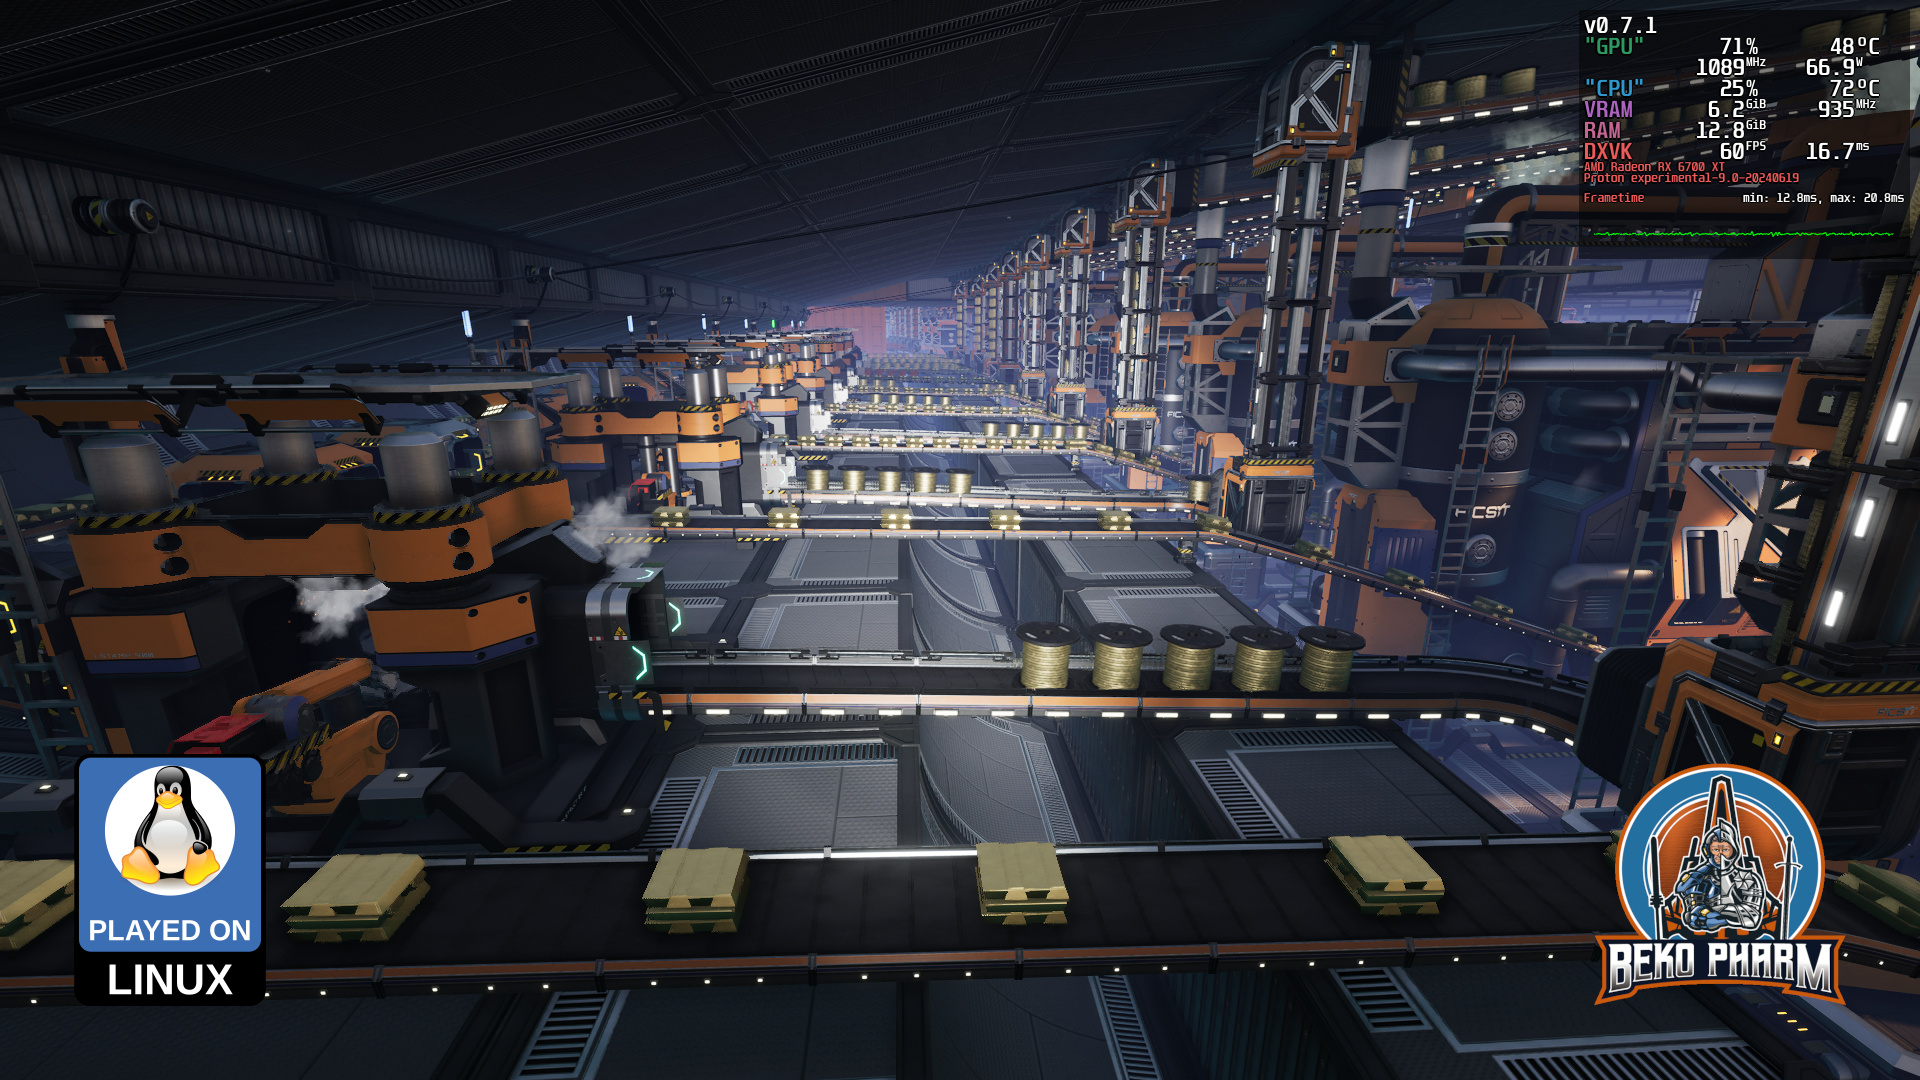
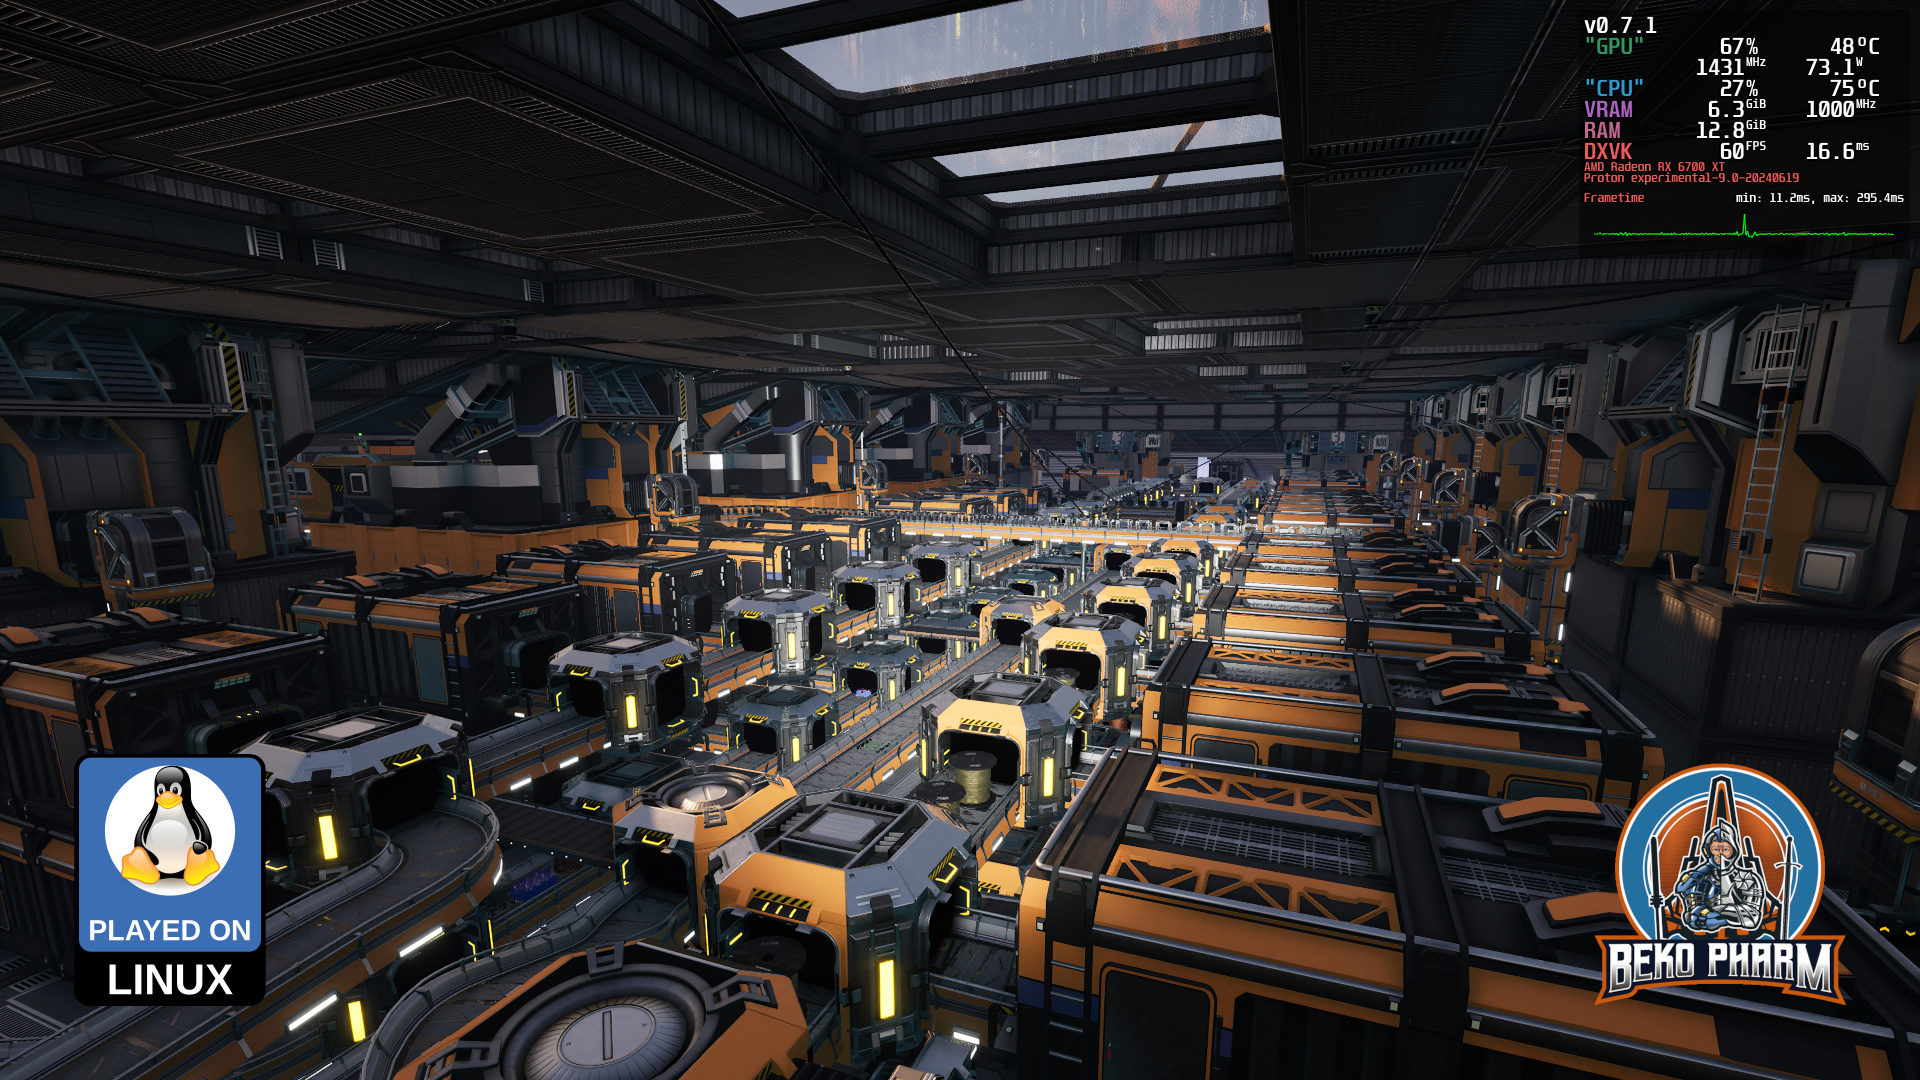
The goal was to build a mega factory inside the hull working with the given layout. Vehicles and trains would pick up all required resources and bring them in via the fighter decks. I kinda imagined what could have happened if the Galactica crashed on a planet after her last journey. Using the powerful engines to power machines that would aid in starting with a settlement program or something like that, while the former ship itself would get decommissioned and transformed piece for piece.
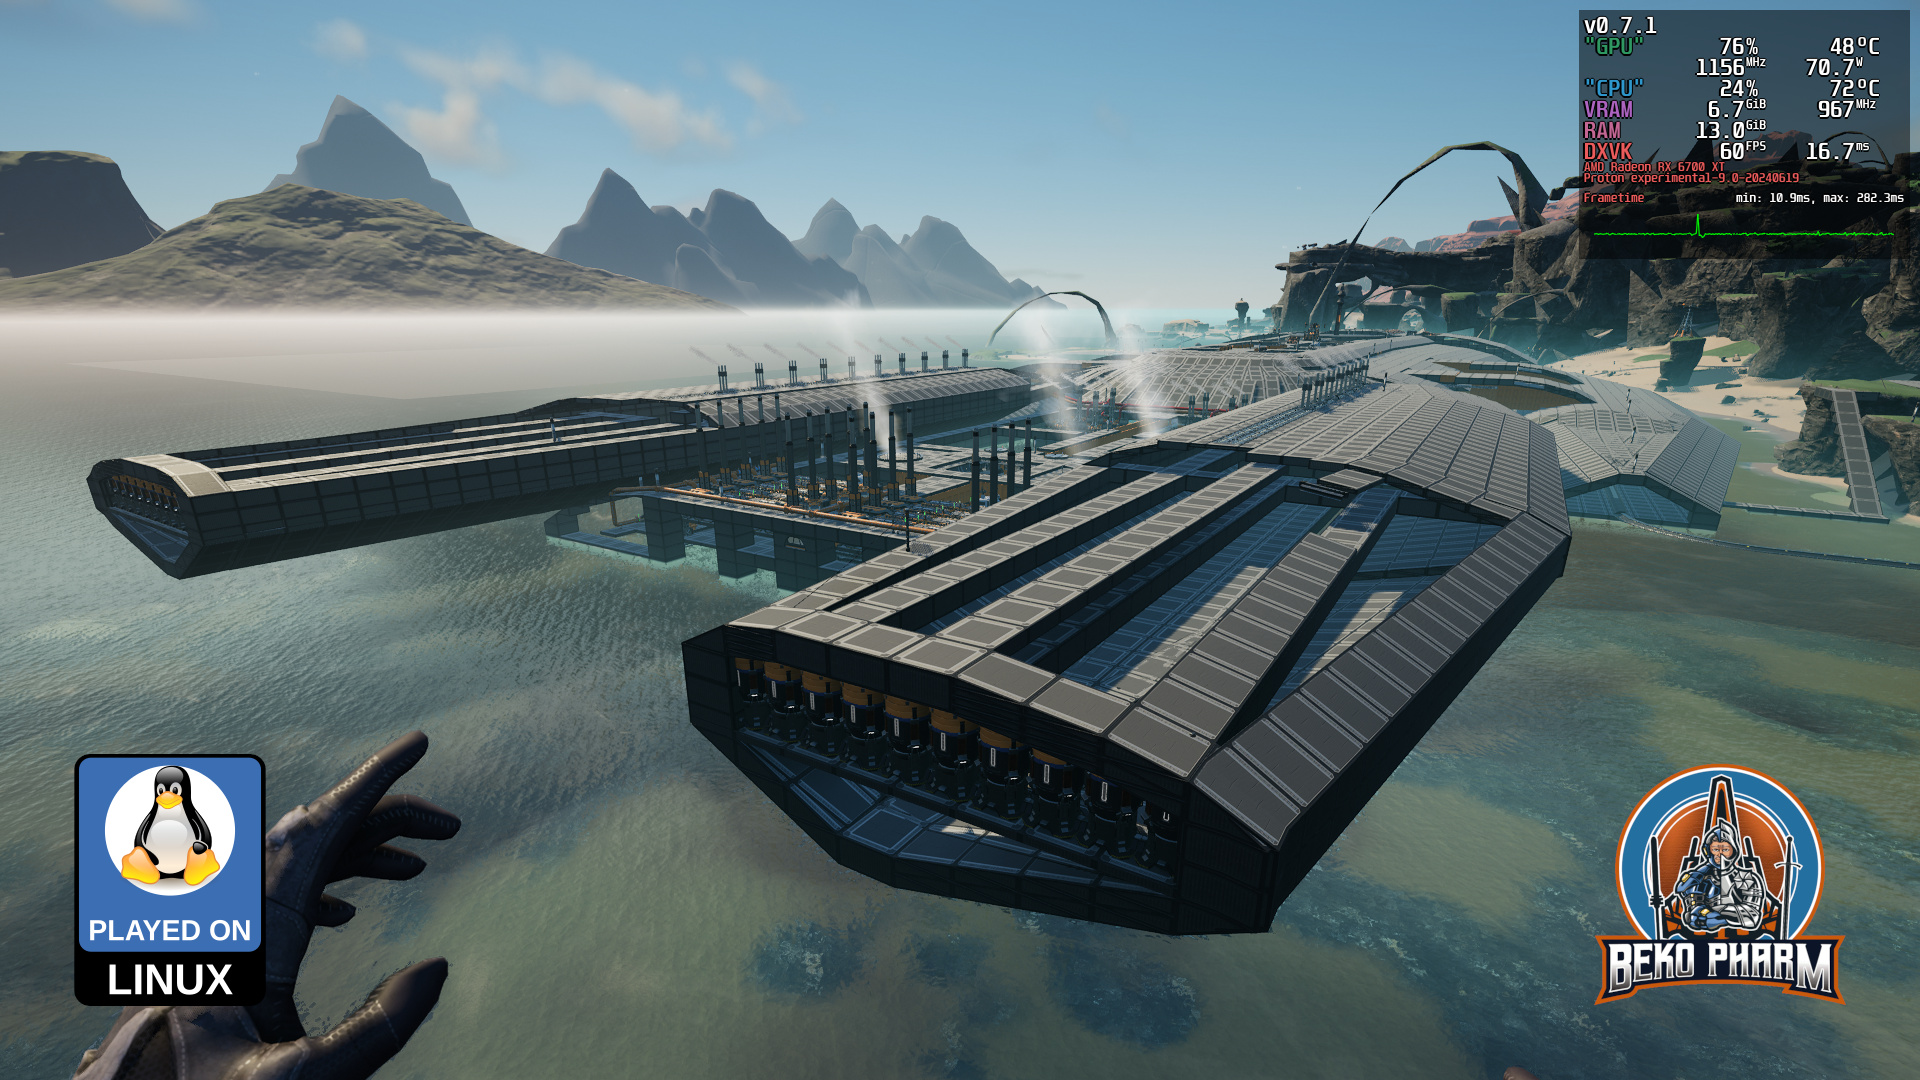
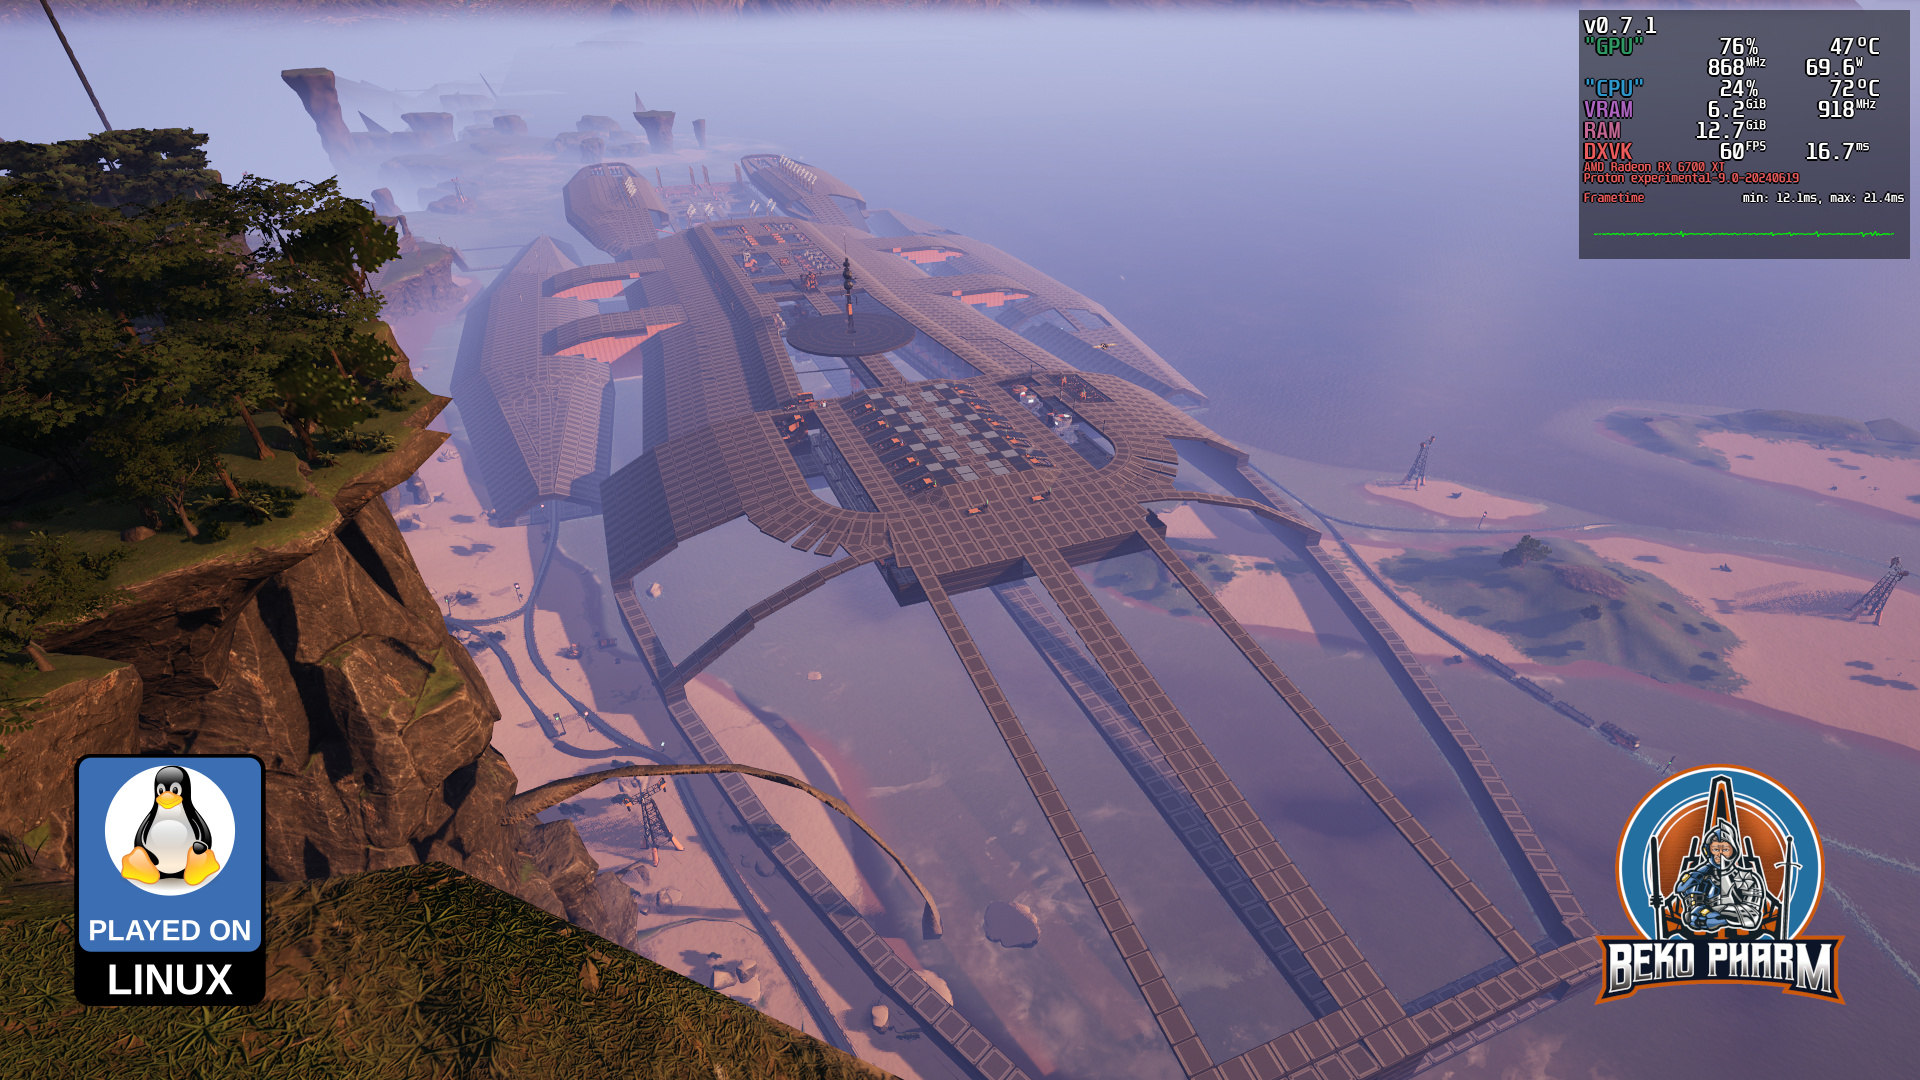
I am rather happy with the result, even without ever completing this. My gaming focus shifted a lot and with the announcement that no further early access updates would happen I kinda lost interest in the project. I am not expecting to complete it once the release drops. That’s okay though. I am still looking forward to said release.
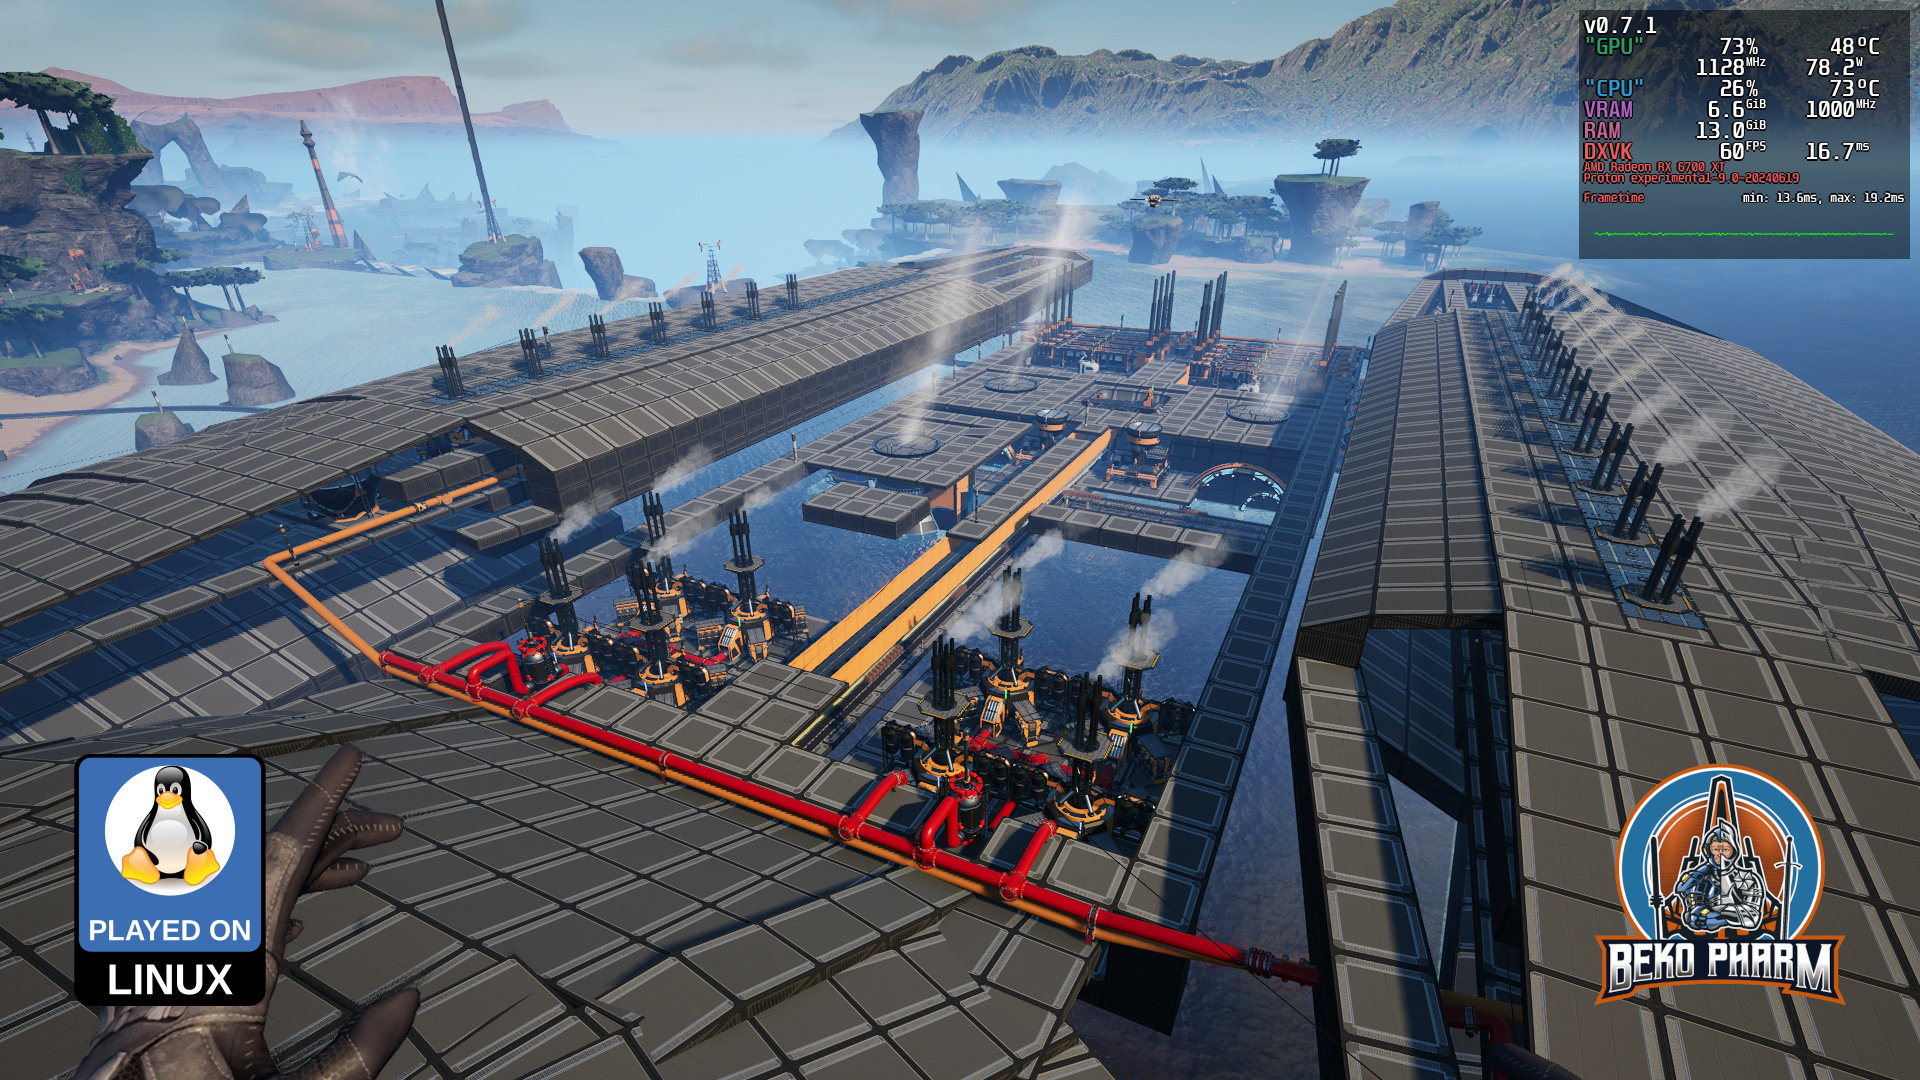
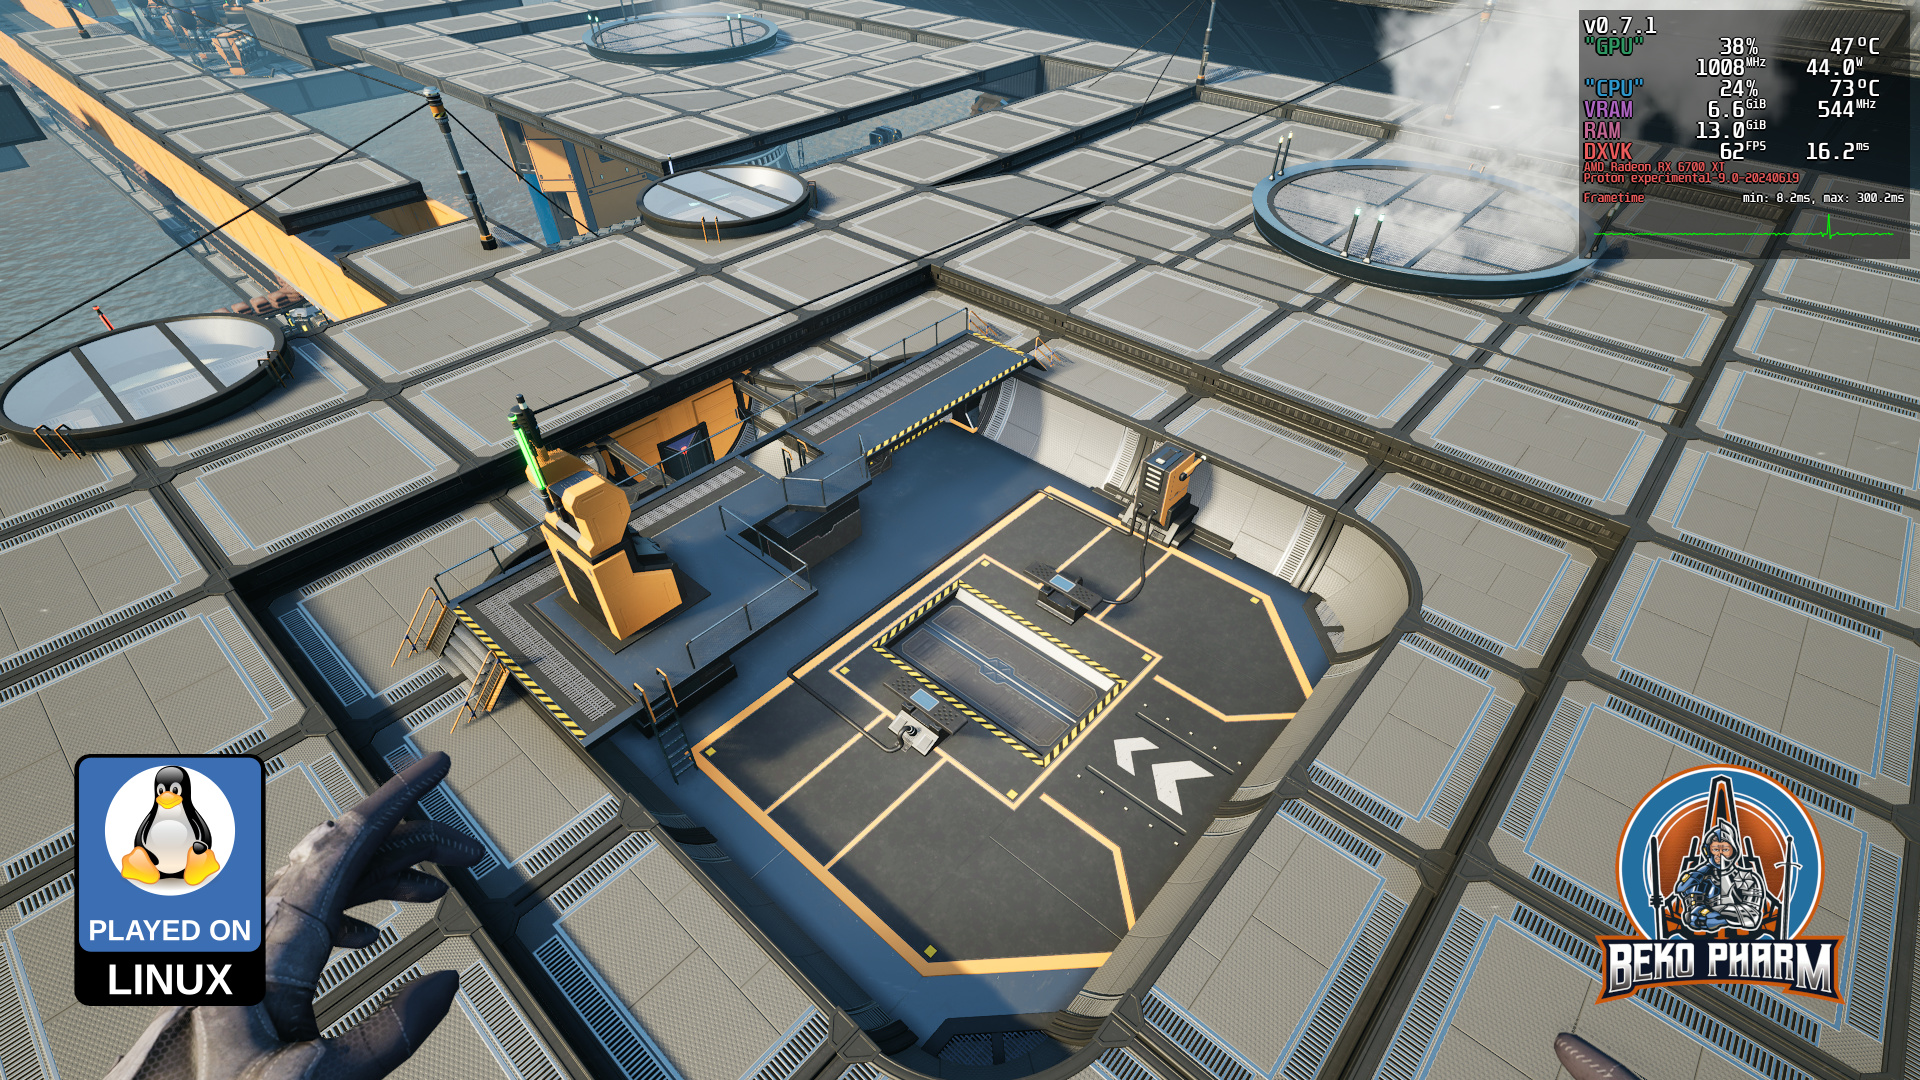
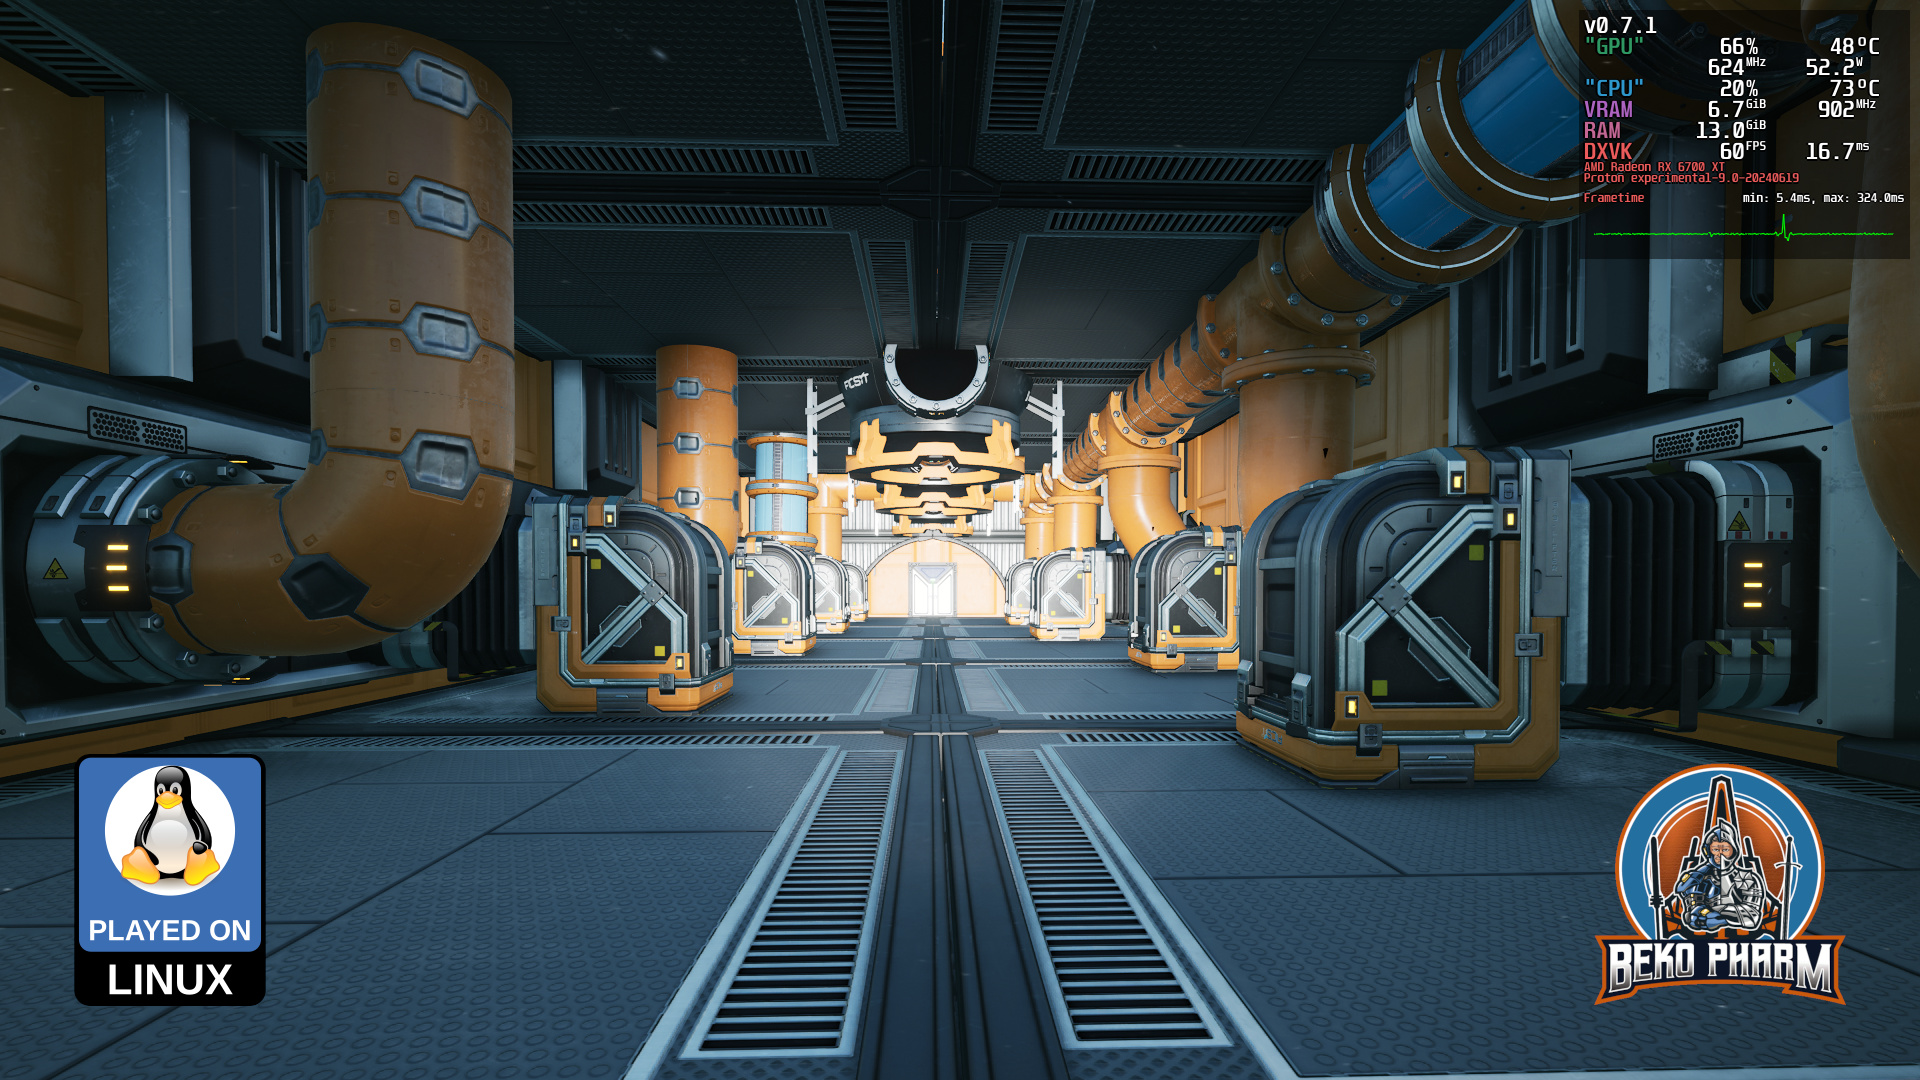
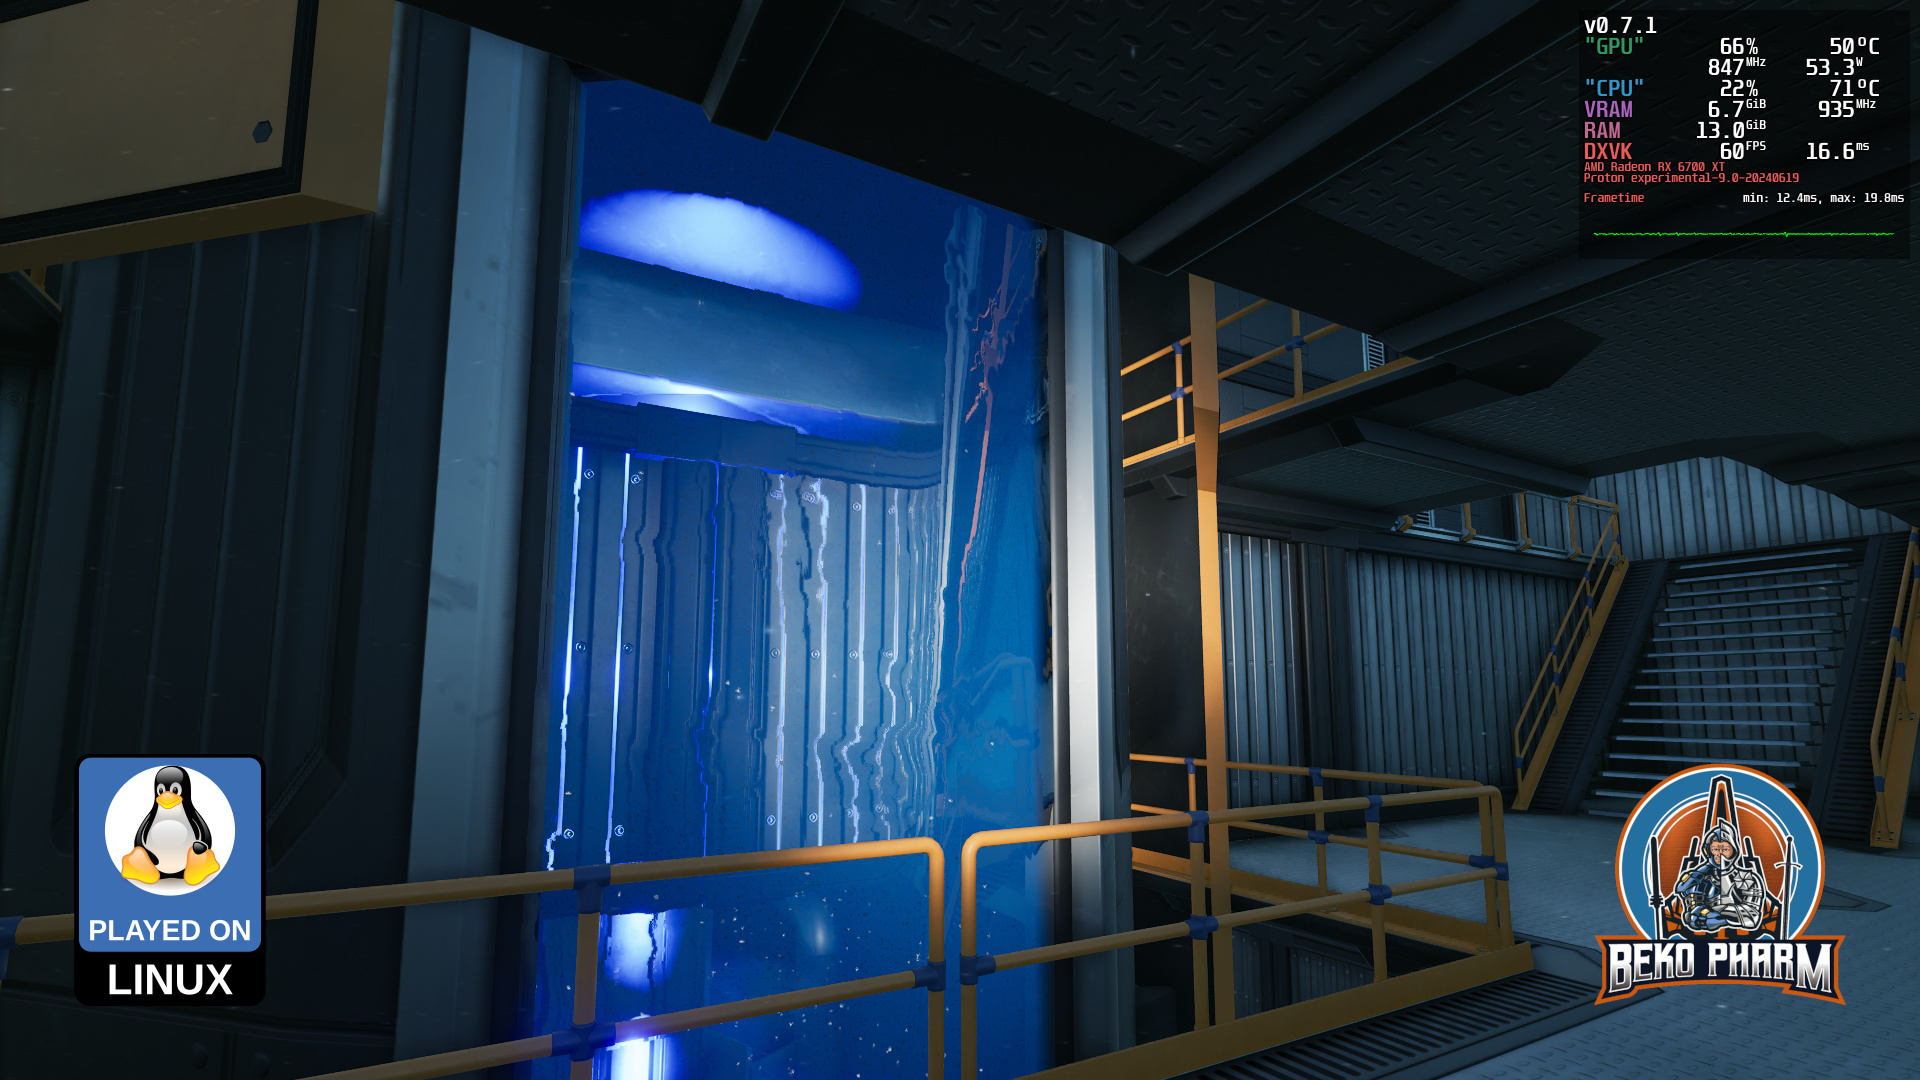
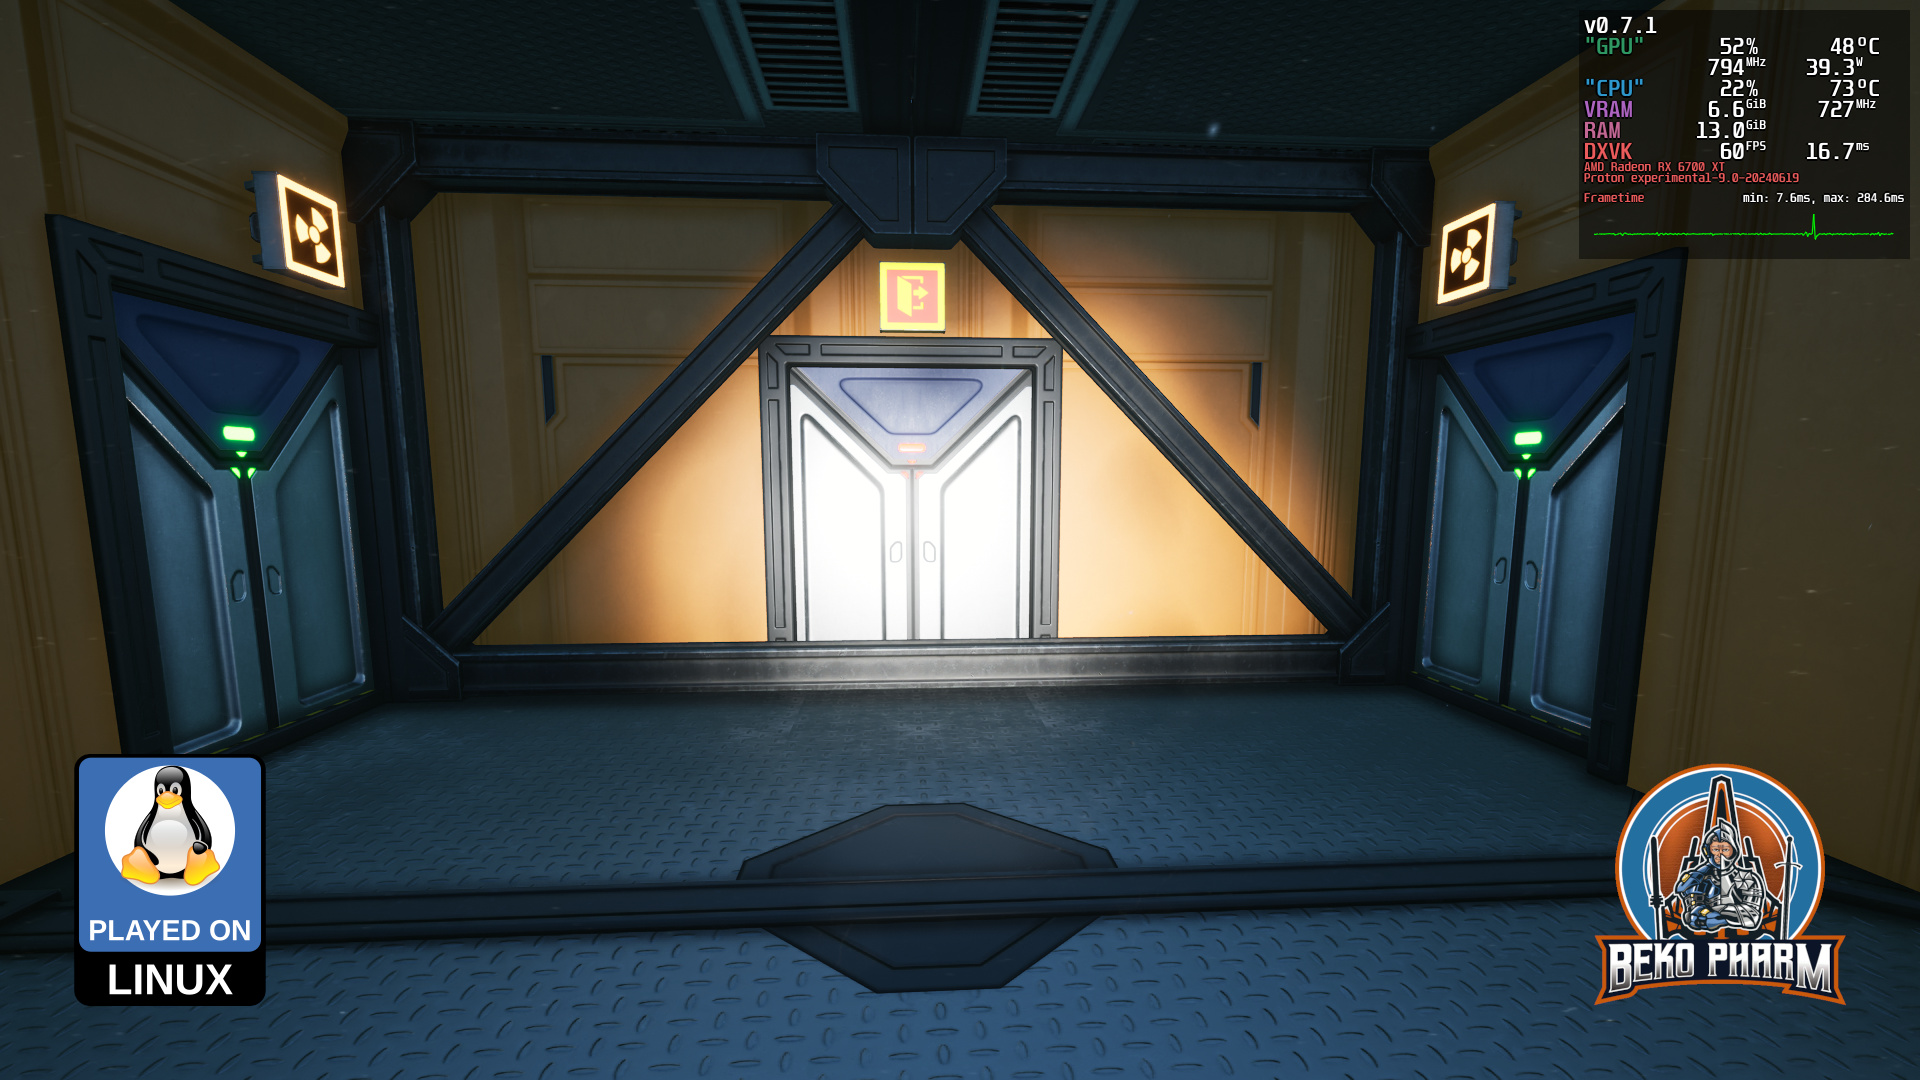
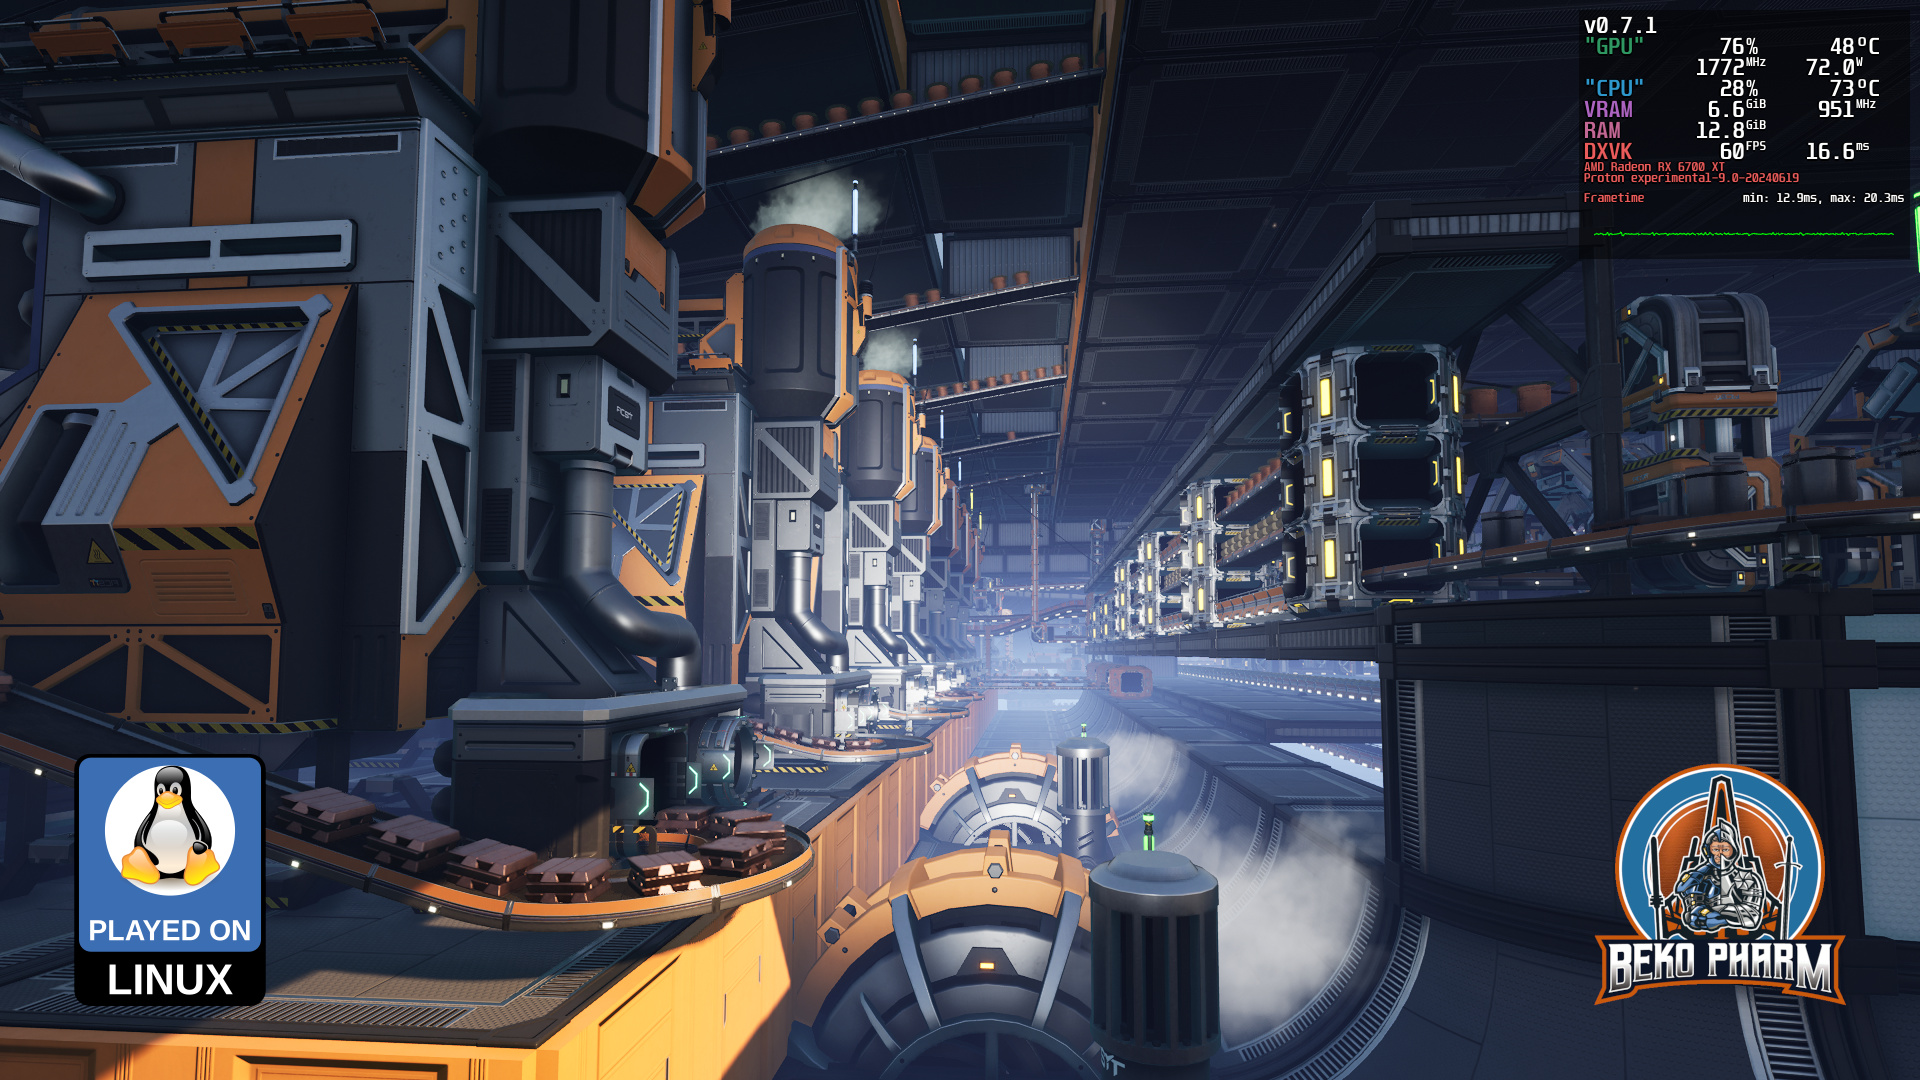
I mean after ~850 of casual hours I kinda have seen it all. Best early access ever – and yes all on a Linux PC – as usual for me 🤘I’m very curious what else the devs will come up with for this title. Anyway, here are the rest of the 16 screenshots. This shows more of the inner ship including the various power plants and reactors.
Thank you Coffee Stain Studios for making such an entertaining game. I enjoyed every hour of it and despite this being basically an endless grind game it never felt like grinding at all. Heck, thinking of all the possible ways to transport, collect and divide stuff is endless fun for me ❤️