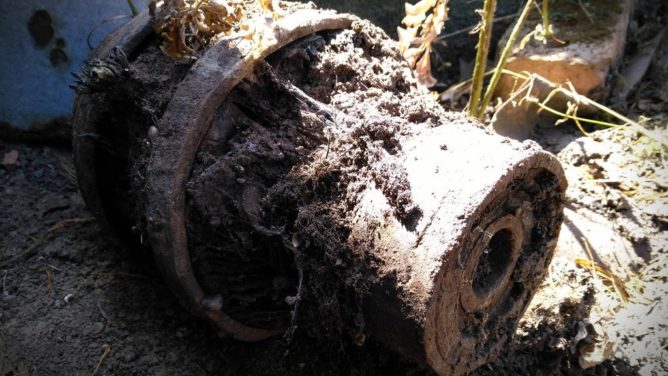
Today from the #HobbyArcheology department: A wooden wheel hub from a traditional farm wagon.
Wheel hub
Today from the #HobbyArcheology department: A wooden wheel hub from a traditional farm wagon.
As usual this was made to show what can be done. The details are up to you if you decide to make your own spears.
Sources:
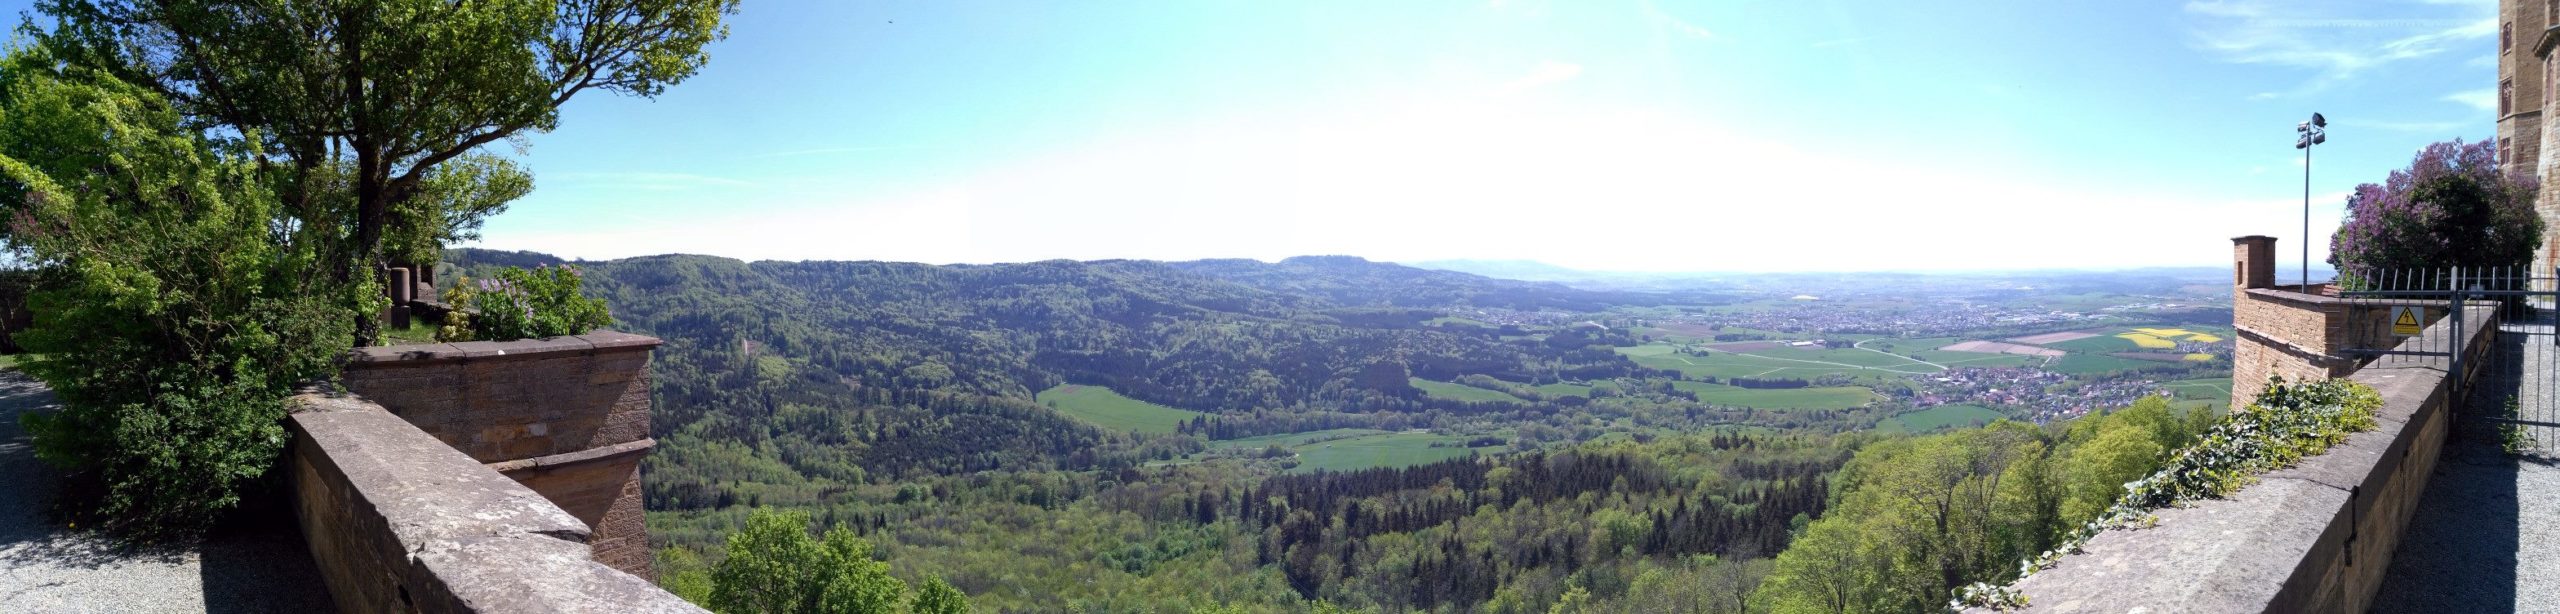
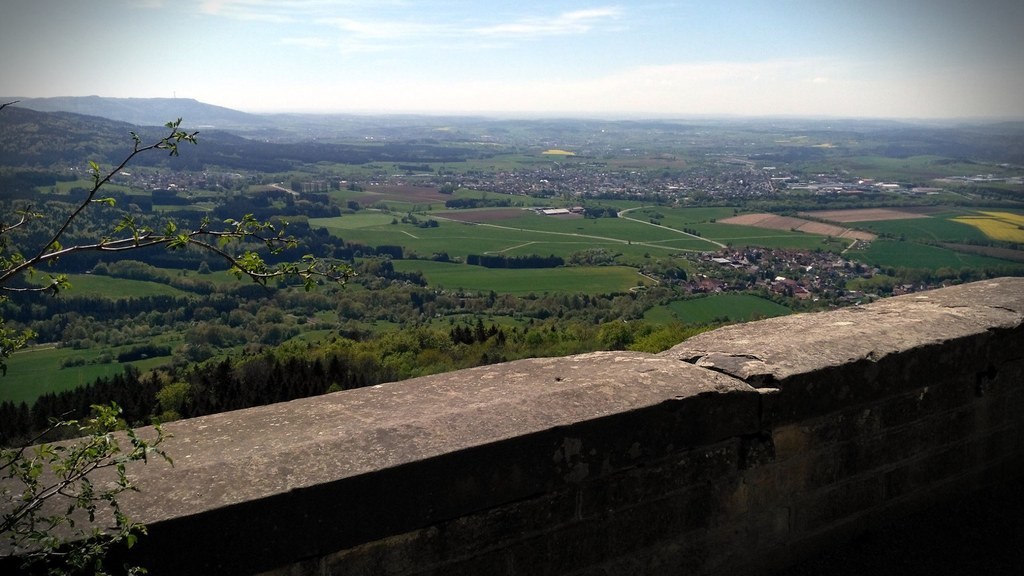
Visited Castle Hohenzollern 72379 / Germany. Well.. can’t say much. It’s very huge, tourist oriented and kinda expensive (parking, shuttle, entry, entry and tour, food.. you name it). We skipped the exhibits due to time and costs and just enjoyed the view. It’s probably worth a visit but bring your wallet along and expect crowds.


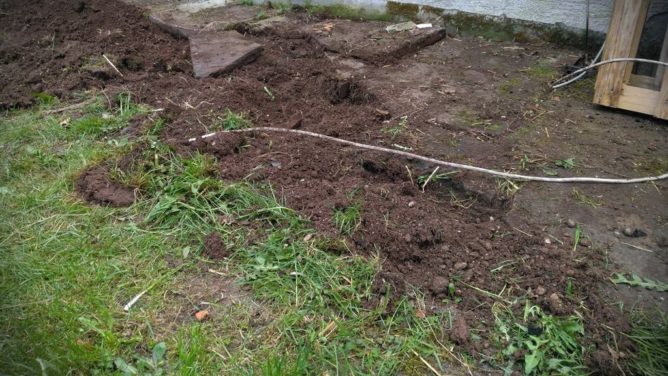
Today from the #HobbyArcheology department: A NYM cable ~10cm belowground across the garden. What could possibly go wrong?
Just rolles cardboard that I dunked briefly under water just before the cutting. Very improvised because I felt like experimenting a little bit today.

Today I found out that I can use my Sony Action cam as… webcam (under Linux) for e.g. streaming or view control 🙂 Not really officially supported. Manual says: Use our shiny Android App and ustream (costs). The trick is so set it into ‘multi camera mode’ to trick it into joining my regular wlan via WPS. Once it’s on my wlan I can easily discover it’s API Scheme and make use of the Sony Camera Remote API controlling it via… JSON 😀 Now it’s just a matter of pointing OBS Studio to it’s lifestream. E voila 😀 I can now even write my own App instead of using that gorram Android App 😀
Played with the API. Taking photos (and download), change various settings, camera mode or start/stop recording worked flawless. Some other stuff I tried, like accessing the storage, not so. Probably doing something wrong.
Disclaimer: That device accepts commands (or stream access) from anyone – there’s no access control. Sony o0
Update: To register as regular v4l2 device that can be accessed e.g. by a webbrowser one can make use of a v4l2-loopback device.
One can’t play under Linux, they said.
I don’t care for ~20 years by now and since 2016 I can’t keep up with my queue any more. The variety became just too much.
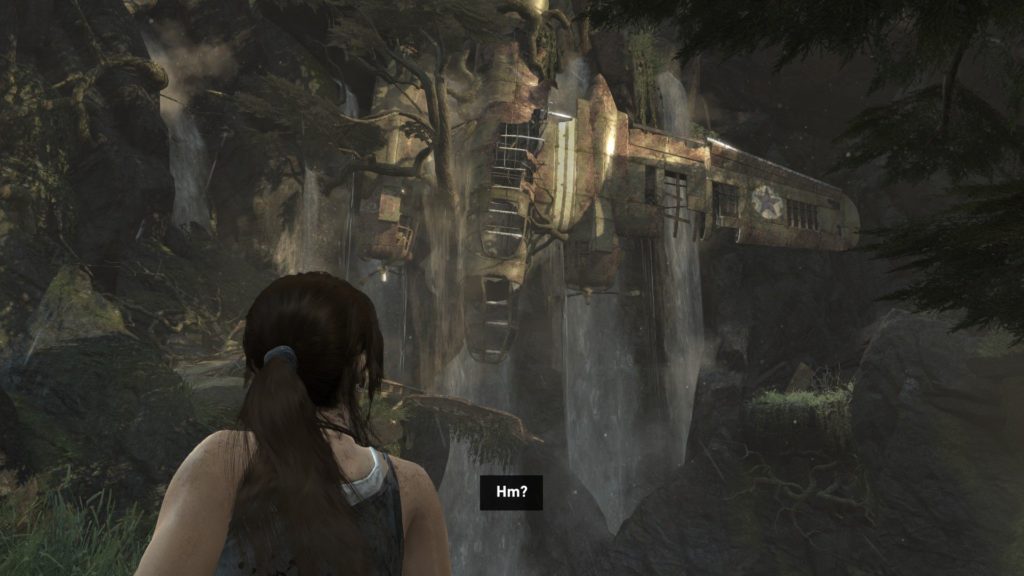
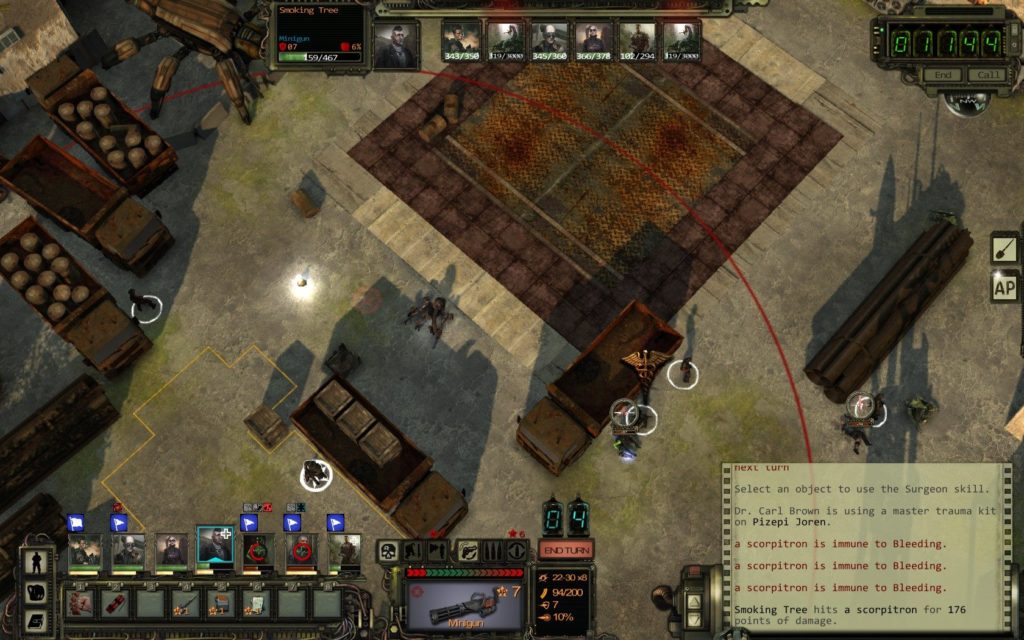
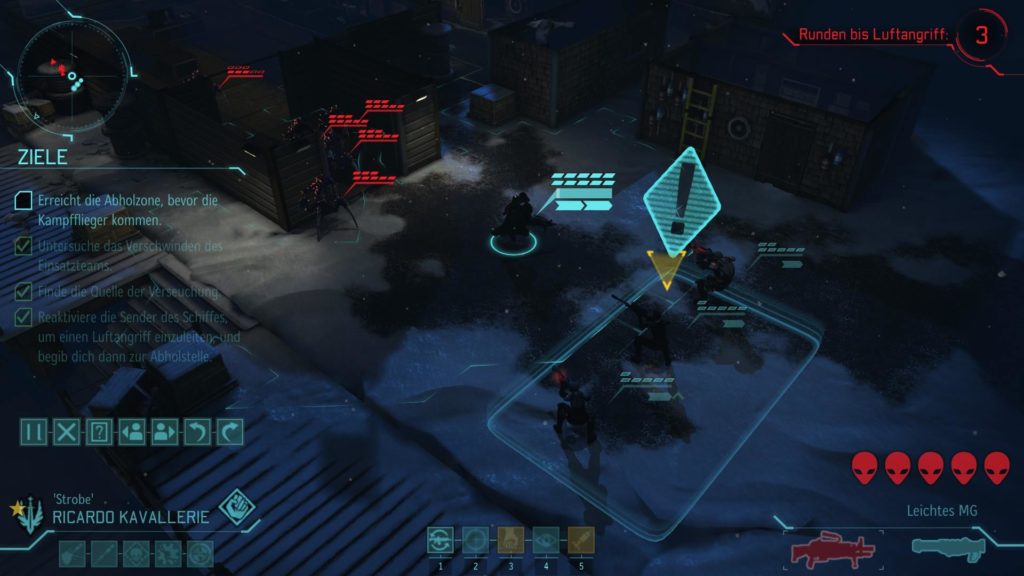
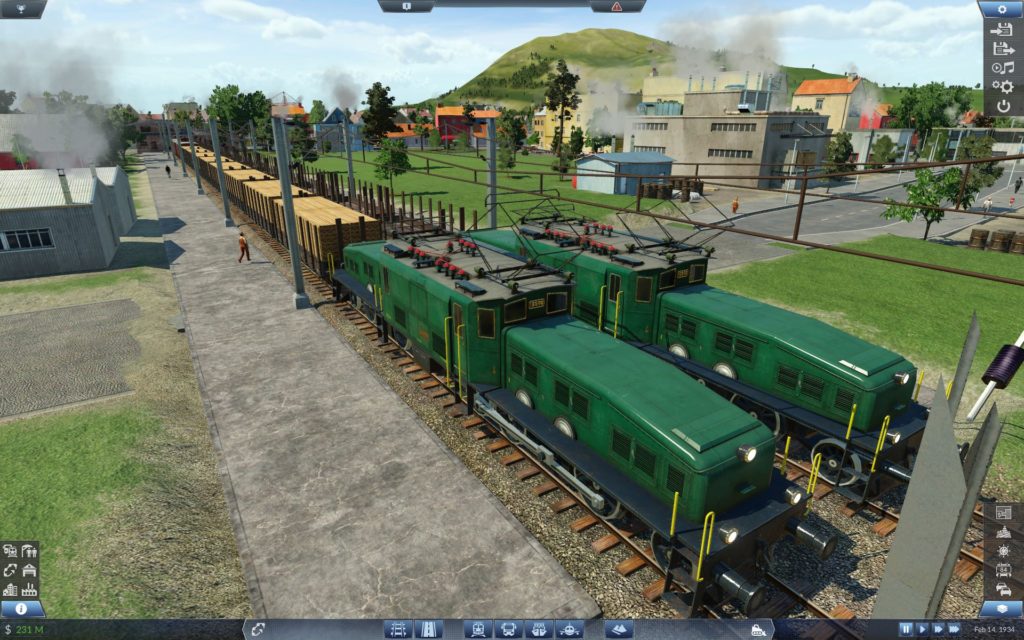
Find screenshots of a fraction of the games that came native to Linux in the last years attached. The selection is random since I simply searched for files of the image type when all the screenshots came up.


This video is about my heavy pell training.
I made a video about my usual pell training before so this is some sort of additional follow up.
When I started with pell training I trained stepping, distance, timing and other techniques that usually don’t involve strength. Or force, to be precise.
I knew that my swords could deal with a real beating. Some are in use for about 8 years by now. They survived lots of abusive tests, like throwing, and may not be in best shape any more.
So to get my muscles and joints used to stress I started to really beat up the pell. This was not about technics but to get used to the feedback recieved from real strikes.
I can’t apply the same force during sparring. Unlike a Federschwert the blunt doesn’t give much way and the risk is just not worth it.
But see for yourself how fast the pell gets gnawed off and enjoy the flying splinters in slow motion. Please note that I stood way to close to the pell to keep the camera as close as possible.
Again this is not a tutorial. I simply show what can be done.
How I built my HEAM indoor practise sword. This video shows the assembly of my own Mobile Blade Indoor Trainer.
This practise sword variant was designed by Thomas from Medieval Review. The OBJ files can be downloaded on Thingiverse. Additional required parts are listed there too.
Sources:
More waste disposal
This was spontaneous recorded when I had some friends over for my birthday. The weather was very cold and cloudy but I really wanted to give my new camera a try and create some slow motion footage with the 200 FPS mode.
I also decided to utilise my dashcam for a second angle. That turned out surprisingly well and I’ll probably use a similiar setup again.
We had a lot of trouble with the cold. The water froze immediately. Even on the blade. That totally ruined the balance. It’s save to assume that people back then had the same trouble while fighting in the wintertime. We had to bring the sword inside for proper cleaning as the ice kept forming on the blade.
