Hej @jayleefaulkner I hear you like to #FlyDangerous 😀
Tag: simpit
Remembering complicated keyboard commands whilst playing a game is a real pain, especially when there are lots of controls like in FlightGear’s Spitfire,Remembering complicated keyboard commands whilst playing a game is a real pain, especially when there are lots of controls like in FlightGear’s Spitfire simulator. That’s why we built a custom control panel with real switches and buttons to make the in-flight experience much more realistic. Although this control panel was built specifically for this Spitfire
Another interesting #simPit button box because it uses not only an Arduino but also an MCP23017 I/O expander to get more switches connected: https://www.okdo.com/project/spitfire-controller/.
Should also just work with a Teensy too.
…and it also show cases #FlightGear 😀
Demo Demo
🥱 LCD is finally attached. Guess it’s time to start some programming. The proof of concept is coming along nicely.
Time to catch my Zs.
Primary Buffer Panel
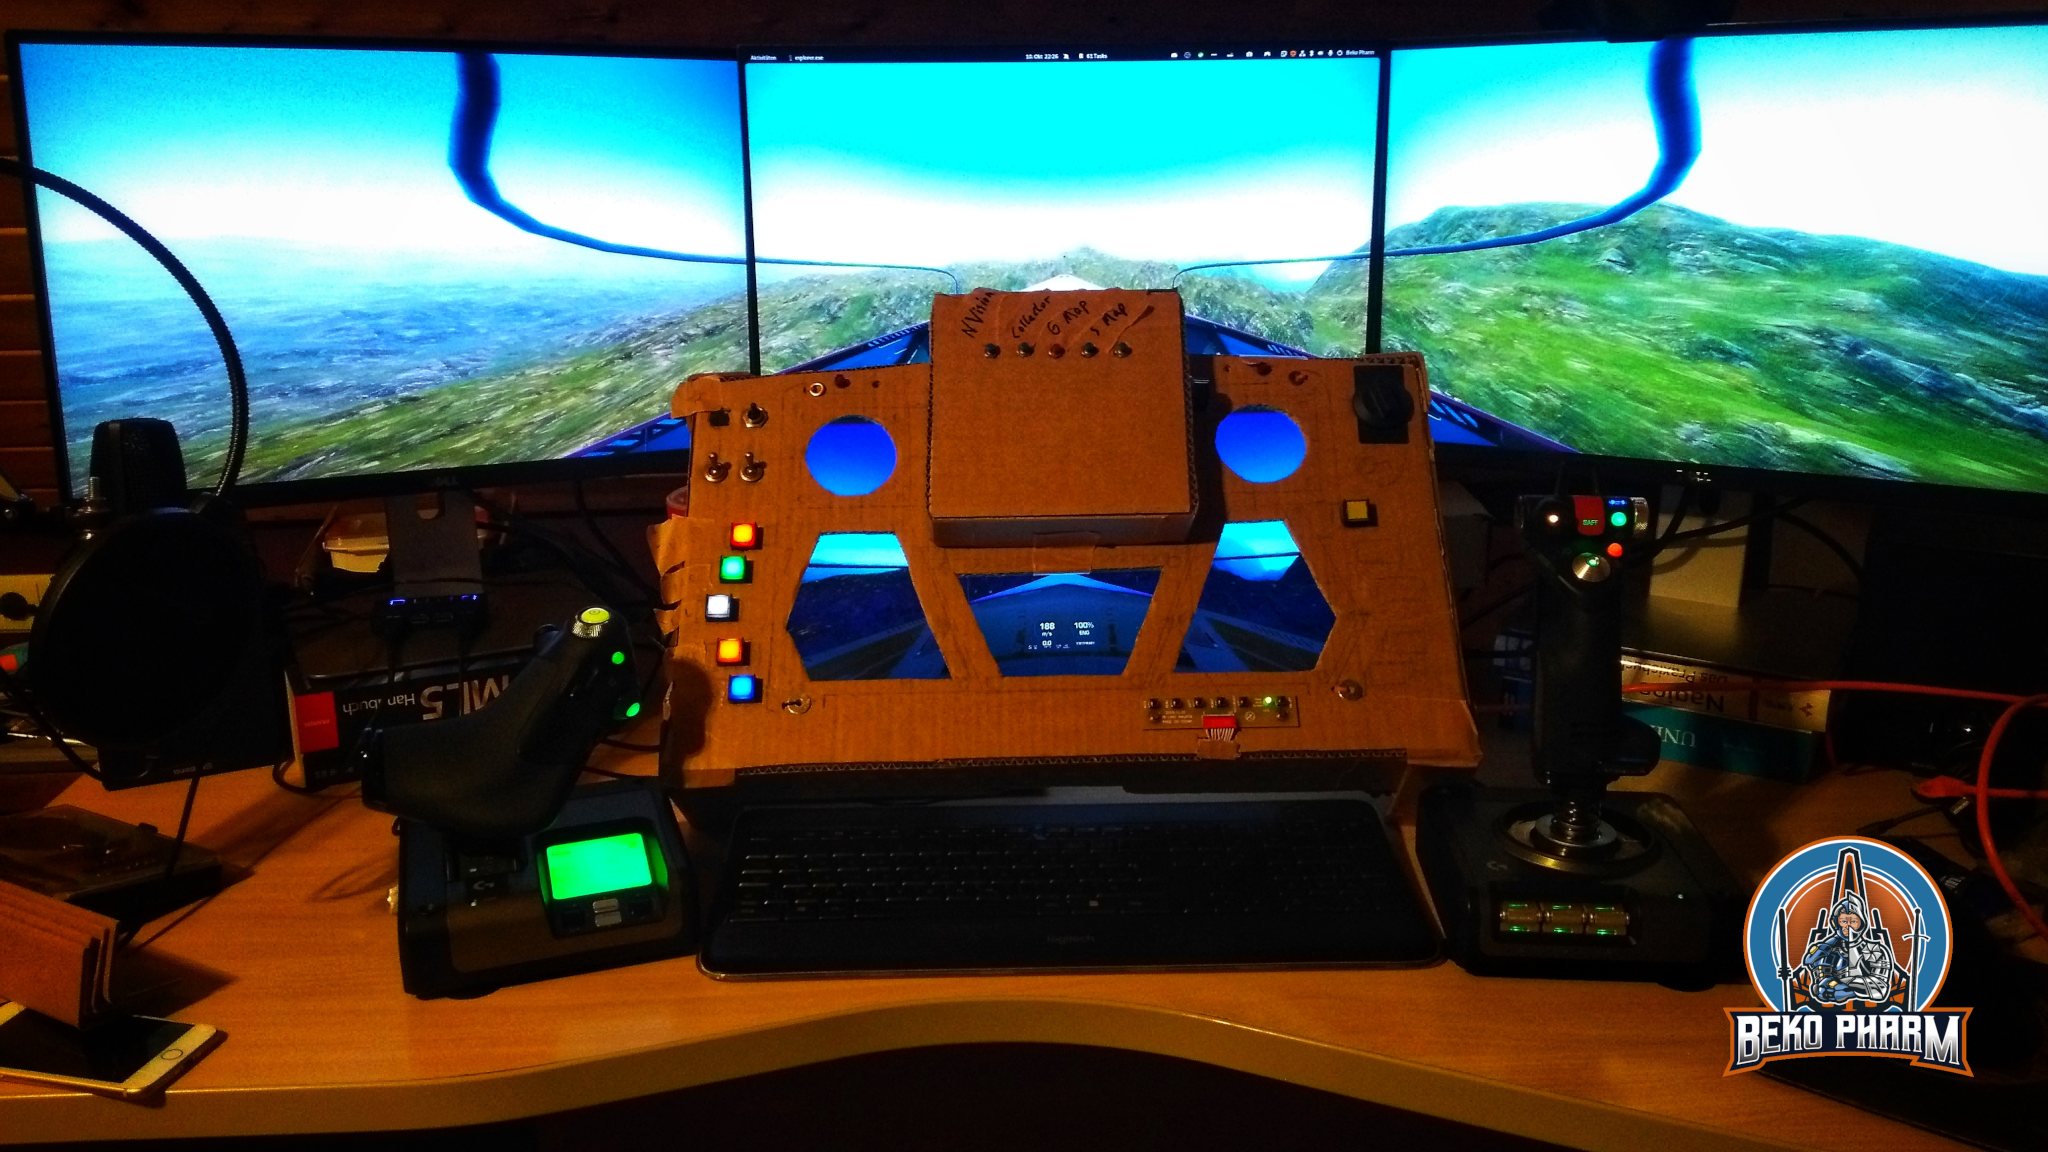
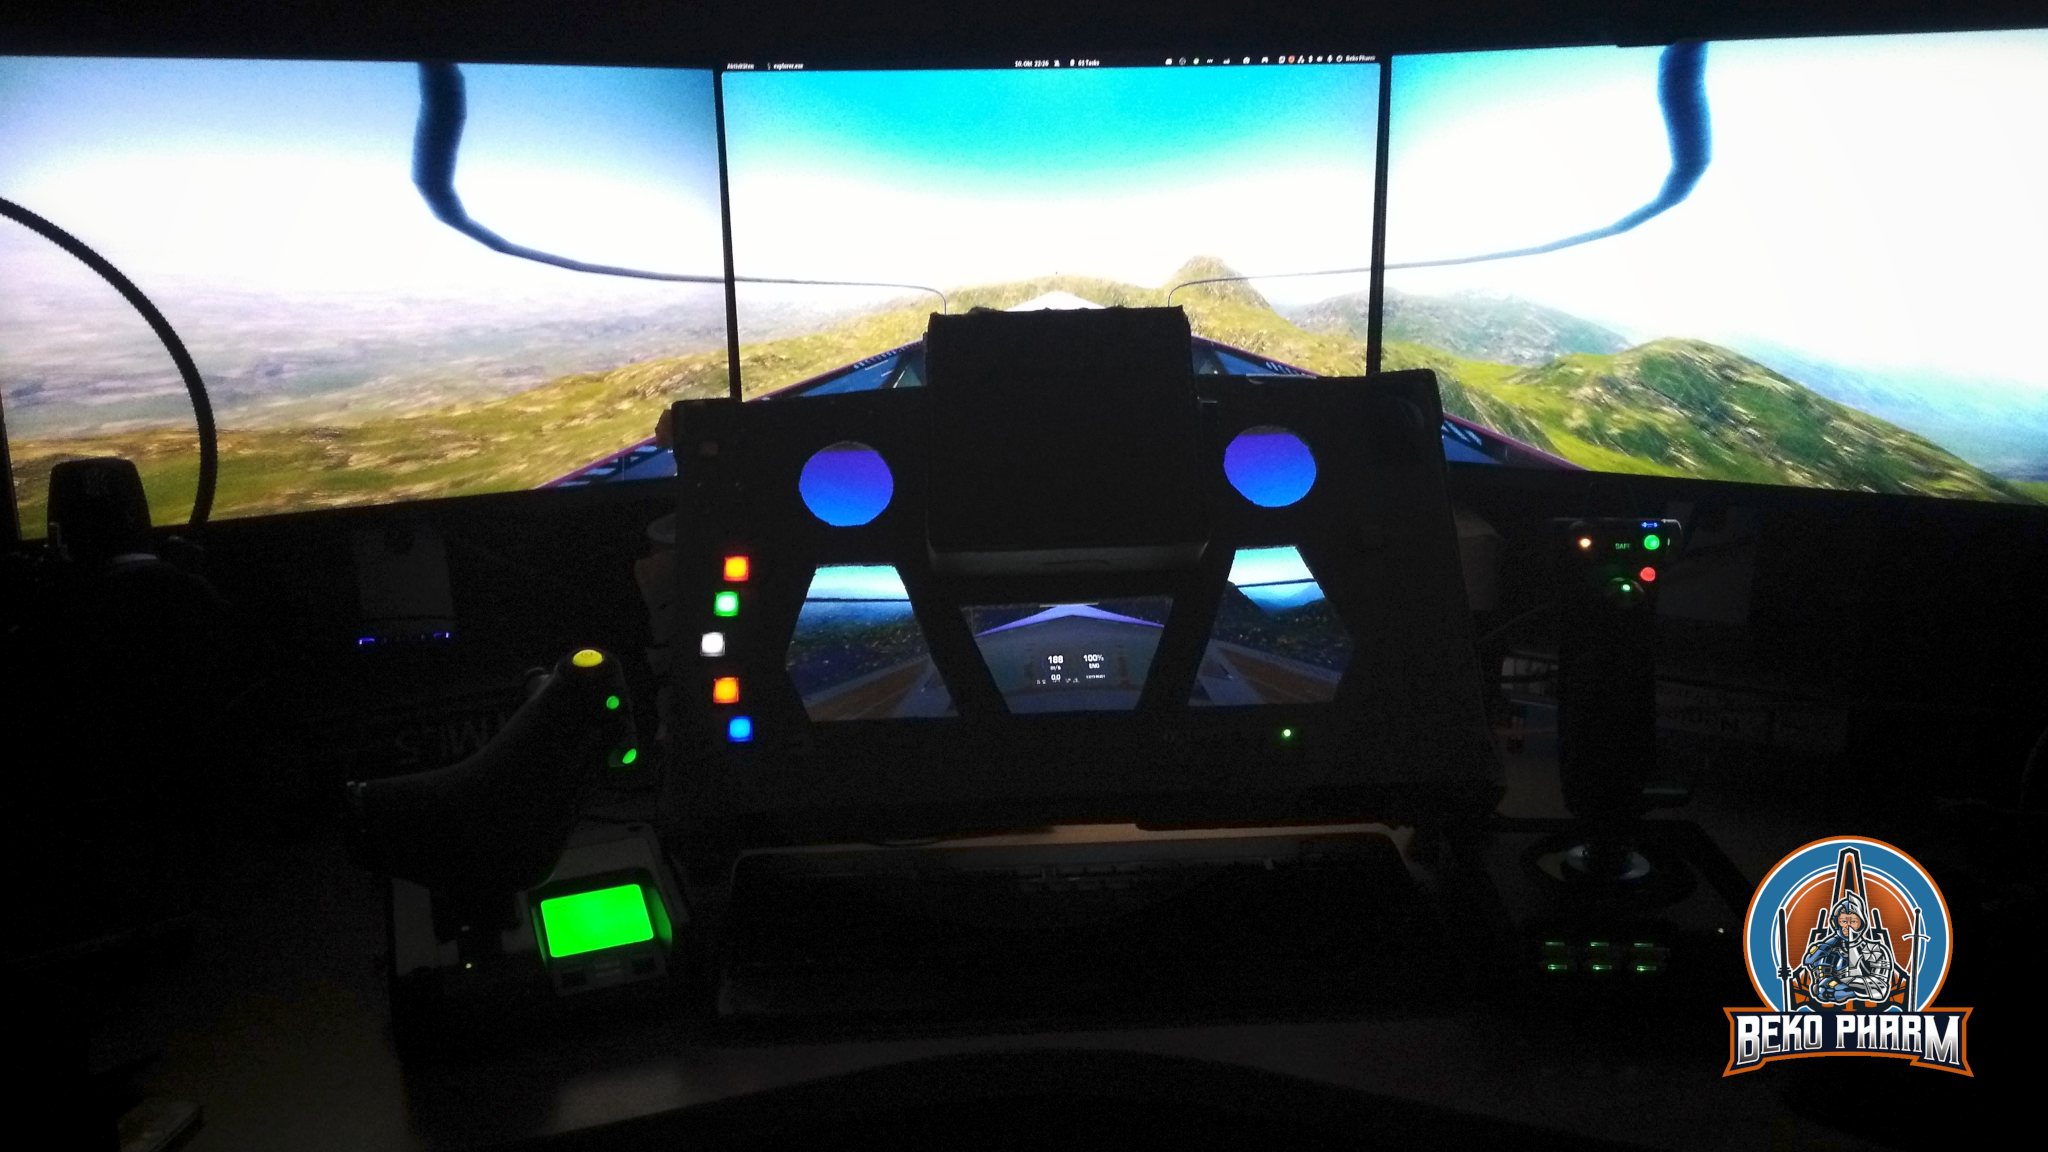
Okay, recap from the last making session of the button box for my #simPit. What I achieved this time: The LCD controller has now a place inside the contraption while the LCD controller buttons are screwed on the outside. This is mostly because I have no buttons laying around to be used instead. I did note down the pin-out of the connector though so I can change this any time. It has a funny LED though that has 3 pins, GND, Red and Green. Uncertain what to make of this.
The button box itself was put on stilts for the extra room required. The LCD itself is prepared to be added to the button box but I’ve to remove part of the former hinges because they are way too sturdy to be removed with a simple cutter knife. I’ll probably need a grinder or a saw and that’s work I will not do at my computer but in the basement.
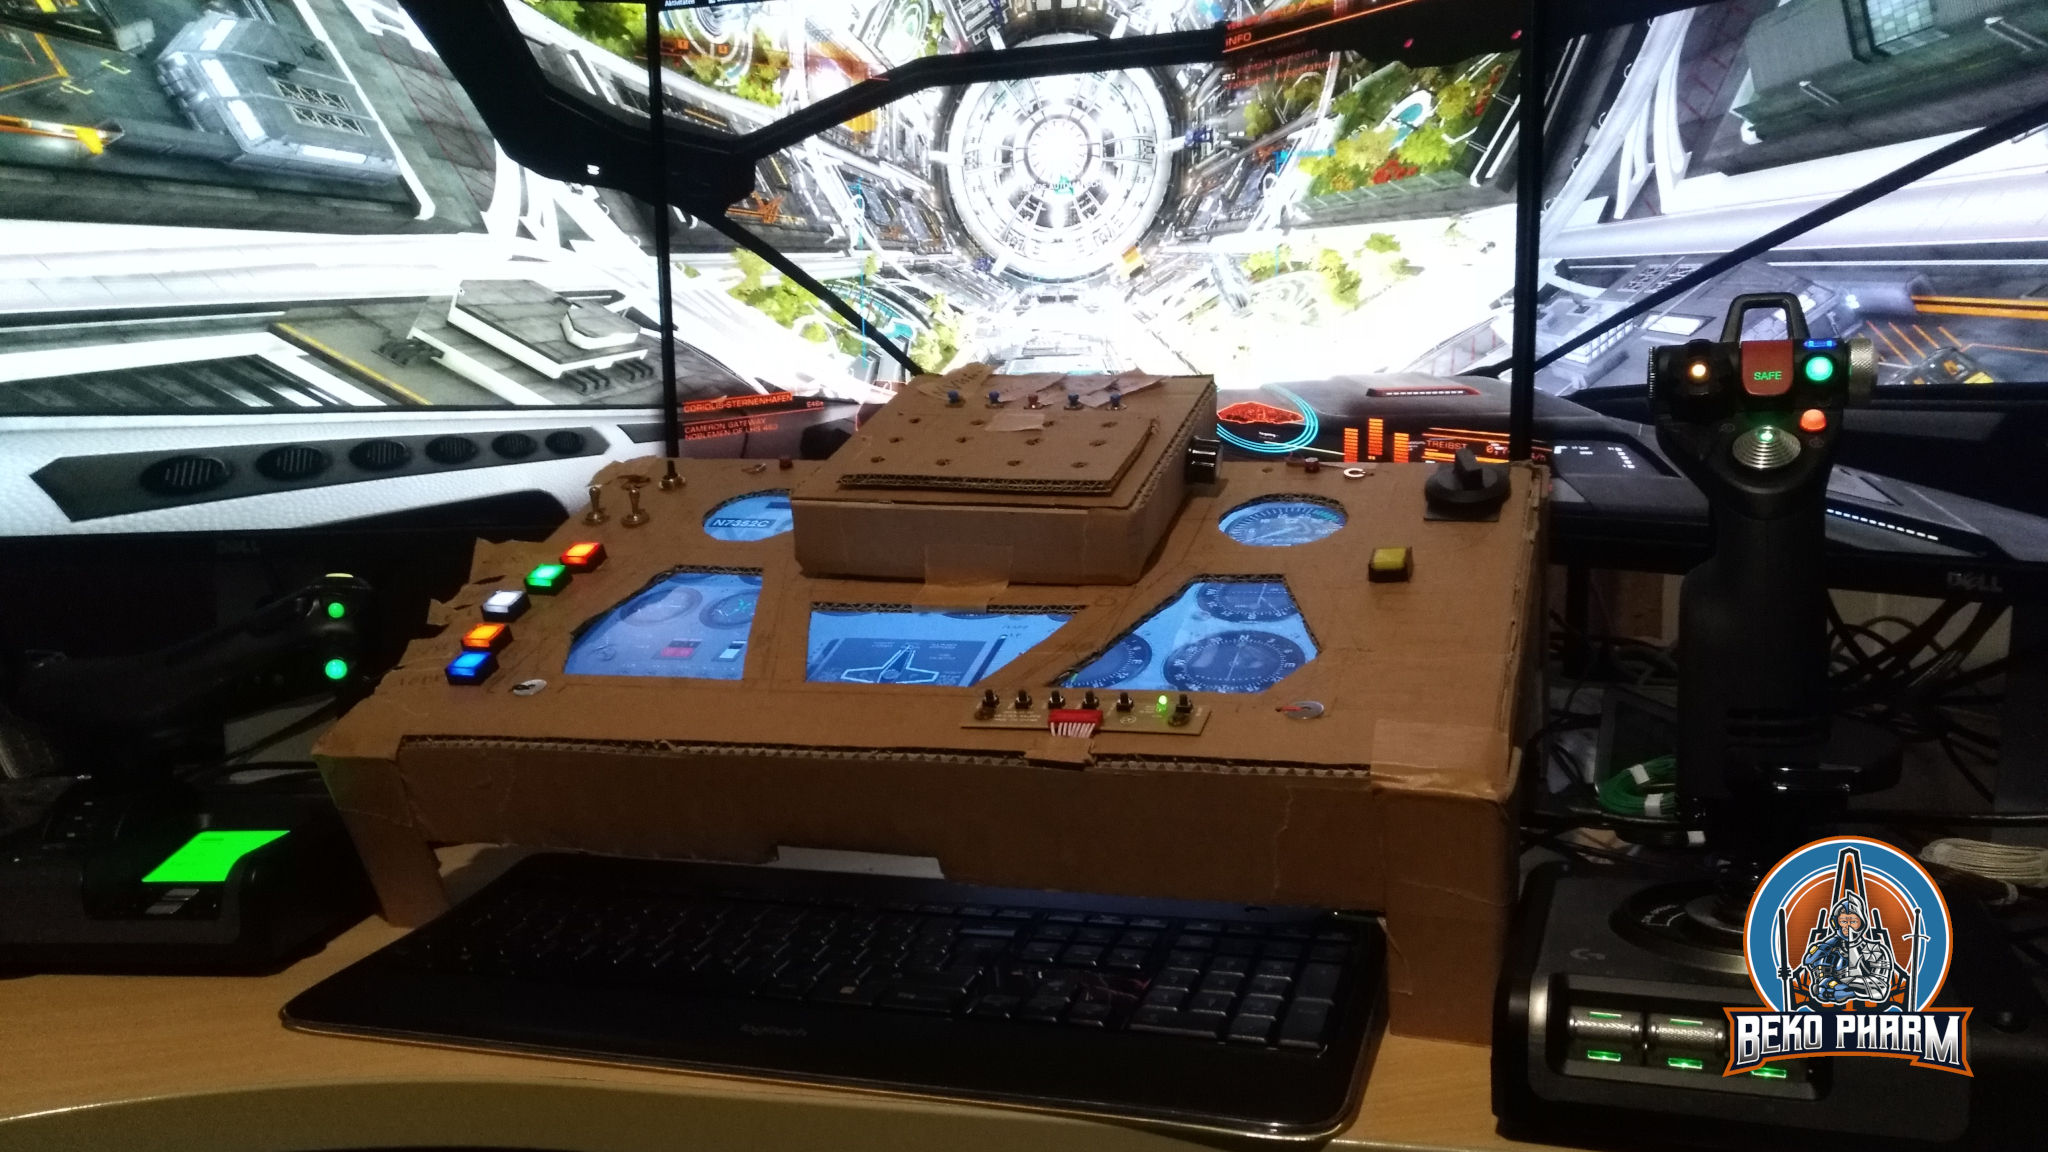
Next was preparing the ICP in the centre. For this I created a new box of cardboard that is attached to the button box with tape that also acts as a hinge so I can “open” it to work on the switches that go there. I also noticed that my knobs for the rotary encoders or potentiometer are way too big. I could compensate this with more height but I don’t want the ICP to dwarf the button box itself 🤔 So… mebbe I’ll use smaller knobs. On the topic of knobs: Dem, the costs for decent sized knobs are insane. Like ~8 EUR for one knob! So… perhaps I’ll go for spray painted wood here. I don’t know yet 🤷
Yeah, and I got tired of calling it just “button box”. It’s not. It’s a “glorified button box mock-up with a gorram LCD made from cardboard”. So I decided that it needs a name and as a nerd I came up with… Primary Buffer Panel! Firefly fans will know. Others may educate themselves via https://www.youtube.com/watch?v=mY59BYSrxn0 and have a laugh.
It’s also a running gag in the family. My van tended to loose all kind of parts while driving and when Serenity aired my dad yelled at this very specific scene: “Hah, just like your car!” 🤣

Kerbal Controller - the Basics: The goal of this tutorial is not to show how to build a specific KSP controller, but to show many of the common design choices and their pros and cons. The idea is to guide you to make your own controller rather than showing you how to make one with…

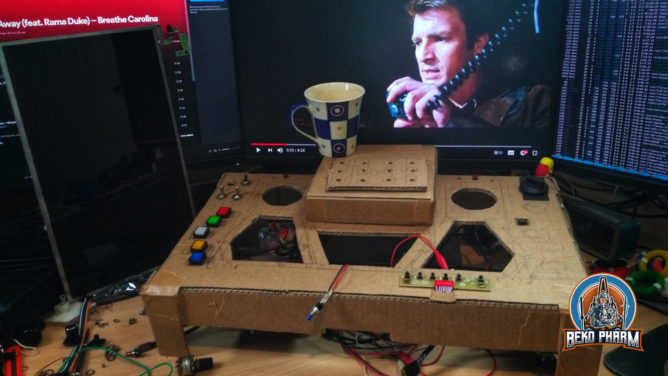
It’s alive!1eleven

I revived my salvaged LCD from an old laptop with a new LCD controller and I like where this is going. Sadly the audio went all raspy on the stream so I’m expecting another claim for death metal 🤣
Worked on a mockup for some #simpit ideas on stream. I didn’t talk much but I certainly did NOT play Drown – Tyranny. In fact I didn’t stream ANY music. FFS Twitch, I refuse to take the blame if cutting cardboard sounds like some sick death metal!
You have arrived at Baz's Viper project. Here you will find photos, videos, work-in-progress, planning and reference used for the build. Mission: To build a MK II Colonial Viper at full s…
Stumbled over quite some Colonial Viper pr0n at https://www.buildsbybaz.com/category/viper-build/ – there is certainly someone living the dream
DIY Headtracker for gaming (on Linux PC)

I like space and science fiction. Diving into epic stories set in some distant future amazes me since elementary school.
I’m also a gamer. And a tinkerer. It’s in the family.
I keep wondering: How can I improve the immersion of my games without going full VR?
I used a triple screen set-up before. It consisted of different models in height and size. When one screen finally broke down I purchased 3 refurbished screens of the same brand and model. What a difference!
The kids love it too. Of course. Means less stick time for me. Anyway.
This is when I started to read about head tracking and went on a quest to get this working for the game X4. As a bonus on Linux PC, my preferred system also for gaming.
The thing is: “The” reference product for a headtracker is the TrackIR system. Price as of today: 220 EUR. Ouch! That’s like a cheap VR, right? And it’s Windows only. No thanks.
So I checked what’s in this thing. Apparently a cheap camera, some infra-red LED, and a filter allowing only infra-red waves. And software, of course.
Since this is for Linux I get to pick my poison for the software part, and I settled with Opentrack fast. Onwards to the hardware part. I abused my mobile phone for the testing, sending it’s Gyroscope data via wifi to my PC, and while it worked it also _sucked_. Both, phone and wifi I mean.
Head tracking is awesome. And I knew I want it. So I started prototyping. For this I went with a simple design that I eventually implemented on cardboard. It looks hilarious but it gets the job done.
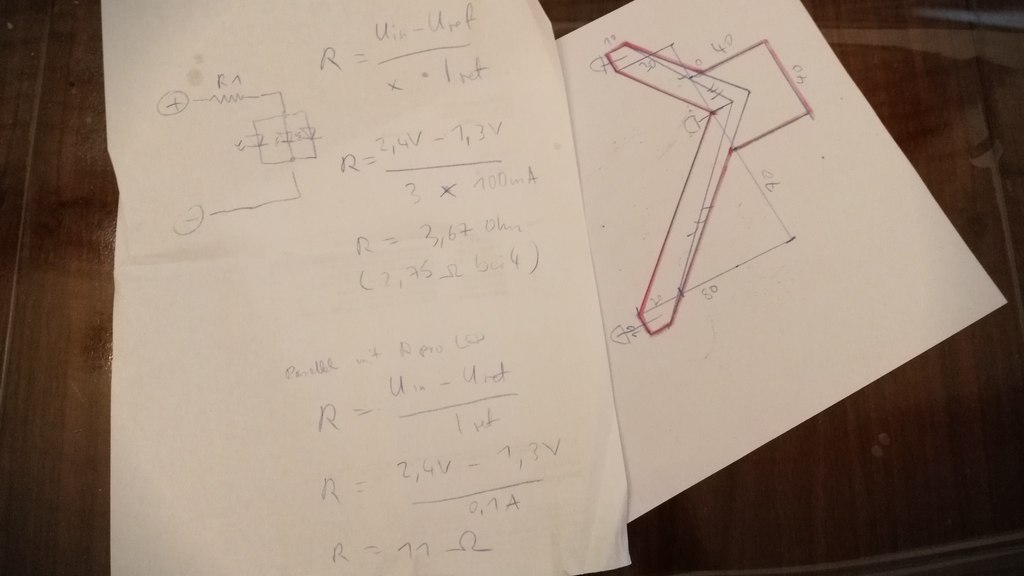
The focus was on a long life cycle so I wouldn’t have to replace the rechargables in the middle of a session. To get this right I checked with the camera that I was going to use. See (video above), this is way to bright and by trying various resistors I could get this down to 33mA per LED and still get a decent detection rate with Opentrack.
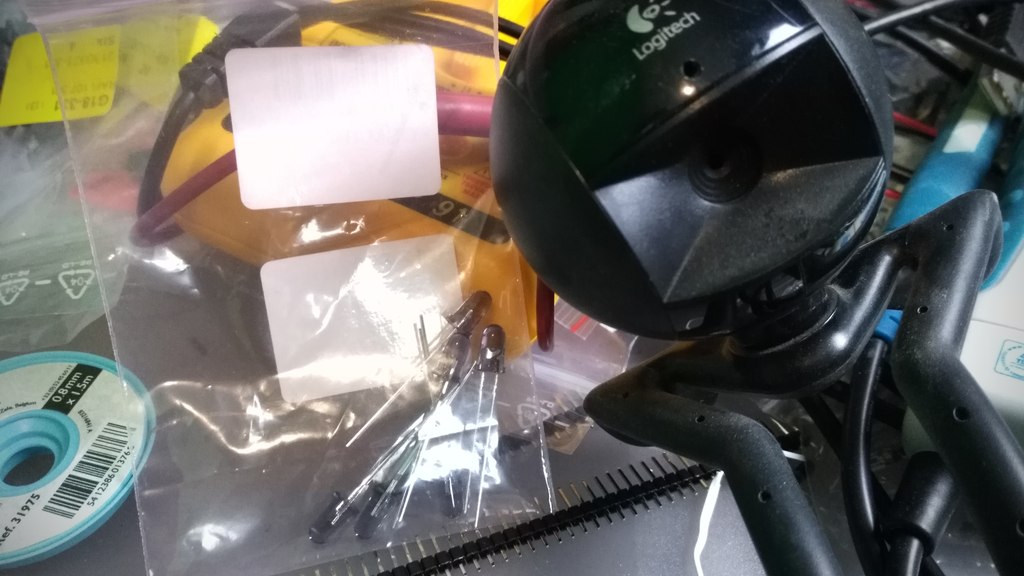
Speaking about the camera. That’s nothing special. It’s a dead cheap 480p Logitech QuickCam Communicate STX that I got from a discounter a decade ago. It was so cheap it doesn’t even _have_ an infra-red filter that I’d have to remove first.
I used tape to attach the salvaged camera cover of a dead G20 controller. That’s a Wii Remote knock-off that does basically the same thing like a headtracker. Various other foils can be used for this as well, as long as they permit infra-red. The idea is to reduce or remove all other light waves but infra-red.
The trick is to also turn off auto exposure and fiddle with the contrast and sharpness until a decent frame rate and a clear infra-red wave source by the LED can be seen.
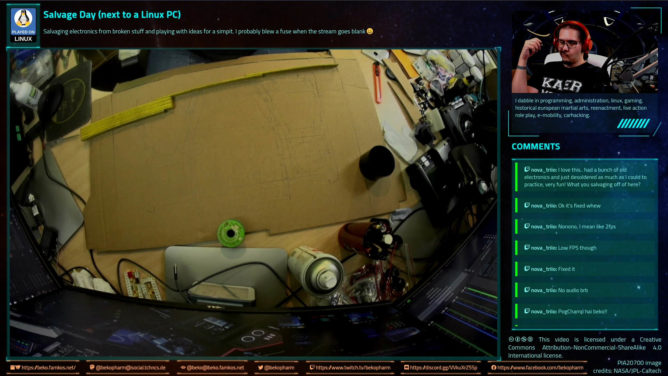
When I was satisfied with my meter readouts, and my highly professional scribbles, I started working on the prototype while streaming the whole process on the Discord channel of the awesome Fly Dangerous project. If you like racing with a space ship give it a shot.
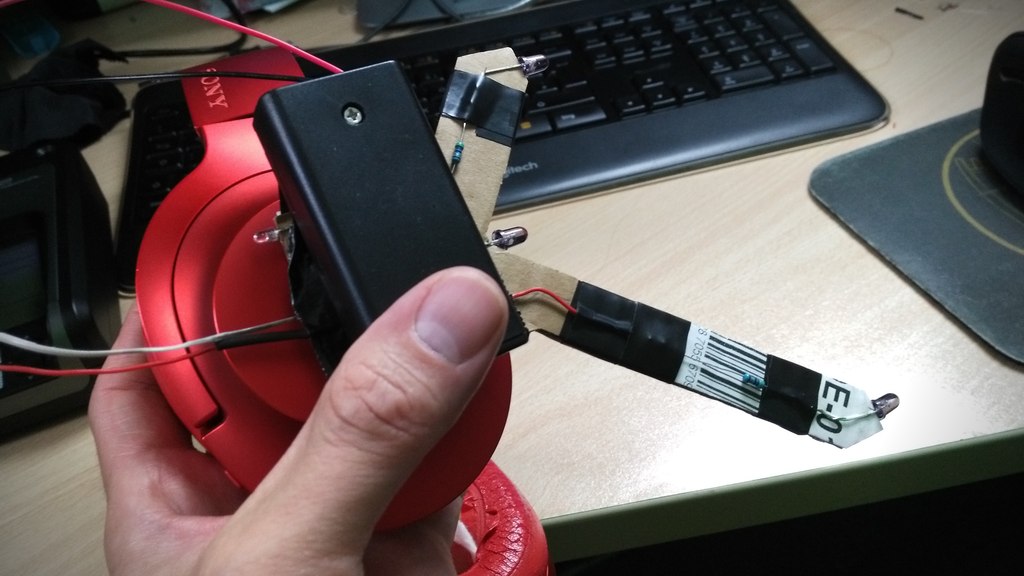
The prototype is made of cardboard that doubles as isolation for the polarity. The rest is tape and hook-and-loop fastener to attach the headtracker to my headphones. No magic here. The whole contraption is powered by two 1.2V rechargeables. I opted for a micro switch and an additional LED as power indicator, that I dimmed down even more. I can after all not see infra-red so this seemed like a good idea to me. Spoiler: It is.
So how does it play? Over the next weeks I tried basically any game supporting head tracking that I could get my hands on. Please keep in mind that I usually play with lights off but started the studio lights for demo purposes. The tracker does still work just fine.
I quickly found out that each game needs it’s own profile for fine tuned settings. Good thing that Opentrack has me covered on this. First, my beloved X4 using Wine and the TrackIR protocol.
Sadly I came to the conclusion that my GPU is no longer up for the task and Wine would cost me too many frames. I switched Opentrack to emulate a joystick instead and mapped it to camera movements in the native X4 version. It’s not exactly the same but it’s okay-ish. I have an idea how to hack this properly into X4 using an extension and a UDP server but that’s a topic for another day.
Anyway, the same principle works with X Rebirth too, making me even happier. While dated it still has it’s charm and the verse still feels a lot more alive compared to X4. It’s also not taxing my GPU that much.
Now for something different. When Opentrack would list a “protocol” named FlightGear I became very curious. I installed this free and open source flight simulator and crashed my first Cessna into the ground minutes later. By now I’m confident that I can crash a Cessna just about anywhere. I’m not fond of flying in real-life but avionics sure are a fascinating topic.
This was the moment a Steam sale happened and I bagged various flight sims, Space Kerbal and House Of The Dying Sun. All with TrackIR support.
Little did I know what gem I bagged with House Of The Dying Sun by the way. Sadly it’s also very short but I enjoyed every minute of it and will probably play it again. The art, sound and music reminds me a lot of Battlestar Galactica. Easy win 😀
So yeah, this is my current gaming set-up. I built myself a head tracker for 5 EUR. On Linux PC.
I also may have fallen into the rabbit hole called “simpit”.