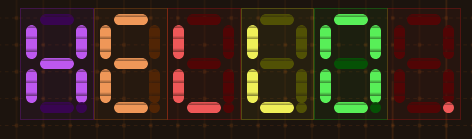
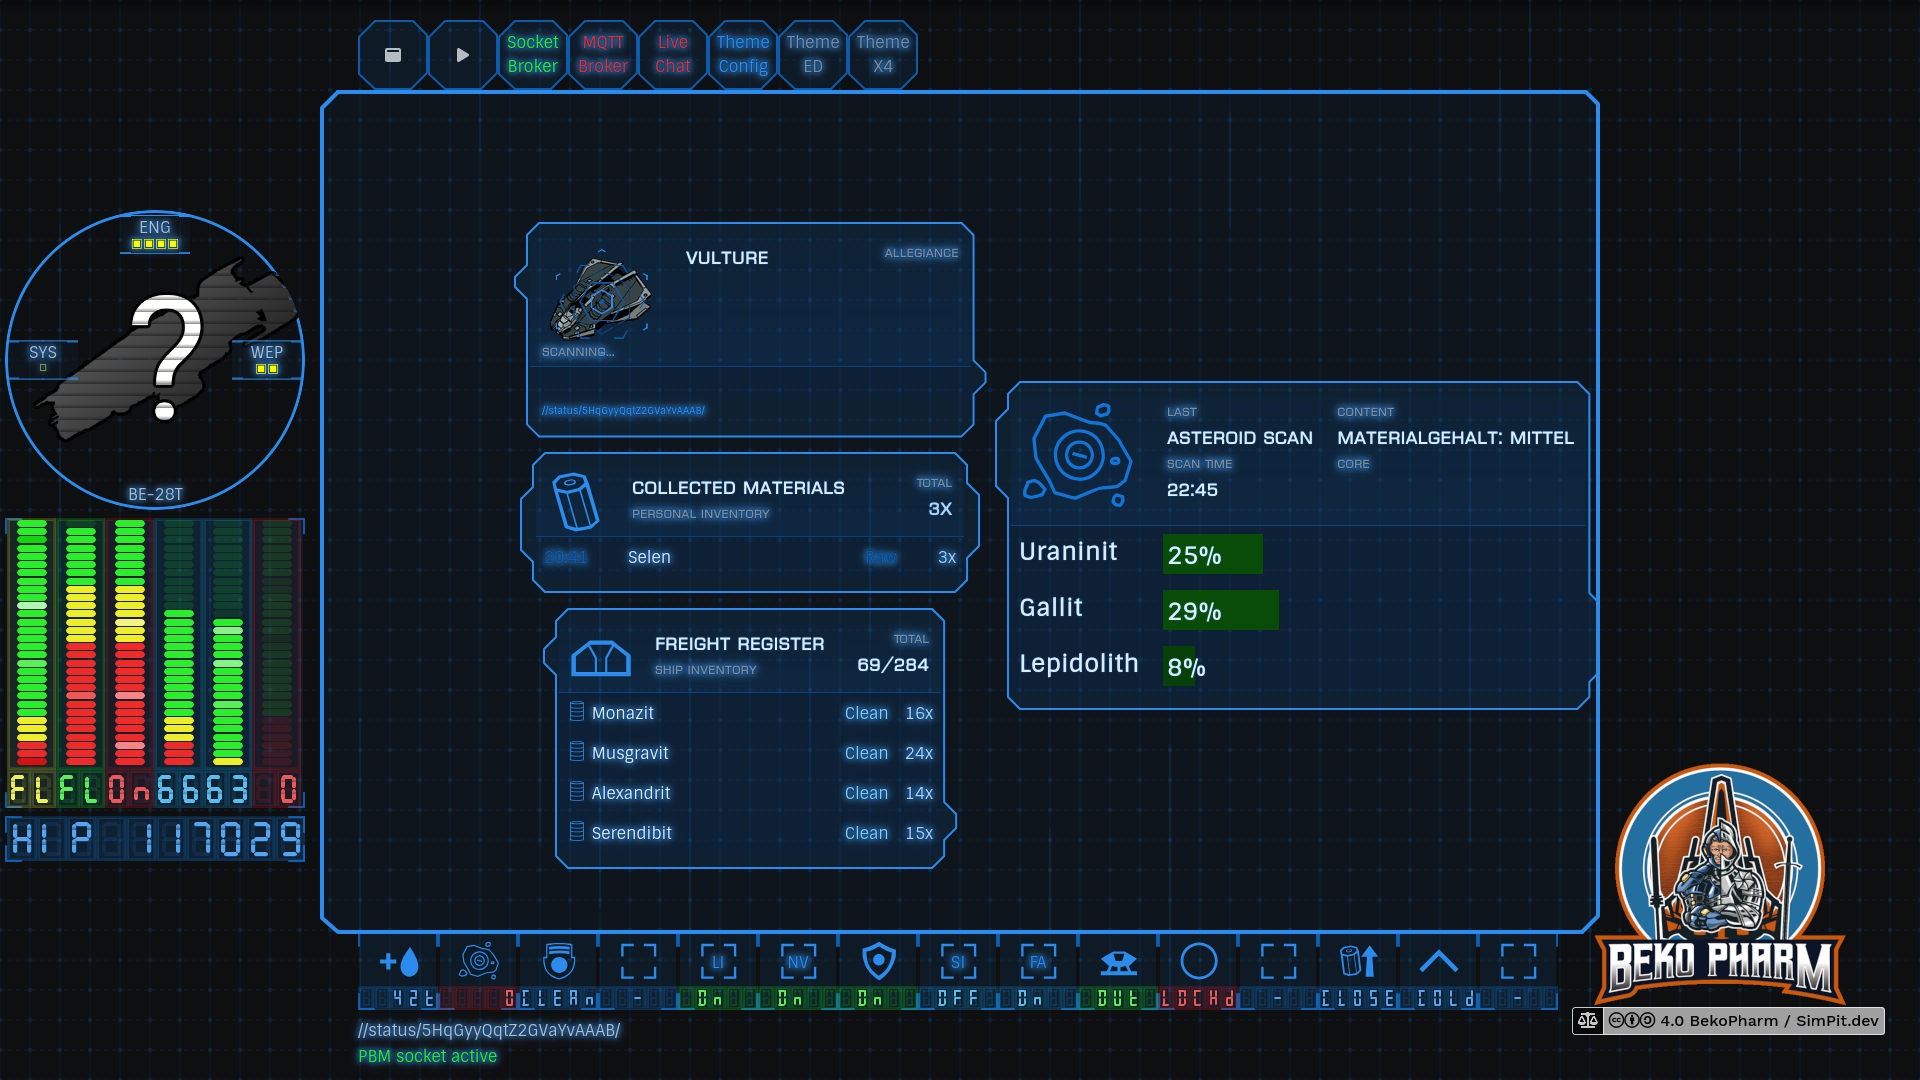
The segment displays are heavily inspired by #AugmentedUI project (https://augmented-ui.com/) where I’ll borrow some more elements. Learned the neat fake scan lines from there too. And yes the 8 segment display works by shifting bits under the hood 🤓 This isn’t really needed for an app but I have plans to add some real segment displays eventually (I do have a whole box full with these!) so I wanted to know how to implement this anyway.
Video from an earlier stage in the development demos the scan line effect.
The bars are configured with parameters in size, count, percent, colours and thresholds 😁 I also added a random chance of 5% to shift the hue a little bit because just as in real life nothing is perfect.
And yes they are fully themed so switching the colour theme also affects the virtual VFDs.
I’m also going to replace the older horizontal bars, that look way too boring in comparison.
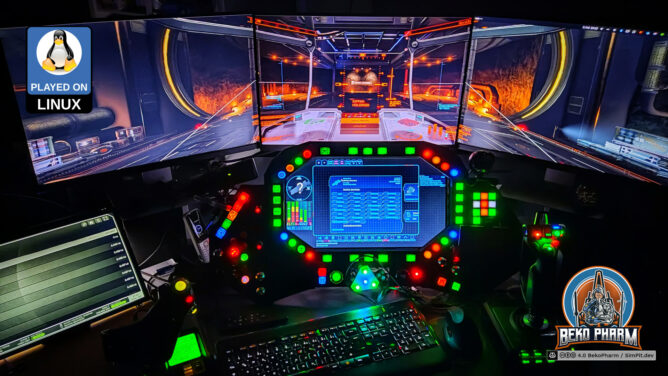
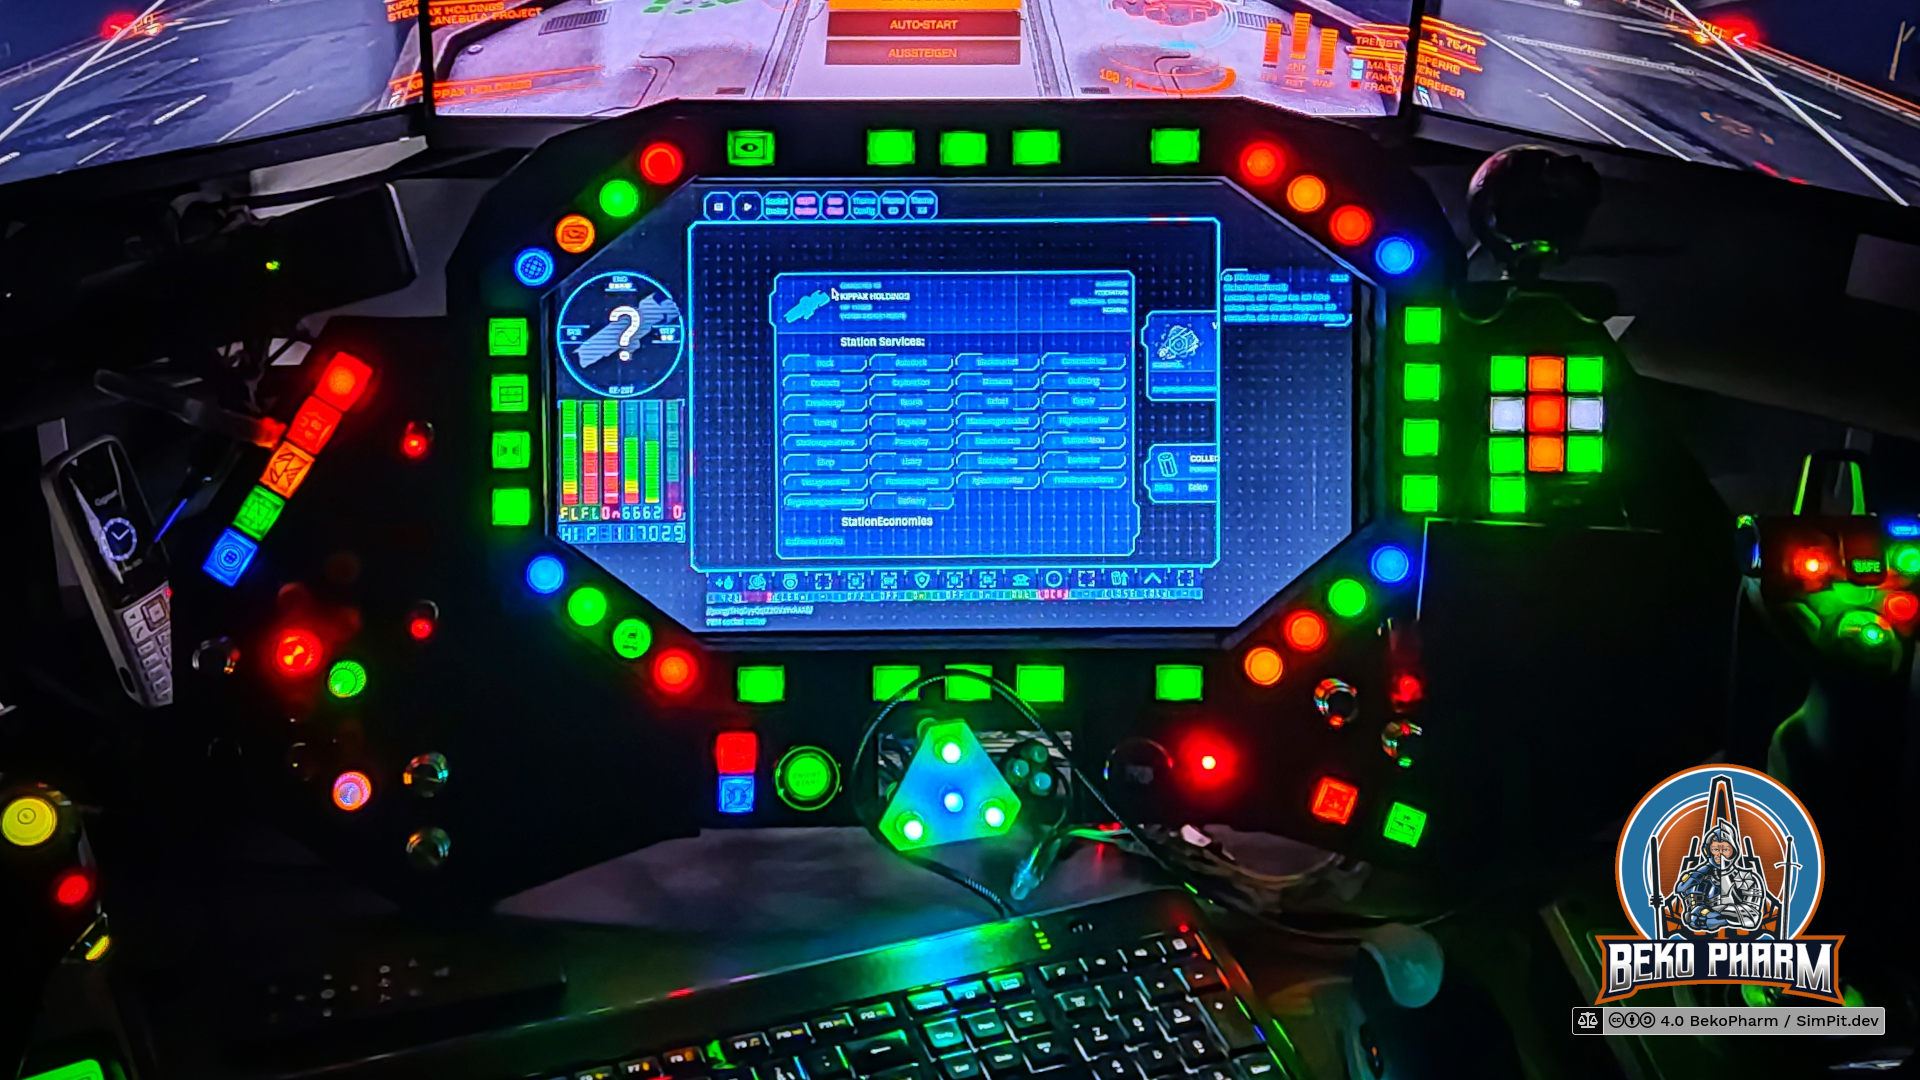
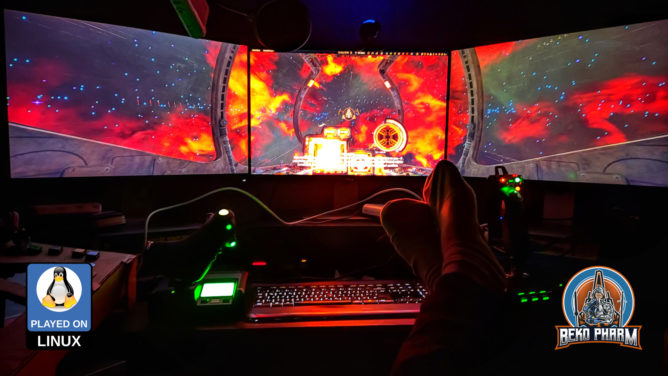
I’m wondering how to present ultra wide screenshots for a while now, because most people will not have an ultra wide display at hand or not run their browser in fullscreen on such a device. A scaled down version with retained ratio also just don’t really cut it:
Now what if we could wrap this in some sort of 360° image? This isn’t really 360°, of course but you get the idea. A quick search usually yields JS libs like Pannellum (https://pannellum.org/), which look great for this use-case as well and yes we could also solve this in CSS by using an animation and go for a little camera ride.
What if we could optionally also make use of a gyroscope though? You know, that sensor every mobile phone, tablet and VR device comes along with. So the user could device where to look just by moving the device around?
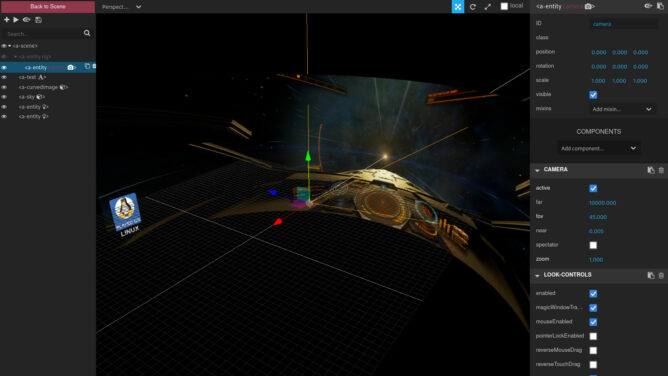
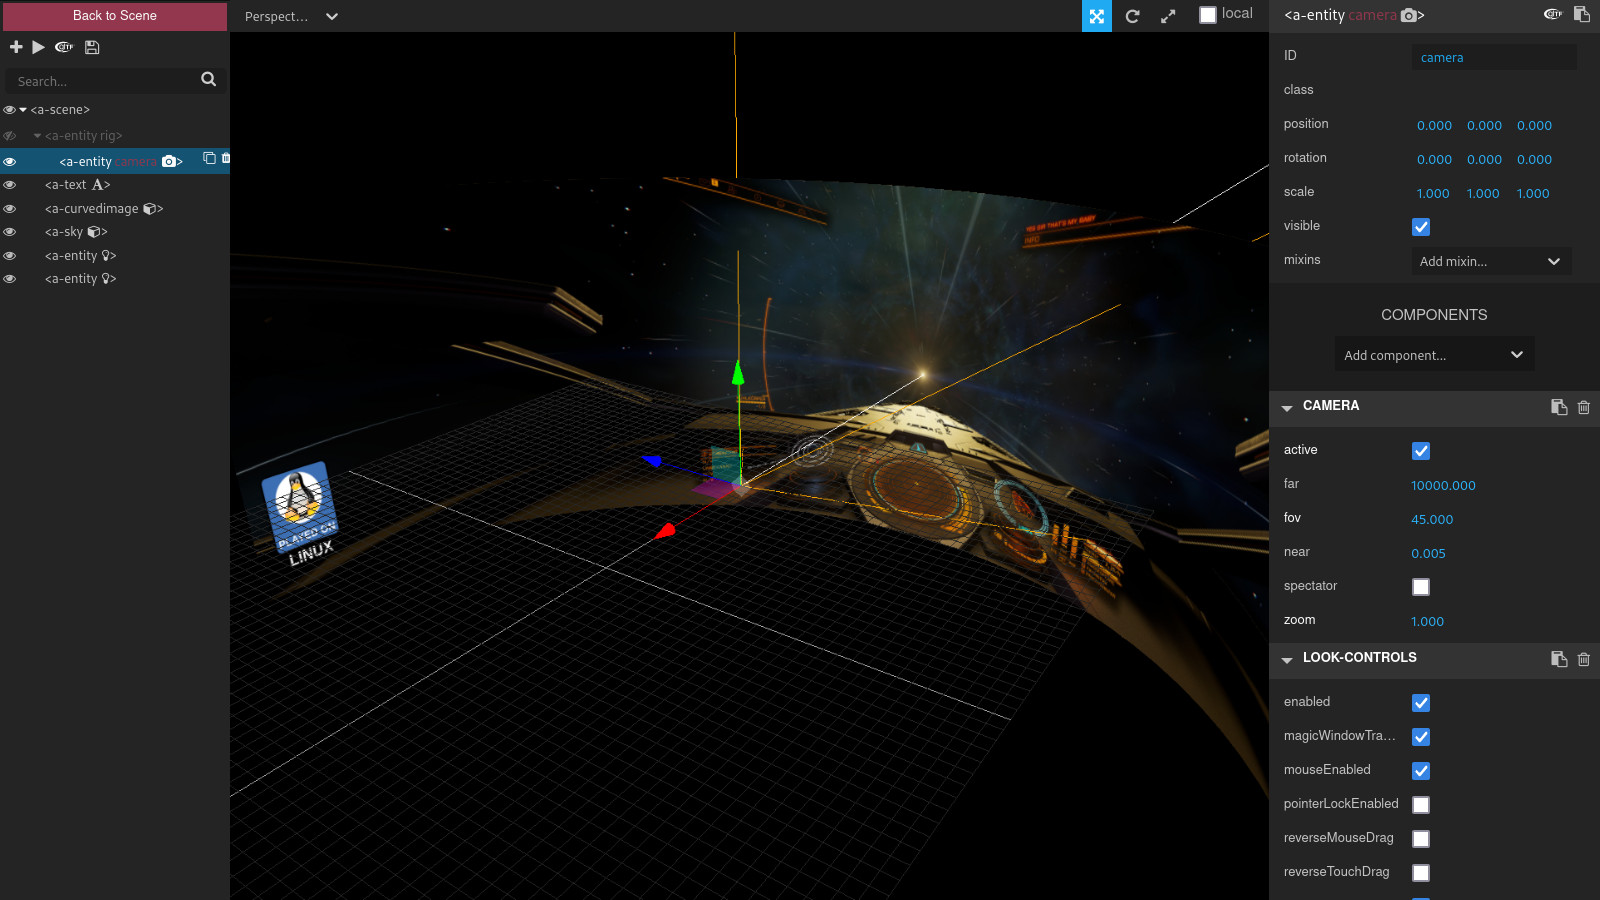
This was when I stumbled over A-Frame (https://aframe.io), which is basically a library for building 3D AR or VR experiences and while I may only scratching it’s surface with my quick tests here it does deliver exactly what I was looking for.
I built demos for various games today and I don’t know how long I’ll host the files here but they all follow the very same code pattern that I’ll add in the end:
Please be aware that I’m loading a ~5mb blob of JS code directly from A-Frame in the demos so don’t check them out if that is a problem for you. The image asset adds another whopping MB so please be patient. The best experience is on a mobile phone where you should be able to look around by moving the phone left and right. It works on a desktop browser too where the mouse can be used to look around.
Feel free to copy this snippet and play around with it. Just keep in mind that you have to use _local_ assets too or they won’t show up. Make sure to read the documentation too and play with the built in inspector opened with the key combination ctrl + alt + i.
And yes I’ll happily take a CSS only variant too but I really doubt that’s possible without loosing features like gyroscope data usage.
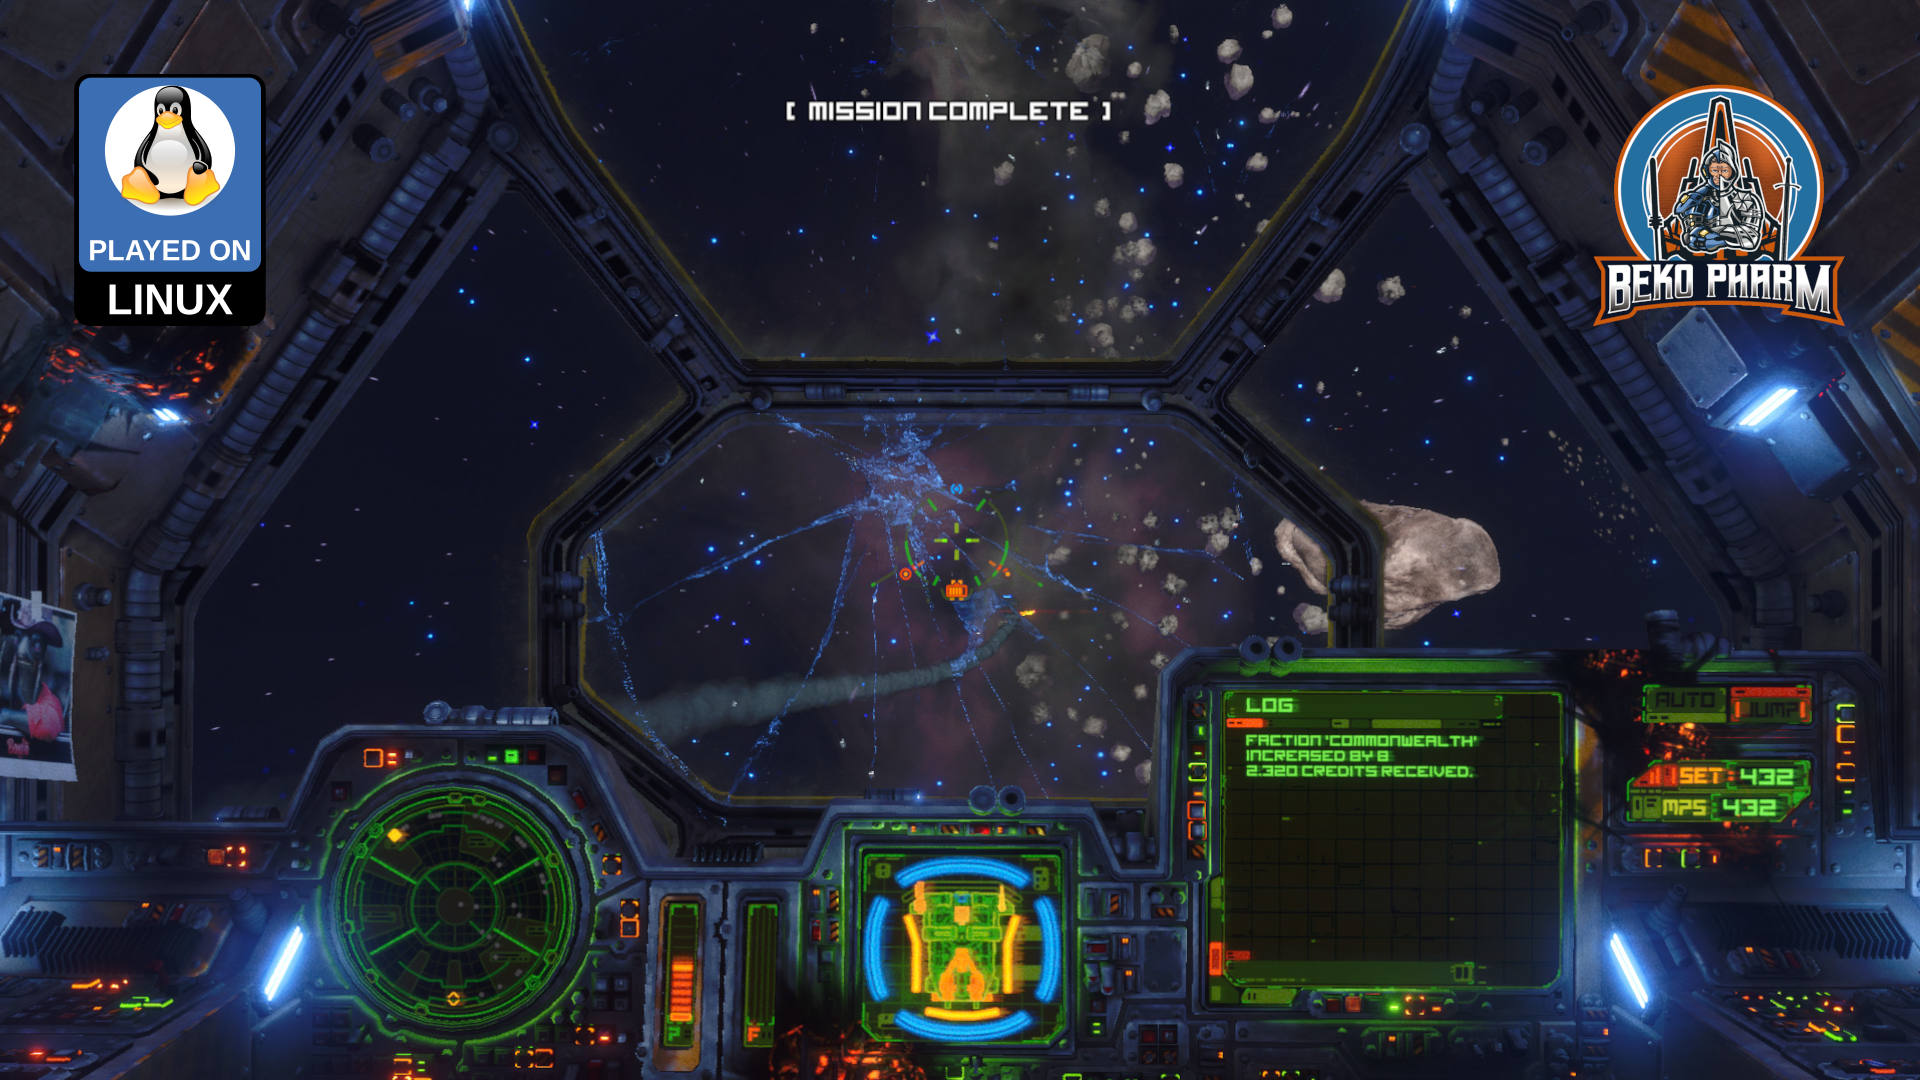
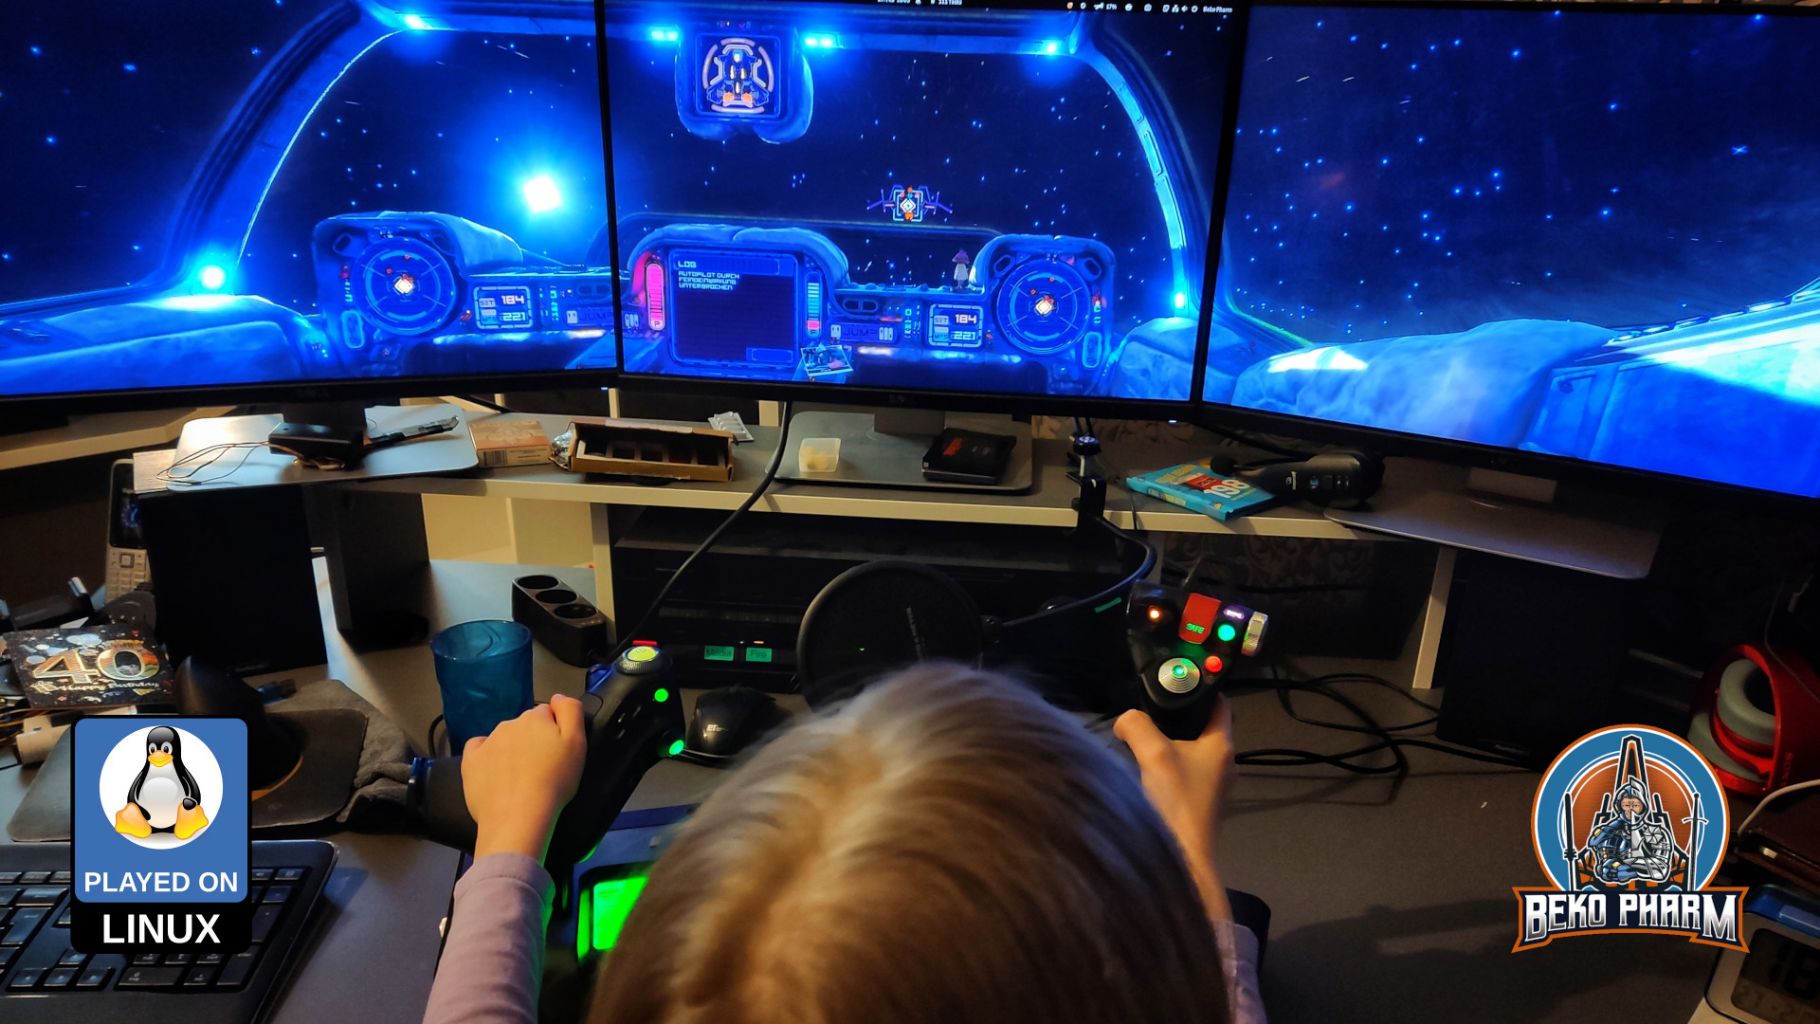
On Monday I played some #RebelGalaxyOutlaw with the little one. She’s doing alright with the delivery missions already. Only helping some with the pew pew, like shacking off rockets.
Bagged #RebelGalaxyOutlaw on GoG today and had a blast. Needed some fiddling to get my X52 Pro up and running since the game only supports _one_ Gamepad but that’s nothing that would stop my #LinuxGaming 😂
Video: Flight tutorial snippets from Rebel Galaxy Outlaw played on Linux PC
Update: I found _way later_ that there is a switch in the launcher to enable joystick support (which brings up my X52 just fiine). What a strange design decision.