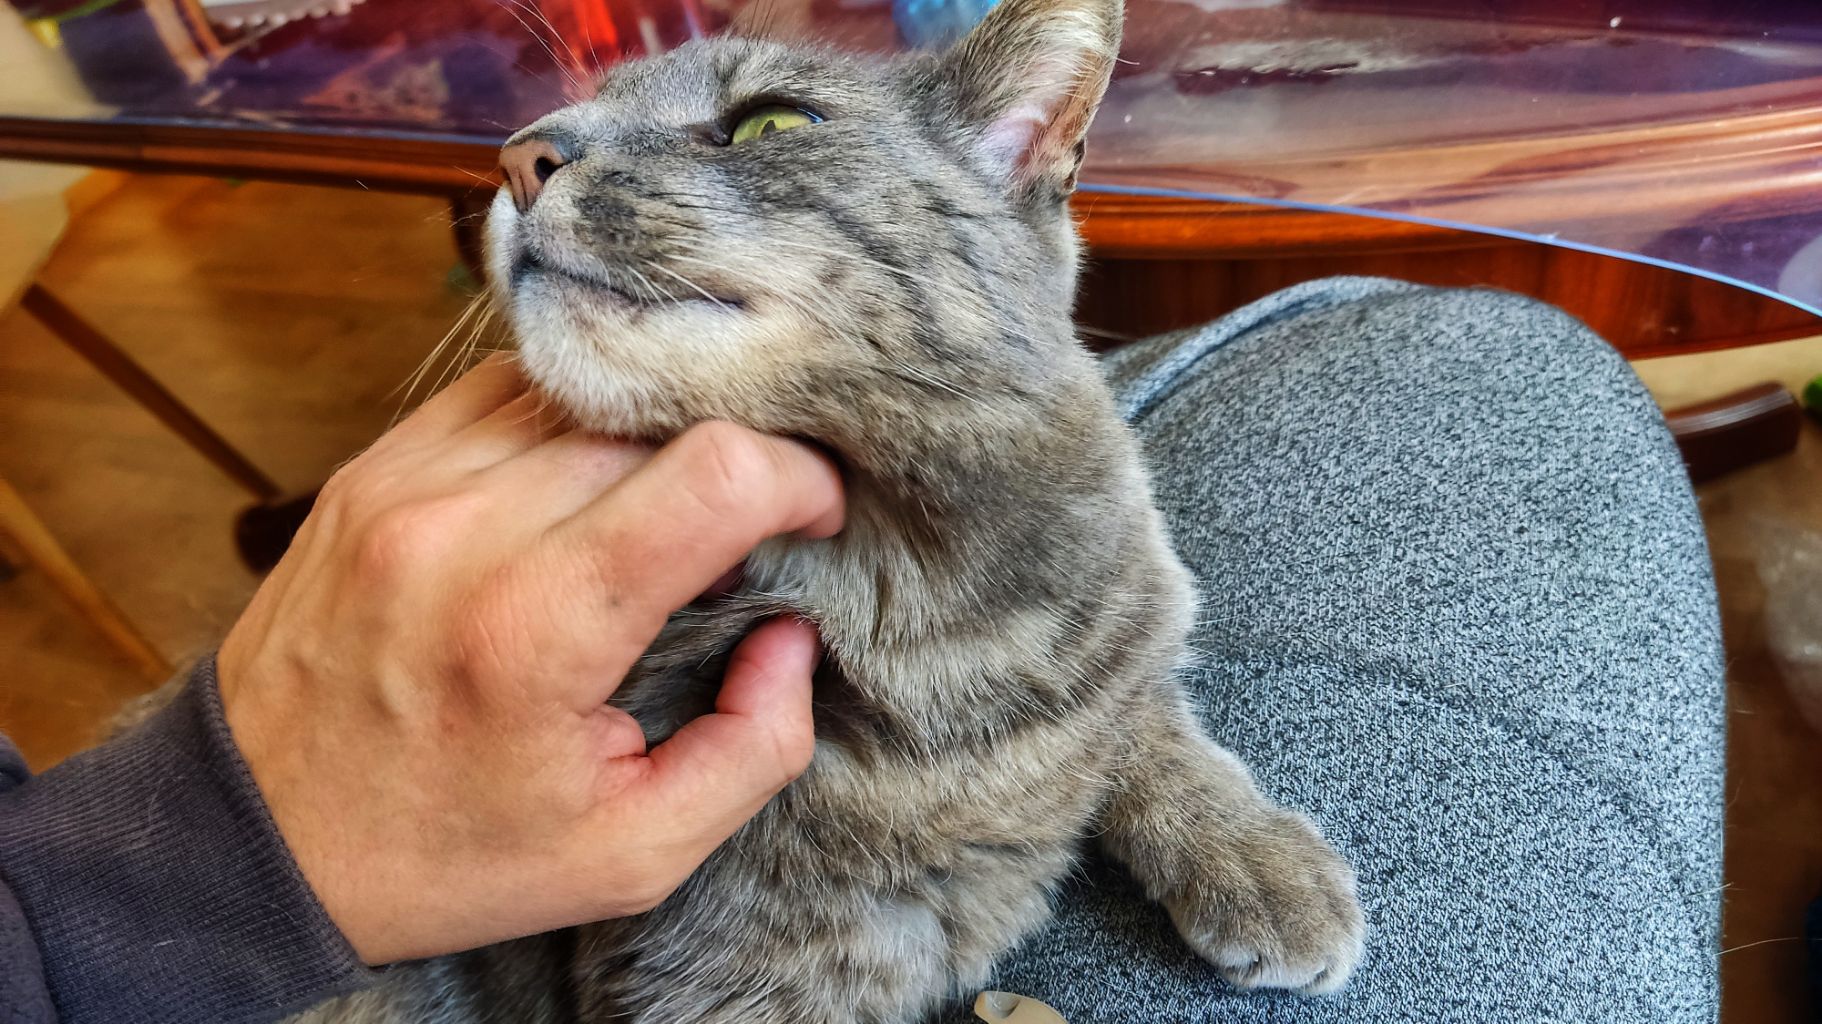
This cat is like Wikipedia when looking for donations. In your face and obstructing the view. Attention, now!
This cat is like Wikipedia when looking for donations. In your face and obstructing the view. Attention, now!
Another night in the X4 sandbox: https://www.youtube.com/watch?v=665hXLKSfek / https://tube.tchncs.de/w/pHFP8jZf7PYLyLZSARZQ4T
This is heavily distilled early gameplay of X4: Foundations, where I started another play-through slowly expanding my little empire with trade, side missions, station building, border patrol (loosing the the “Misfit”, my good old starter-ship), a surprise Xenon attack on a station where I was just for shopping and eventually good old fashioned piracy with unexpected guest appearance of some Kha’ak trying to crash the party.
01:11 Setting up trade routes aboard The Law Abiding Windrunner
02:20 Switching over to the Misfit
03:05 Witnessing the death of a trading station (while escorting my own ships to safety)
03:50 Patrolling for money (and looting stuff)
05:48 Repairing satellites (in EVA suit)
07:32 Docking at the impressive Teladi ring station for shopping
08:45 Surprise attack on the ring station by a Xenon K (and it’s demise)
14:32 Extending my own station and buying more mining ships
11:26 Switching over to my frigate for border patrol (lots of pew pew)
14:30 Loosing the Misfit to Kha’ak (and avenging it)
16:07 Going for resupplies and preparing for piracy
16:39 Ambushing the prey, a fat water freighter looking for a new owner
17:59 Starting the boarding operation
18:40 Realizing I need more support to deal with surprises
18:58 Stumbling over mentioned surprises, Kha’ak trying to crash the party
19:51 Sending more boarders as the first group fails
20:22 Finally going home with the price, a “slightly banged up” L water freighter
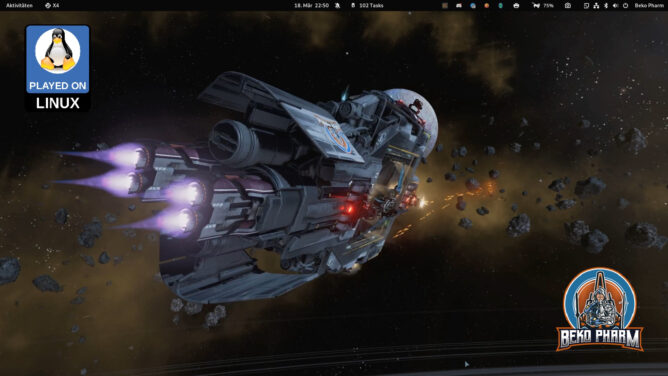
I’m wondering how to present ultra wide screenshots for a while now, because most people will not have an ultra wide display at hand or not run their browser in fullscreen on such a device. A scaled down version with retained ratio also just don’t really cut it:

Now what if we could wrap this in some sort of 360° image? This isn’t really 360°, of course but you get the idea. A quick search usually yields JS libs like Pannellum (https://pannellum.org/), which look great for this use-case as well and yes we could also solve this in CSS by using an animation and go for a little camera ride.
What if we could optionally also make use of a gyroscope though? You know, that sensor every mobile phone, tablet and VR device comes along with. So the user could device where to look just by moving the device around?
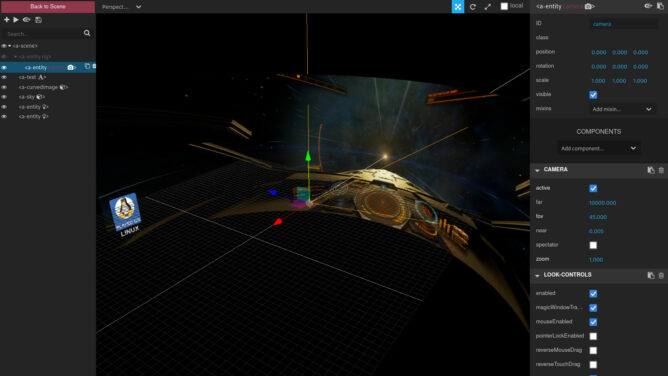
This was when I stumbled over A-Frame (https://aframe.io), which is basically a library for building 3D AR or VR experiences and while I may only scratching it’s surface with my quick tests here it does deliver exactly what I was looking for.
I built demos for various games today and I don’t know how long I’ll host the files here but they all follow the very same code pattern that I’ll add in the end:
https://beko.famkos.net/aframe-elite-dangerous.html
https://beko.famkos.net/aframe-fly-dangerous.html
https://beko.famkos.net/aframe-nms.html
https://beko.famkos.net/aframe-rebel-galaxy-outlaw.html
https://beko.famkos.net/aframe-spacebourne2.html
https://beko.famkos.net/aframe-starcitizen.html
https://beko.famkos.net/aframe-x4-foundations.html
Please be aware that I’m loading a ~5mb blob of JS code directly from A-Frame in the demos so don’t check them out if that is a problem for you. The image asset adds another whopping MB so please be patient. The best experience is on a mobile phone where you should be able to look around by moving the phone left and right. It works on a desktop browser too where the mouse can be used to look around.
Here is a code snippet that shows hows it’s done:
<!DOCTYPE html>
<html>
<head>
  <script src="https://aframe.io/releases/1.4.1/aframe.min.js"></script>
</head>
<body>
  <a-scene loading-screen="dotsColor: #ff6a00; backgroundColor: black">
    <a-assets>
      <img id="sky" src="./wp-content/uploads/2023/03/elite_dangerous_odyssey_for_my_valentine.jpg">
    </a-assets>
    <a-entity id="rig" position="-8 0 0" rotation="0 90 0">
      <a-entity id="camera" camera="fov:45; zoom: 1" far=90 look-controls></a-entity>
    </a-entity>
    <a-text color="#fff" value="Elite Dangerous ...on a canvas" width="3" position="-10.5 -0.5 1.5"
      rotation="0 135 9"></a-text>
    <a-curvedimage src="#sky" height="20.0" radius="10" theta-length="180" rotation="0 180 0"
      scale="2.5 1 2.5"></a-curvedimage>
    <a-sky rotation="0 0 0" position="0 0 0" color="#000"></a-sky>
  </a-scene>
</body>
</html>
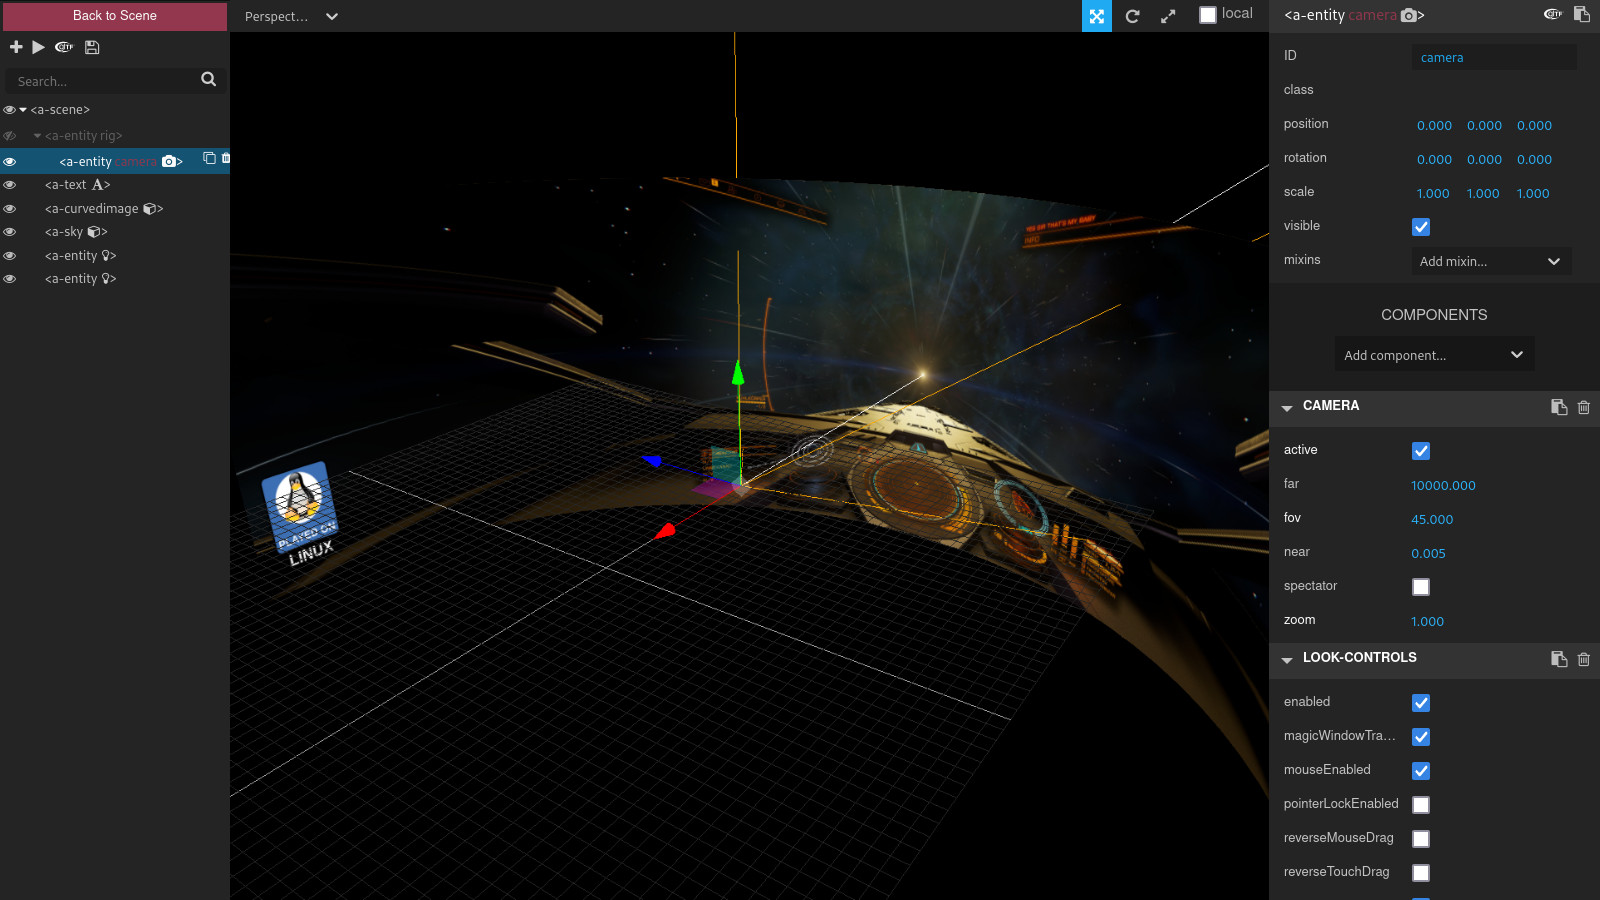
Feel free to copy this snippet and play around with it. Just keep in mind that you have to use _local_ assets too or they won’t show up. Make sure to read the documentation too and play with the built in inspector opened with the key combination ctrl + alt + i.
And yes I’ll happily take a CSS only variant too but I really doubt that’s possible without loosing features like gyroscope data usage.

Looks like my favourite #WordPress plugin for #ActivityPub just went supersonic. It’s now officially by Pfefferle AND Automattic 🤘🥳
https://wordpress.org/plugins/activitypub/
Hat tip to Chris Trottier (@atomicpoet)

No idea why but I had the sudden urge to cook something today. This is just spelt flour, milk and apple cooked with butter and salt (like noodles) served with sugar and cinnamon. And it’s delicious 😍
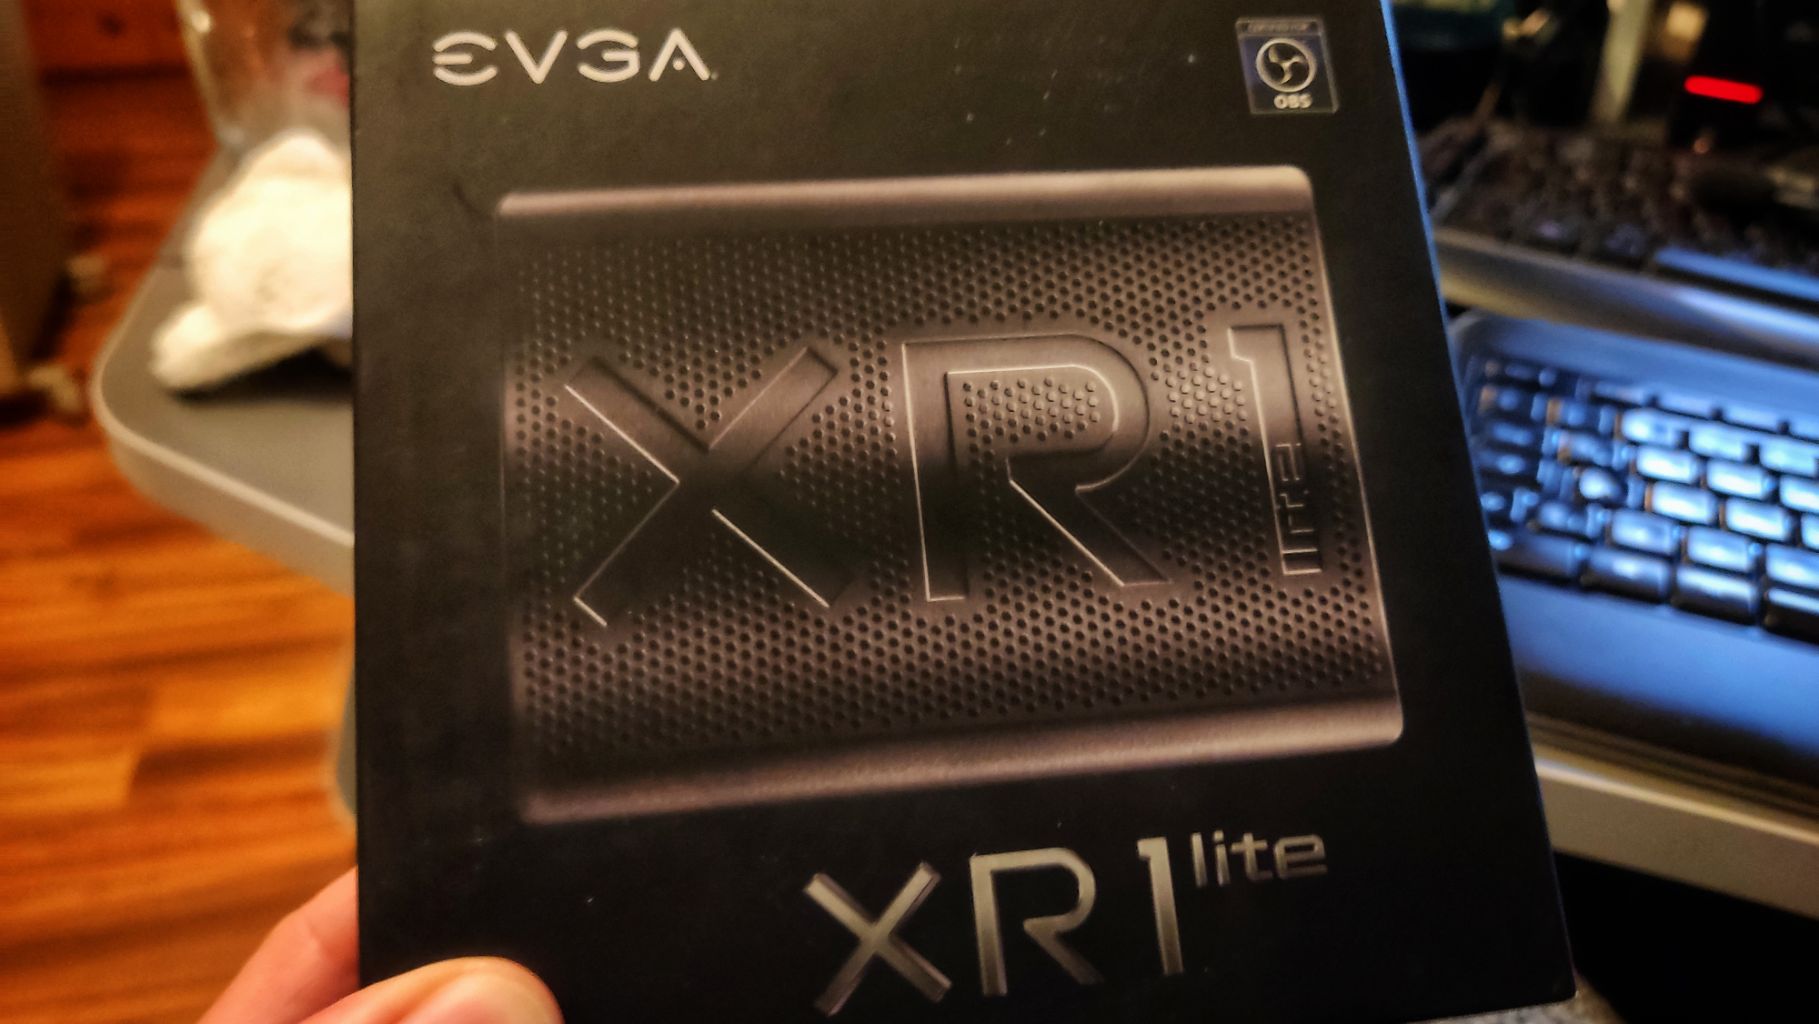
Finally gave in after my usual usb recording stick choked itself hard (20 bucks variant and usually just used to debug failing system boots where the error message would only flash for a second) and ordered an EVGA XR1 Lite: https://youtu.be/VU1pbyIlPmQ
It comes with a “free” perceived value weight 😁
Updated: So.. the XR1 works quite decent. The most trouble I had was on the HDMI side until I found the proper output to send application sound _also_ to the device (I’m using headphones usually).
Apparently there is a bug with the audio sync though, because the audio driver of the XR1 does not account for dropped frames. This may result in a noticeable sound (or frame) lag after some time of recording.
A firmware patch exists and I could download a HEX and a BIN file. Alas the flashing tool next to it is a graphical (!) Windows only EXE. So basically same 💩 as with the Crucial SSD recently. Some Arch user asked how to flash this on Linux on the EVGA Discord before. Response from staff: Just use Windows 😩.
Sure. It’s not like we don’t have a shiton of software to flash some firmware too. Native. On our fingertips. The question is probably just how to run some and where to point it. The chips inside are known so I have hope that I may find this out eventually so I’ll keep it anyway. It does work at least.
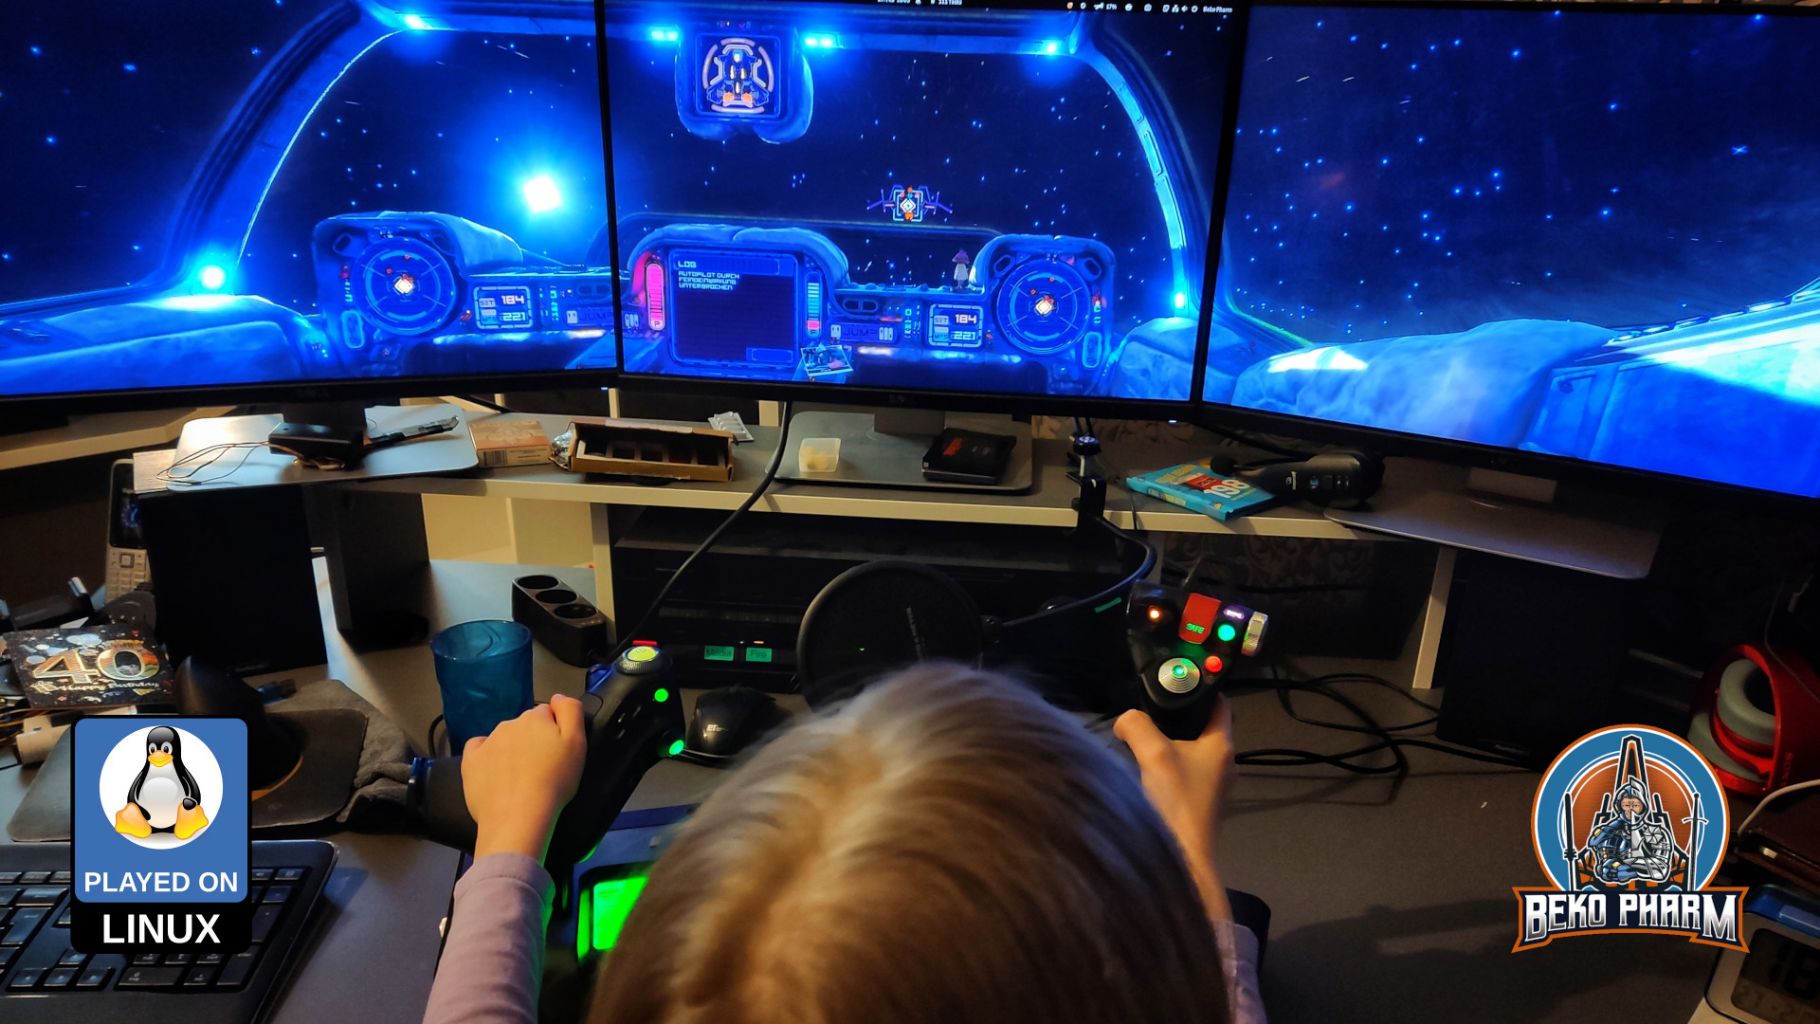
FIY Should update within 24h https://youtu.be/RIGkmqzJdfQ
It’s a #foss 6dof racing game with a #Newtonian flight model similar to #EliteDangerous.
It does have a #Linux version but the world gen lib is single threaded on Linux so Proton may be a better choice for now.
It also features access to full ship telemetry and head tracking including OpenTrack via UDP thanks to my nagging 🤪
No idea about VR. Apparently it works but I can’t test that.
On Monday I played some #RebelGalaxyOutlaw with the little one. She’s doing alright with the delivery missions already. Only helping some with the pew pew, like shacking off rockets.