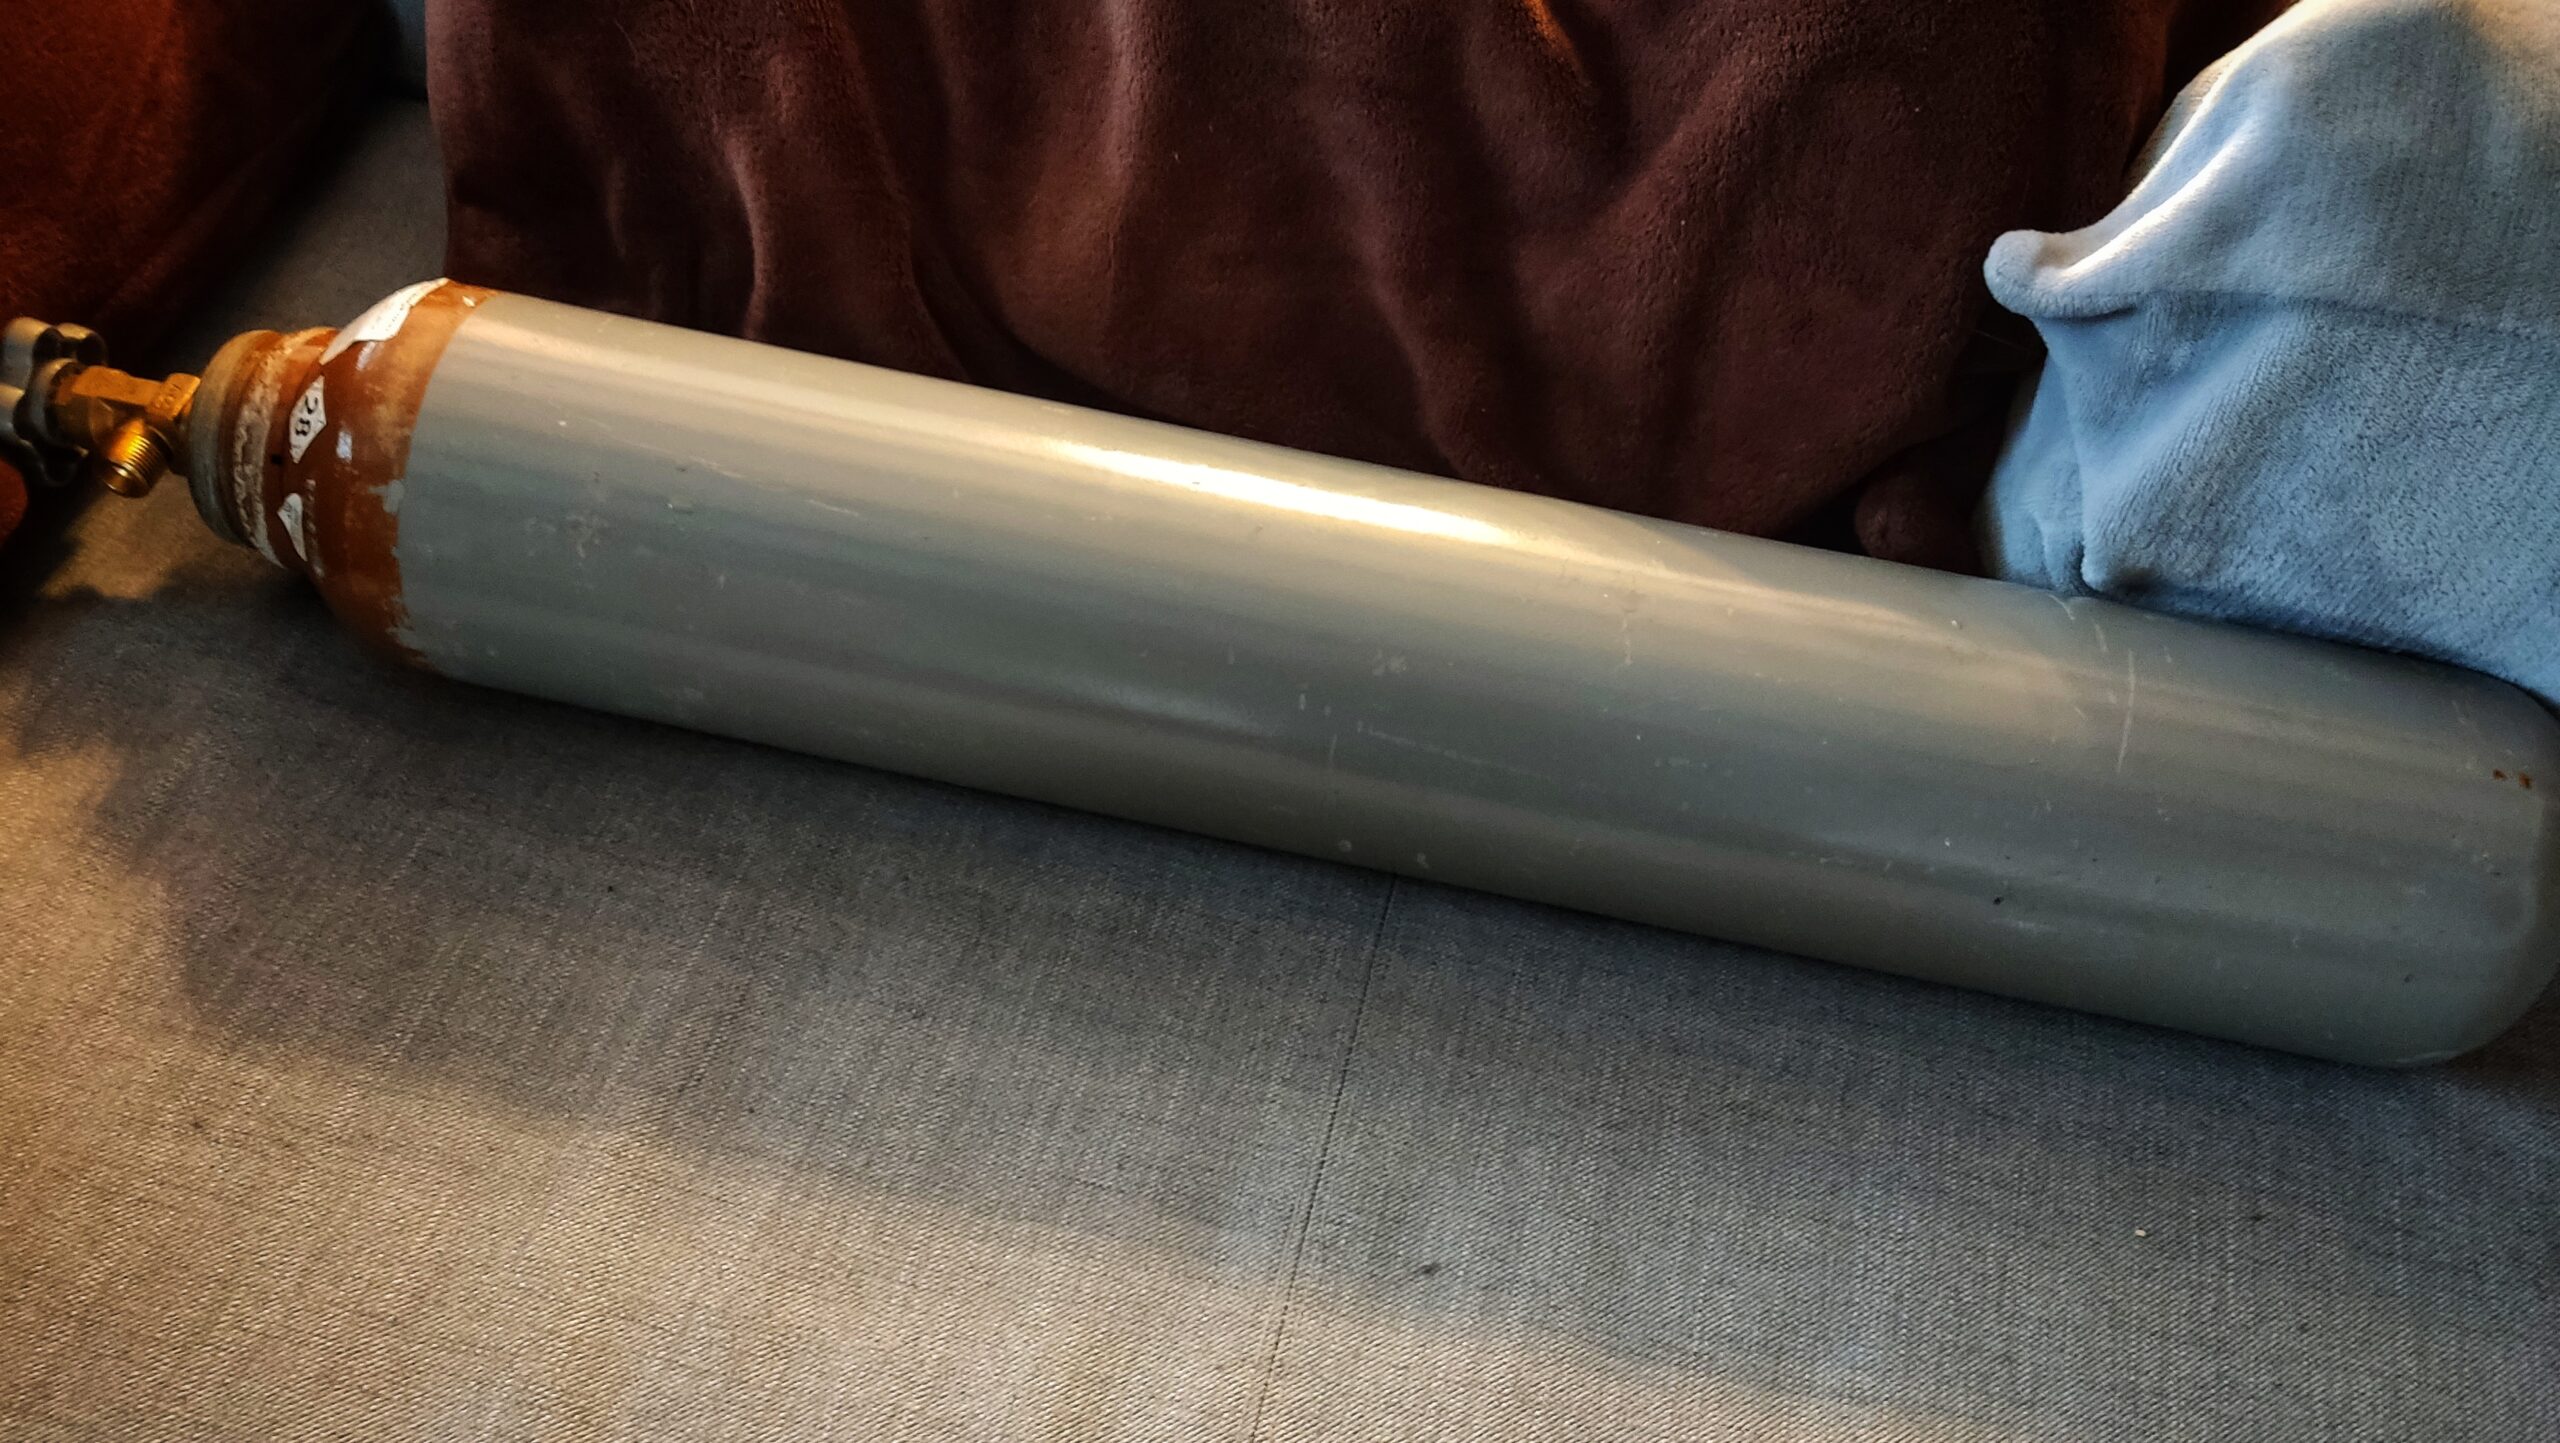
All that balloon talks going on and I can only think about my odyssey on the weekend to find lumpy 10l of Helium.
We usually buy this in an industrial bottle because the one-time bottles you can get for birthday parties are… meh. In costs, litres and waste of the empty can (litre litter).
The 10l bottle is enough for years and several birthday parties and can be refilled.
So I was puzzled when I went for a refill on Saturday just to find out that my usual dealer doesn’t have any. I was told that their dealer holds deliveries back to provide hospitals first at the moment. This is also going on for ~1.5 years by now.
In the end I found another local dealer who had some in stock but to what cost! 10l for ~122 EUR!
I never bothered to check where Helium is coming from but it all makes sense. It’s basically natural gas and it’s coming from the same deposits that are all in bad supply due to various reasons and it’s used a lot as coolant e.g. for medical equipment.
I guess the next birthday parties will see way less balloons 🎈
Scribbles to run a X52Pro as two virtual gamepads via moltengamepad
Put this in ~/.config/moltengamepad/gendevices/x52-pro.cfg
[events="superset" vendor="06a3" product="0762" driver="hid-generic"]

# 06a3:0762
# Options file is license as WTFPL http://www.wtfpl.net/

name = "x52_pro_controller"
devname = "x52_"
exclusive = "false"
change_permissions = "false"
flatten = "false"
rumble = "false"
split=2
1.device_type = "gamepad"
2.device_type = "gamepad"

# btn_east = "cross", "The cross (X) button"

# Event mappings

# 1.key(288) = "cross", "Primary fire button"
1.btn_trigger = "left_trigger", "Gun Button Step 1"
# 1.key(302) = "right_trigger", "Gun Button Step 2"
1.btn_trigger_happy15 = "bbb", "Gun Button Step 2"

1.btn_thumb2 = "a", "A button"
1.btn_top = "b", "B button"
1.btn_top2 = "x", "C button"
1.btn_thumb = "y", "Safety fire button (Fire 2)"
1.btn_pinkie = "guide"
1.btn_base2 = "button_16"

1.abs_x = "left_x", "Left stick X axis"
1.abs_y = "left_y", "Left stick Y axis"
1.abs_rz = "right_x", "Right stick X axis (Z axis)"
1.abs_z = "right_y", "Right stick Y axis (Throttle axis)"
1.abs_hat0x = "leftright", "HAT POV up"
1.abs_hat0y = "updown", "HAT POV right"
1.btn_trigger_happy4 = "right_thumb", "POV2 up"
1.btn_trigger_happy5 = "right_shoulder", "POV2 right"
1.btn_trigger_happy6 = "left_thumb", "POV2 down"
1.btn_trigger_happy7 = "left_shoulder", "POV2 left"

2.btn_trigger_happy3 = "left_trigger", "Scrollwheel click"
2.btn_dead = "right_trigger", "Mouse button (click)"
# 2.btn_trigger_happy15 = "x", "I button"

2.btn_base = "a", "D button"
# 2.btn_base2 = "b", "E button"

2.key(719) = "left_shoulder", "Function button"
2.key(722) = "left_thumb", "Function page up"
2.key(723) = "left_thumb", "Function page down"
2.key(726) = "right_shoulder", "MFD select button"
2.key(724) = "right_thumb", "MFD select button up"
2.key(725) = "right_thumb", "MFD select button down"

2.abs(004) = "left_x", "Left stick X axis"
2.abs(003) = "left_y", "Left stick Y axis"
2.abs(040) = "right_x", "Mouse X"
2.abs(041) = "right_y", "Mouse Y"
2.btn_trigger_happy8 = "up", "Throttle POV up"
2.btn_trigger_happy9 = "right", "Throttle POV right"
2.btn_trigger_happy10 = "down", "Throttle POV down"
2.btn_trigger_happy11 = "left", "Throttle POV left"
2.btn_trigger_happy17 = "start_stop", "Start/Stop"
2.btn_trigger_happy18 = "back", "Reset"

# Aliases

# 1.btn_trigger = "primary"
alias primary a
alias secondary b
alias third x
alias fourth y

alias start start_stop
alias select back
alias mode guide

alias thumbl left_thumb
alias thumbr right_thumb

# right shoulder
alias tr right_shoulder
# right trigger
alias tr2 right_trigger
# left shoulder
alias tl left_shoulder
# left trigger
alias tl2 left_trigger
Run this with moltengamepad --num-gamepads 2 --mimic-xpad and press button on the joystick _first_ and on the throttle _second_ so they get assigned in the correct order.
This should result in two gamepads _and_ the X52Pro so even really braindead games that do only support gamepadS should be able to read this at least in any way.
AntiMicroX showing X52 Hotas mapped to two virtual gamepads
If the game does support only one gamepad consider binding joystick _buttons_ to keyboard presses (e.g. with AntiMicroX instead).
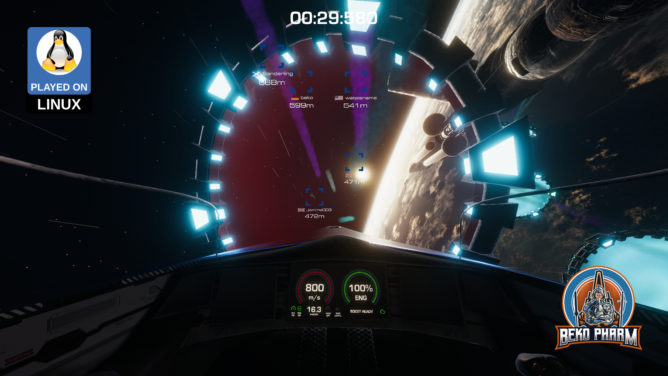
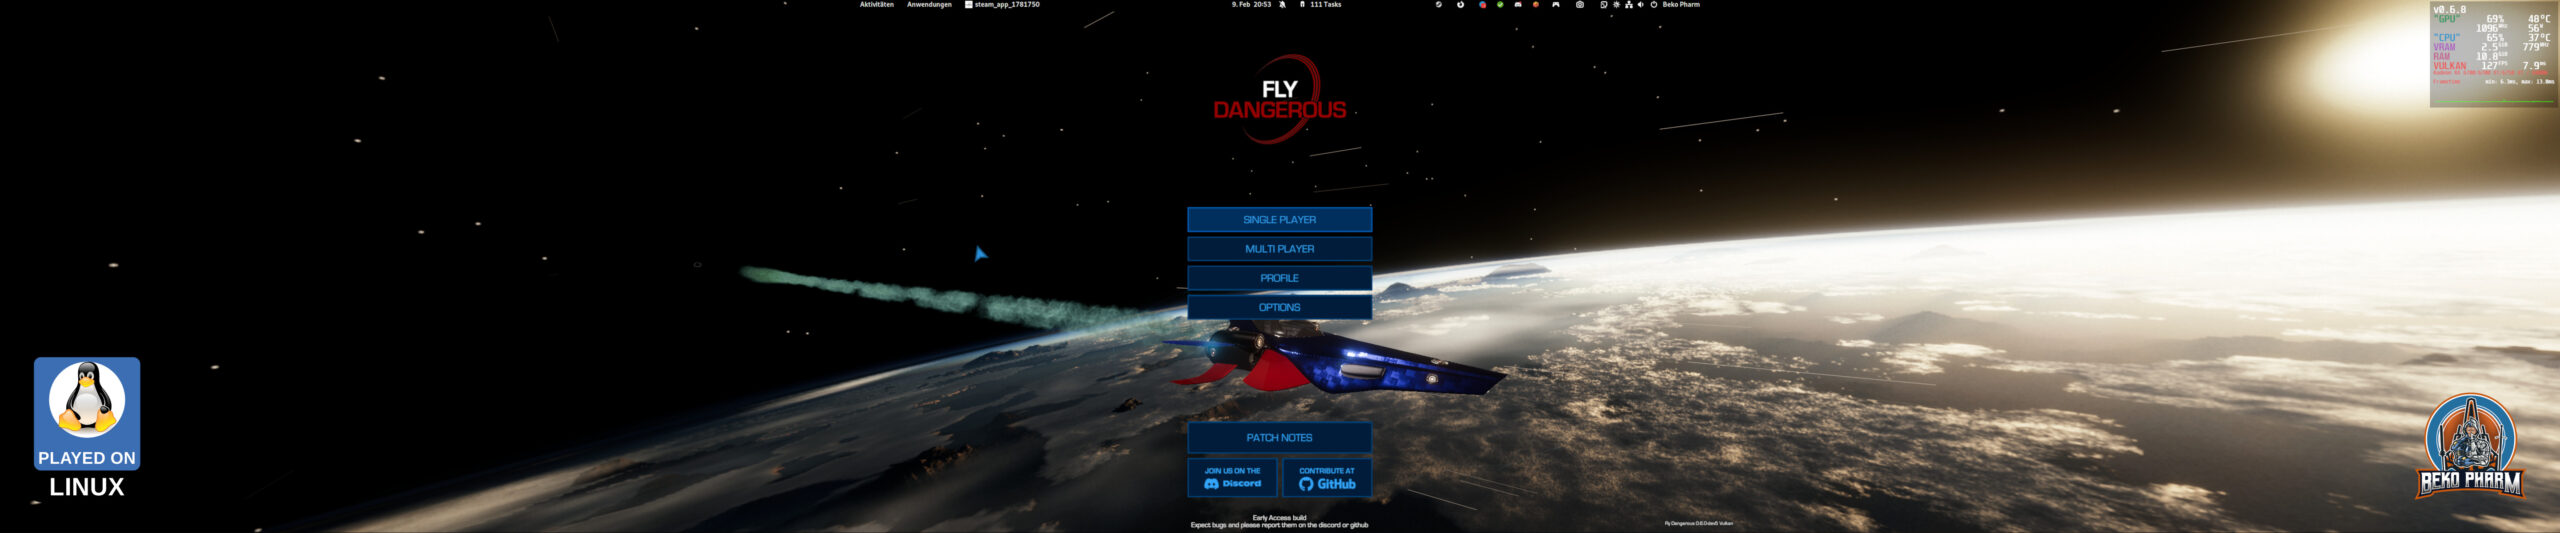
I usually play #FlyDangerous on Linux PC. I switched to Proton because I was eager to see some upcoming changes, like #headtracker support, on the public_beta branch. And while this works[1] I was once more flabbergasted how complicated it is to set my desired display resolution of 5760×1200. I’m using a multihead setup with several displays and as usual the game engine would not let me _simply_ set that. Even in windowed mode (I mean I get that this won’t work with fullscreen).
There are several ways to work around this, especially with Proton, but I was looking for the prefs file I know from Linux. I found it in the end in the file compatdata/1781750/pfx/user.reg (that’s like the Windows registry but as plain file read by Wine) where the values are stored as dword under [Software\\StarGoat\\FlyDangerous]. In hex.
"Screenmanager Resolution Height_h2627697771"=dword:000004b0
"Screenmanager Resolution Width_h182942802"=dword:00001680
"Screenmanager Resolution Use Native_h1405027254"=dword:00000000
So 0780 and 04b0 are in the end 5760 and 1200. And sure enough, on the next game start I get _my_ desired resolution:
Sadly when I change settings in the game this gets overwritten again – so keep a backup around and drop it in again. This may even be added to a script – let’s see how long until this gets on my nerves and I automate that.
For the interested: This is how the same thing looks on the native version in the file ~/.config/unity3d/StarGoat/FlyDangerous/prefs
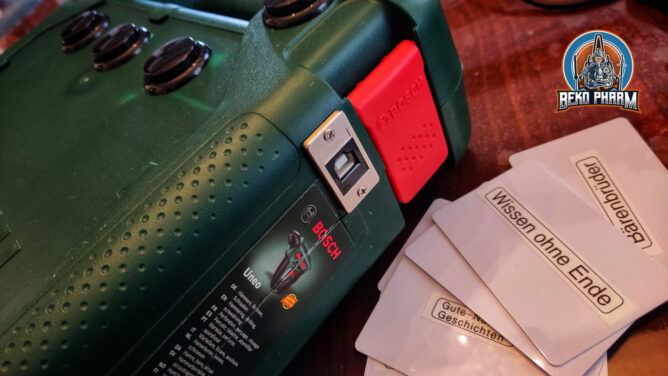
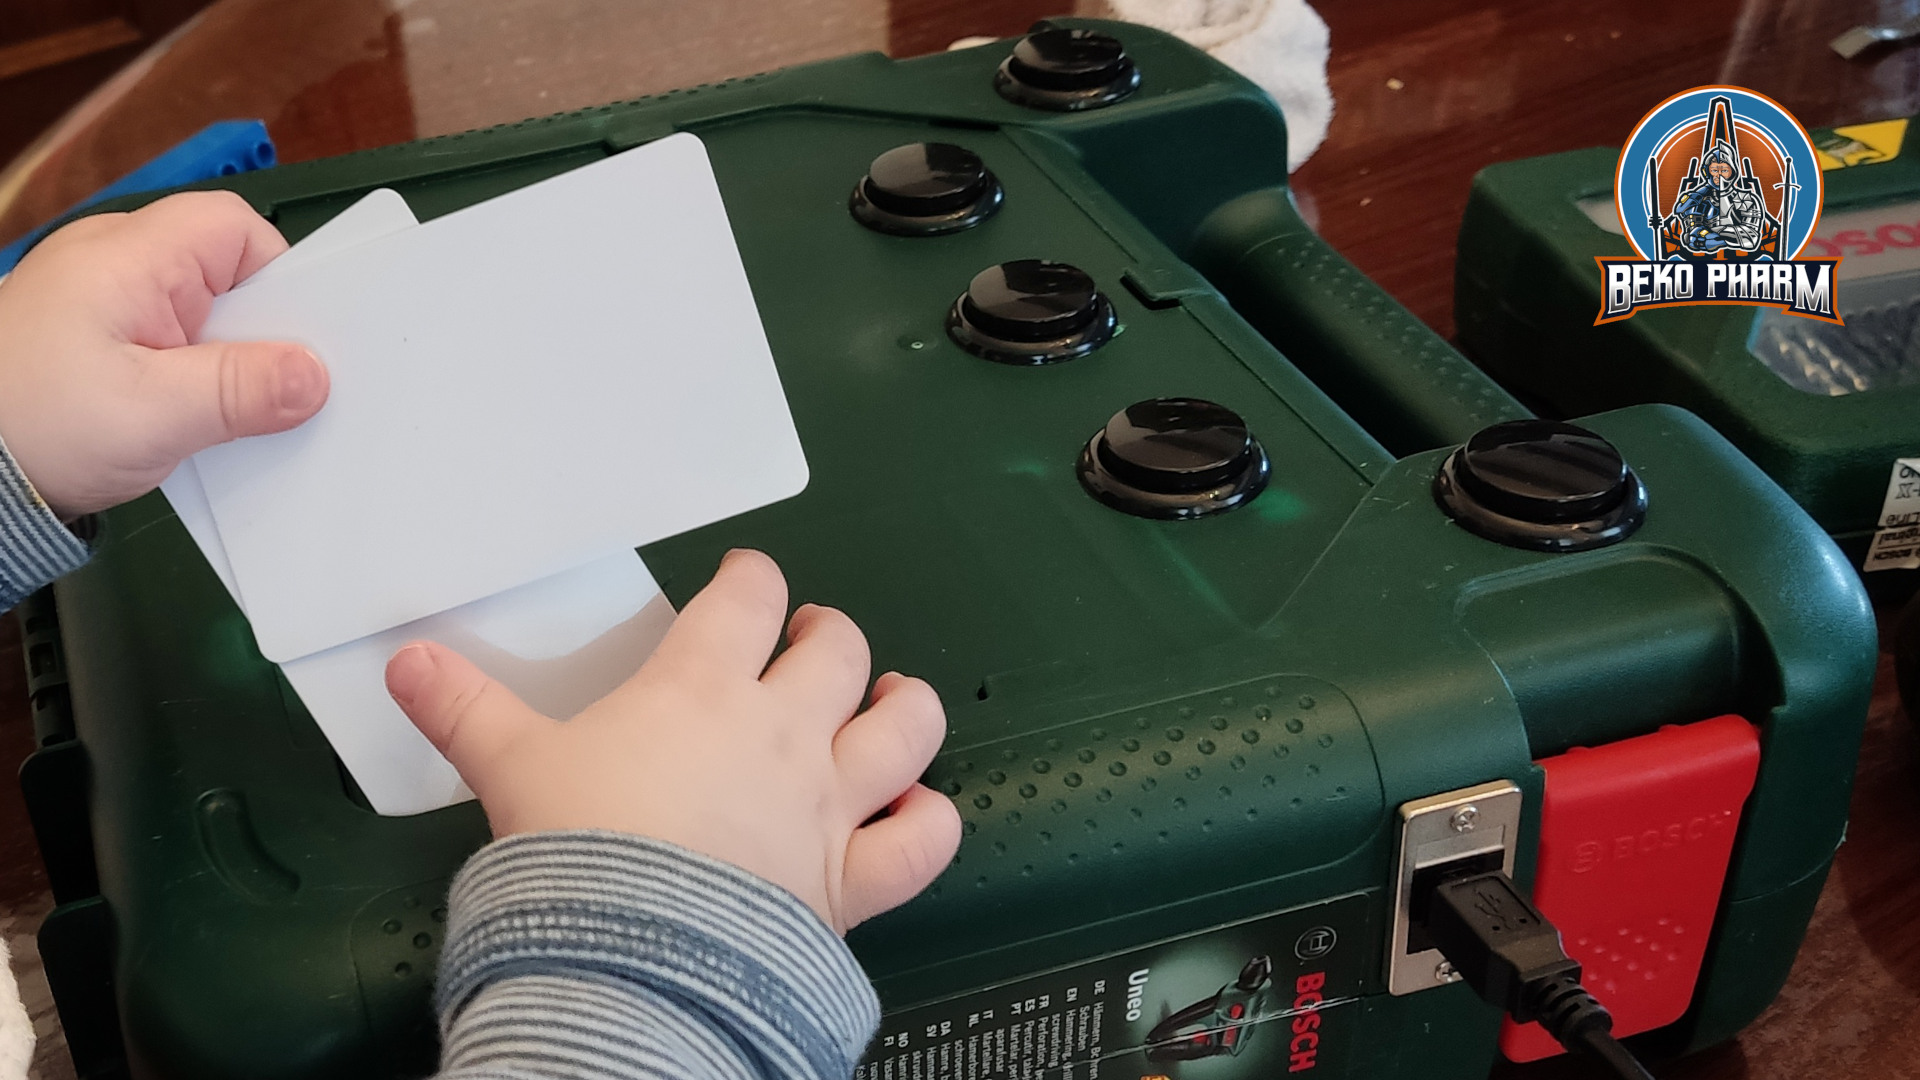
This is a project I kept postponing for years but when I eventually got my hands on all the required parts I had no longer an excuse and eventually built the first. It’s a portable music player for children that does not require internet access. It features selections of pre-installed music or audio books via RFID cards, that may come in all shapes and may even be integrated in toys. There are also 3 to 5 playback controls in the form of huge arcade buttons. Ideal especially for our middle one, who has to endure stationary stay for most of the week in a hospital.
And while this box is still missing proper decorations and button decals it’s full functional and portable. Also hey, kids ain’t stupid – they find the proper button without decal too. Even the baby found out where to put the RFID cards for the music to change 😉
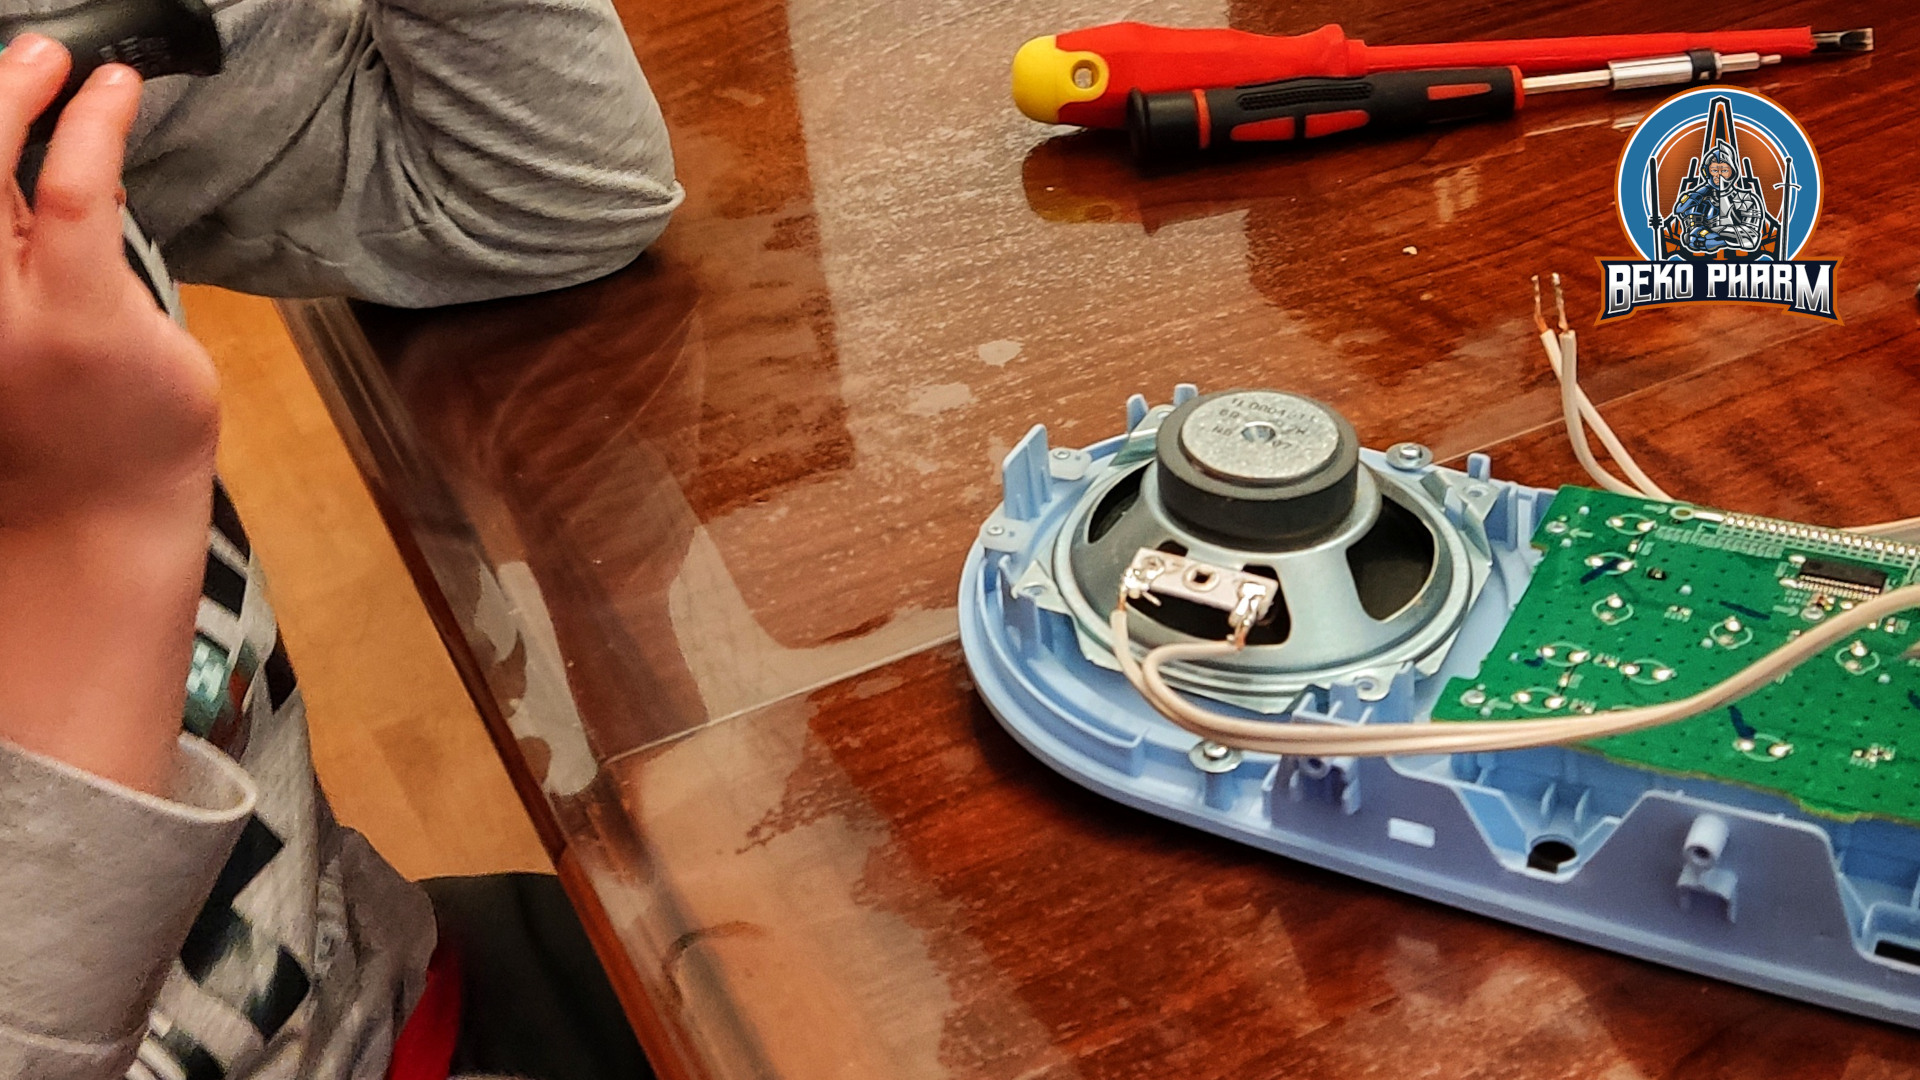
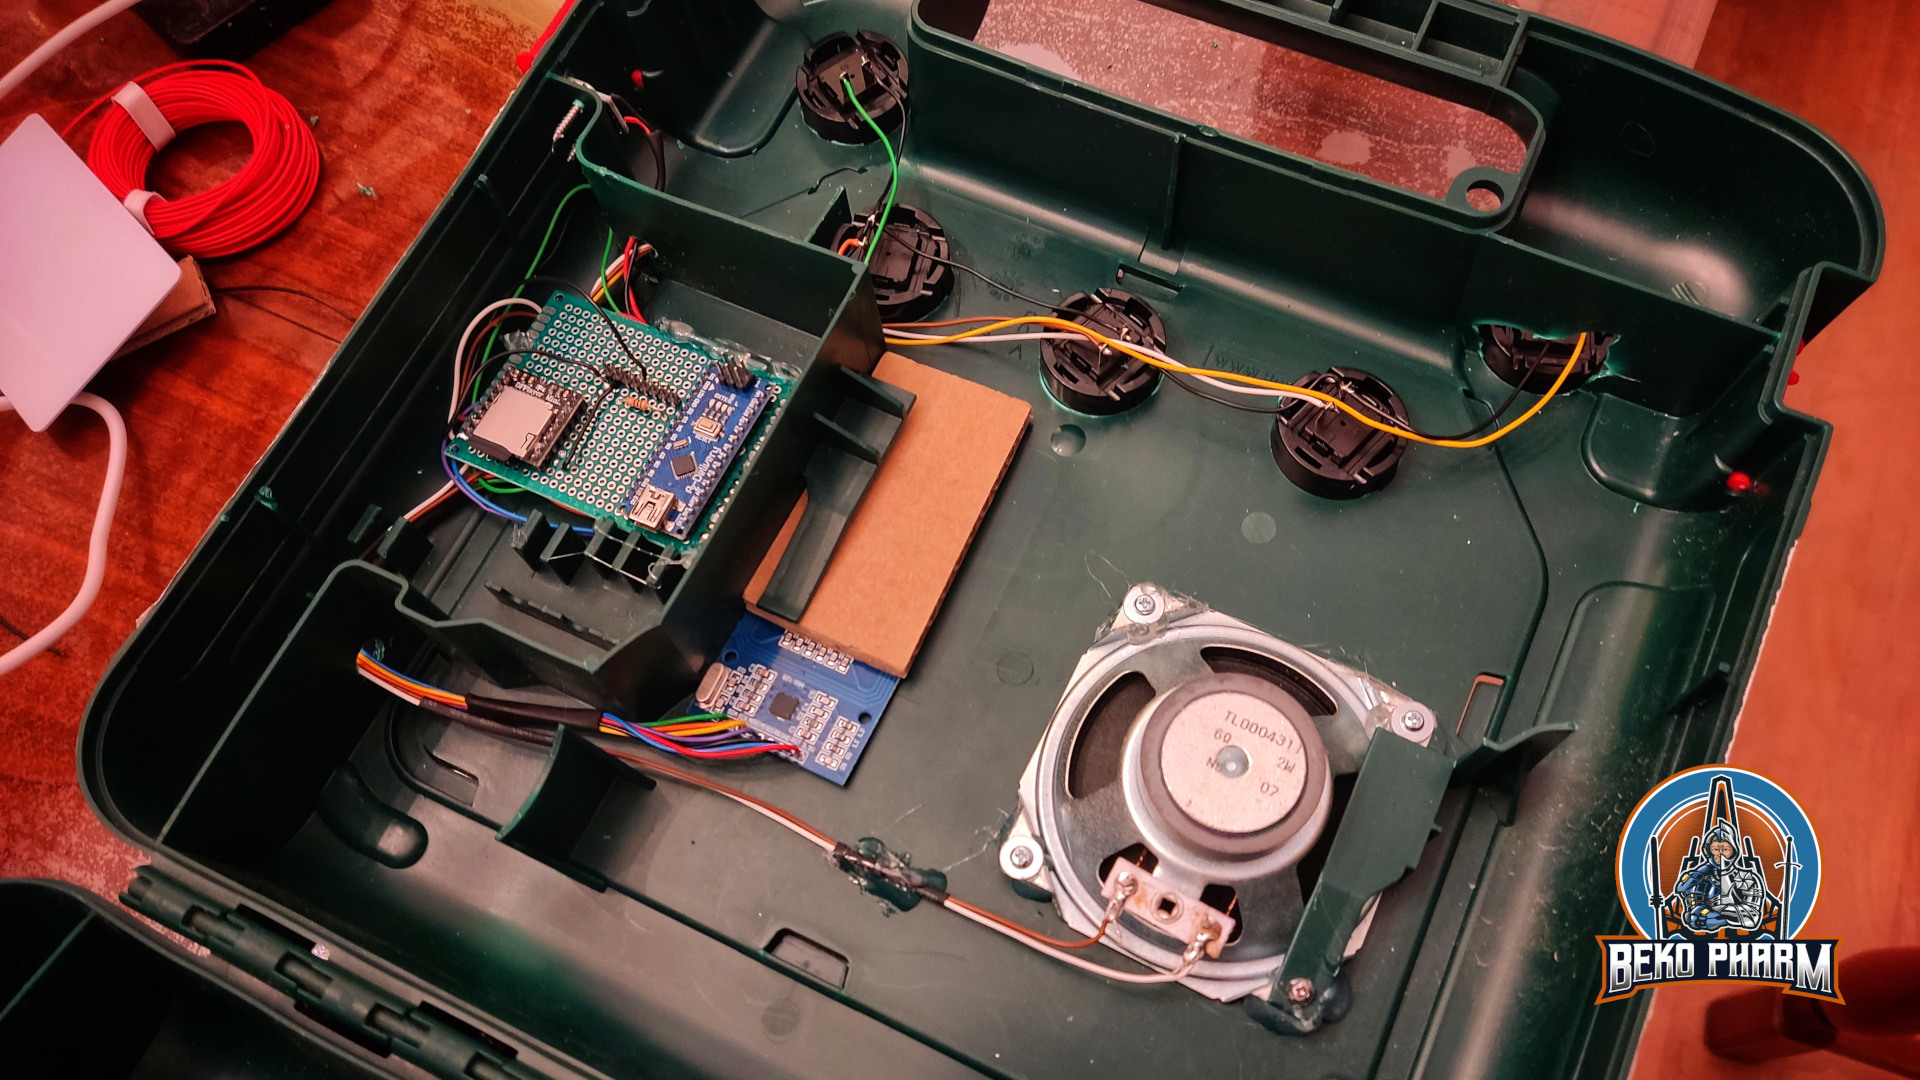
The leg work for this was done by @xfjx@chaos.social and the project is described in great detail at https://www.voss.earth/tonuino/ – I did however not order the offered PCB and just soldered everything to a generic maker board to keep the costs down. Just like the arcade buttons, that I had left over from another project, I also have a bunch of such boards. The speaker was salvaged from an old entertainment system that broke down long ago and the box… ah well I guess it speaks for itself. Can’t say I was happy with the drill but the box was just perfect for our purpose.
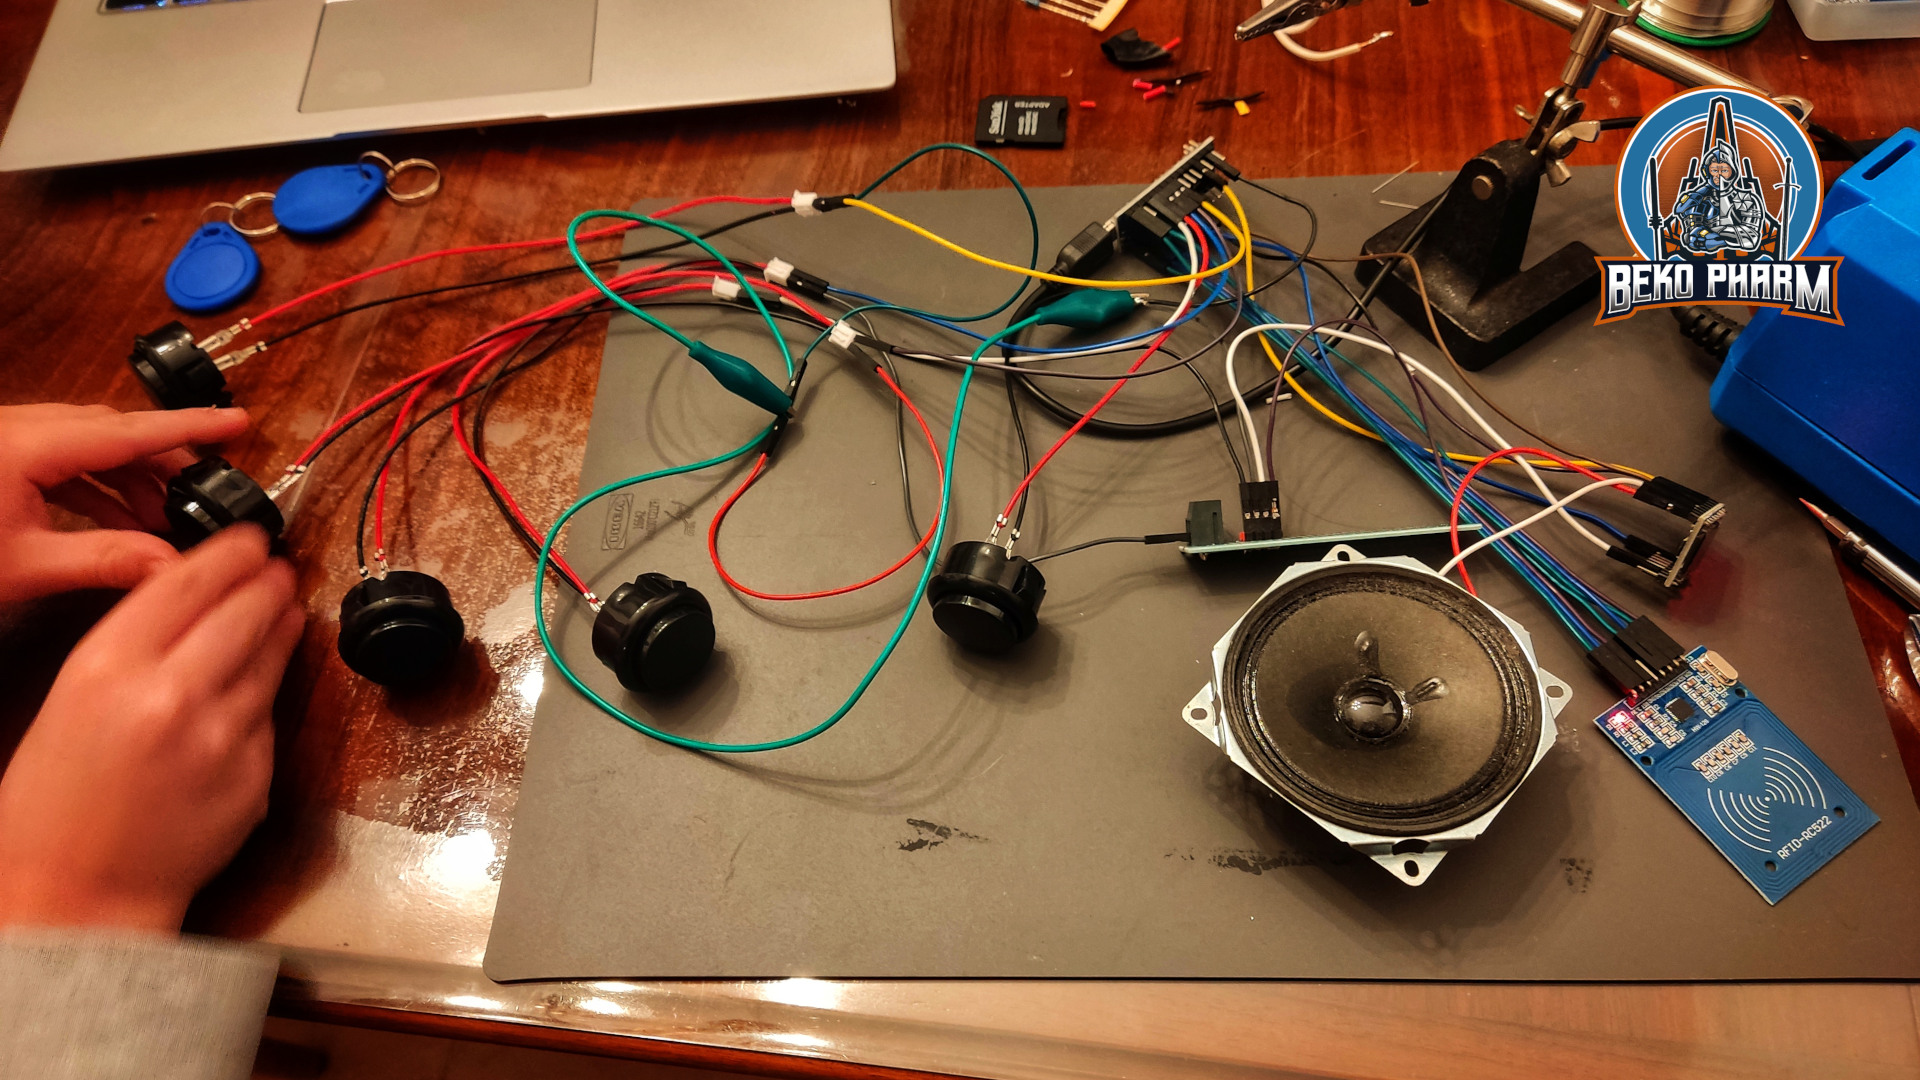
First we built a test setup after salvaging all the needed hardware. The Ardunio parts are off the shelf, nothing special here. I had to improvise a little on the wiring due to missing wires. I opted for the older branch that just needs Arduino Studio, to install the software itself. There is a more modern version using platformIO but something with that does not like my vscode and I never managed to successfully compile it.
I eventually got the idea how the RFID cards worked and could be trained to the system and also did some tests like it’s maximum power usage. It has a passive speaker and cranked up to max it would consume 0.09A max – and on regular volume it was sitting at comfortable ~0.06A. Which is pretty fine. This would run for days with a decent power bank that could be dropped right into the box later if no external PSU is used.
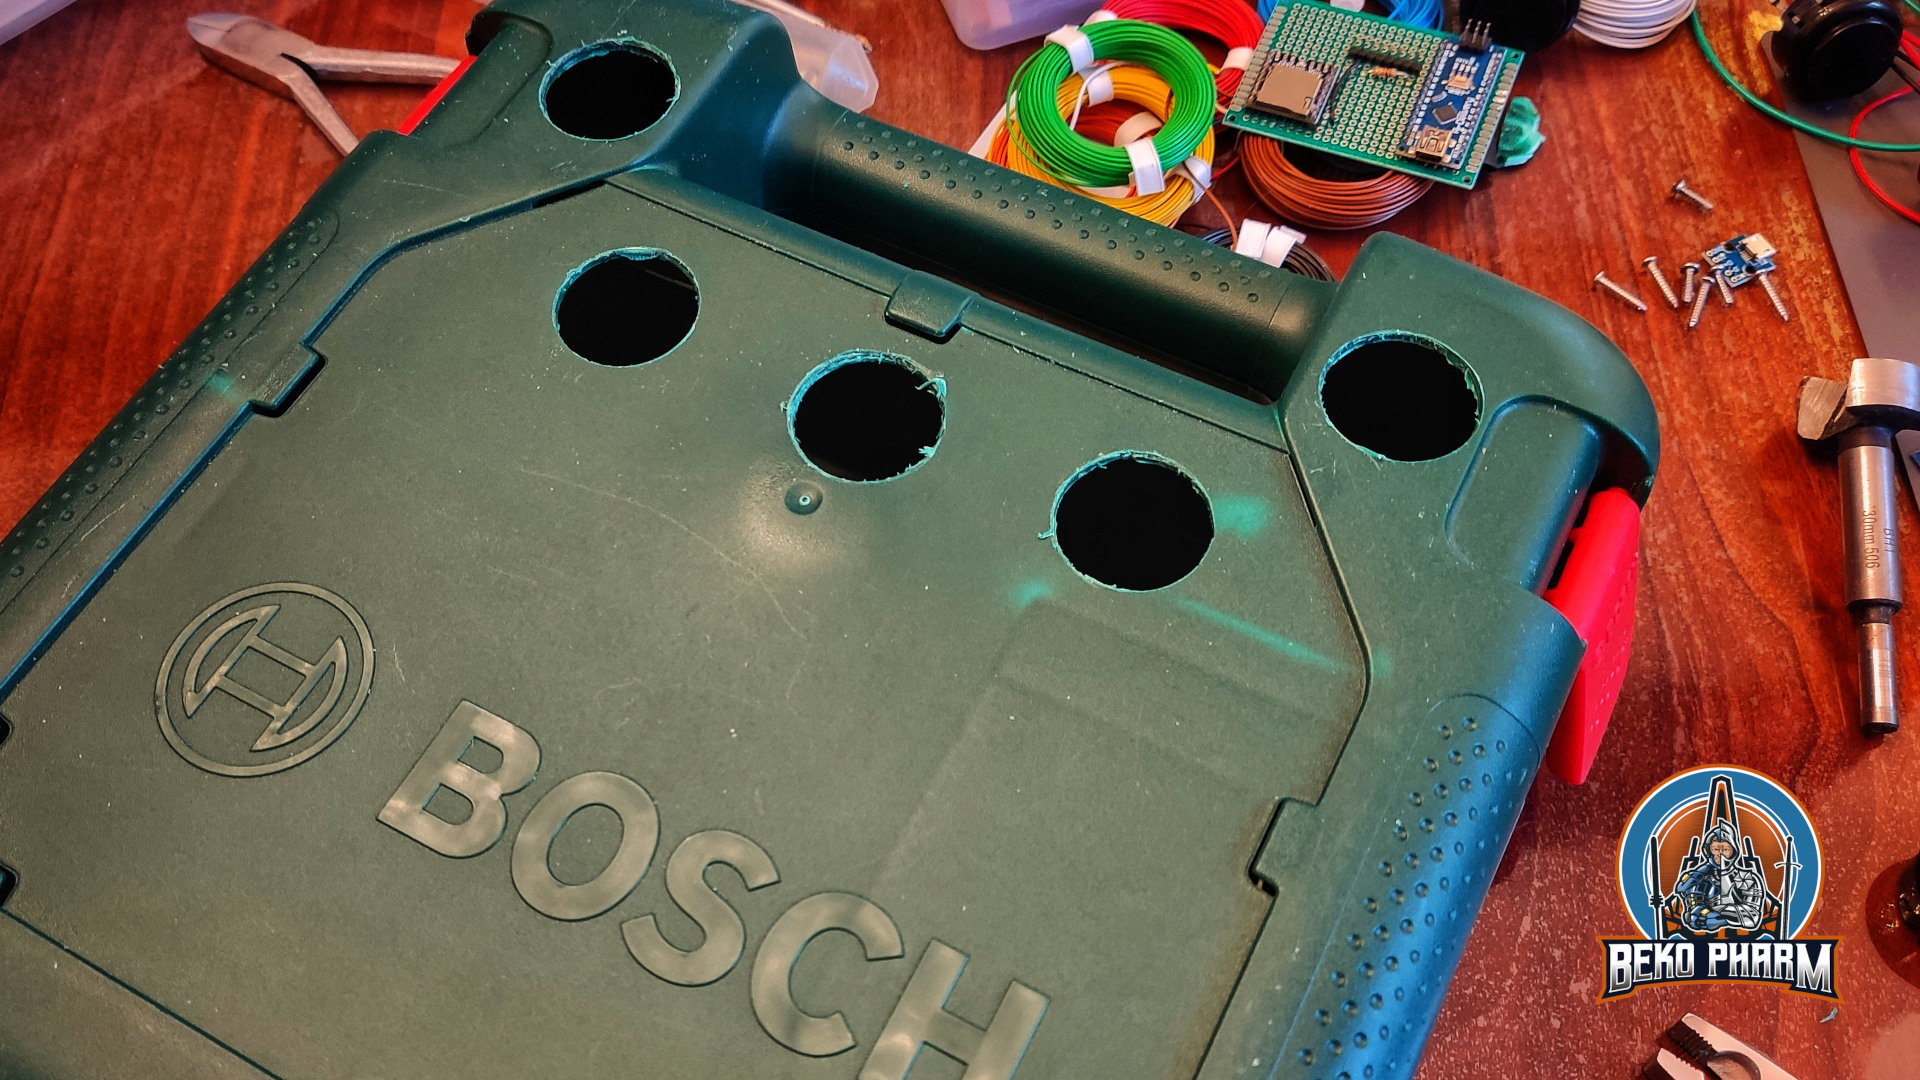
Next was preparing the box. Luckily I had just the right drill for the buttons but making the holes was a pain in the neck. This had to be done very slow because the hard plastic would easily rip and splinter. I opted for a very massive USB connector in the end because the microUSB one used first broke on the 3rd use already. That was probably a little bit too cheap. The replacement is way more sturdy, which is kinda what I want for the children anyway. Everything the box needs to operate, like an old phone charger, a very long USB cable, and the RFID cards do fit inside the box for transport.
So one of the questions left was what to put on it’s internal SD card. Some of their favourite music, of course. What else though? Easy. We have a public audio centre at https://www.ardaudiothek.de/ offering a lot of stories and podcasts even for children. Downloading them one by one manually was cumbersome though. Luckily @1337core@chaos.social was just releasing his first version of Audiothek Downloader at https://github.com/Leetcore/audiothek-downloader so I had more gigabytes than the SD card could manage in minutes. The only issue was that the SD card needs the audio files enumerated so I did some quick scripting to rename the downloaded files. I had also no use for the downloaded cover images. It’s not beautiful but it got the job done:
#!/bin/bash

folder=$1
oldpwd=`pwd`

if [[ -z $folder ]]; then
    echo "Missig paramater id"
    exit
fi

folder="output/${folder}"

if [[ ! -d ${folder} ]]; then
    echo "Missig folder ${folder}"
    exit
fi

cd $folder
shopt -s extglob
for filename in +([0-9])_*.*; do
    [ -e "${filename}" ] || continue
    oldfile=${filename}
    # remove including the first underscore to get the index
    index=${filename%%_*}
    index=${index##+(0)}

    # pad the number with zeros
    newfile=`printf %03d ${index}`
    # combine new index with old filename, remove up and including first underscore
    newfile=${newfile}_${filename#*_}
    if [[ ! -f ${newfile} ]]; then
        mv -v "${oldfile}" "${newfile}"
    fi
done

declare -i n=1
declare -i i=1

for filename in *.mp3; do
    [ -e "$filename" ] || continue

    target_dir=`printf %02d ${i}`
    if [[ ! -d ${target_dir} ]]; then
        mkdir ${target_dir}
    fi

    target_file=`printf %03d ${n}`

    if [[ ! -f "${target_dir}/${target_file}" ]]; then
        mv -v "${filename}" "${target_dir}/${target_file}.mp3"
    fi
    n+=1

    if (( n > 255 )); then
        n=1
        i+=1
    fi

done

cd $oldpwd
exit 0
This goes into e.g. to-tonUINO.sh into the root folder of the Audiothek Downloader where it can be executed after downloading a category. Like this for example:
The resulting folder|s can be renamed, depending on what is already on the SD card, and moved to the SD card. It also makes sense to set the RFID card to audiobook mode so the TonUINO saves the position for the listener and does not start at the beginning again.
Now it’s up to the children to do some decorations. Our oldest wants her version built into a box that looks like a book. Hope we can get that one done soon too.