I love gaming over multiple monitors. It’s my current choice for work and games – especially simulations. Having several monitors attached to one computer (or graphic card) is not a big deal in 2021 any more. The framebuffer in recent graphic cards is insanely huge compared to some years ago, when one really had to think twice about the possible resolution when e.g. connecting a beamer to a laptop (good old SiS 630 anyone?).
This couldn’t be easier nowadays. Even mixing the integrated graphic card of a recent Intel CPU with an NVIDIA or AMD dedicated graphic card does usually “just work”. Some driver specific mode may have to be set but that’s it. The workspace easily expands over multiple displays and windows can be moved around freely.
Games do not see one huge desktop but individual displays
There is however a catch. Games tend to read the primary display only and the maximum resolution offered usually comes with the readout of this very first display – or worse – the first display connected. This sucks especially when the monitors have different resolutions, as it was the case for me for several years now, because I didn’t just purchase a set but collected discarded monitors over the time. This can often be omitted by temporary disabling the “false” ones or by force window mode.
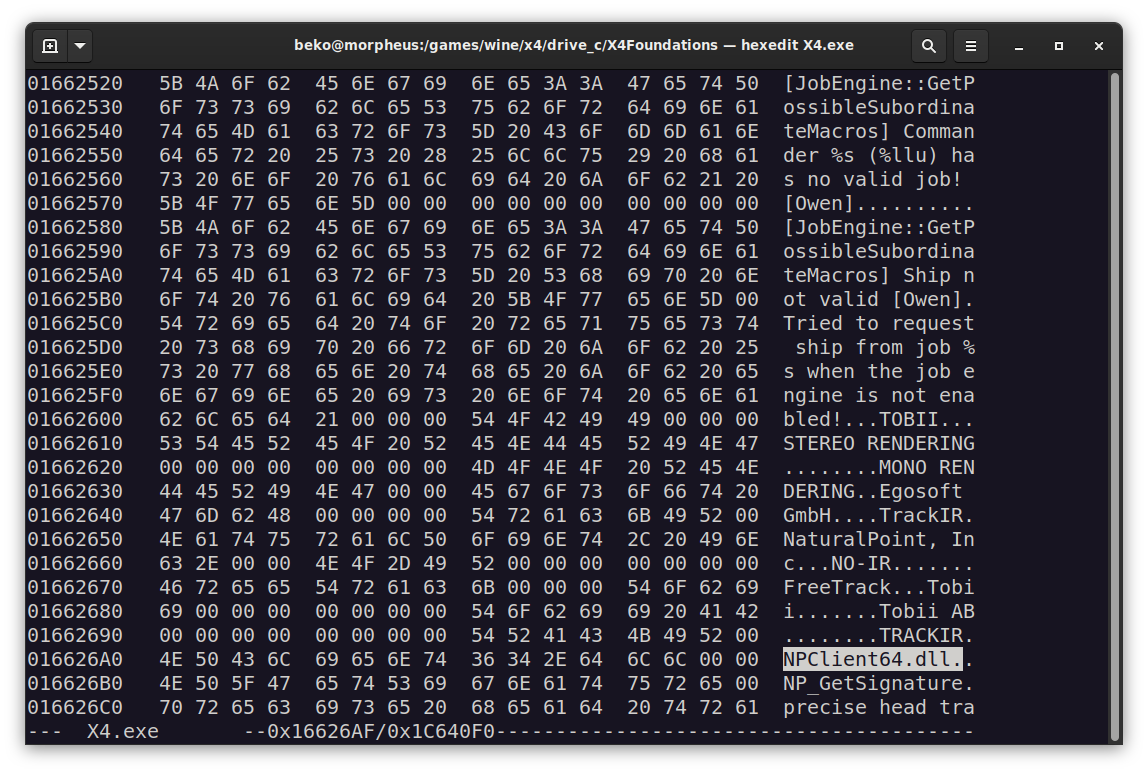
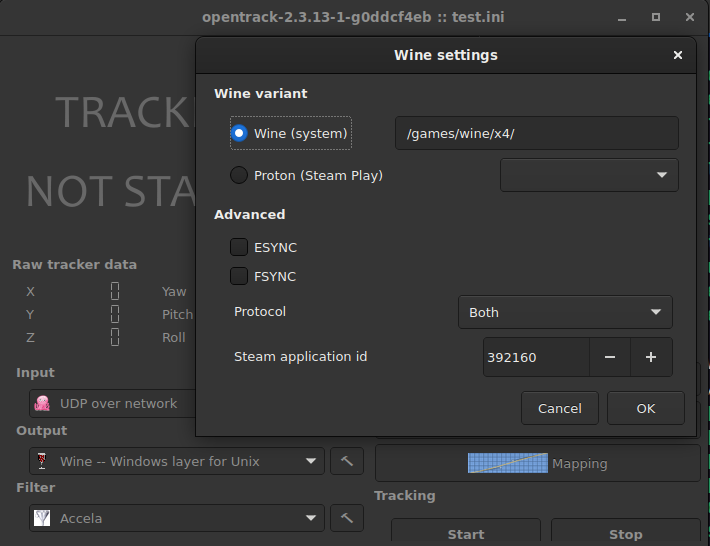
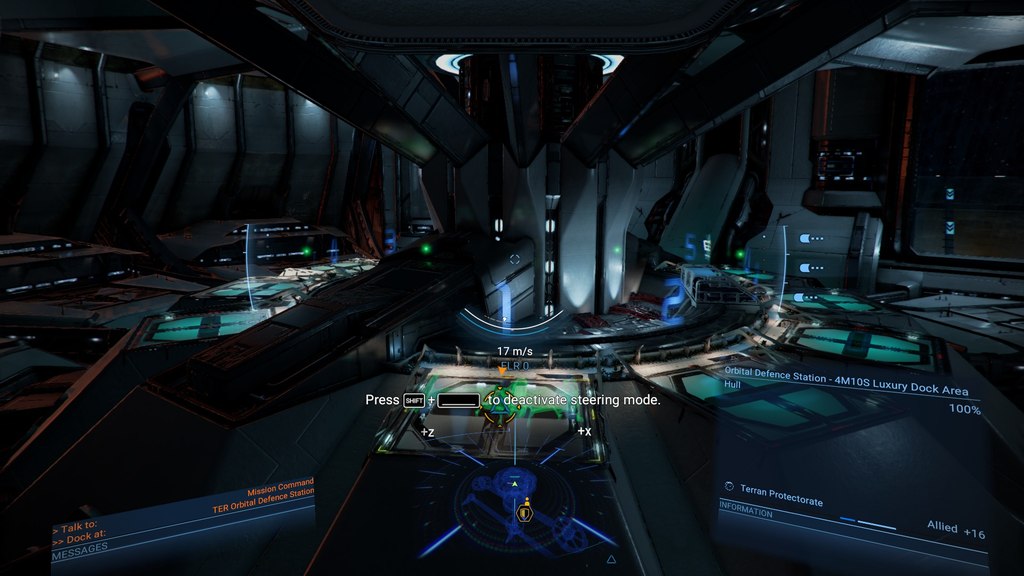
This results in hacky scripts involving xrandr, wmctrl and xdotool. This is for example how I hammered X4: Foundations into shape _after_ it started, because it would allow me to select a single display only. Set to window mode it can be freely scaled but that comes with a disturbing window decorations so with this the X4 window gets positioned to 0x0, expanded to 5770×1210 and the window decorations purged:
xdotool search --class "X4" windowmove --sync %@ 0 0 windowsize %@ 5770 1210 set_window --overrideredirect 1 %@
That’s a pain to find out and the fun really stops when it comes to Proton or some games that would not allow resizing over their maximum detected resolution – like for example Everspace.
How about a virtual monitor?
So the idea was to introduce a completely virtual monitor to the systems with the resolution of choice. VNC servers do that all the time so it must be possible. The usual approach won’t work in this case though: When loading the dummy driver the real displays can usually no longer be used and the drivers for AMD and NVIDIA do not really offer such a feature at all.
It is perfectly possible to define virtual monitors with a recent xrand but they have to be mapped on an existing output (a real port). One can use an unused port (as in: no monitor connected) for this, add a Modeline and even force it as “online” like so: echo on > /sys/kernel/debug/dri/0/HDMI-A-1/force
I was delighted to see the display showing up briefly but the AMD driver made short work of my soaring hopes by forcing it off again in an instant. So close and yet so far. This would require some hardware hacking by creating a dummy plug for the port. That’s basically some resistors in the right place making the computer think a display is connected. I hear they can also be purchased and this may be a way for others.
Others seem to have had success by compiling the experimental DisplayLink driver that seems to offer (virtual) monitors but I really didn’t feel like fiddling with something even more alien that will probably break on the next kernel update again.
Intel to my aid!
The success for me was in the end to use of the Intel driver and it’s VirtualHeads feature. The caveat is that one probably needs an Intel CPU for this to work and has to create a X11 config file. If this is done without adding the usual driver people will experience black screens on reboot only. This may be a show stopper for inexperienced Linux users who don’t know how to recover from a broken X11 config (yet :D). For me this is an amdgpu so my file /etc/X11/xorg.conf.d/20-intel-virtual-and-amd.conf has to look like this:
Section "Device"
       Identifier "amdgpu0"
       Driver "amdgpu"
Endsection

Section "Device"
       Identifier "IntelVirtual0"
       Driver     "intel"
       Option     "VirtualHeads" "1"
EndSection
Triple check that your driver is used in there instead or you will end up with a broken config without the possibility to log in to a graphical window manager. When in doubt start e.g. a new session to your liking on the next display server where you can switch back with the key combination ctrl+alt+F[1-0]: startx /usr/bin/startxfce4 :2
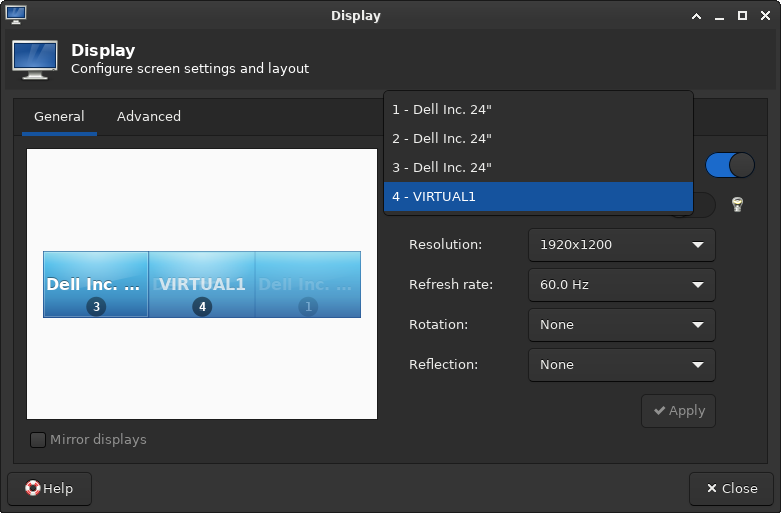
Once started a new provider shows up and the new output “VIRTUAL1” is available: xrandr --listproviders
Providers: number : 2
Provider 0: id: 0x59 cap: 0xf, Source Output, Sink Output, Source Offload, Sink Offload crtcs: 6 outputs: 4 associated providers: 1 name:AMD Radeon RX 5600 XT @ pci:0000:03:00.0
Provider 1: id: 0x9e cap: 0xb, Source Output, Sink Output, Sink Offload crtcs: 5 outputs: 4 associated providers: 1 name:Intel
Configuring the virtual monitor with xrandr
Now that we have a virtual monitor we need a Modeline for it. This is usually the current screen (of the framebuffer) and can be calculated (e.g. sum of all monitors x height and Hz of one monitor) or by asking the system: xrandr | grep Screen
gtf (or cvt) helps obtaining the Modeline: gtf 5760 1200 60
# 5760x1200 @ 60.00 Hz (GTF) hsync: 74.52 kHz; pclk: 579.47 MHz
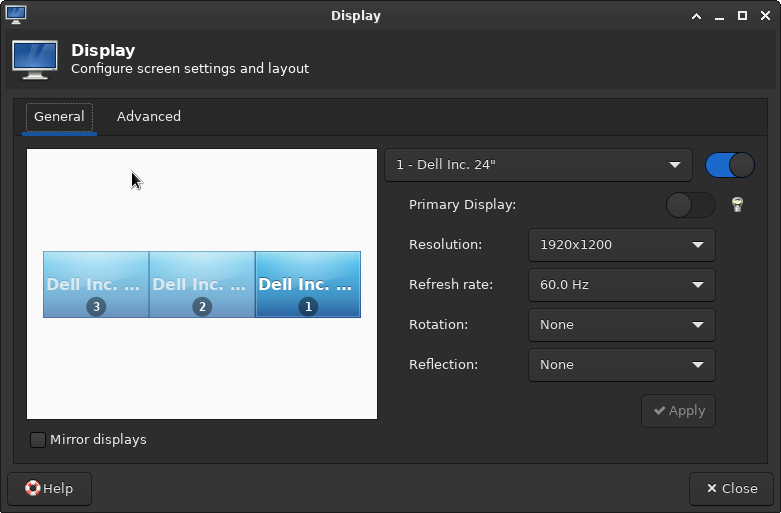
Modeline "5760x1200_60.00" 579.47 5760 6144 6768 7776 1200 1201 1204 1242 -HSync +VsyncNow all information needed to finally set up the virtual display is there. I’m creating the virtual display on top of the three real displays because I also want to see what’s drawn on it. That’s not strictly required though and in fact most graphical tools to configure the monitor location will even refuse this – because this use case is simply not considered or supported. Gnome for example really didn’t like this. XFCE4 didn’t care. Ymmv:
xrandr --newmode "5760x1200_60.00"  579.47  5760 6144 6768 7776  1200 1201 1204 1242  -HSync +Vsync
xrandr --addmode VIRTUAL1 "5760x1200_60.00"
xrandr --setmonitor Virtual 5760/1554x1200/324+0+0 VIRTUAL1
xrandr --output VIRTUAL1 --mode "5760x1200_60.00" --pos 0x0 --primary
It’s done.
And it works!
After a lot of research and fiddling (and breaking my X config several times) I finally found a working solution. Games let me select the virtual monitor or see at least my primary with my “maximum” resolution. Sometimes this still requires window mode but I could care less – the decorations are optional. And it works like a charm! Here is a small selection of the games I play most at the moment:
-

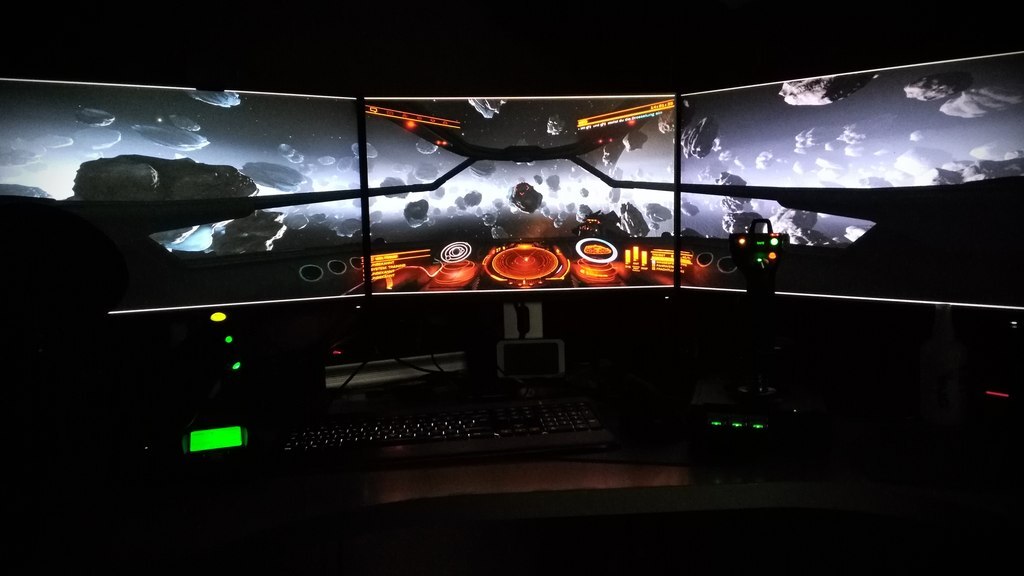
Elite Dangerous: Odyssey -

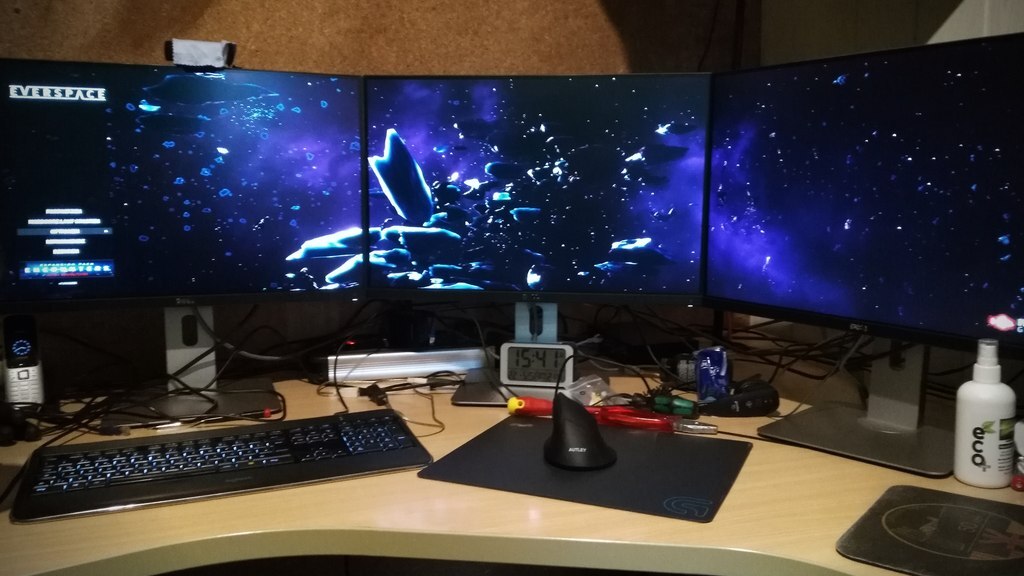
Everspace -

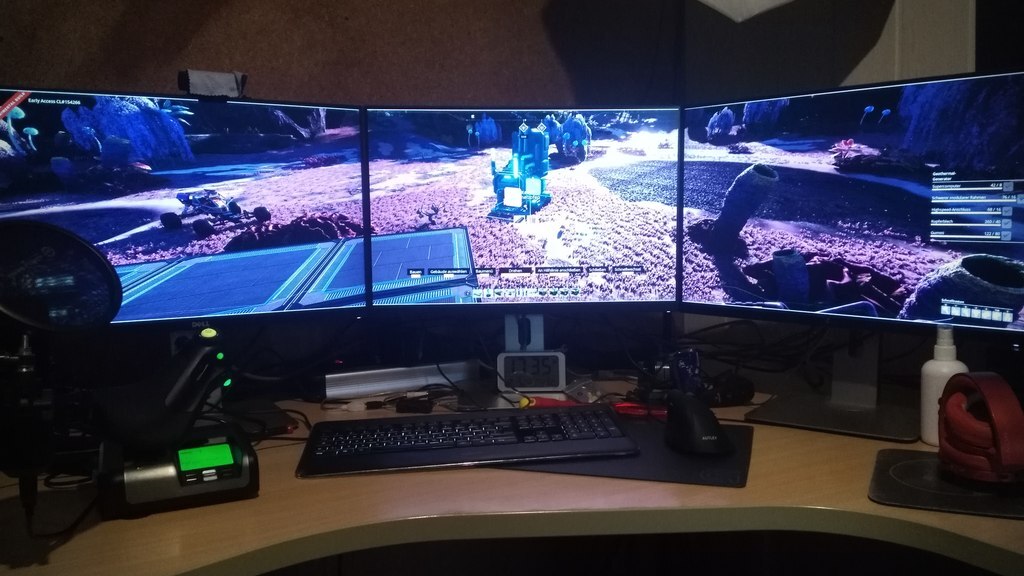
Satisfactory -

X4: Foundations -

No Man’s Sky -

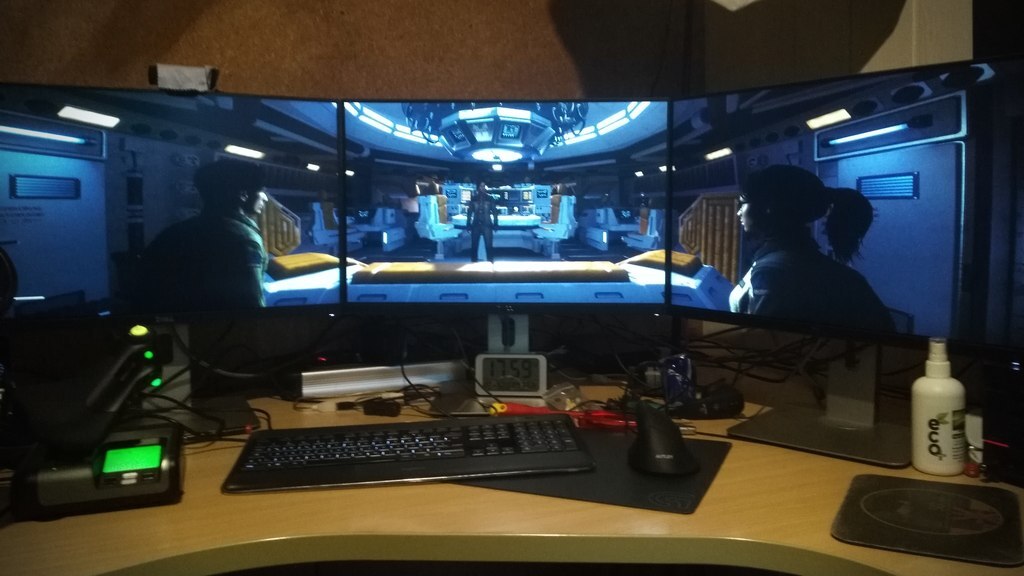
Alien: Isolation
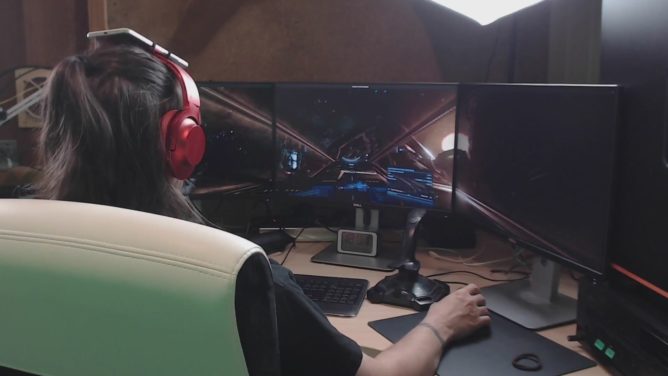
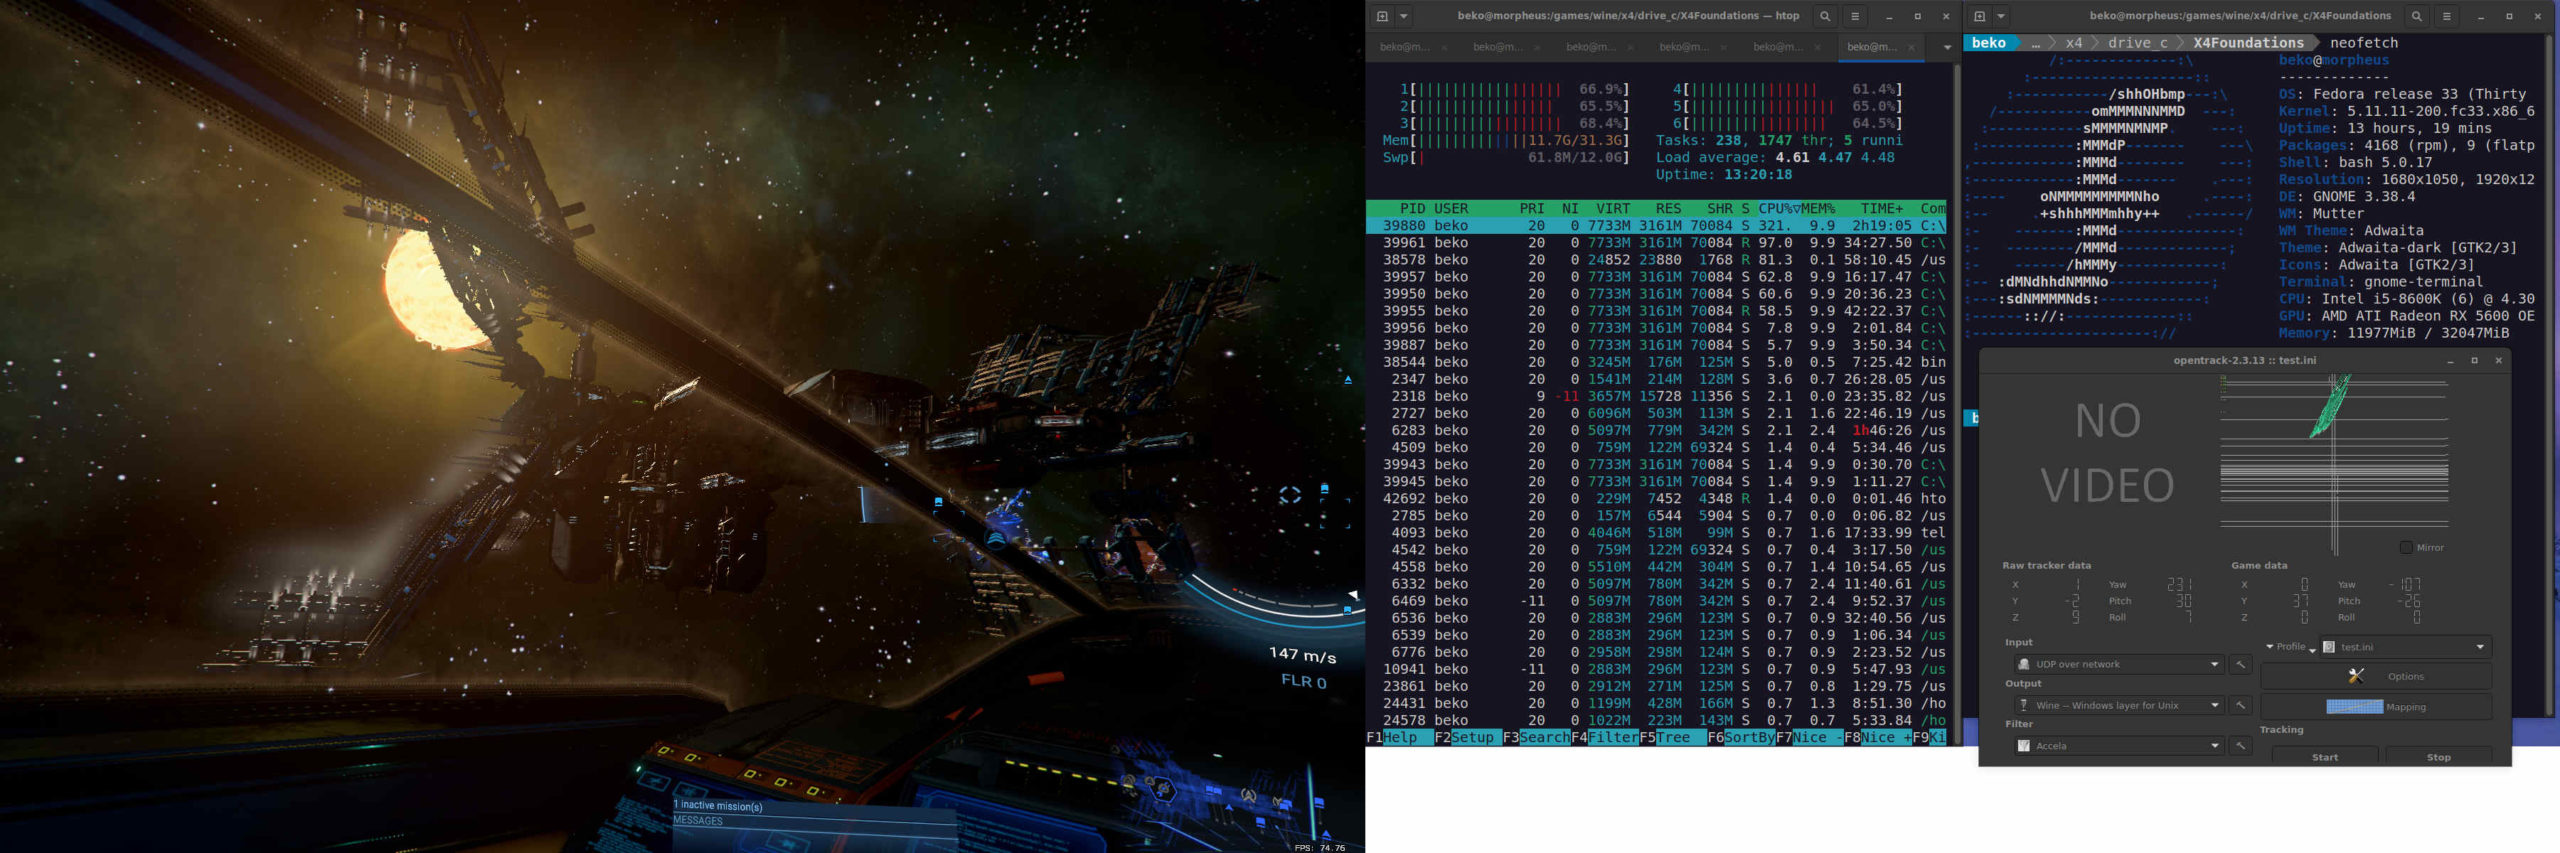
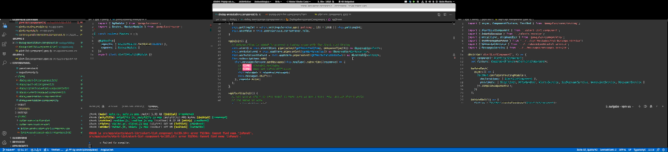
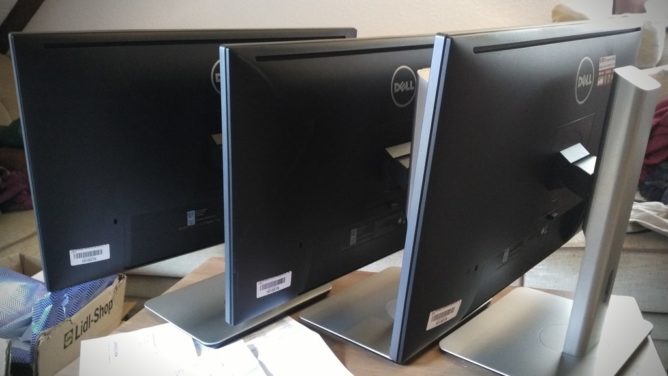
This is how my set-up looks:
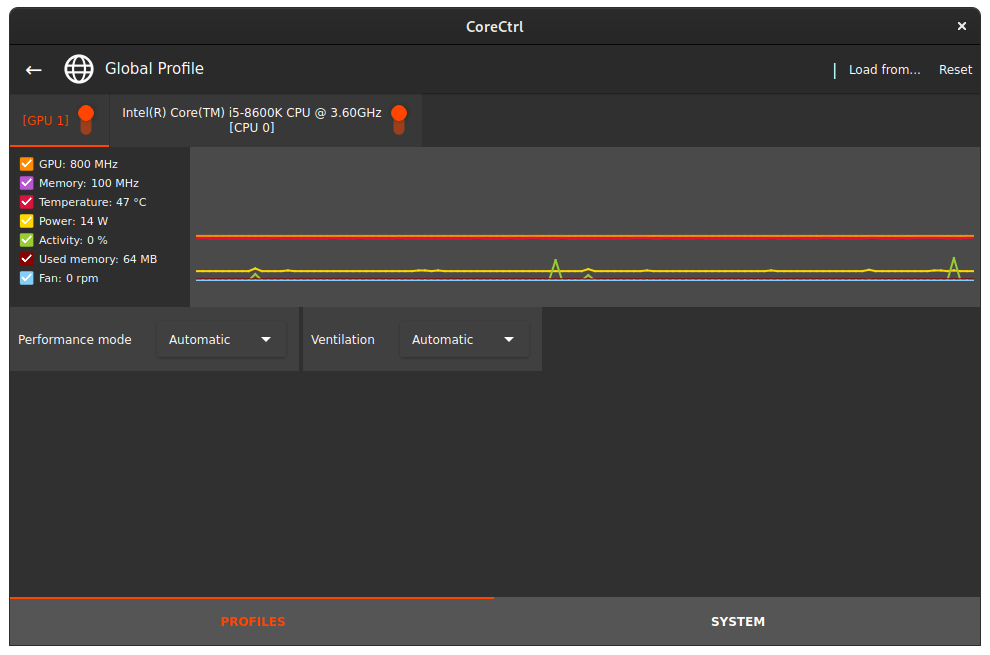
Now I’ve another problem. With this my usual 1080p gaming resolution is no longer and my graphic card is simply not up for the job any more 🤣
At least gaming itself is easy as pie on Linux in 2021. Complex display set-ups? Not so much.